CICADAMATA: All Sphere Terminal Locations
Every sphere in CICADAMATA holds exactly one terminal, and at the time of writing there are 18 of them. Collect the full set and you get the achievement for it. Below is where each terminal sits, with the screenshots that pin down the exact spot.
Fair warning before you go on: this page names all six areas and all 18 spheres, and it gives away what the achievement unlocks. That reward is Museum Mode.
It is a locations page and nothing else. It gets you to every terminal and stops there.
The 18 divide six ways, three spheres to an area:
| Area | Sphere terminals |
|---|---|
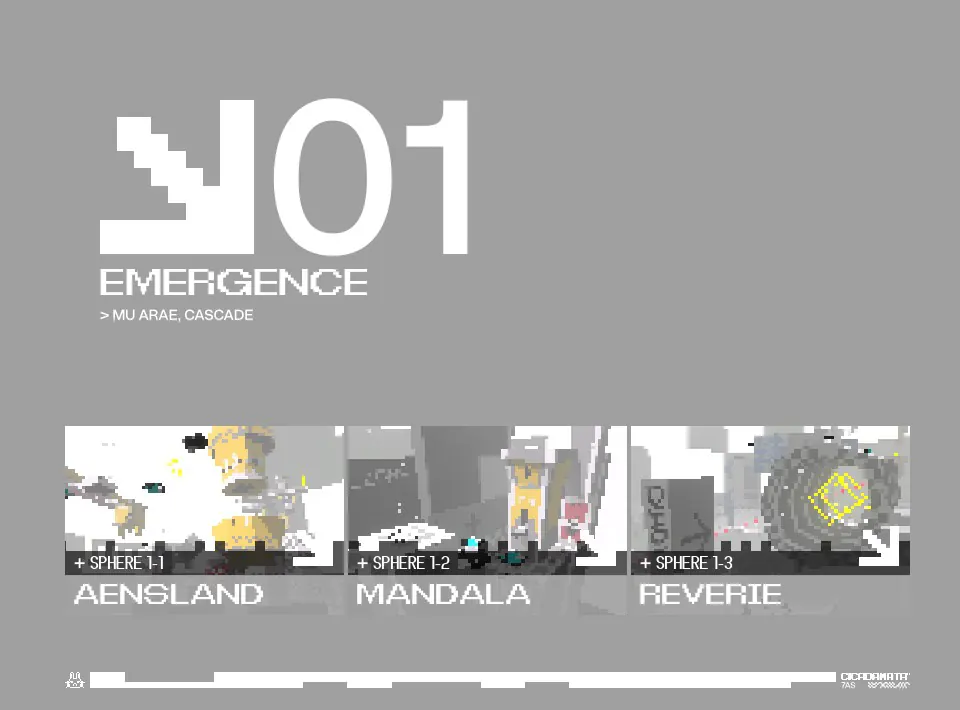
| 01 EMERGENCE | 1-1 AENSLAND, 1-2 MANDALA, 1-3 REVERIE |
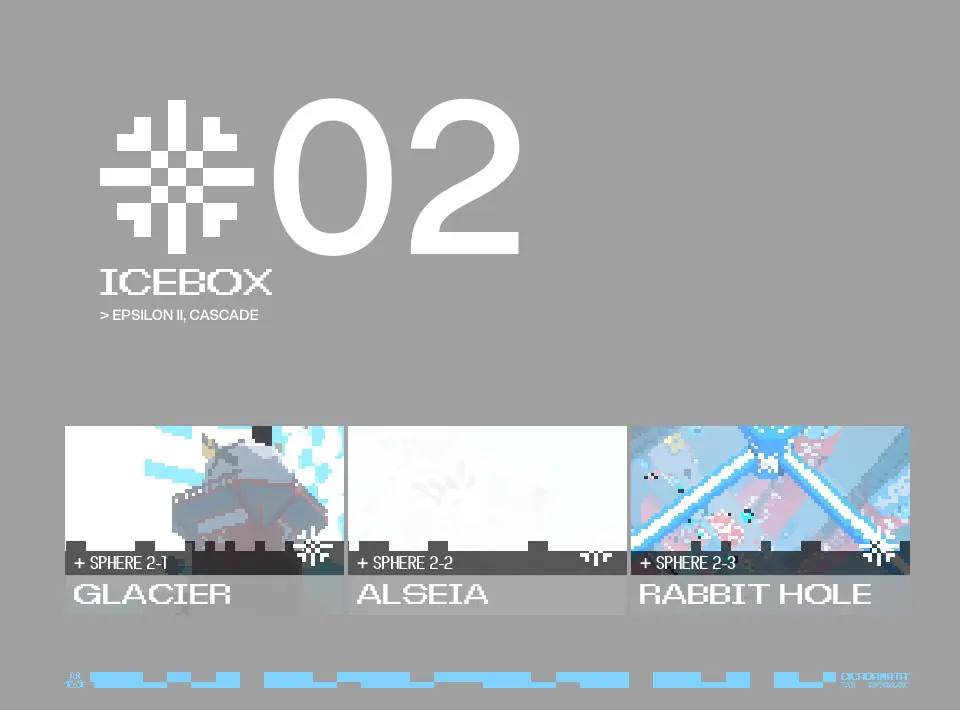
| 02 ICEBOX | 2-1 GLACIER, 2-2 ALSEIA, 2-3 RABBIT HOLE |
| 03 DEEPDIVE | 3-1 CASCADE, 3-2 RUNOFF, 3-3 ESTUARY |
| 04 VERDANT | 4-1 MEADOW, 4-2 HARE, 4-3 RIBBON |
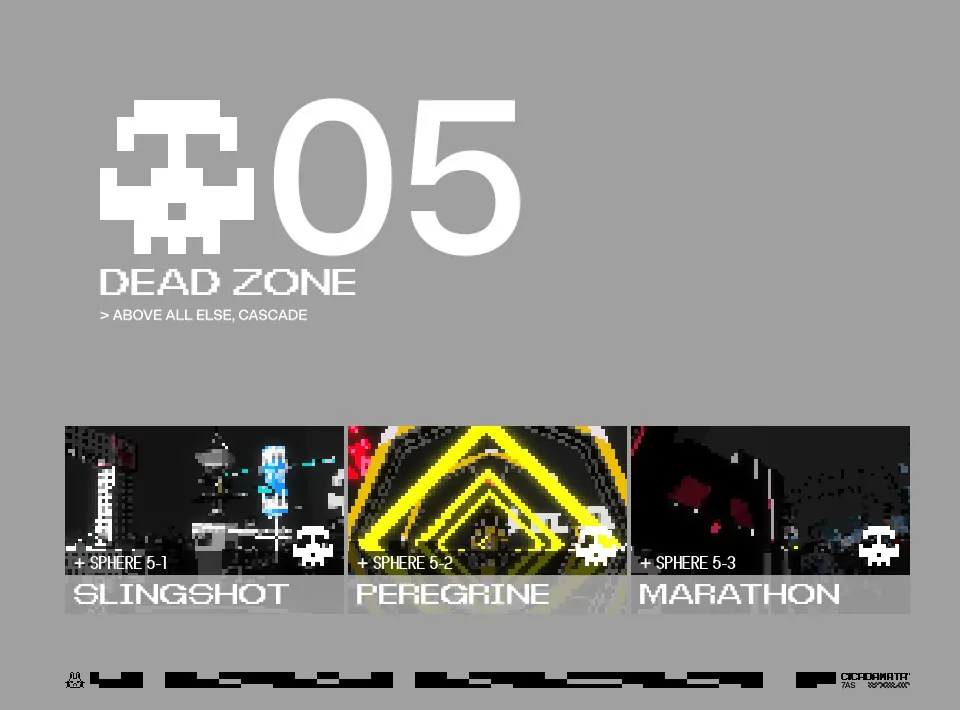
| 05 DEADZONE | 5-1 SLINGSHOT, 5-2 PEREGRINE, 5-3 MARATHON |
| 06 ENCORE | 6-1 ONEMORE, 6-2 HALCYON, 6-3 MARCH |
Each heading below is one sphere, so you can jump straight to the one you are stuck in.
SPHERE 1-1 AENSLAND
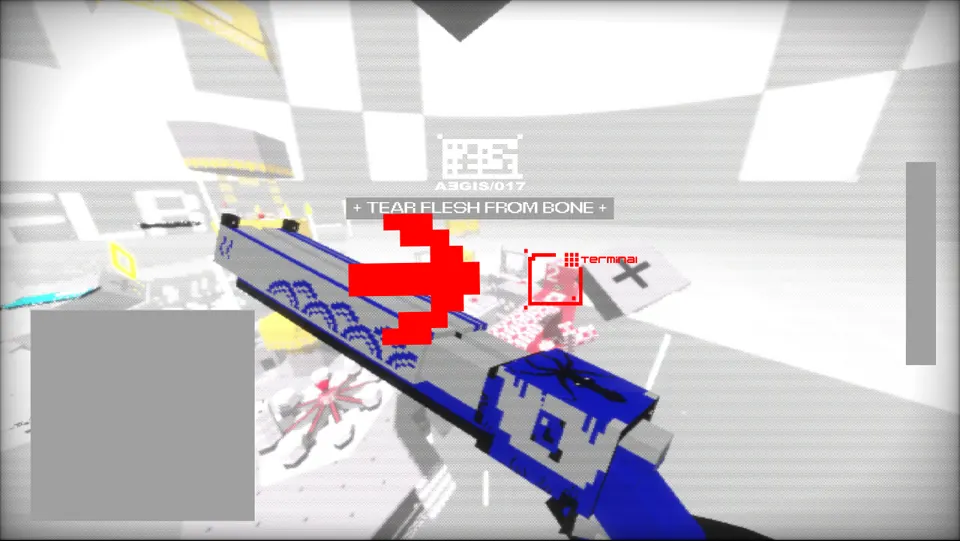
The first terminal in EMERGENCE takes no detour at all. Look right the moment you exit the drop ship: it is on the wall carrying the big 2, and you can reach it as soon as you are out.
SPHERE 1-2 MANDALA
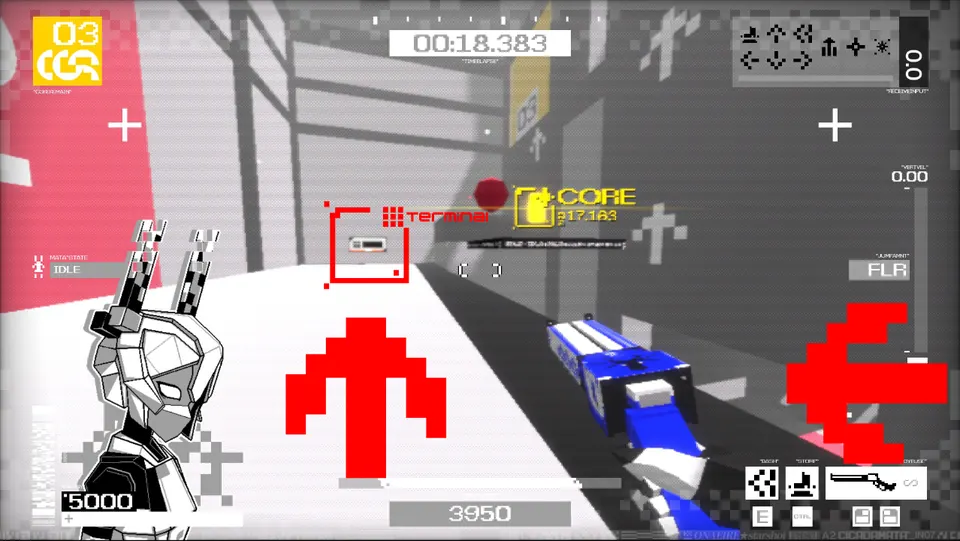
Coming into the 2nd Core room, keep left. The terminal sits to the left of the BOUNCER.
SPHERE 1-3 REVERIE
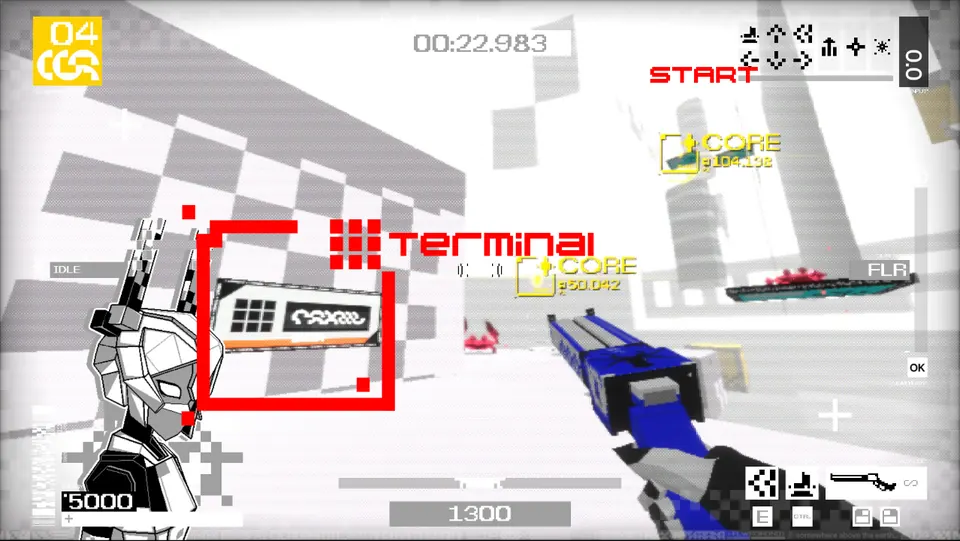
The terminal is around the corner, on the platform with the crab enemy on it.
SPHERE 2-1 GLACIER
The first terminal in ICEBOX sits at the far edge of the map, under the mountain there. From the sphere start, make for the mountain and look underneath it rather than on it.
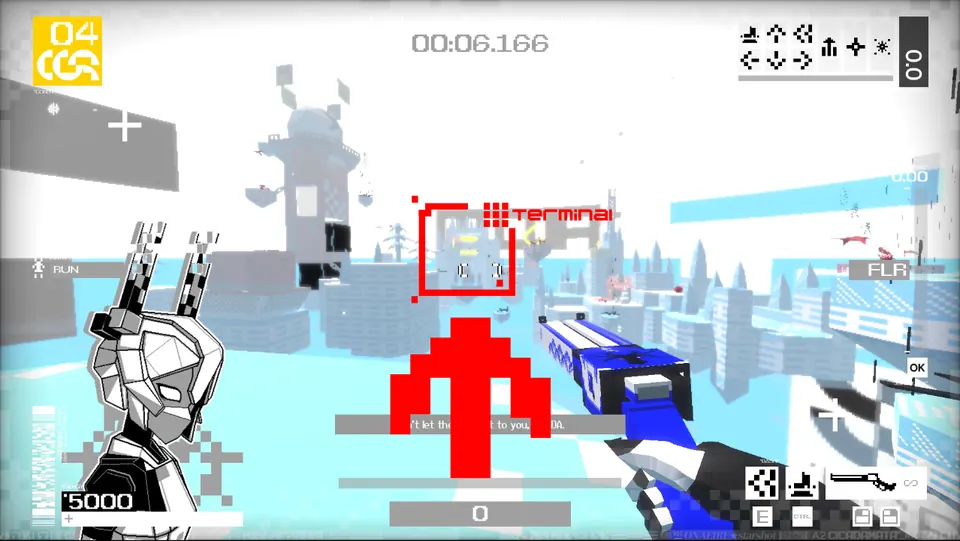
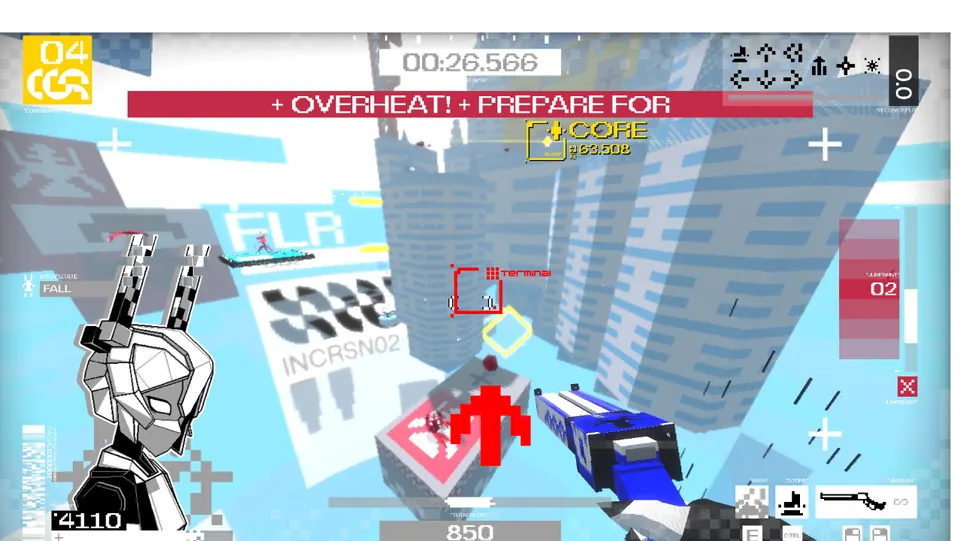
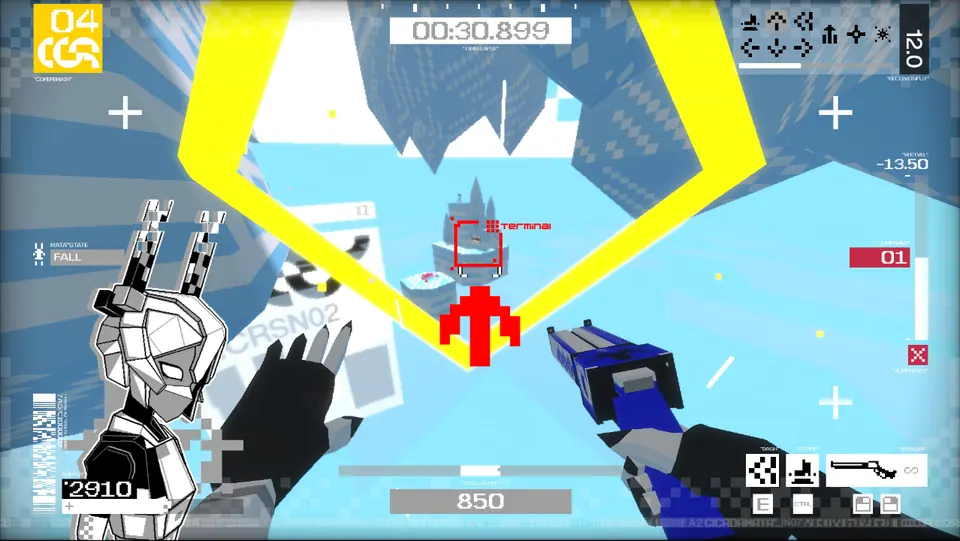
SPHERE 2-2 ALSEIA
The terminal is on the final slide, the one full of BOUNCERS, sitting to the right of the orange cabin.
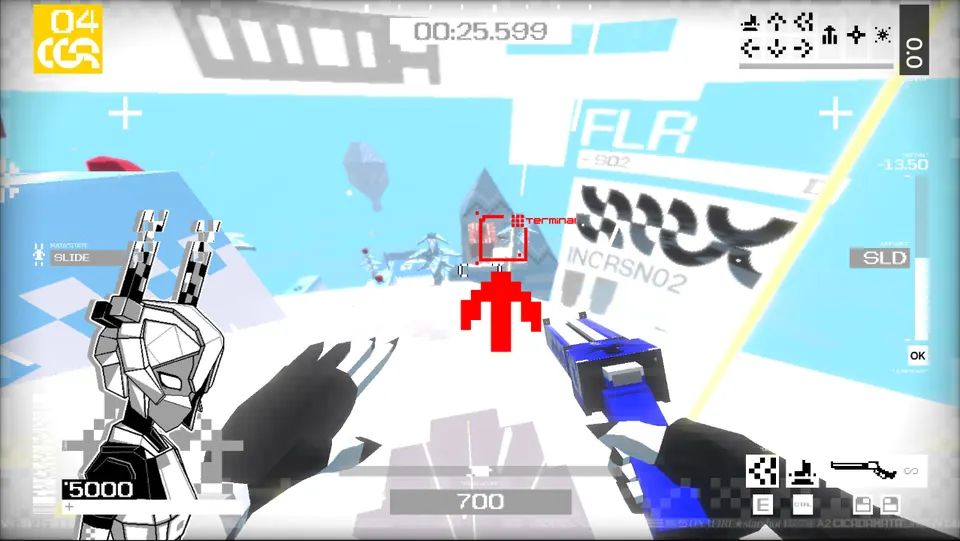
SPHERE 2-3 RABBIT HOLE
Between the 2nd and 3rd Core, run along the east-most wall. The terminal is beside the lone warehouse, the one with the two blue crates. There is an ESPER on the crane; use it as your landmark, and the fan there will help you get up to it.
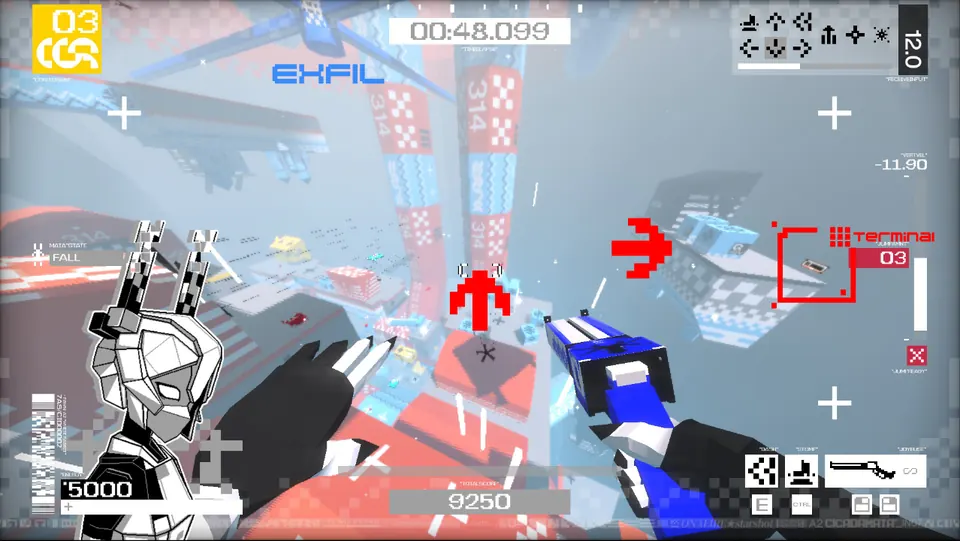
SPHERE 3-1 CASCADE
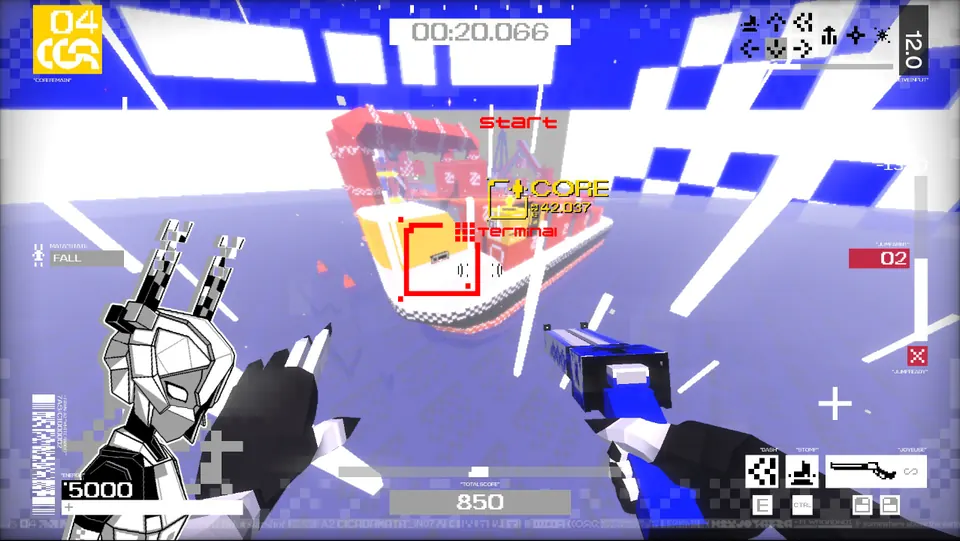
The first terminal in DEEPDIVE is on the cargo ship north-west of the sphere start, on an outer wall of the bridge.
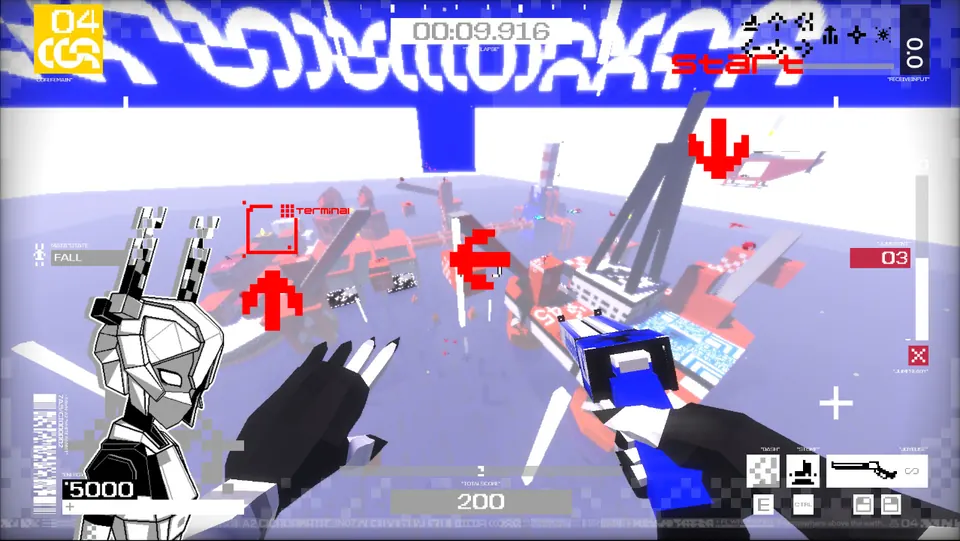
SPHERE 3-2 RUNOFF
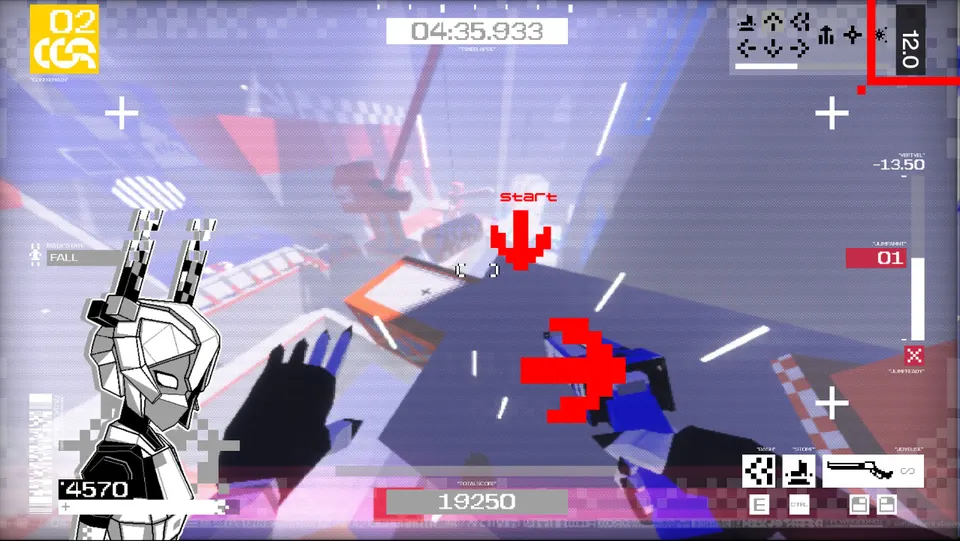
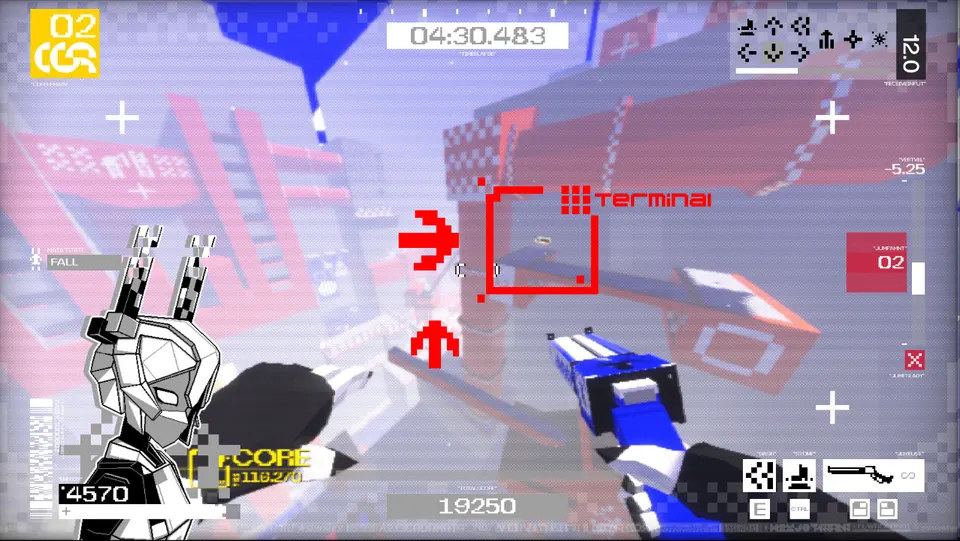
The terminal is in the first open area to the left of the sphere start, up on a ledge. The ESPER sits on the crane there, visible from the start and worth taking for quick access.
SPHERE 3-3 ESTUARY
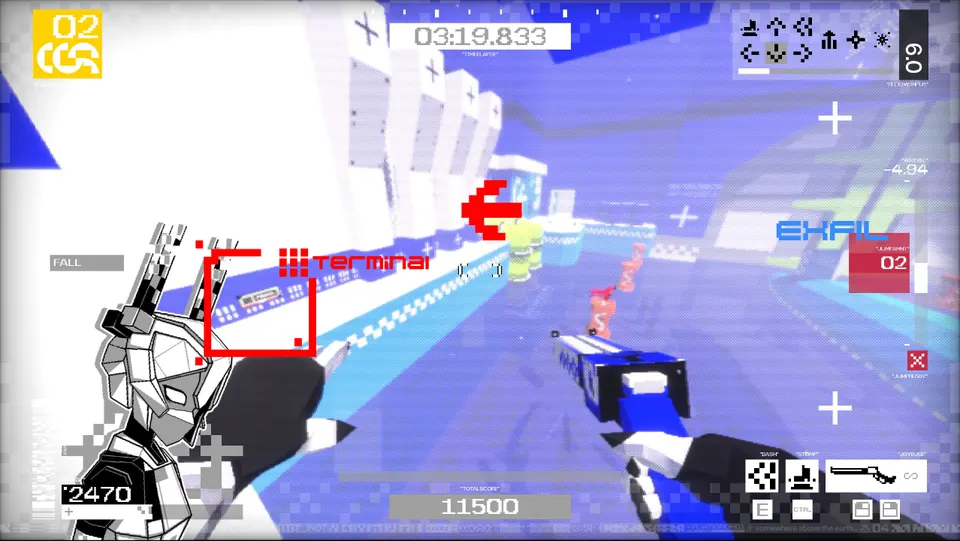
The last stretch of the sphere is the one with the exfil submarine. Just past the two green pipes and the row of columns, the terminal is on the left-hand wall.
SPHERE 4-1 MEADOW
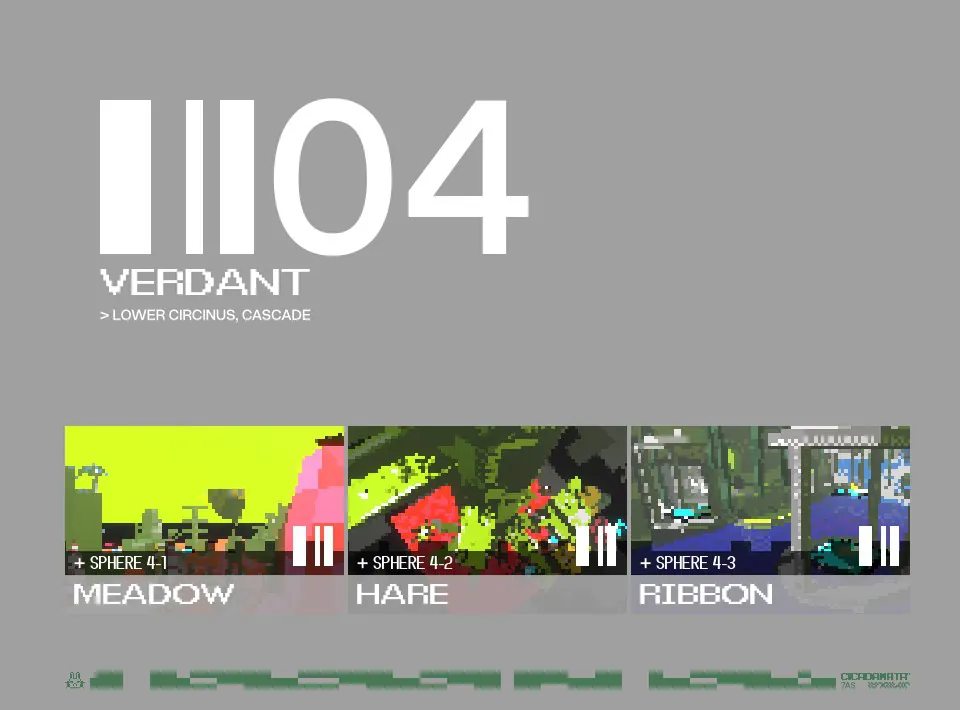
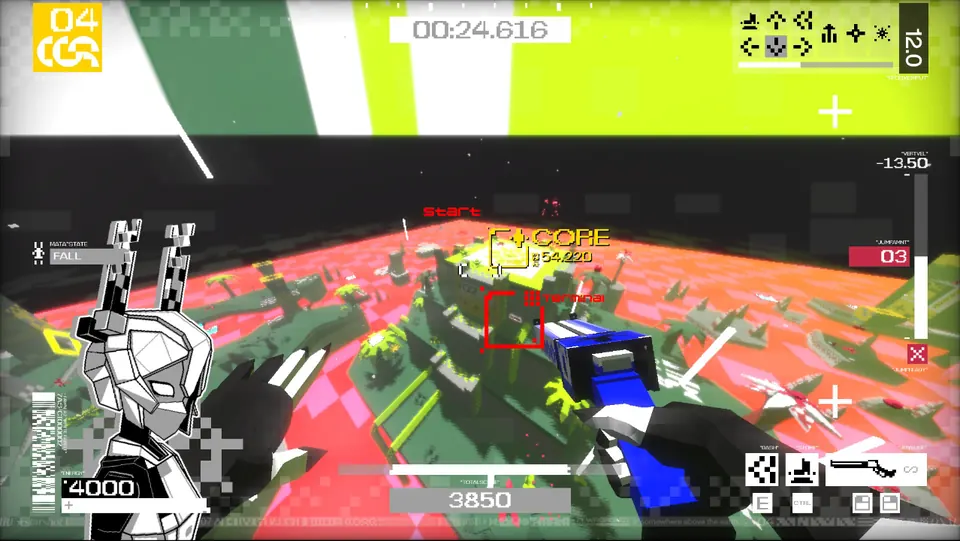
The first terminal in VERDANT is on the Central Island, visible north-west from the sphere start. It sits on the highest ring of the hill, at the north-western corner.
SPHERE 4-2 HARE
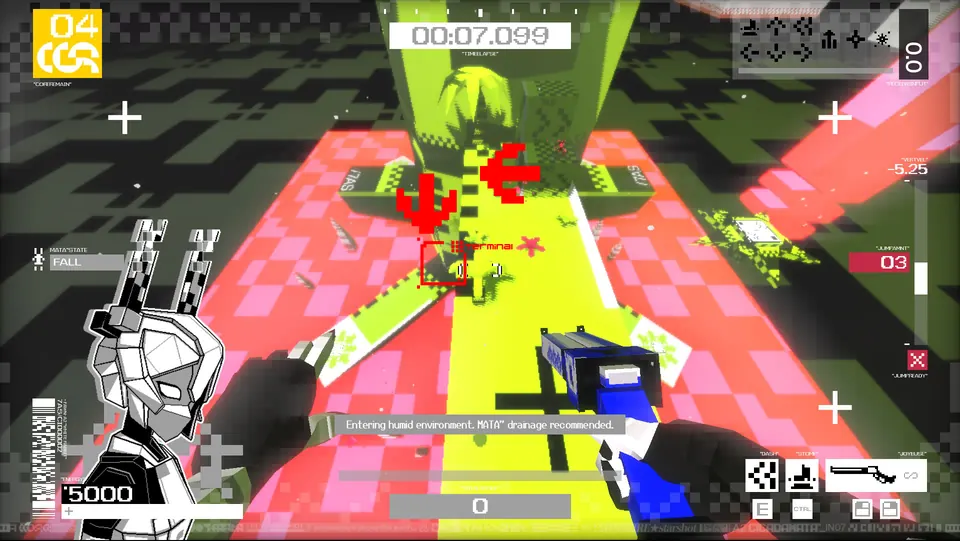
From the sphere start, drop down onto the lowest branch on the left. The terminal is on the wall there.
SPHERE 4-3 RIBBON
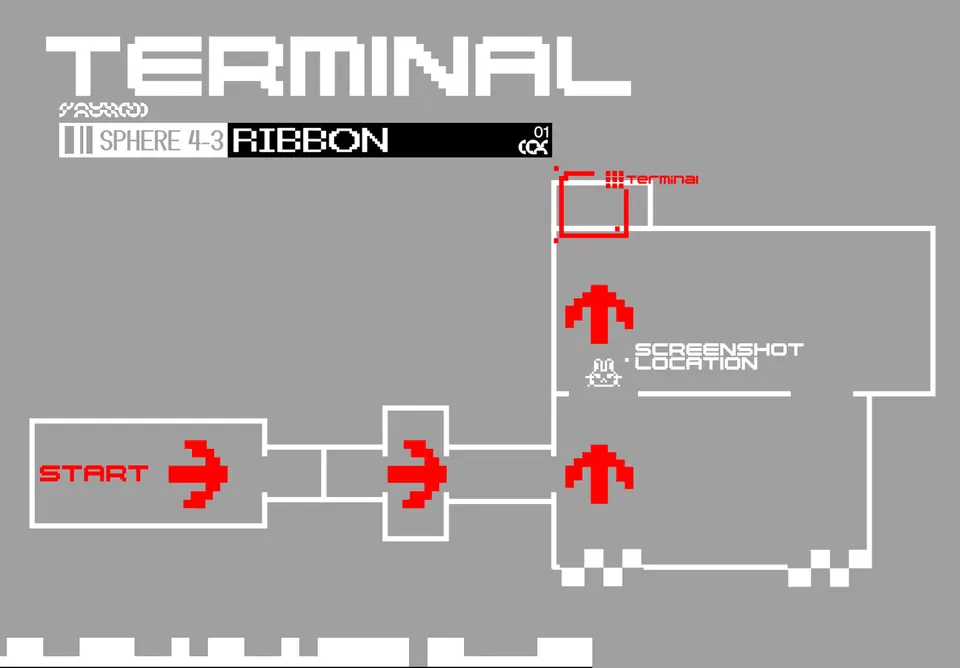
Follow the corridors from the start to the main connecting hub room, then take the first left. Head into the back left corner and the terminal is on the elevated platform within that room.
SPHERE 5-1 SLINGSHOT
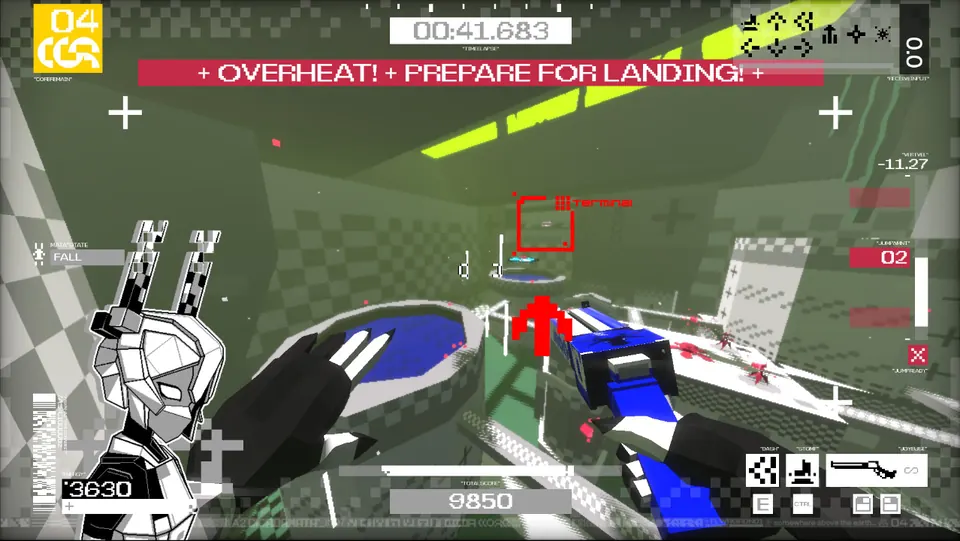
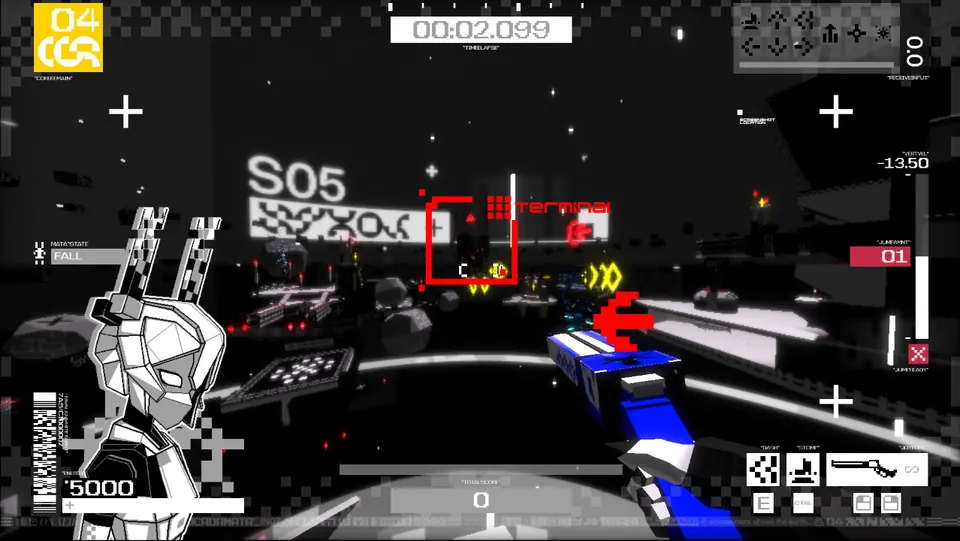
The first terminal in DEADZONE is at the L bracket platforms. From the sphere start, get onto the lower L, because that is where it is reachable from. The terminal is on the wall of the higher L, the one that hangs down.
SPHERE 5-2 PEREGRINE
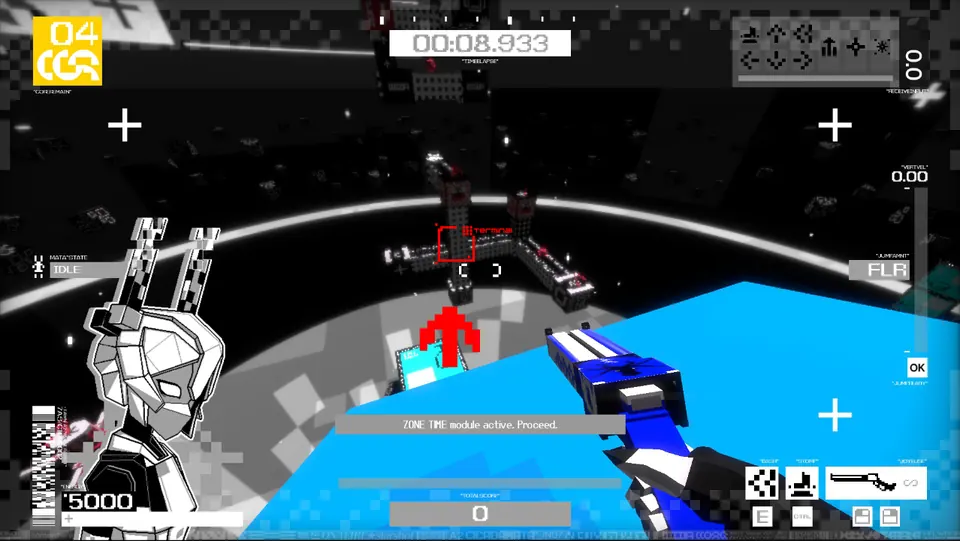
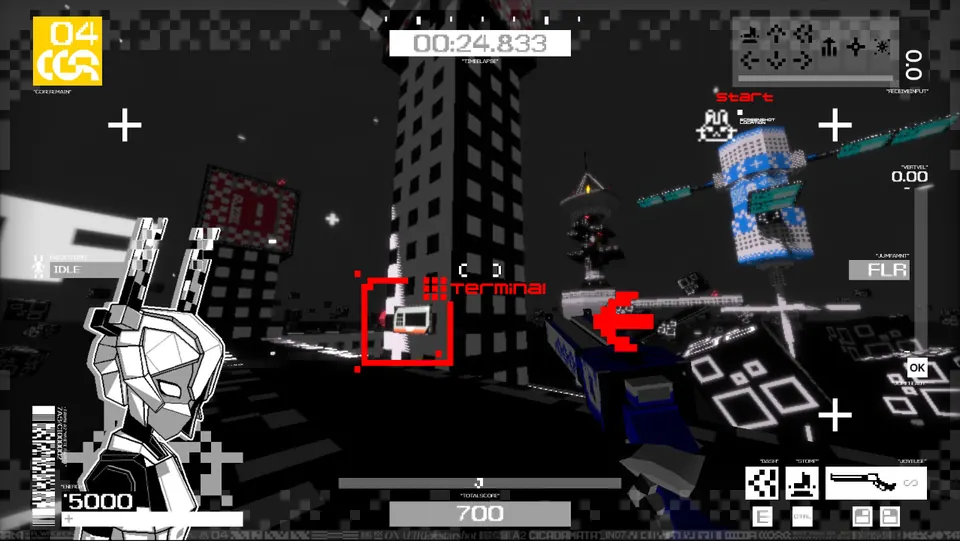
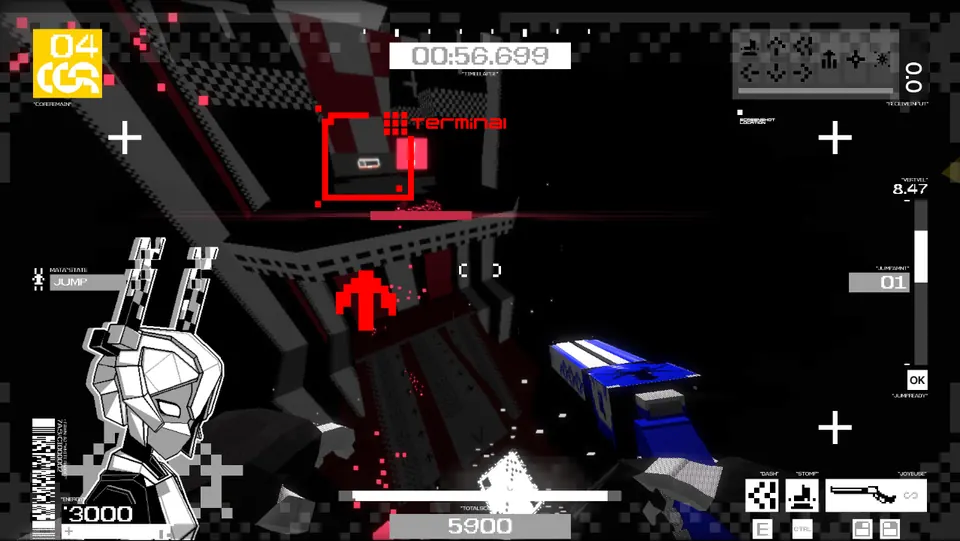
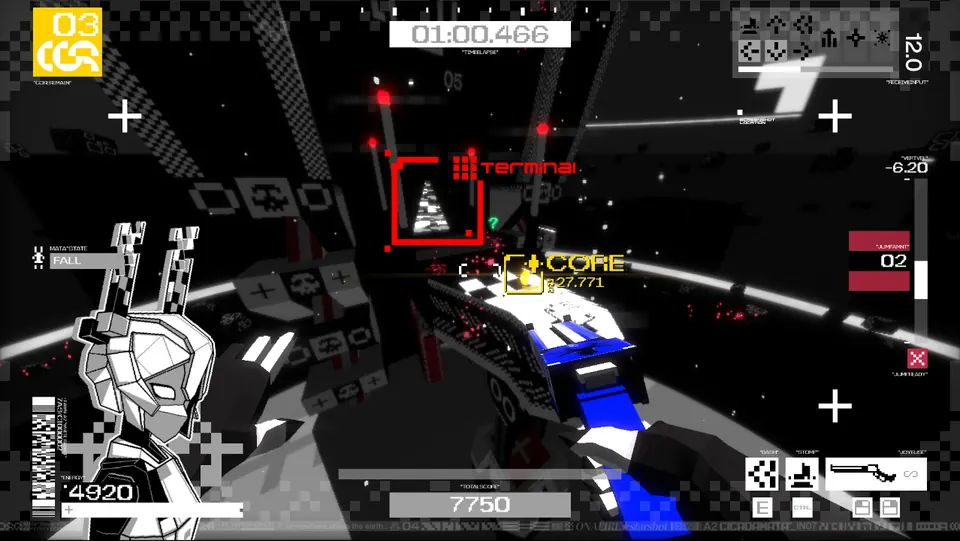
From the sphere start, head into the north-most tower and climb to the top floor. The terminal is against the wall up there.
SPHERE 5-3 MARATHON
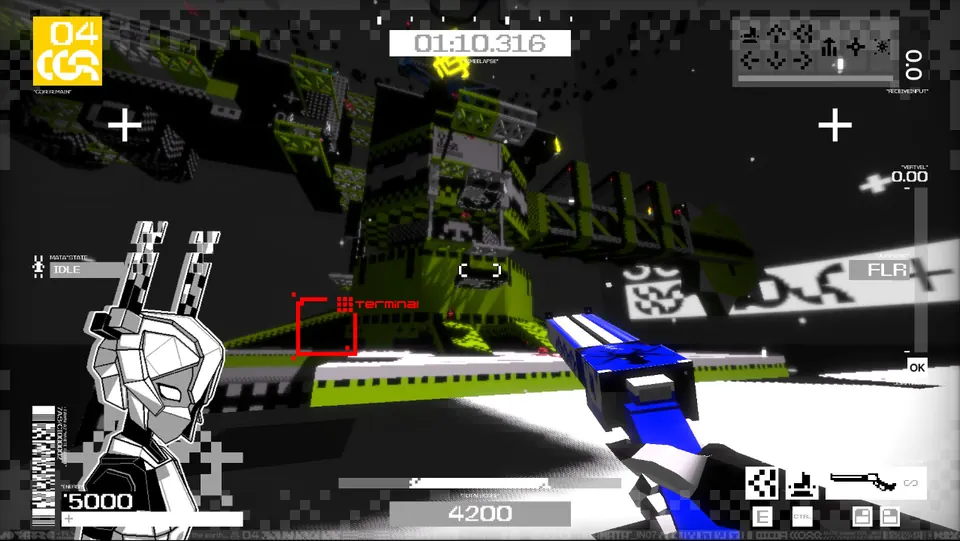
Once you reach the green tower, go left. The terminal is between its two feet.
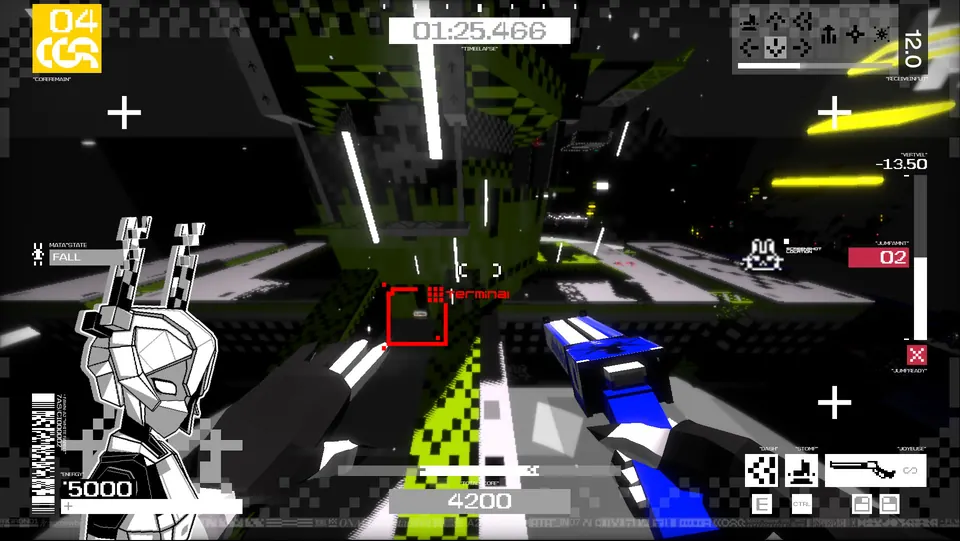
SPHERE 6-1 ONEMORE
The first terminal in ENCORE is in the arena. From the entrance, aim for the east-most set of bleachers: the terminal is in the back-left corner, on the north-facing wall.
SPHERE 6-2 HALCYON
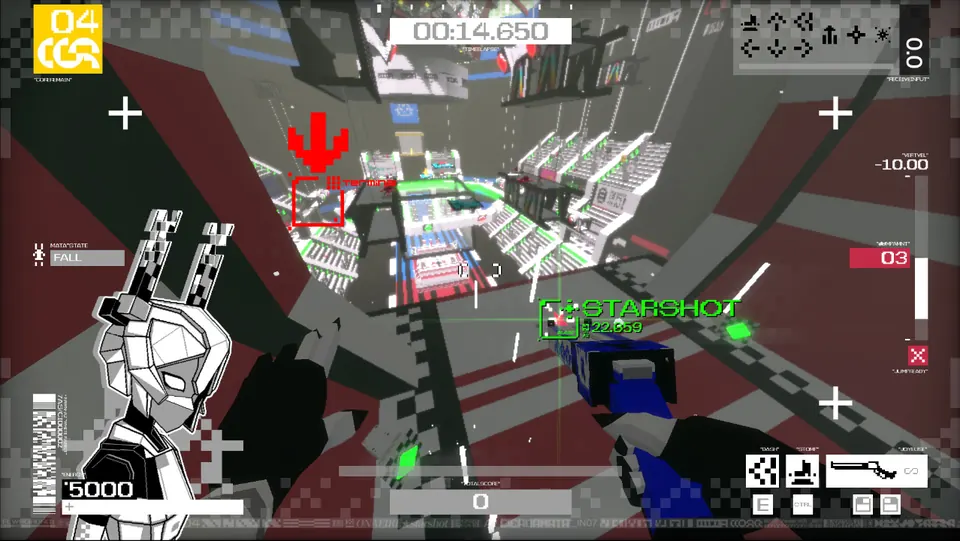
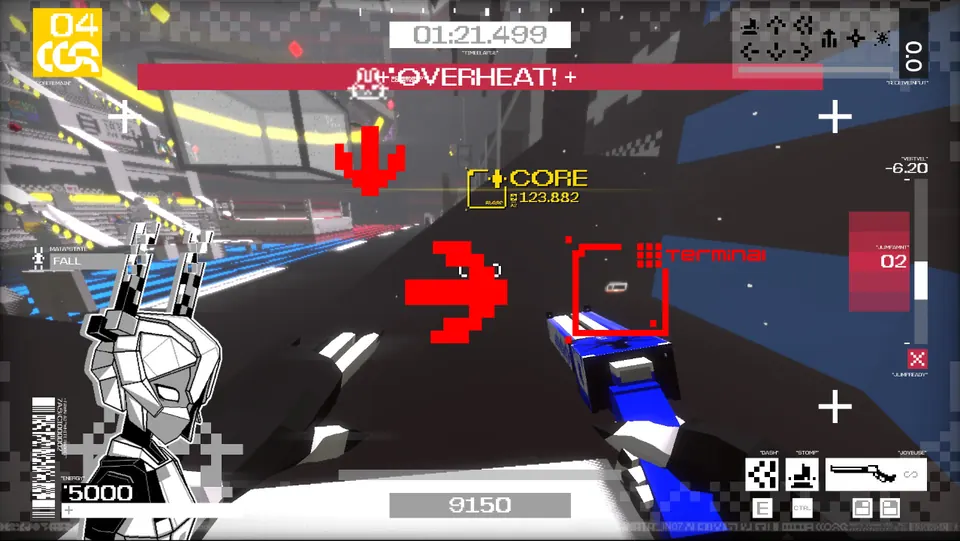
The Wall is a row of tall columns. Facing it, the terminal is at the base of the rightmost column, at floor level rather than up on the structure.
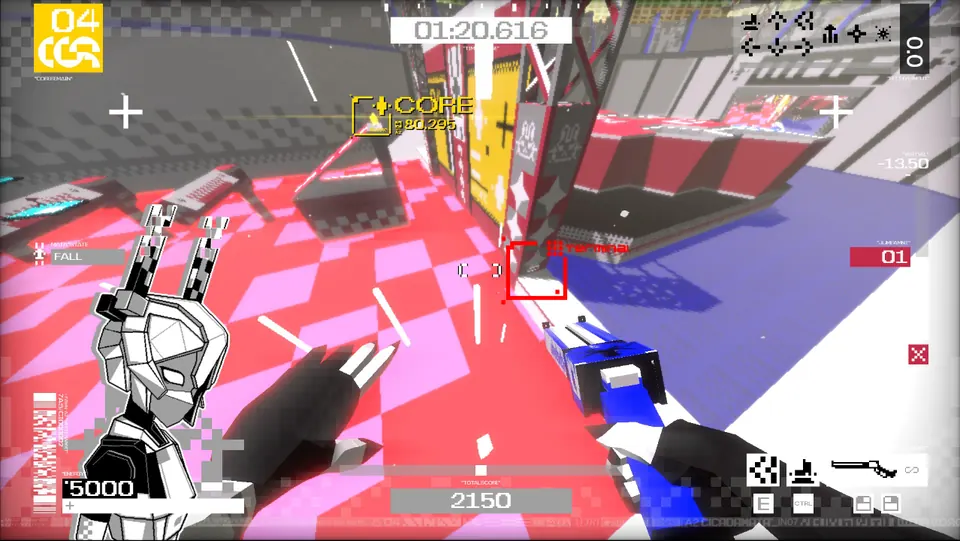
SPHERE 6-3 MARCH
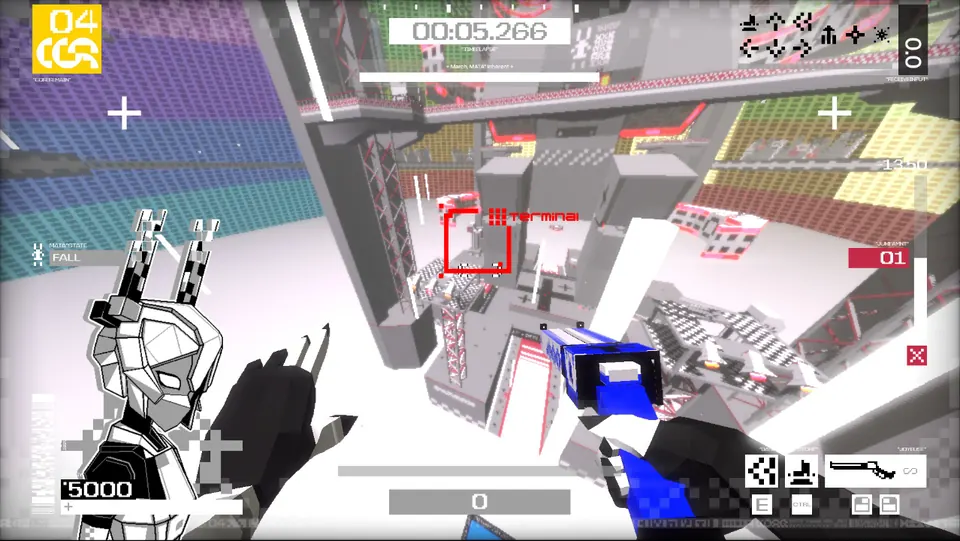
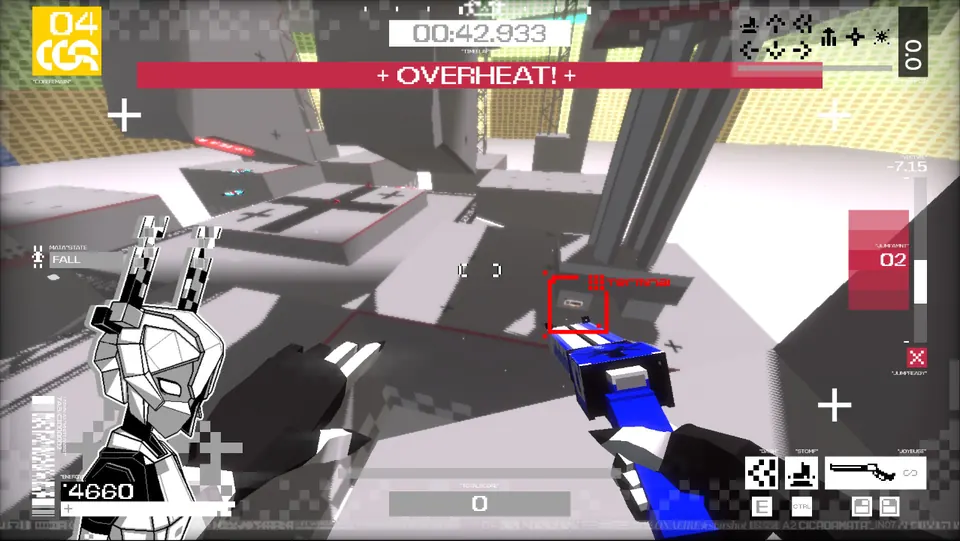
From the sphere start, cross to the north-east corner of the launch platform. The terminal is on the north-facing wall, right at the base of the crane.
More CICADAMATA" guides
-
achievementsCICADAMATA: All Achievements Guide
How to unlock all 32 CICADAMATA achievements, including story clears, gameplay challenges, level milestones, Sphere Rushes, and secrets.
Published September 15, 2026
-
CICADAMATACICADAMATA: How to Decode CCDA Text
How to decode CICADAMATA's CCDA circle and box typefaces, read Dotsies, scan barcodes, and handle omitted vowels or rotated text.
Published September 10, 2026
-
strategyCICADAMATA: Esperia Rush and + FOR AEGIS Guide
How to clear the Esperia Sphere Rush in CICADAMATA for the + FOR AEGIS achievement, with the Esper damage and drag numbers.
Published September 3, 2026
-
farmingCICADAMATA: How to Farm Points for DMND
How to farm points in CICADAMATA to reach DMND rank, with what every action is worth and the scoring routes for all seven enemy types.
Checked October 9, 2026