The Cabin Game: 10 Event Walkthroughs
Five totems carried to the ritual altar. Four Clover Cards turned over. Every light in the cabin switched off. That is the shape of an Event Card in The Cabin Game: one job handed to the table, and something working against you while you do it.
If you are mid-Event and need the answer now, this is it:
| Event | What finishes it |
|---|---|
| Cutting Corners | Survive the demon’s instructions. What actually ends it is never stated |
| The Attic | One player at a time: five totems placed at the altar, ritual candles lit |
| Clovers of Doom | Four Clover Cards revealed between the whole group |
| The Tall Man | Every light in the cabin switched off |
| Red Balloons | Keep popping balloons until the gold one appears, then pop that |
| The Knight | Statues moved until their rooms match the layout on the dining table |
| Feeling Small? | Ten toys fed to the toy train, each matching the shape it is asking for |
| Musical Rooms | The popcorn bucket filled to the top |
| Sick of Being Dead | Medicine bottles flushed until the counter on the toilet reads zero |
| The Basement | Every breaker box repaired, then every survivor sat back down at the table |
Everything below spoils the Events and their solutions. If you would rather work them out cold, come back when one of them has you stuck.
The Cabin Game is in Early Access and the wording on some Event Cards has already changed, so treat this as how the Events behave at the time of writing. Ten Events are covered here, which is not necessarily every Event in the game.
Cutting Corners
Cutting Corners is a delayed Event. The dangerous part does not begin when the card is played.
A man appears standing in one of the cabin’s corners, and normal turns carry on for a while with him just standing there. A few turns later he turns around. That is the demon arriving, and you will be prompted to get to a corner fast.
Pick a clear corner formed by two walls, push as far into it as you can, and face directly at it. Then wait for the demon’s instruction to appear across the top of the screen.
The game has to accept where you are standing as a corner. A nook made by furniture, the gap in front of a sofa for instance, may not register at all, so use a plain unobstructed wall corner whenever there is one available.
The instruction is a condition about the cabin, the game table or the current game, phrased as an “only turn around if” line. Work out whether it is true of the game you are actually in. If it applies, turn around. If it does not, keep facing the corner.
Three things get you caught:
- Not reaching a valid corner in time.
- Standing in one the game refuses to count.
- Reading the condition wrongly.
Anyone caught is taken to The Cellar, which is where the game puts you once you are out of an Event. The players still standing carry on following the demon’s instructions until the Event completes.
What completing it consists of is the one thing this Event does not tell you. There is no stated number of instructions to get through and no stated signal that the demon is satisfied. Keep answering the conditions correctly and it does end, but do not go looking for a counter, because there is not one.
The Attic
Only one player is allowed in the attic at a time, so this Event is done alone.
A ladder appears somewhere inside the cabin, and climbing it takes you into the attic. Your lantern is disabled for the whole Event. A candle is your light source instead.
Five totems are hidden up there. They give off a faint pulsing glow in the dark, which is the thing you are scanning for rather than their shape. Left Click picks a totem up and Right Click sets it down.
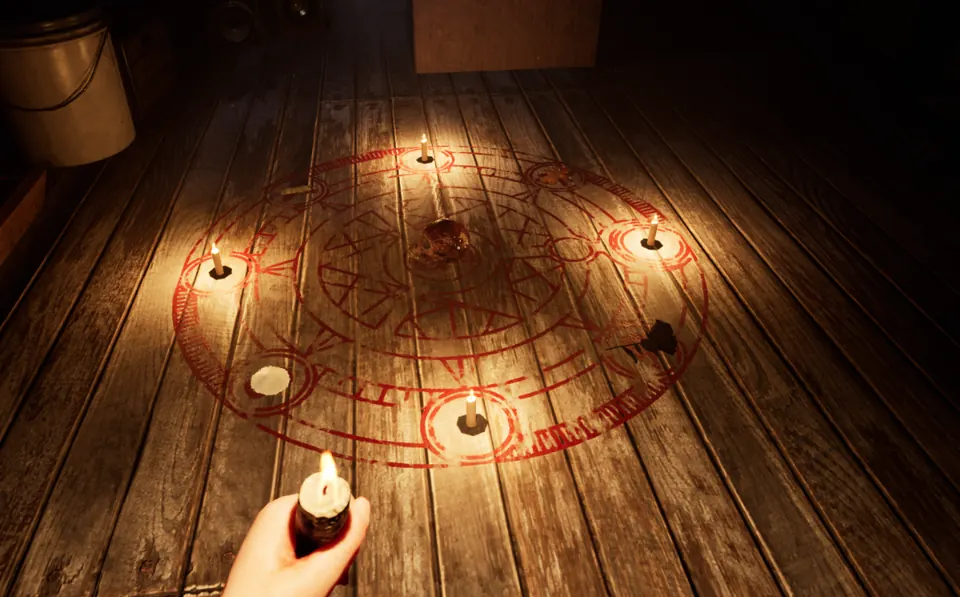
All five have to end up at the ritual altar, and this is the part worth being clear about: the Event never states what makes one spot around the circle right and another wrong. It asks you to find the totems and get them to the altar. So do not stand there hunting for a marked position for each one. Bring each totem to the circle and set it down.
Use your candle to light the ritual candles standing around the altar.
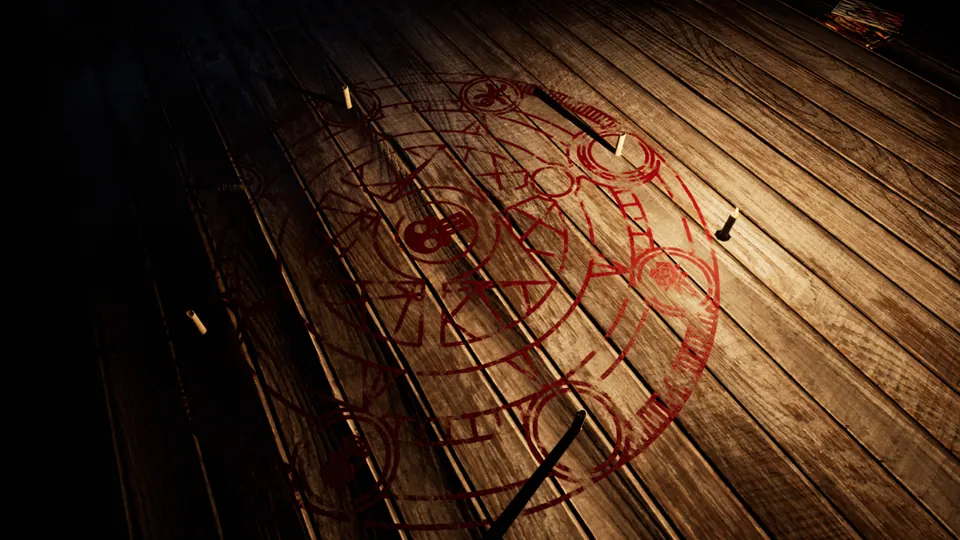
The totems and the candles are not a sequence, and you can do either half first. With all five delivered and the ritual candles burning, the Event is finished and you are free to climb back down.
If something catches you up there: keep your eyes off it, let go of your candle, get away into the dark and find somewhere to hide.
Clovers of Doom
Clovers of Doom is a gambling Event played at the table. The group has to reveal four Clover Cards between them, and the Doom Cards are what make revealing one a gamble.
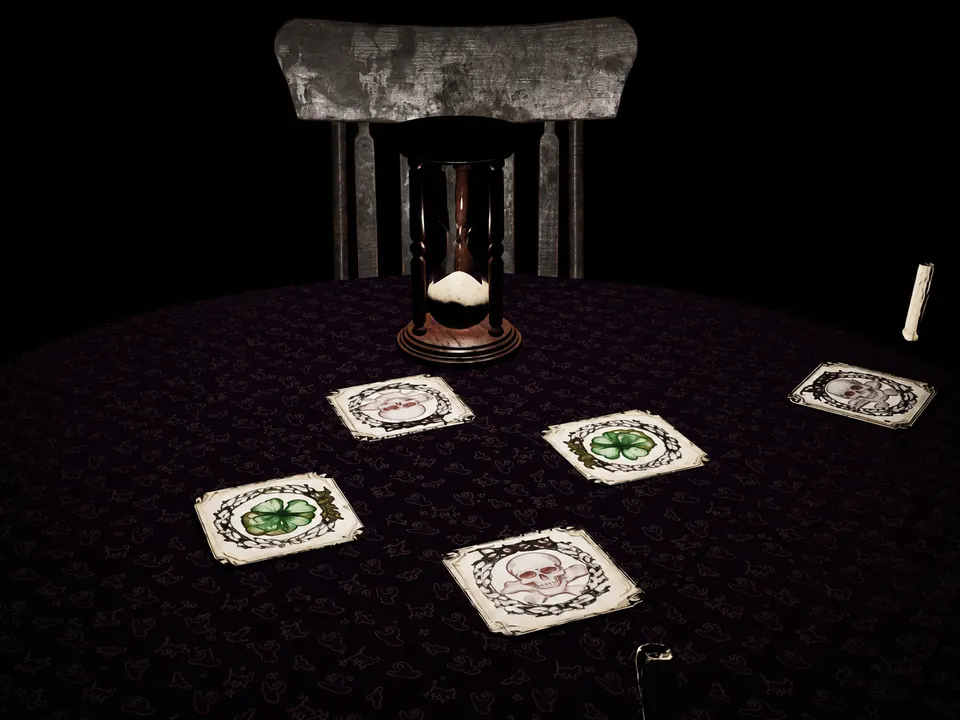
Each round opens with that round’s cards laid out face up. Look at them and commit them to memory, because they then turn over, shuffle and get dealt back out, and after that there is no way to tell which one is sitting in front of you.
| Card | What revealing it does |
|---|---|
| Clover | Moves to the centre and counts toward the group’s total of four |
| Doom | Stays at your seat and counts against you alone |
| Fish | Nothing at all |
An hourglass appears and every player gets a lit candle in front of them. Clicking your candle to blow it out is how you reveal your card. Doing nothing and letting the timer run out is a perfectly legal move, and often the right one, but do not dither if you intend to flip, because the decision is on a clock.
The shared and individual split is the part that catches people out. Clovers belong to the whole table. Doom Cards belong only to the player who turned them over, and a third one takes that player out of the Event with no way back in. The rest of the group keeps working toward the four Clovers without them.
Flip one player at a time rather than everyone at once. Because you saw the cards before they were shuffled, every reveal tells the table more about what is still out there.
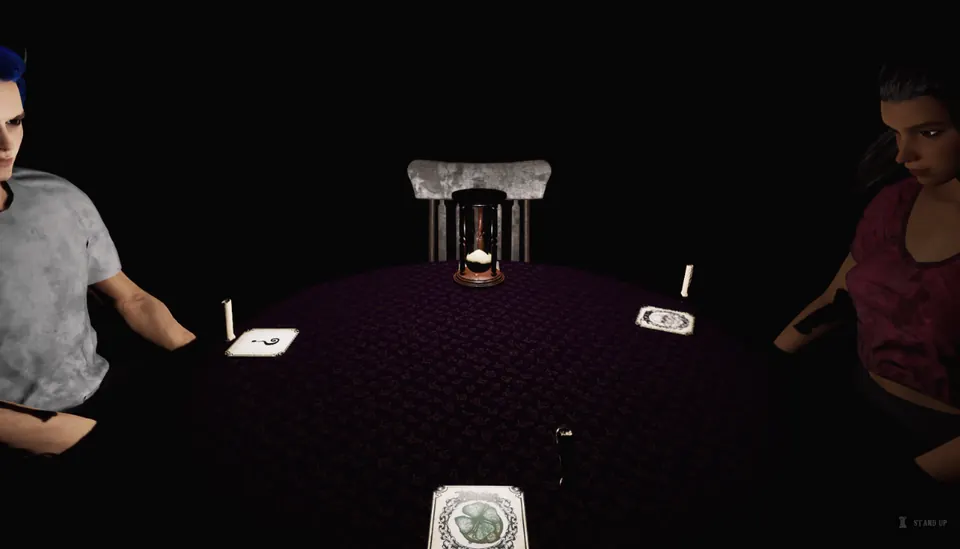
Say three players are in a round that contained a single Clover. The first reveal comes up Doom. The second turns over that Clover. The third player now has nothing left to win that round, so letting the timer expire costs nothing and risks nothing.
Before you blow your candle out, run down this list:
- How many Clovers were on the table this round?
- Have any of them already been turned over?
- How many Doom Cards were in the mix?
- How many Doom Cards are already sitting at your seat?
- Is there actually anything left to gain?
Quite often the strongest play is not to flip at all and to wait for the next round.
The Tall Man
The Tall Man is a short Event with one instruction. Work through the rooms hitting light switches until no room in the cabin is still lit.
Keep your own lantern off while you do it, because your light helps him find you, and stay out of his reach until the last switch is flipped.
Red Balloons
Red Balloons plunges the cabin into near total darkness and starts spawning balloons.
Only one balloon exists at a time, so you are always hunting a single target. A music box sound plays near it and a small light picks it out of the dark. Pop it and the next one appears somewhere else in the cabin.
At some point the creature becomes active and starts roaming, and from then on you are popping balloons while keeping out of its way. Eventually a gold balloon turns up in place of a red one, and popping the gold one completes the Event.
There is no confirmed number of red balloons before the gold one appears, so treat it as an open-ended search rather than a countdown.
Once the creature is awake, noise is what gives you away.
| What you are doing | How much noise you make |
|---|---|
| Crouching | Silent |
| Walking instead of running | Usually quiet enough |
| Crossing carpet | Muffled footsteps |
| Popping a balloon | The loudest thing in the cabin |
It wanders the cabin on its own and goes to look at sounds it hears. Stay quiet and you can often get surprisingly close to it without being noticed at all.
If it does start chasing you, buy distance first. Run, and use doors, connected rooms and any loop in your cabin layout to break the chase. Once you have a gap, crouch and move away in silence. That often loses it, though not always, so stay careful for a while afterwards.
The Knight
The Knight is the puzzle Event, and the reason it feels awkward is that you and the Knight are both restricted to one room per turn.
The dining table shows an arrangement of statues, and your task is to get every statue into the room it occupies on that layout. Which way a statue faces at the end does not matter. Only the room it is standing in has to match.
| Cabin lights | Whose turn |
|---|---|
| On | Yours. You may move into one neighbouring room |
| Out | The Knight’s. He moves one room |
The lights swap over fairly quickly, so pick your next room before the change rather than deciding once it happens. There is no sprinting through three rooms to check the table, nudge a statue and get back again.
The rule that ends your Event is that you cannot share a room with the Knight. The game will physically let you walk into his room or stand in one he is entering, and either of those eliminates you. So do not enter the room he is currently in, and do not stay in a room he is moving into. He does not appear to follow a fixed loop around the cabin, so keep watching where he actually goes instead of predicting it.
Moving the statues works by rotation. A statue walks into whichever room it is facing, so turn it toward the doorway you want it to go through.
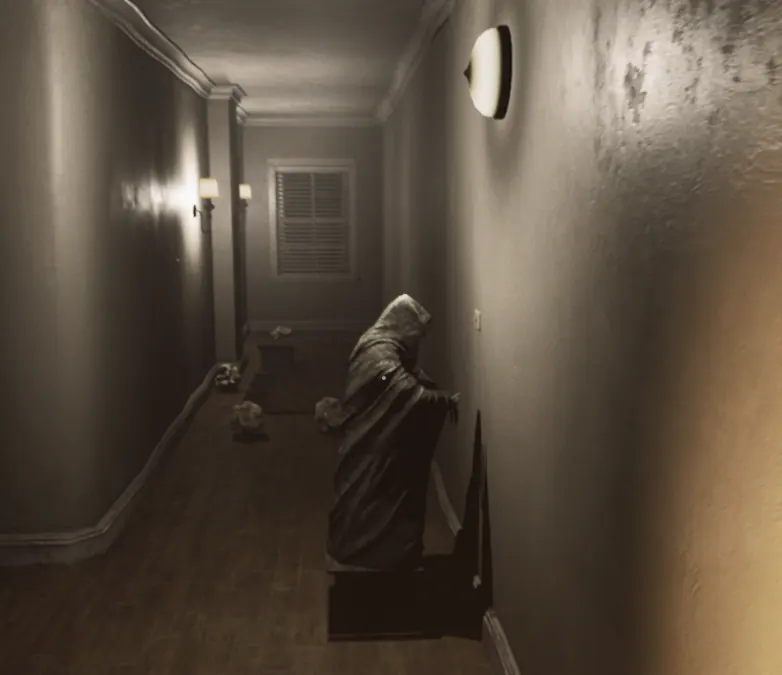
Two statues cannot occupy the same room. Once a statue is standing where you need it, rotate it so it faces no doorway or exit and it will stay put, which matters more and more as the statues start landing in the rooms they belong in.
Every room has a pedestal, and a statue heading into a room appears on that room’s pedestal, which is a useful way to keep track of where they are all going.
The single thing that decides how long this Event takes is how much of the table layout you memorise before you walk away from it. Every trip back to the dining table to re-read the arrangement burns whole turns, and doing that repeatedly is what makes the Event drag. Once you know the rules and the route, it actually moves along fairly quickly.
Feeling Small?
Feeling Small? asks for ten toys, and the toy train decides which ones count.
The cabin lights go out and the place is left with only a faint blue moonlit glow. A large toy train appears with a shape displayed on it, and the only toy that counts is one matching that shape.
- Check which shape the train is currently asking for.
- Search the cabin for a toy with that shape.
- Bring it back and place it into the train.
- Listen for the short “toot toot” whistle that confirms the match.
- Check the train again, because the shape may have changed, or repeated.
- Keep going until ten toys are in.
After the tenth correct toy the train’s whistle is noticeably different from the confirmation one. That different whistle is the Event ending.
There may not be many toys around at first. As the Event runs, the creature travels along the ceiling and lets more toys fall into the rooms below, which cuts both ways: it puts more toys on the floor for you, and it means the creature is probably above that spot. Take the toys, but do not stand under a patch that is still falling.
You do not need to spend your time looking up. Search the floor and let the falling toys tell you where it is.
Seeing anything down there is genuinely difficult, especially looking at the ground for small objects. Short bursts of the lantern to identify what is in front of you, then straight back off, is the compromise that works, because your light is also what makes it easier for the creature to find you.
If it drops on you from the ceiling it can grab you and take you out of the Event. It can also chase, and the music changing is how you know one has started. The thing to get right here is your lantern: it goes off first, and you keep moving carefully until the chase ends. Seeing it nearby is not automatically a chase either. With the lantern off it will often just carry on wandering.
Musical Rooms
Musical Rooms runs in two alternating phases, and the music tells you which one you are in.
| Music | What to do |
|---|---|
| Playing | Lights are on. Collect popcorn and carry it to the bucket |
| Stopped | The cabin goes dark. Get inside the one glowing room before you are caught |
The bucket is the large one in the centre starting room, and the popcorn appears throughout the other rooms.
The room you are looking for keeps a pink or purple glow once the lights drop. Nothing in the Event names what comes for you out in the dark rooms, so the rule you are playing to is the simple one: be inside the glowing room while the music is stopped, or be caught outside it. Once the music starts up again you can leave and go back to collecting.
This is the Event where the way you built your cabin shows. A cabin made of long dead ends can leave the glowing room impossible to reach in time, and losing this Event to nothing but the layout is entirely possible. Loops and multiple routes between rooms give you more than one way in, and they make the whole thing considerably easier.
Keep alternating between the two phases until the popcorn bucket is completely full. That is the Event finished, and normal gameplay resumes.
Sick of Being Dead
Sick of Being Dead needs a warning before the walkthrough. It applies a swaying, blurred vision effect that comes and goes for the whole Event.
Players prone to motion sickness have found this one uncomfortable. If that includes you, dropping your mouse sensitivity to around 25 before the Event is worth trying. It will not solve it for everybody, but it takes a lot of the swaying out.
The objective is to find medicine bottles around the cabin and flush them away, while the sick girl wanders the house.
- Search cupboards, drawers and other searchable spots for a medicine bottle.
- Carry it through to the bathroom.
- Drop the bottle in the toilet.
- Flush.
- Go and find the next one.
The number painted on the toilet is your counter. It tells you how many bottles are still wanted, and it ticks down by one each time you flush one away. When it reaches zero the Event is done and normal gameplay resumes.
How many bottles the Event asks for is not a fixed figure. It appears to scale with the number of players and the difficulty, so do not expect the same total every run.
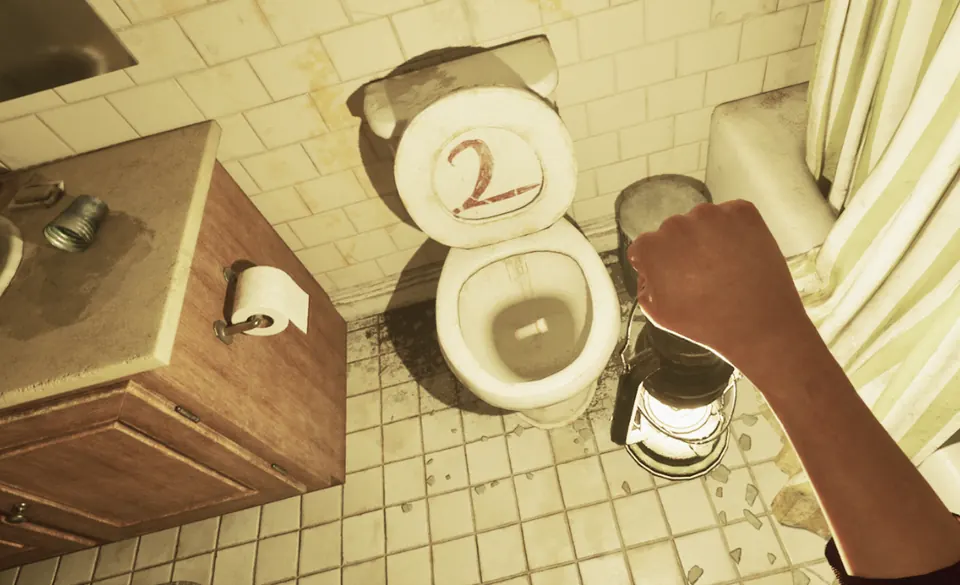
The sick girl is the only threat in this Event. Be especially careful when she starts vomiting, because being hit by it eliminates you and sends you to The Cellar. Keep some distance while you are searching, and avoid working in a room with no easy way out.
The Basement
The Basement takes everyone down to the floor below to repair breaker boxes while Sparky patrols.
Breaker boxes appear along the walls throughout the area. One that still needs work has a red light above it, and both that light and the progress indicator turn green once it is done.
Repairing one is a matter of walking up to it, interacting, and then simply staying there while the progress bar fills. There is no minigame and no second action, which is exactly what makes it dangerous: you are stationary for a while, so watch your surroundings rather than the bar.
The number of breakers appears to scale with player count and difficulty.
Sparky roams the halls the entire time. His own Event Card names the danger as his light, so treat the light he throws as the thing that must not reach you. Getting too close to him will also eliminate you, so keep track of where he is both while you are pinned at a breaker and while you are moving between them.
Some spots look as though they are meant for hiding, but they do not all seem reliable. Distance and knowing his position are what actually keep you alive down there.
Repairing the final breaker does not end the Event. Every player still alive has to return to the game table and sit down, and only once everyone is seated does the Event end and normal gameplay resume.
More the cabin game guides
-
beginnerThe Cabin Game: How to Play and Win
How to play The Cabin Game, from the first turn at the table to the escape at midnight, including how the clue system points at the exit room.
Published September 7, 2026