BeaterCore: Map Editor Guide
Open Map Editor from the main menu, create or load a map, then press F10 once the map opens. From there, use the top bar for saving and scene-wide settings, and use the left toolbar to place objects, shape terrain, add scenery, and build the route that makes a race work.
For a circuit, the essential order is simple: place spawn points and correctly oriented checkpoints, convert the first checkpoint after the spawn into the finish, then draw a closed path through every checkpoint. The sections below explain that setup and the remaining documented tools.
The map editor was not officially released when this information was recorded. Its menus and behavior may change. Specific limitations below apply to version 1.0.6.
How to Open the Map Editor
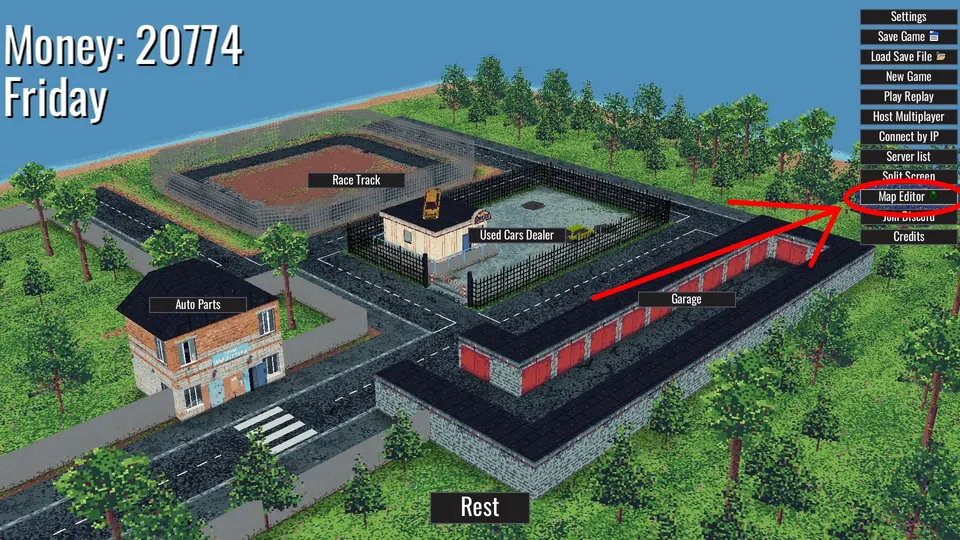
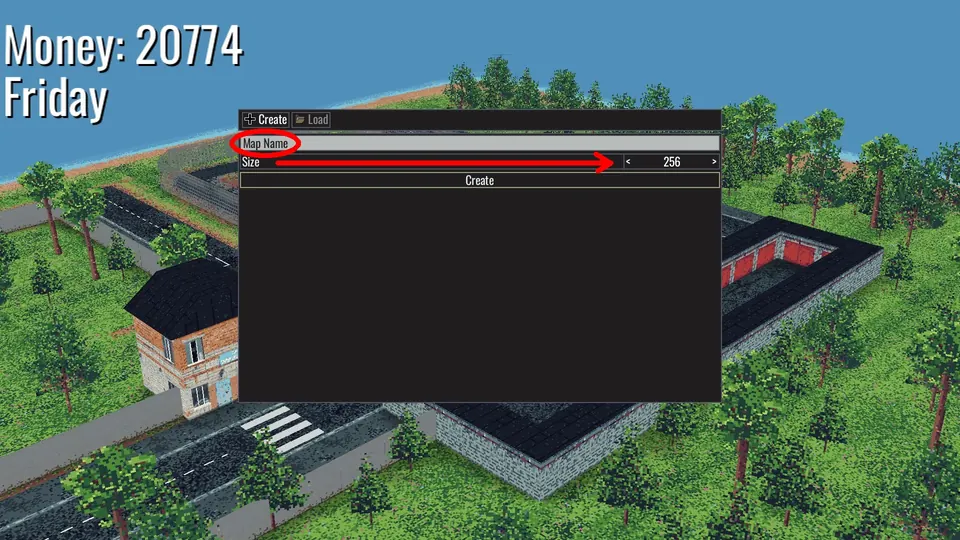
Select Map Editor from the menu. Choose Create to set up a new map. The creation screen lets you pick the map settings, but changing its size or name later requires editing files outside the editor.
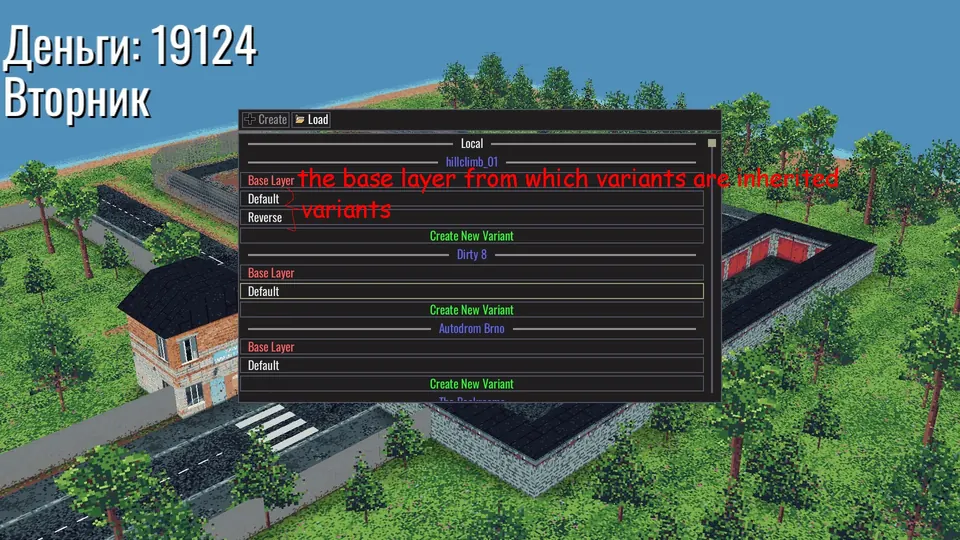
Choose Load when you want to edit an existing map. The loader can open maps downloaded from Steam Workshop, maps stored in local files, and maps included with the game.
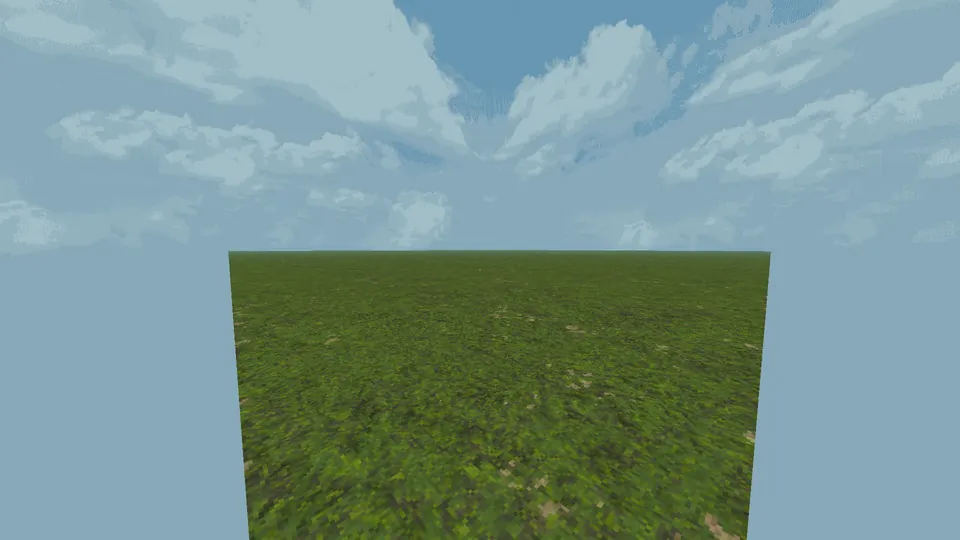
After a new map loads, you start in an open field. Press F10 to bring up the editor interface.
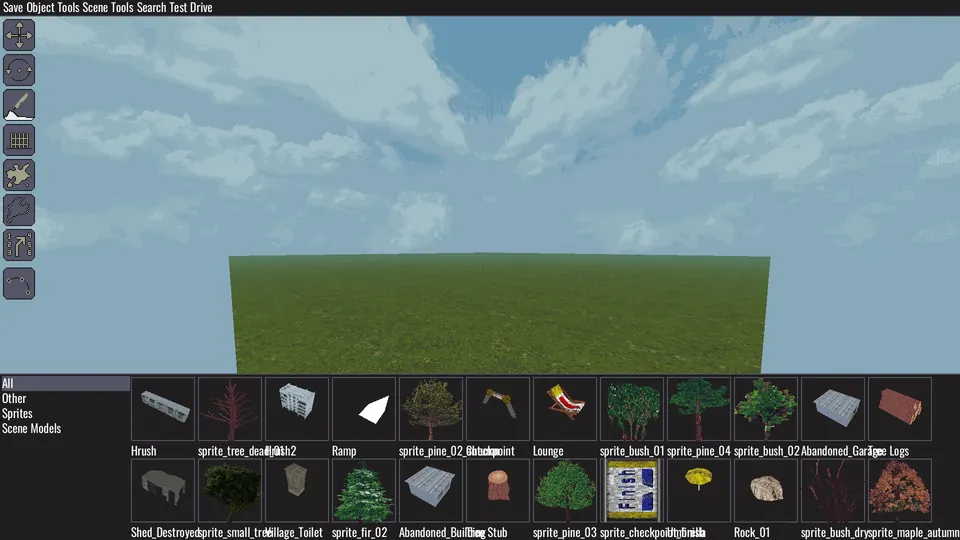
At the time of writing, F10 can open editor mode elsewhere in the game too. Treat that as current-build behavior rather than a permanent feature.
Camera and Basic Controls
Use the following controls while moving around the editor:
| Input | Action |
|---|---|
| Left mouse button | Select |
| Right mouse button | Rotate the camera |
| Mouse wheel | Move the camera, or adjust a tool when supported |
| WASD | Move |
| Shift | Move faster |
| Esc | Cancel or stop most active actions |
| Delete | Remove the selected item |
Esc is especially useful when a placement or terrain action is still active. The exact effect of Shift changes with some brushes, where it reverses the current action instead of accelerating movement.
Top Bar Buttons
The buttons across the top handle saving, selected-object options, scene-wide settings, search, and test driving. These are separate from the main creation tools on the left.

Save
Save writes the edited map state. If you change the base layer, the saved base layer changes. The same applies to alternate layers such as Alt1.
Object Tools
Object Tools acts on the selected object. It offers Convert to finish, which is required when setting up a circuit, and Add collision. Adding collision creates a collision area at the size chosen during creation and attaches it to the object.
Scene Tools
Scene Tools contains settings that affect the map rather than one selected object:
| Setting | What it changes |
|---|---|
| Custom fog | RGB color, transparency, and distance from the player |
| Clear tire tracks | Removes tracks left behind while testing under supported surface conditions |
| Raise ground by 5% | Raises the whole terrain level |
| Water | Water level and visibility |
The global ground raise is useful when you need room to carve potholes or other depressions. It has no one-click undo that lowers the whole map again, so lowering mistakes must be corrected manually.
Tire tracks can remain visible in the editor after a test drive, particularly when driving on the base layer. Use the clear-tracks button to remove all of them.
Search
The Search control appears to let you choose an item type and search that group by name. Its behavior was not confirmed in the available editor information, so do not rely on it as part of a required workflow.
Test Drive
Test Drive starts a one-lap race without bots. There was no confirmed normal return route from this test in the documented build, so you may need to restart the editor afterward.
Object Movement and Selection
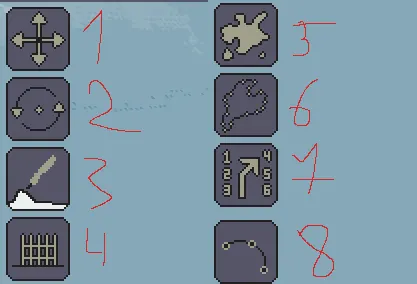
The first object tools open a scrollable object menu along the bottom of the screen. Pick an item there, then place it on the map.
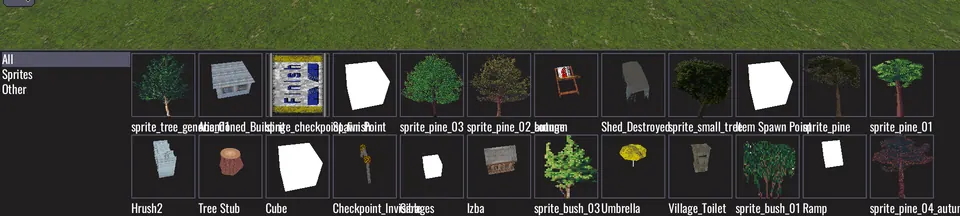
Before placing an object, press Q or E to turn it around the Y axis in 45-degree steps. While holding an object, press C to switch from movement to resizing.
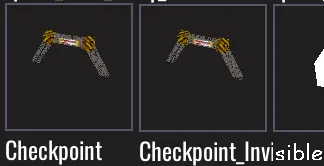
Checkpoints and spawn points are the two critical race objects. Place the spawn points first, then lay out the checkpoints in the direction racers should travel. Trees do not need to be placed individually because the toolbar has a dedicated tree brush.
Free Object Rotation
Use the rotation tool when 45-degree Y-axis steps are not enough. It rotates the selected object freely in any direction instead of locking the turn to that grid.
Brush Controls
The brush is the main terrain and scenery tool. The game lists its standard actions, while Shift activates the opposite action for most brushes. For example, a brush that adds or raises something can use Shift to remove or lower it.
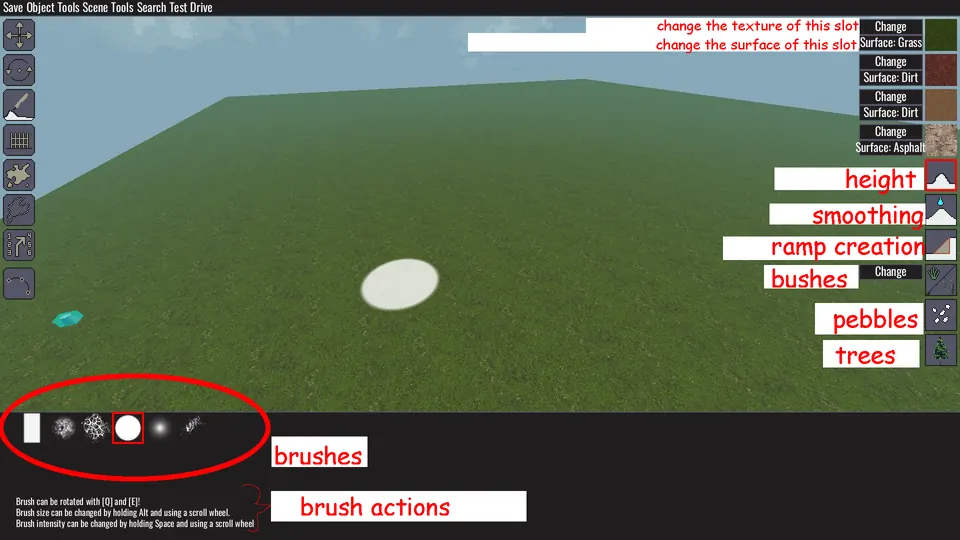
Brush intensity controls how strongly or how often the action is applied. Higher intensity produces more smoothing with the smoothing tool and places pebbles more densely with the pebble tool.
Landscape Slots
Each landscape slot has a texture and a surface type. A slot is shared by every area painted with it, so changing that slot updates all terrain where it was used. If a slot painted as ground is later changed to an asphalt texture, all terrain using that slot becomes asphalt in the editor.
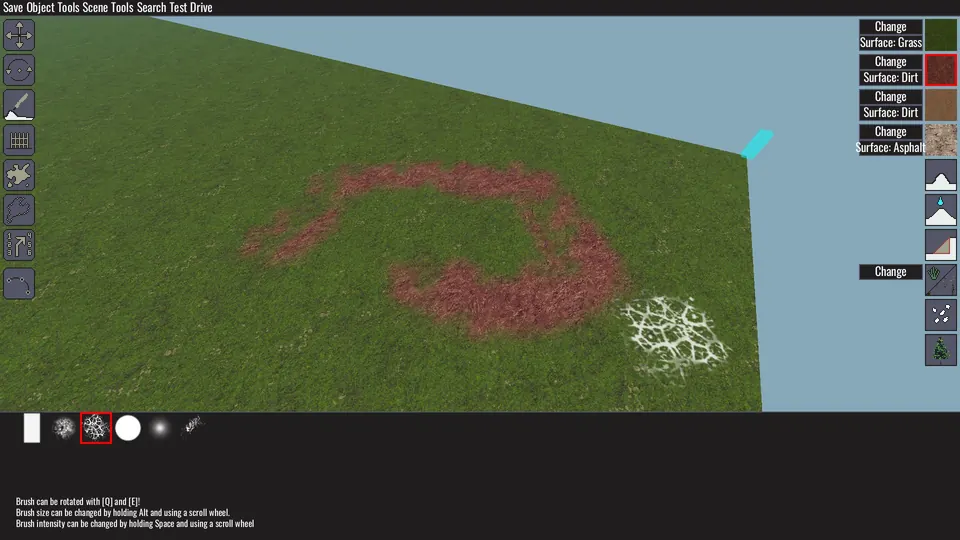
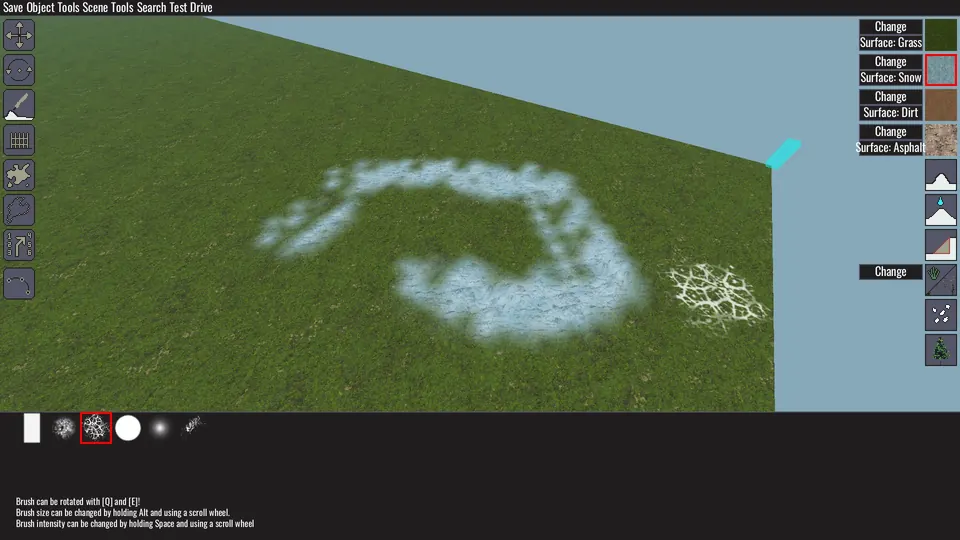
As of version 1.0.6, changed landscape-slot properties may appear correctly in the editor without carrying into the actual game. Check the result in a test before building a route around a surface-dependent effect.
Height Tool
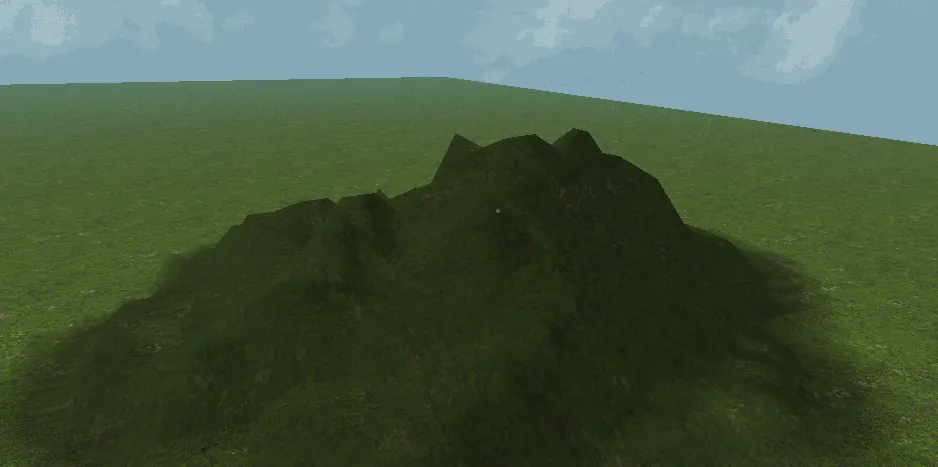
The Height brush raises terrain, or lowers it when you use the reverse action. Newly shaped ground can have sharp edges and uneven corners.
Smoothing Tool
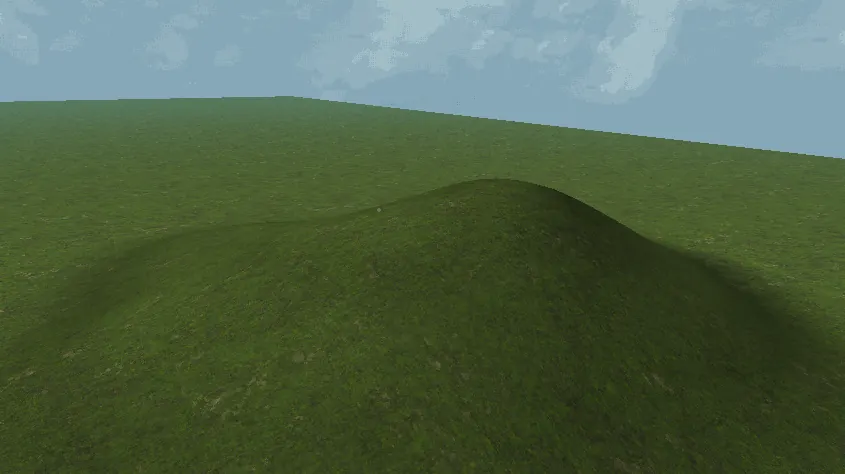
Run the Smoothing brush over those rough areas to soften the terrain. Use it after the Height brush when you want a rounded hill instead of an abrupt mound.
Ramp Creation
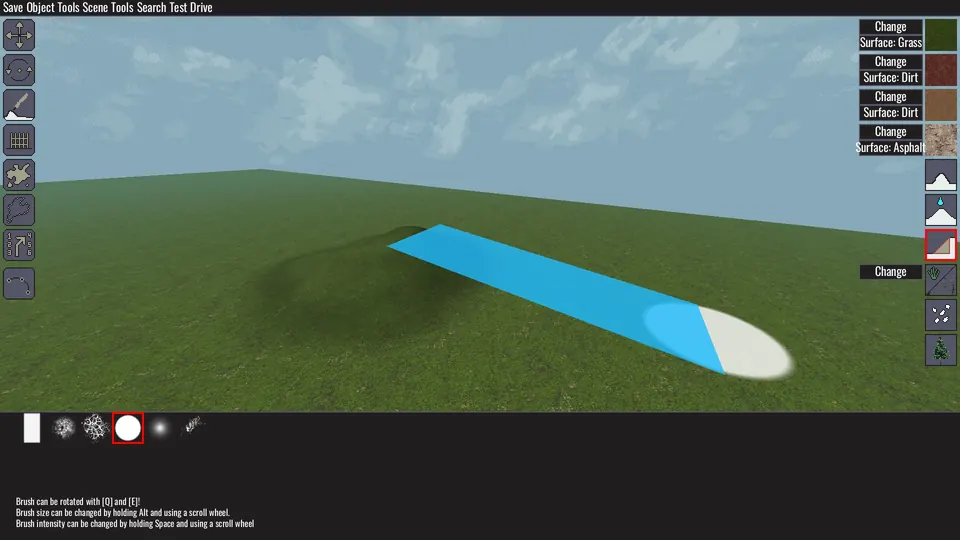
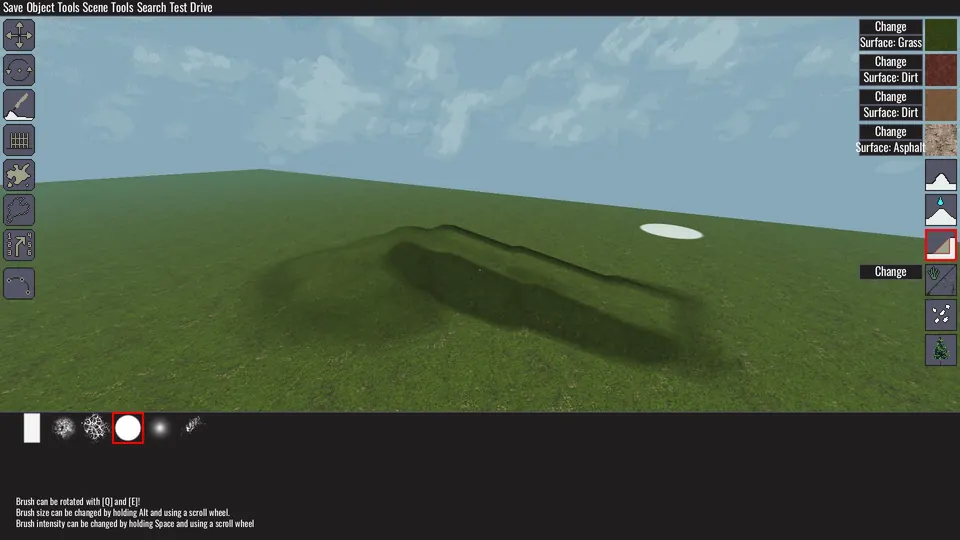
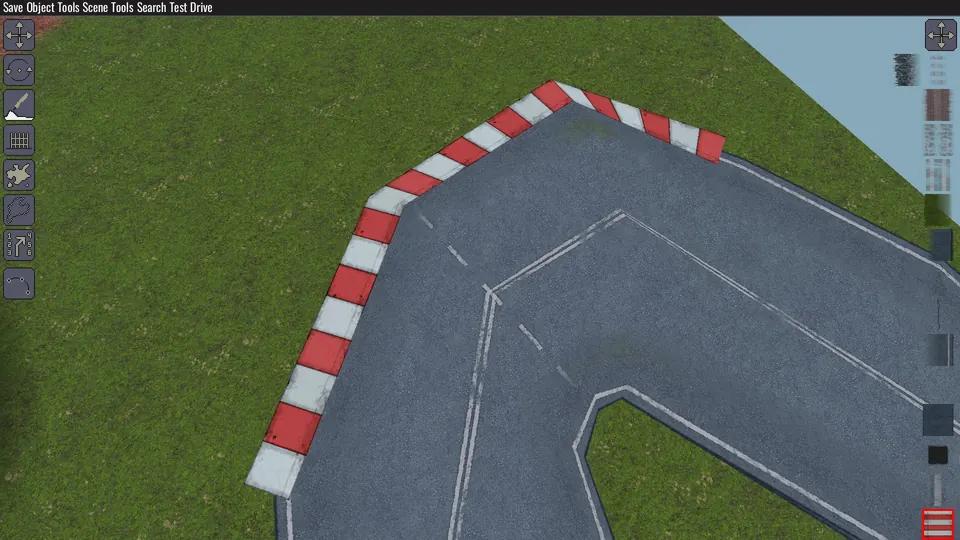
The ramp tool draws a strip of raised terrain or road between a start point and an end point. It can create a ramp, but it also works for laying a road along a chosen line.
Set the first point, keep the camera still, and place the end point. Rotating or moving the camera during this action can shift the starting point. Use the mouse wheel to change the ramp width.
Bushes
The bush brush places bushes across the terrain. Hold Shift with the same brush to delete them.
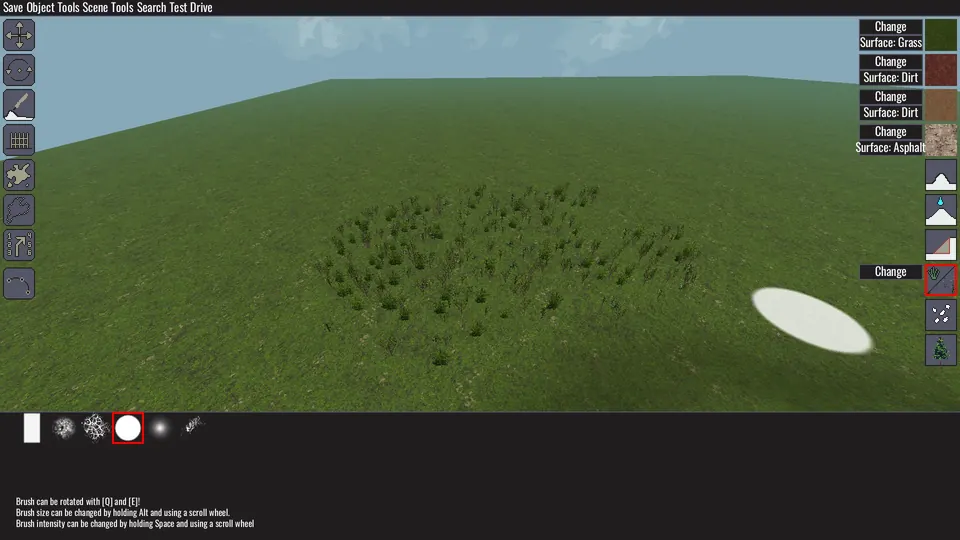
Use Change to choose the bush type. This choice applies globally, which means one map cannot use multiple bush types through this tool.
Pebbles
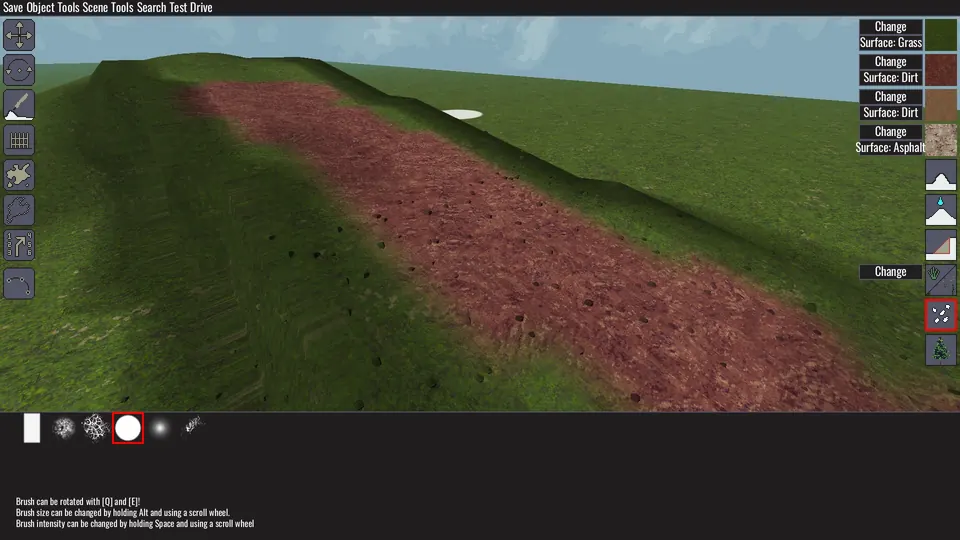
The pebble brush works much like the bush brush, but it does not offer multiple pebble types. Pebbles automatically take on the color of the landscape below them. They appear green on grass and brown on dirt.
Trees
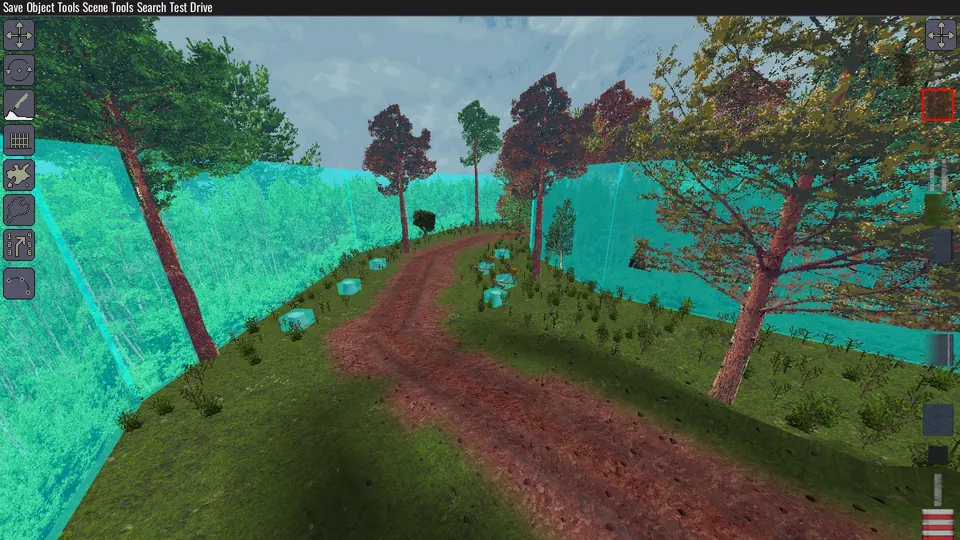
Select the tree tool to display the loaded tree sprites above the brush controls. Scroll through that list with the mouse wheel, choose the sprites you want, then paint trees onto the map.
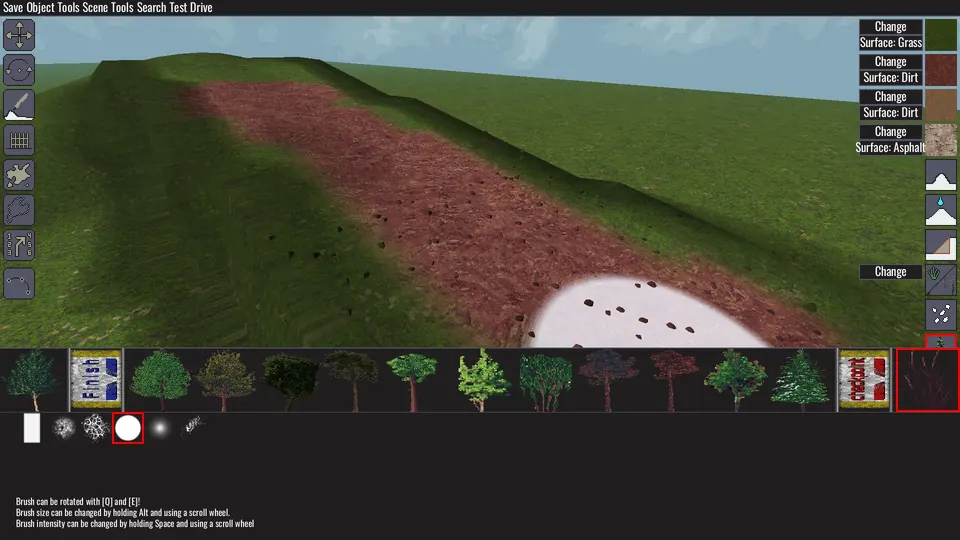
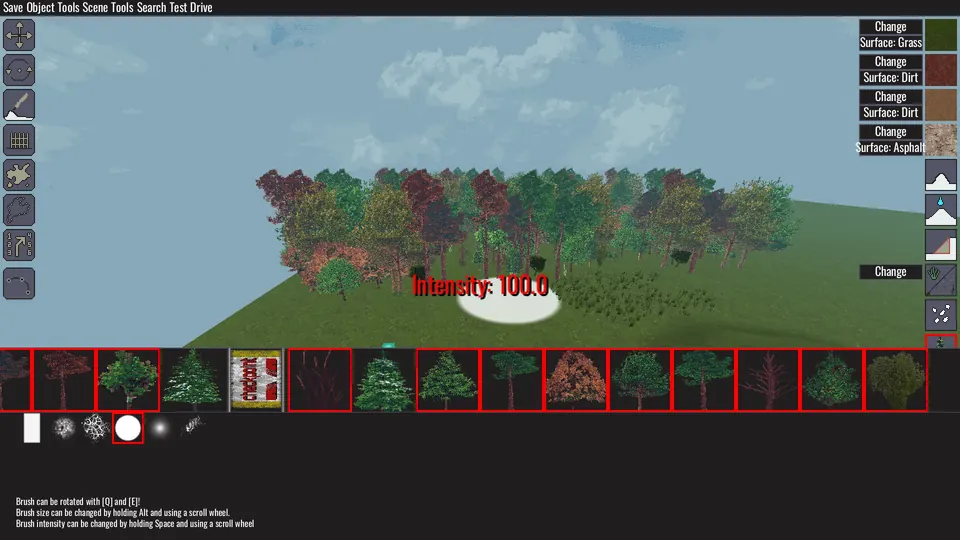
Intensity matters when planting a forest because it controls how often trees are placed. Leave snowy winter sprites out of the selection when the rest of the landscape is meant to look like a normal green forest.
Fences, Walls, and Barriers
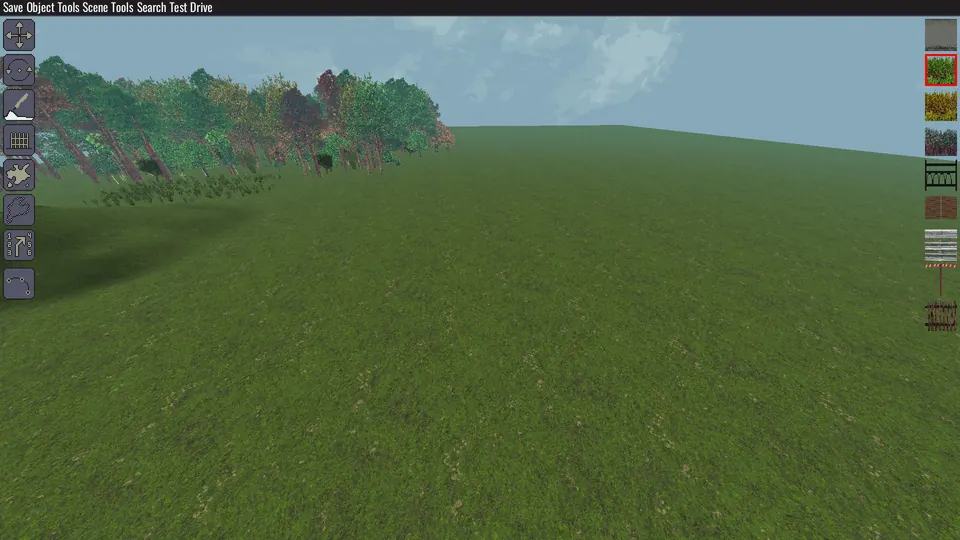
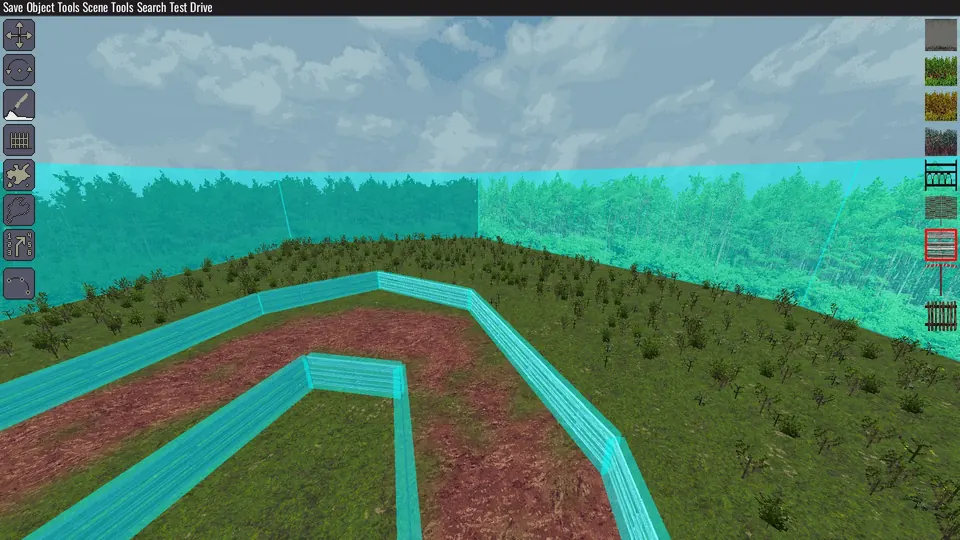
The fence tool draws fences, walls, or simple barriers. Choose the wall type from the options on the right, then place it along the desired boundary.
Decals
Decals are repeating visual patterns placed over the landscape. They change appearance only and do not add physical surface properties.
Checkpoint Setup for a Circuit
A functional race needs spawn points, correctly oriented checkpoints, and a path. Before drawing the path, confirm that every checkpoint faces the direction of travel and that the spawn points are already on the map.
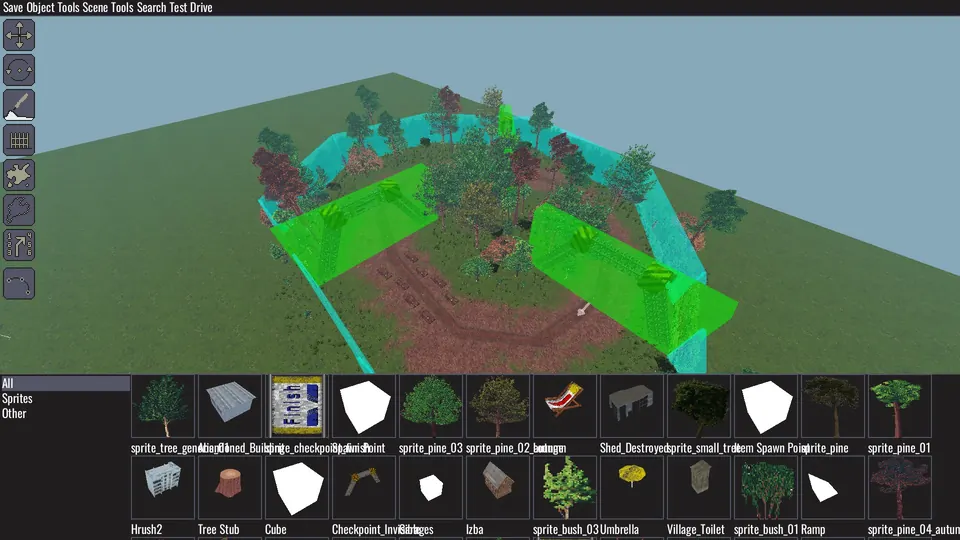
Select the first checkpoint after the spawn points. Open Object Tools, then choose Convert to finish.
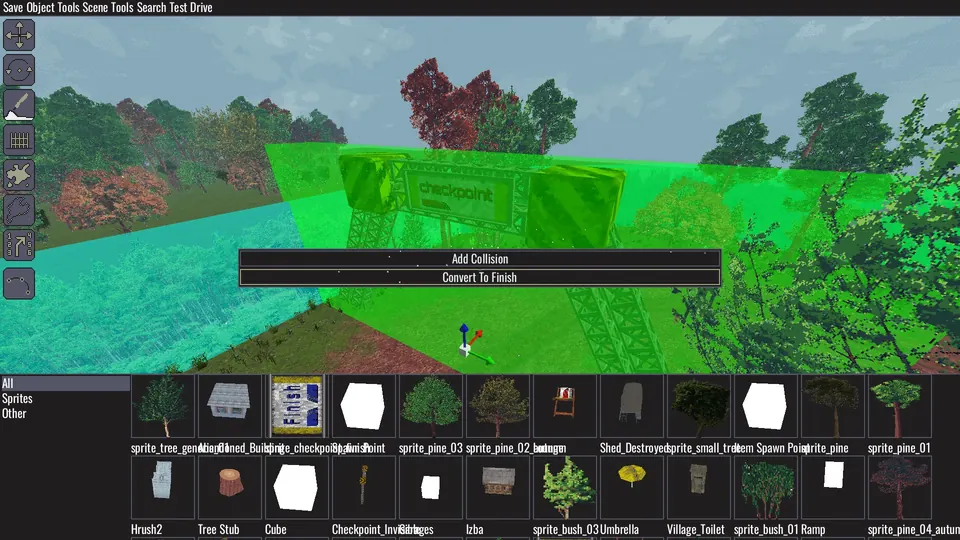
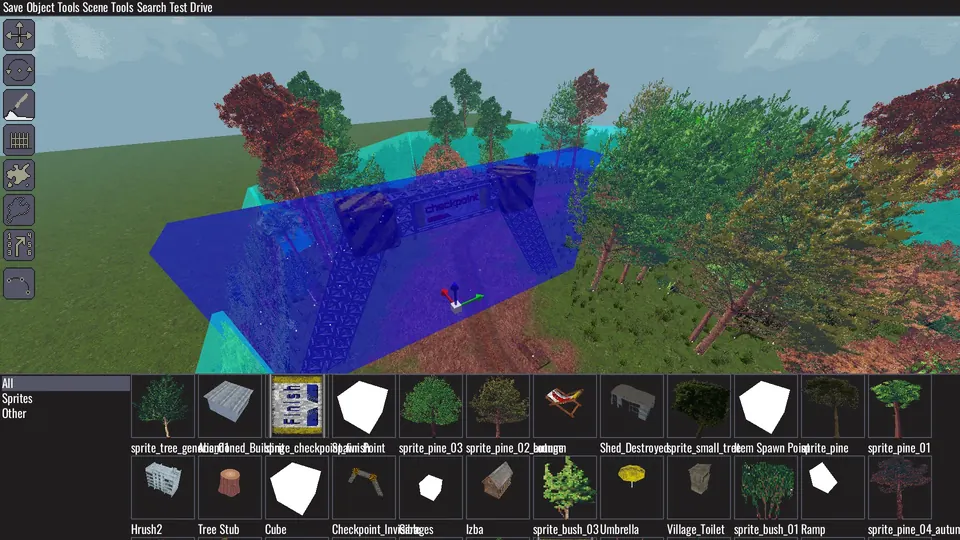
The converted checkpoint turns blue. That blue checkpoint is both the finish and the starting reference for the circuit path.
How to Create a Circuit Path
Hover over the circle beside the blue finish checkpoint. Select it to begin the path. A pink line should follow the cursor from that starting point.
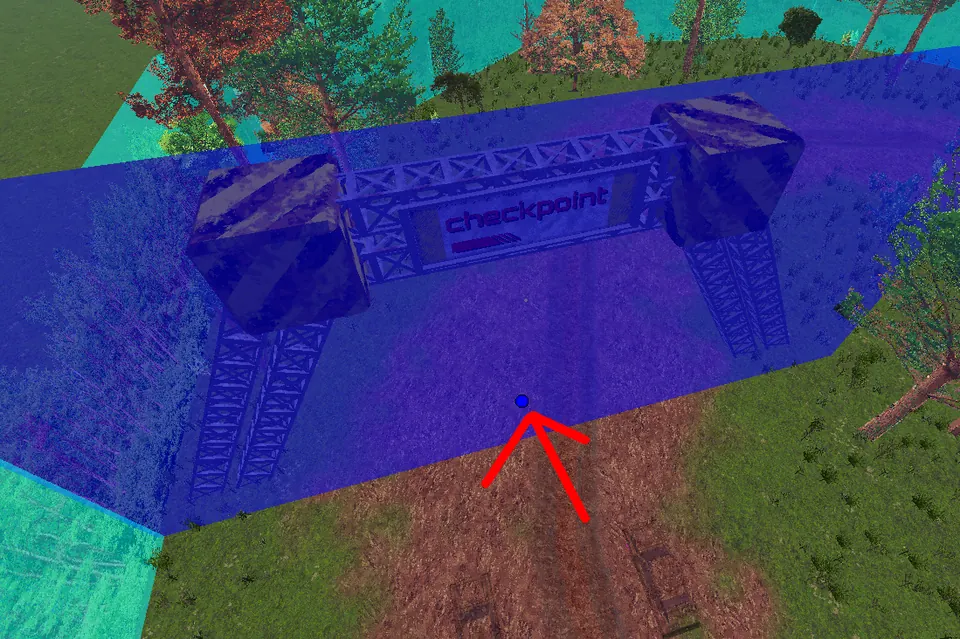
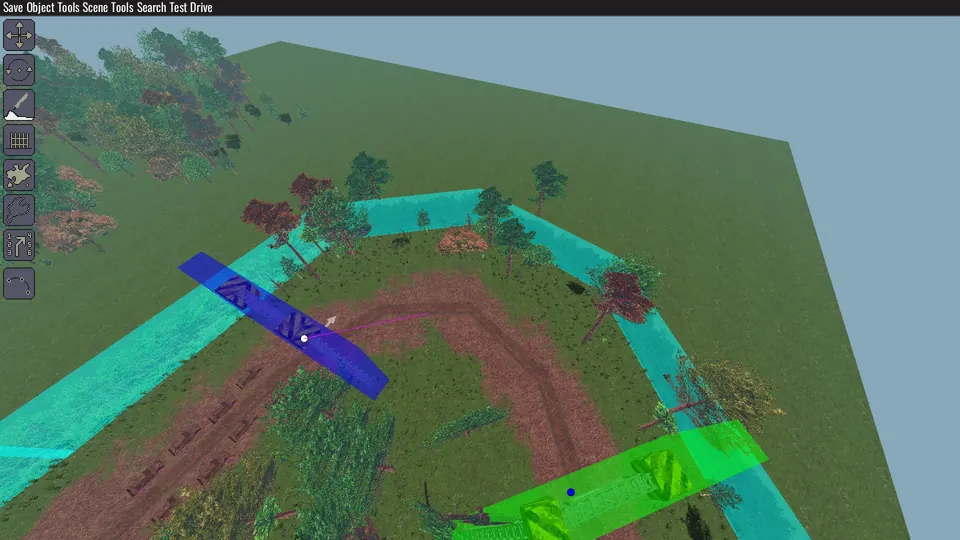
Extend the line to the circle at the next checkpoint. You can also place a point elsewhere and use the arrows between path points, but every checkpoint circle eventually needs to be connected in route order.
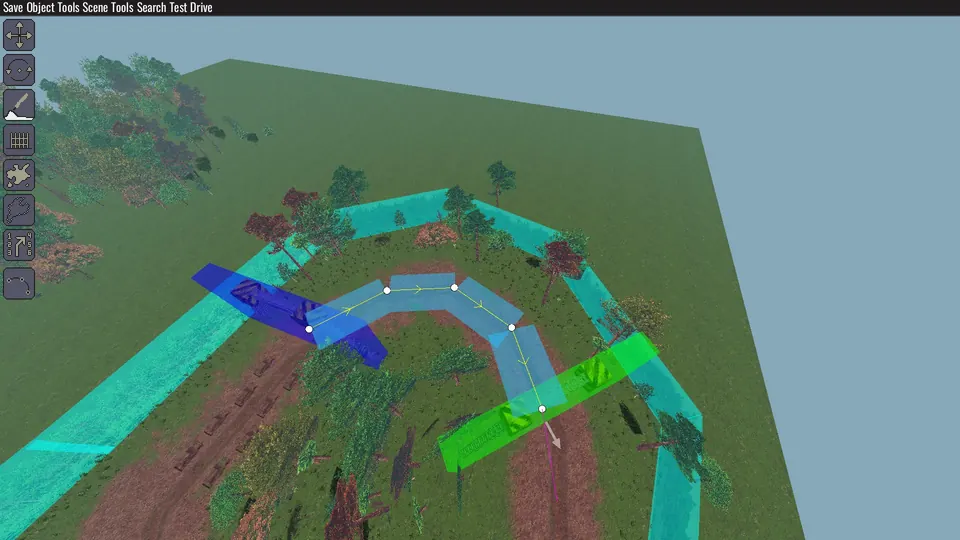
Continue through the complete circuit. If a point is placed incorrectly, the documented workflow requires rebuilding the path from the beginning rather than correcting that one point.
Close the circuit by connecting the final path point back to the first point at the finish. A circuit left open will not provide the complete route needed by the track and its bots.
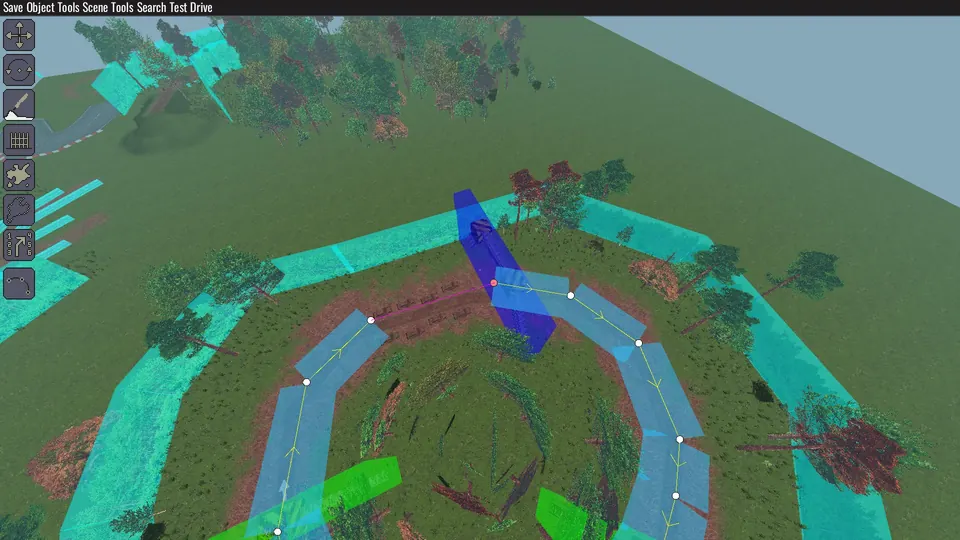
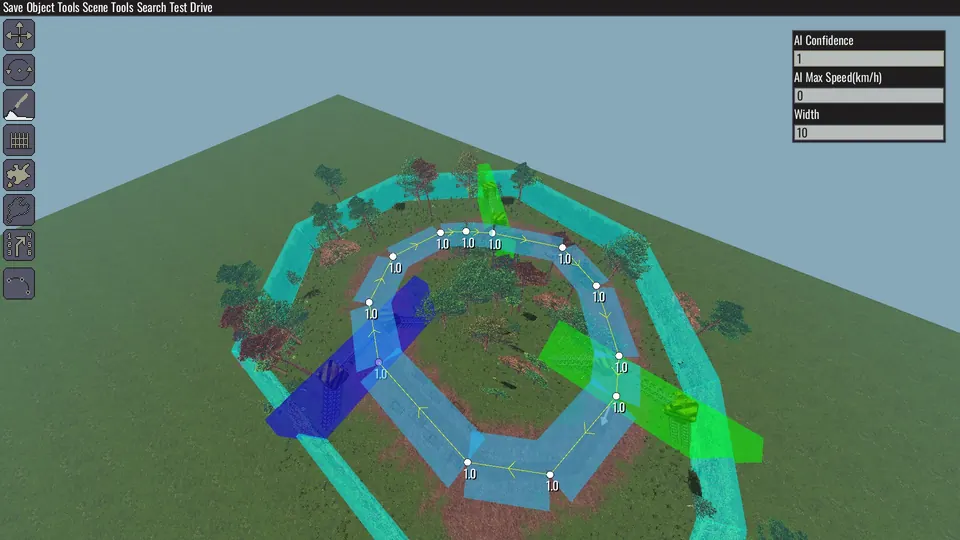
Numbers such as 1.0 can appear beside path points and relate to bot movement. Their detailed behavior is outside the verified material for this guide.
Rally Co-Driver
The rally co-driver tool adds spoken route calls. Place its blue checkpoint on the route, select it, and use the marked edit control.
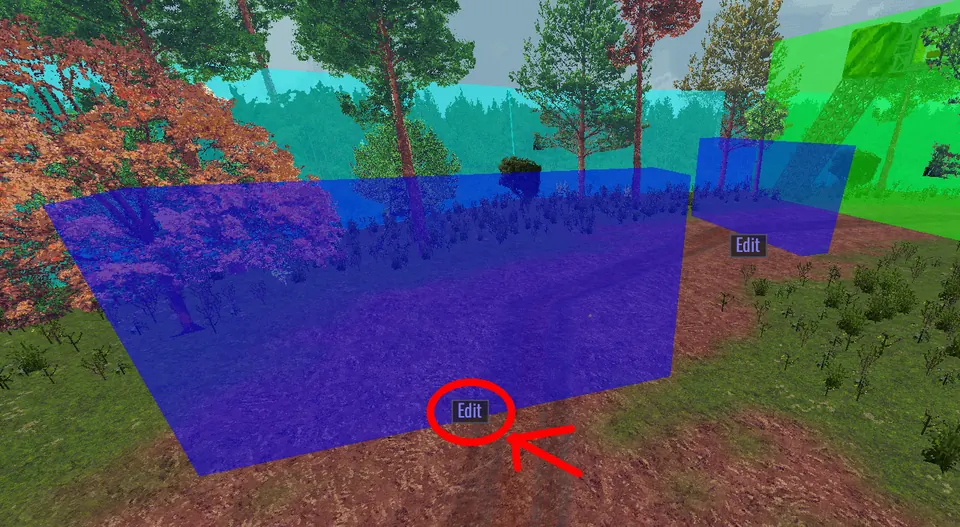
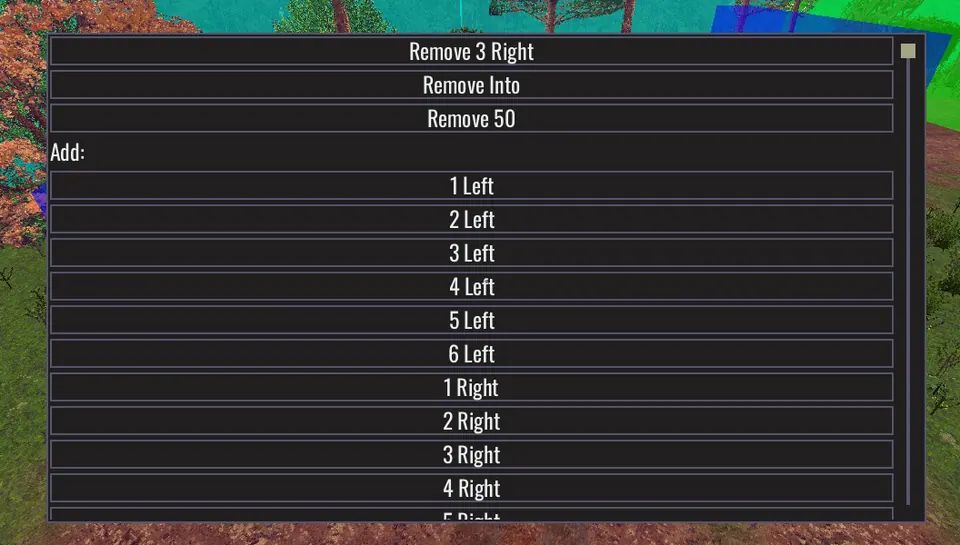
The edit control opens a list of available co-driver calls. Choose the call you want to attach to that checkpoint.
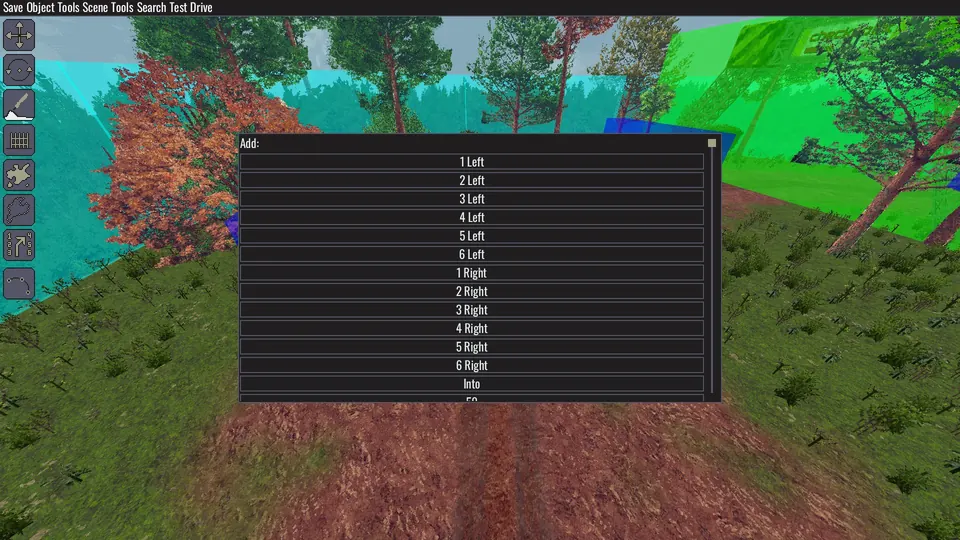
The call settings show its direction, distance, and severity values. Set the entry needed for that point on the rally route.
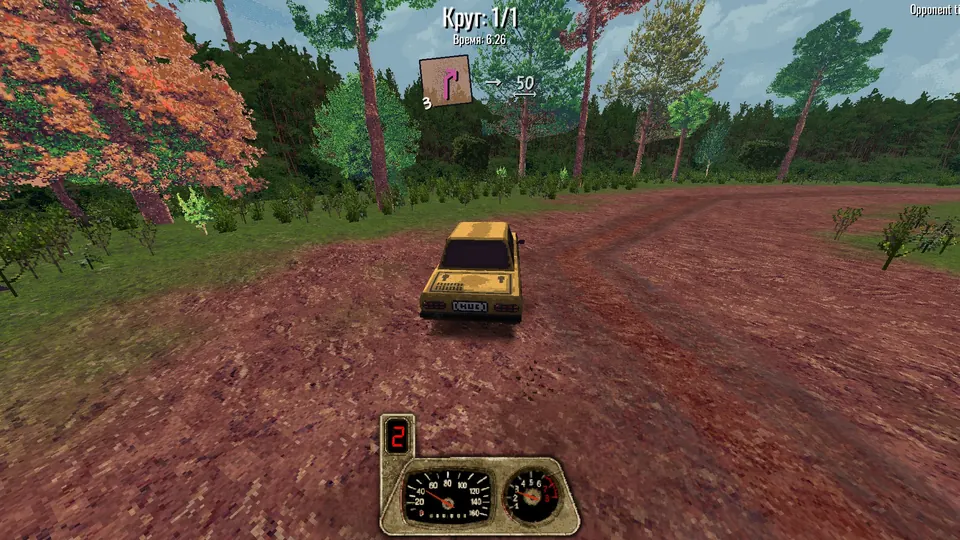
Use a rally test run to check the call from the driver’s view. The selected instruction appears in the co-driver display as the car approaches it.
The co-driver does not work on circuit tracks, and it may also be unavailable in some other race types. Use it for a supported rally route rather than as part of the circuit setup above.
Road Tool
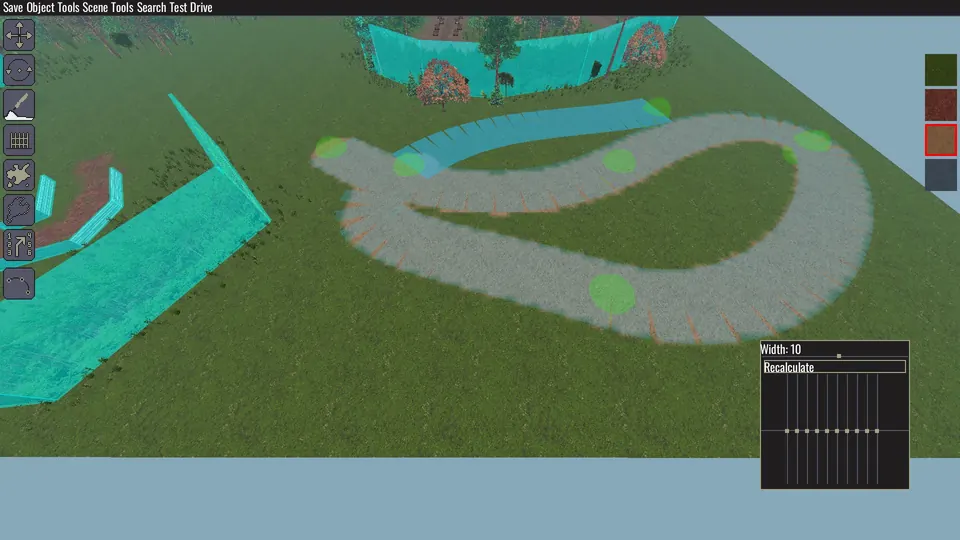
Use the Road tool when the brush is not suitable for the road you want to create. Keep the cursor over the landscape while choosing the road texture. If the cursor moves beyond the landscape, the tool can fold or collapse visually.
For a playable map, finish by checking the spawn points, checkpoint direction, converted finish, and closed path. Then save and use Test Drive to inspect the route, keeping in mind that returning to the editor may require a restart in the documented build.
More BeaterCore guides
-
beginnerBeaterCore Beginner Guide: Cars, Parts and Tips
How to get started in BeaterCore and keep your car running, with what every part does, how tire sizes work, and stats for the 15 known cars.
Published September 27, 2026