Sniper Dan: All Objectives and Achievement Tips
This page covers every objective on Sniper Dan’s six maps (Perky Park, Vibrant Village, Happy Harbour, Central City, Funky Farm and Aces Airport) and where each one can spawn, plus the collectibles, photos, office commissions and bonus levels. It also explains the ten named achievements that need their own side goals. It does not map the remaining nine achievements to specific tasks.
The short version: on every map, shoot all the bananas, fireworks, Willy and the Jiangshi, finish every objective on every day, and take every photo. Complete the three office commissions and beat the five bonus levels. Then clear five locations in Time Attack and five in Ammo Hunt, finish Perky Park in under 30 seconds, fully upgrade your gun, buy the pizza and 20 items in the Magic Market, and collect 13 different gachapon prizes. Finally, win tennis and air hockey with three misses or fewer, and bowl five strikes in one game.
Sniper Dan achievements at a glance
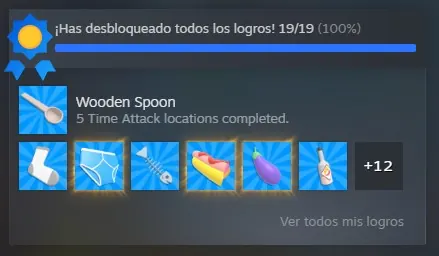
Sniper Dan has 19 achievements. Nine of them are not named here: they come from completing the objectives, collectibles, photos, commissions and bonus levels on this page, but which task earns which one is not covered. The ten below each need a specific side goal.
| Achievement | What to do | Section |
|---|---|---|
| Unknown Bone | Bowl five strikes in one bowling game | Unknown Bone (bowling) |
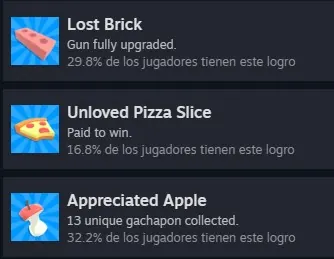
| Preloved Sausage | Buy 20 things in the Magic Market | Preloved Sausage, Lost Brick, Unloved Pizza Slice and Appreciated Apple (shop) |
| Lost Brick | Buy every gun upgrade | Preloved Sausage, Lost Brick, Unloved Pizza Slice and Appreciated Apple (shop) |
| Unloved Pizza Slice | Buy the pizza in the shop | Preloved Sausage, Lost Brick, Unloved Pizza Slice and Appreciated Apple (shop) |
| Appreciated Apple | Win 13 different gachapon prizes | Preloved Sausage, Lost Brick, Unloved Pizza Slice and Appreciated Apple (shop) |
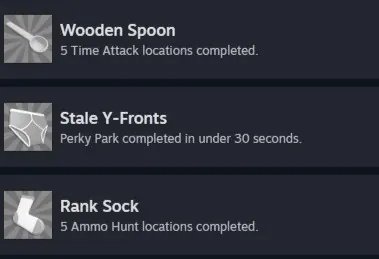
| Wooden Spoon | Clear five locations in Time Attack | Wooden Spoon, Rank Sock and Stale Y-Fronts (modes and speedrun) |
| Rank Sock | Clear five locations in Ammo Hunt | Wooden Spoon, Rank Sock and Stale Y-Fronts (modes and speedrun) |
| Stale Y-Fronts | Beat Perky Park in under 30 seconds | Wooden Spoon, Rank Sock and Stale Y-Fronts (modes and speedrun) |
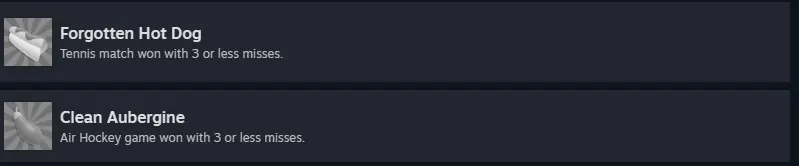
| Forgotten Hot Dog | Win at tennis, missing three times at most | Forgotten Hot Dog and Clean Aubergine (tennis and air hockey) |
| Clean Aubergine | Win at air hockey, missing three times at most | Forgotten Hot Dog and Clean Aubergine (tennis and air hockey) |
How objectives and collectibles work
| Map | Objectives | Bananas | Fireworks | Photos |
|---|---|---|---|---|
| Perky Park | 5 tasks | 5 | 5 | 5 |
| Vibrant Village | 3 days + boss | 10 | 10 | 8 |
| Happy Harbour | 3 days + boss | 10 | 10 | 8 |
| Central City | 3 days + boss | 10 | 10 | 8 |
| Funky Farm | 3 days + boss | 10 | 10 | 8 |
| Aces Airport | 3 days + boss | 10 | 10 | 8 |
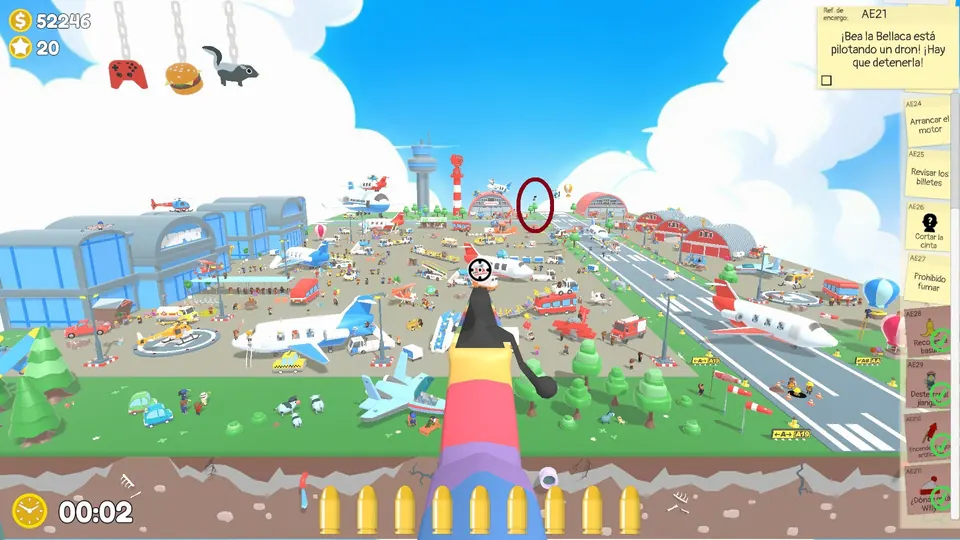
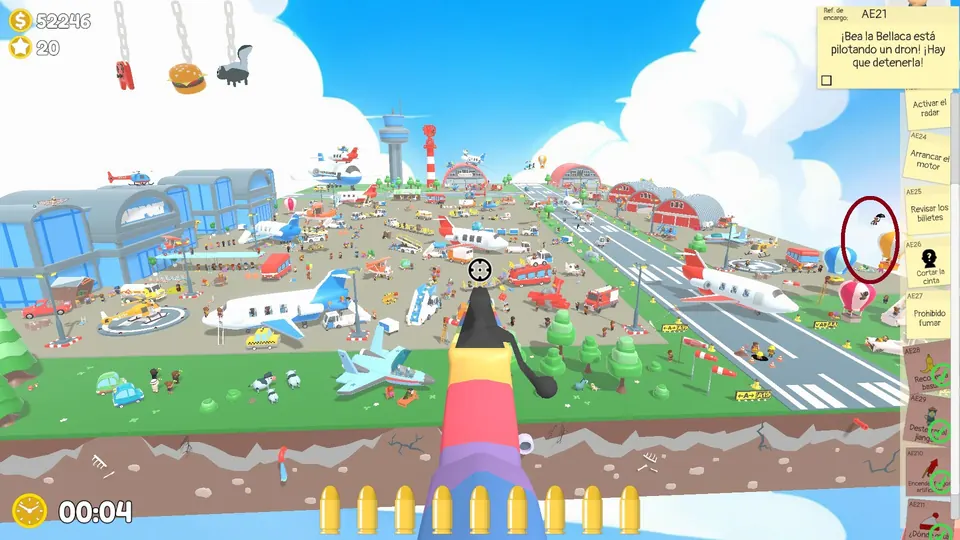
Bananas, fireworks, Willy and the Jiangshi never move between visits. Most day objectives do. The game picks one of usually three variants each time you load the day. For an objective with a single target, a variant is a different spot. For an objective with several targets, such as five leaf piles, a variant is a whole different layout. Where the spot is known to be fixed or to vary, the entry below says so, and the overview screenshots circle each spot or every item in a layout. Headings describe each task in plain English; the task card in your game may word it differently.
Willy, the character in the bobble hat, only counts when you shoot him on the hat.
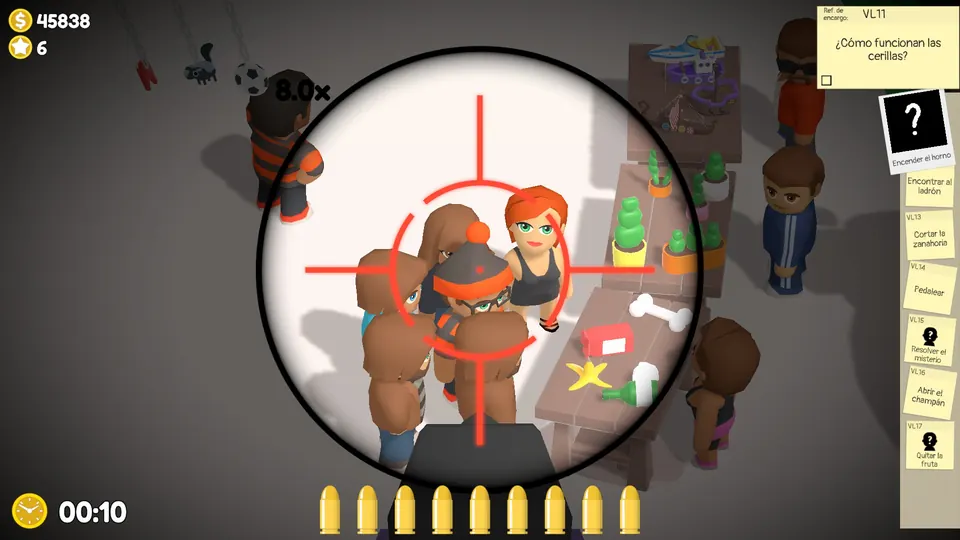
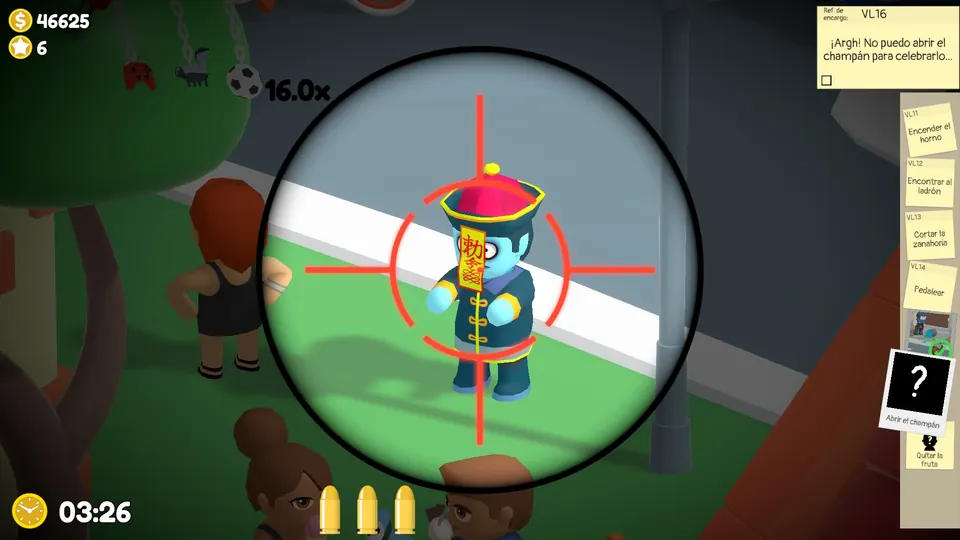
For the Jiangshi, aim at the paper scroll stuck to its face.
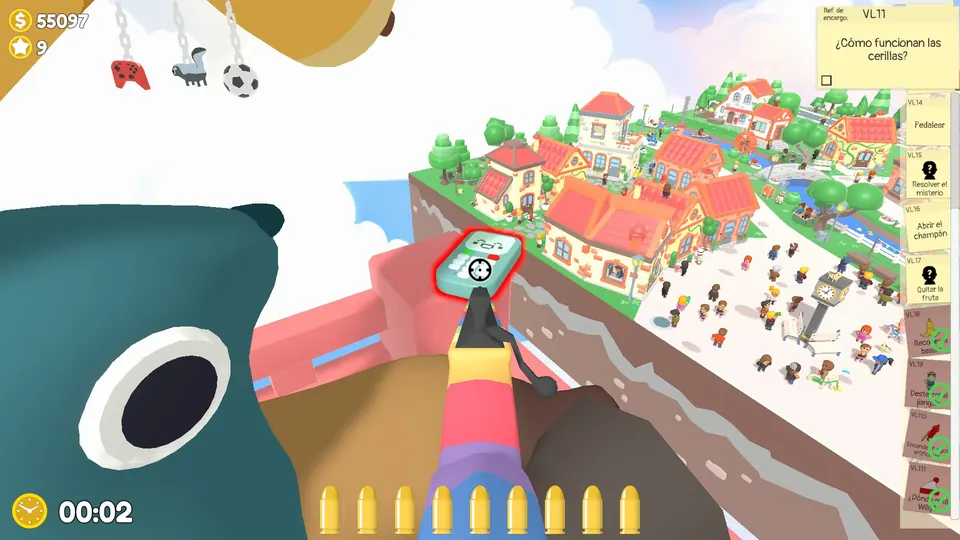
On some days a timed phone objective appears after you finish a few others. When the phone on your left starts ringing, shoot it to start the timer. Reload before you shoot the phone. If you have not reloaded, shoot the phone with the last bullet in your magazine.
Perky Park bananas, fireworks, Willy and Jiangshi
Perky Park bananas (5)
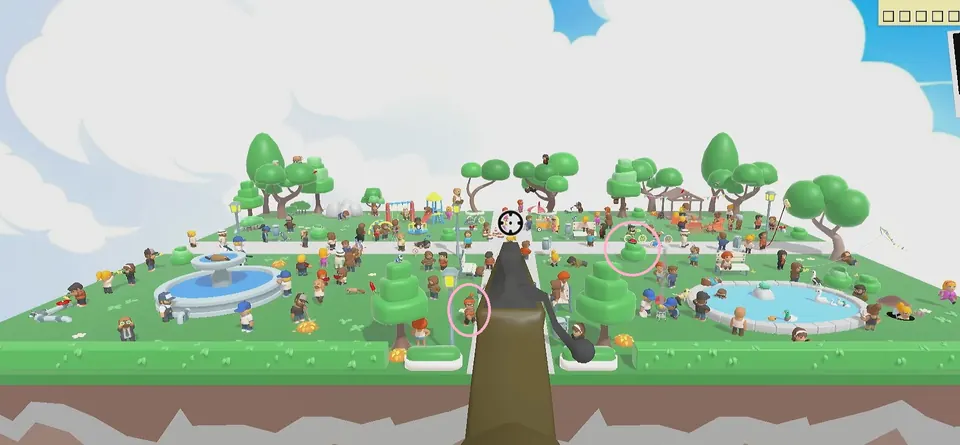
Every Perky Park banana is circled on the park overview.
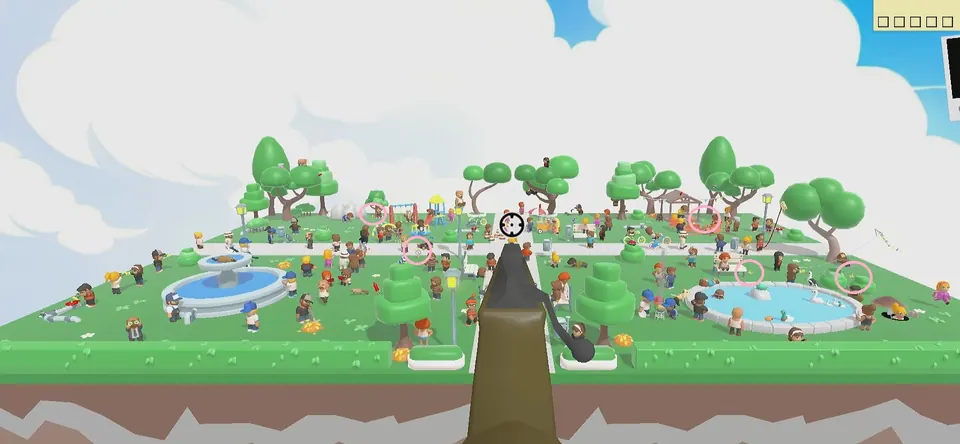
Perky Park fireworks (5)
The Perky Park fireworks are circled on the same kind of park overview; shoot each one to set it off.
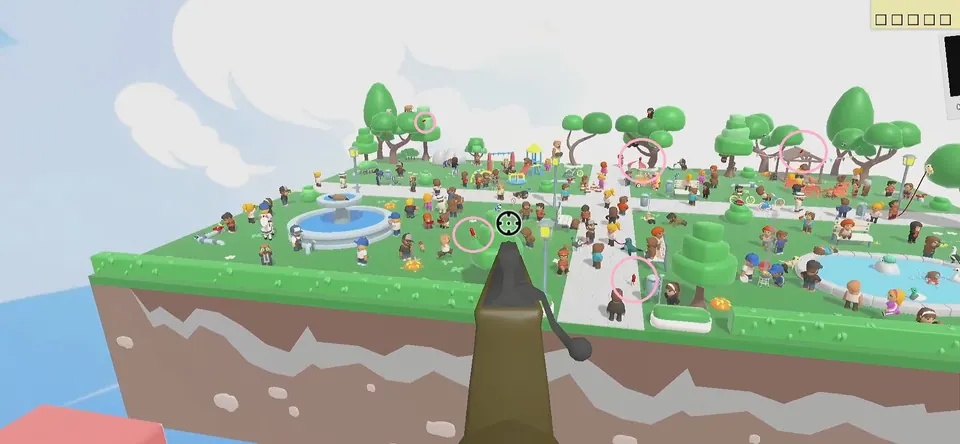
Perky Park Willy and Jiangshi
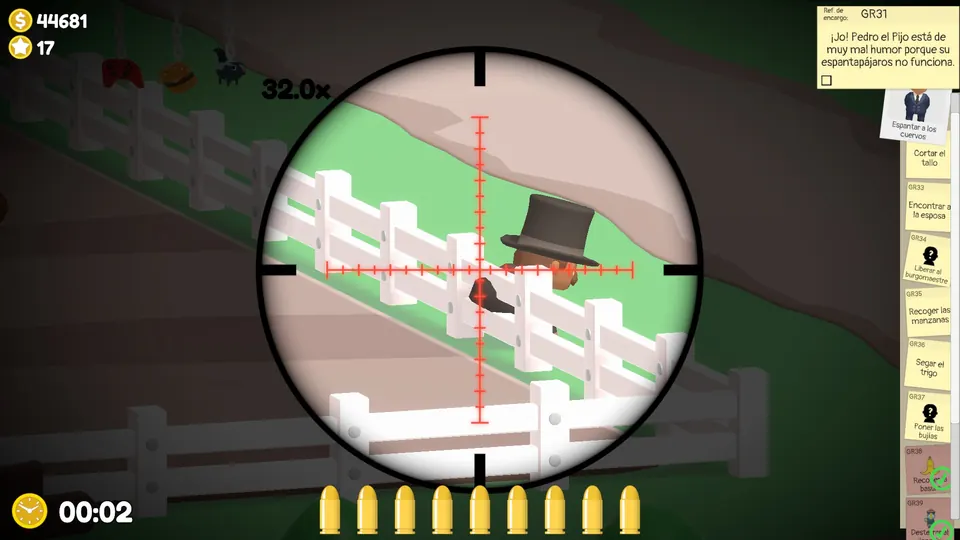
Both are near the middle of the park. The Jiangshi is hidden in a bush: shoot the bush first, then the scroll on its face.
Perky Park objectives
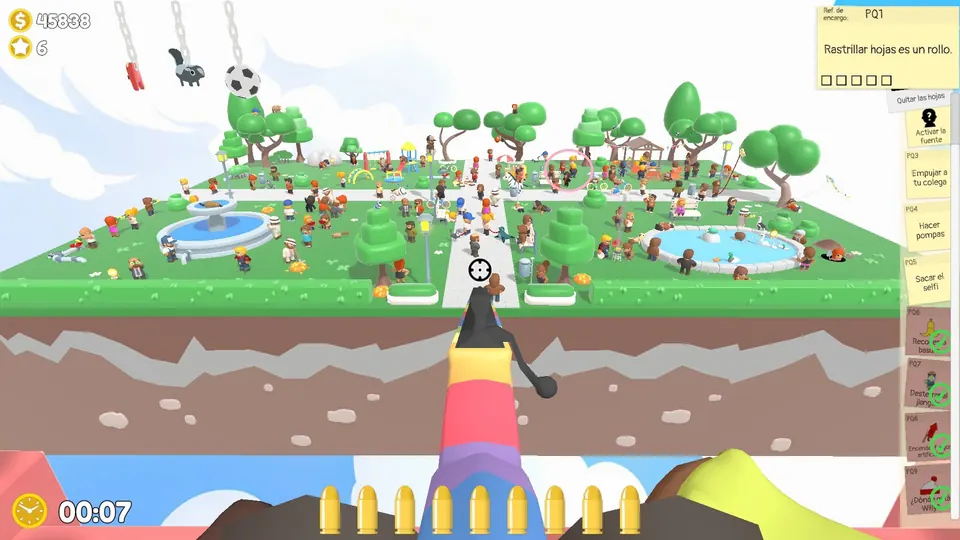
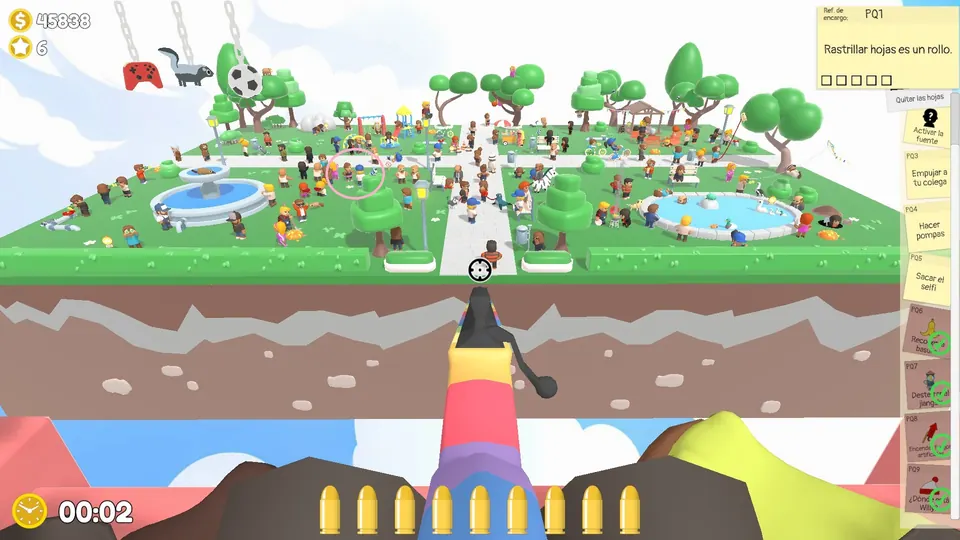
Sweep up the leaves
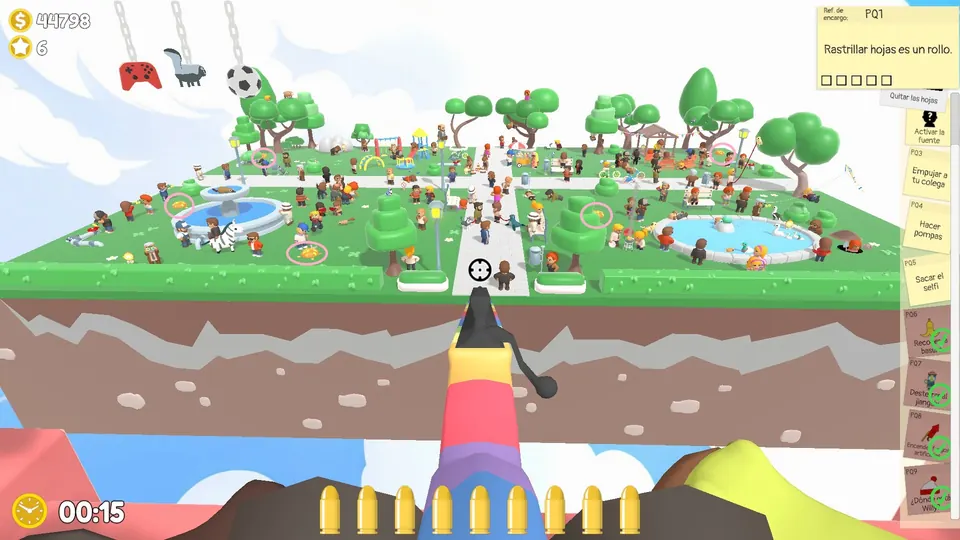
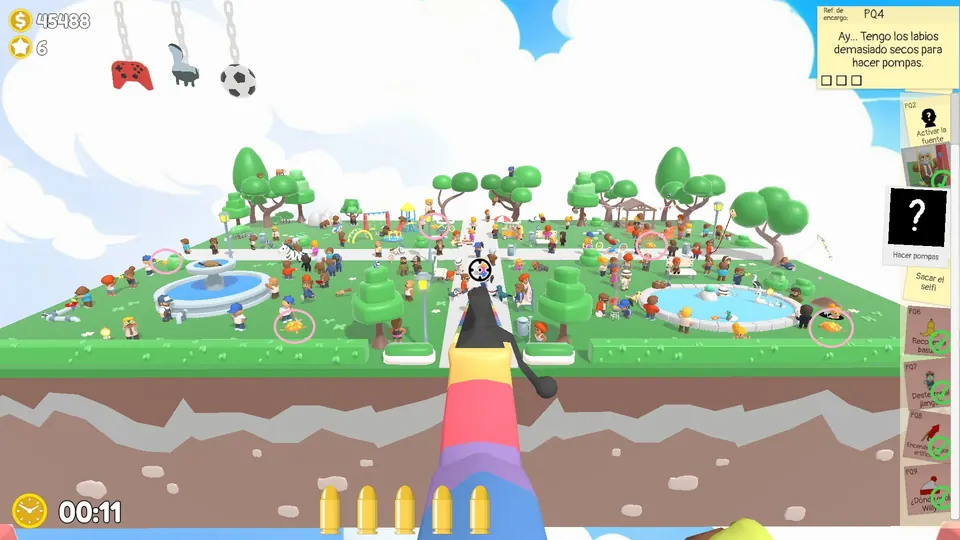
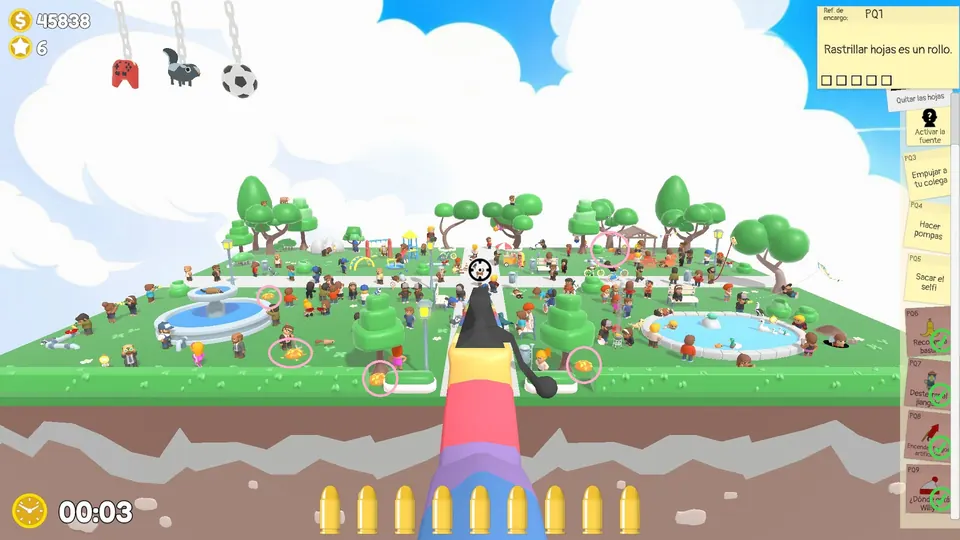
Shoot five leaf piles. They come in three possible layouts, each circled in full below.
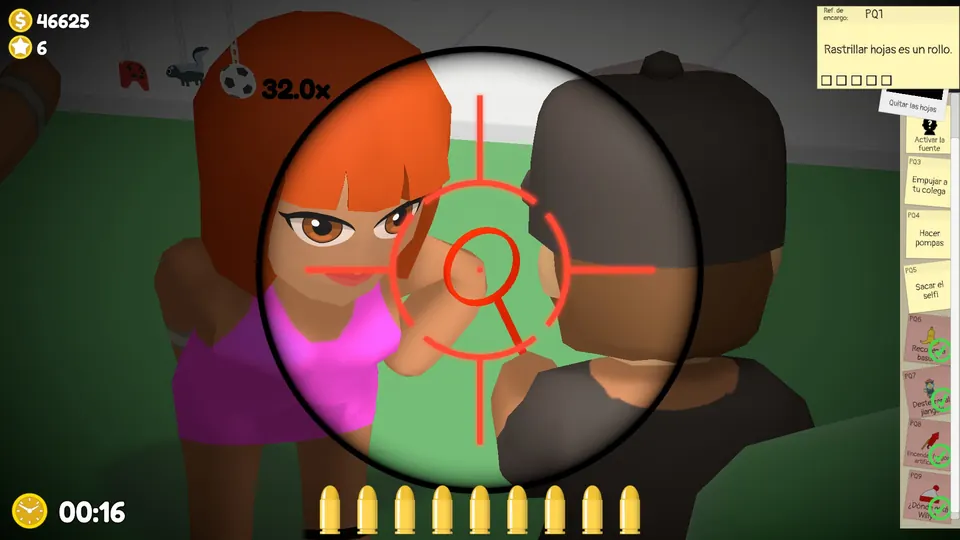
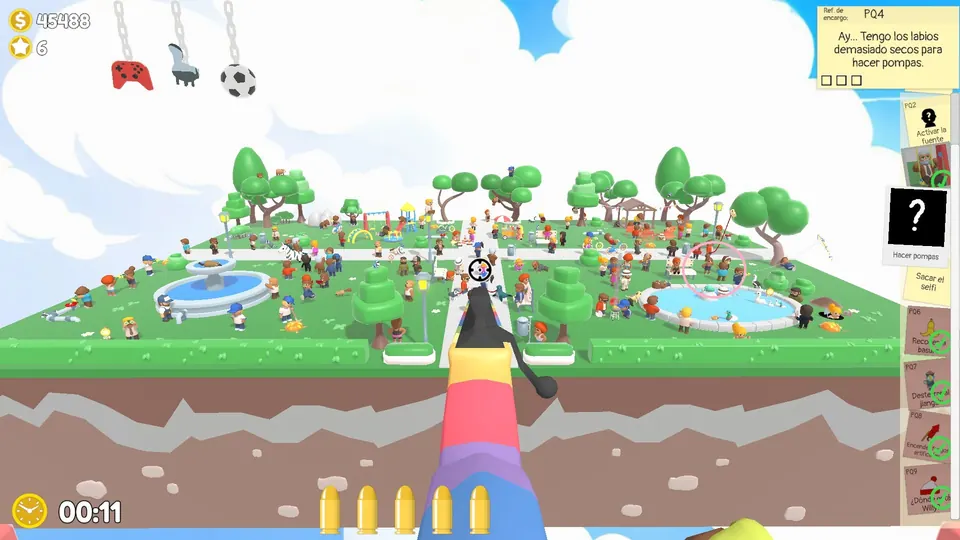
Shoot the bubble wand
Find the NPC holding a bubble wand and shoot the middle of the ring three times. The bubble NPC has three possible spots.
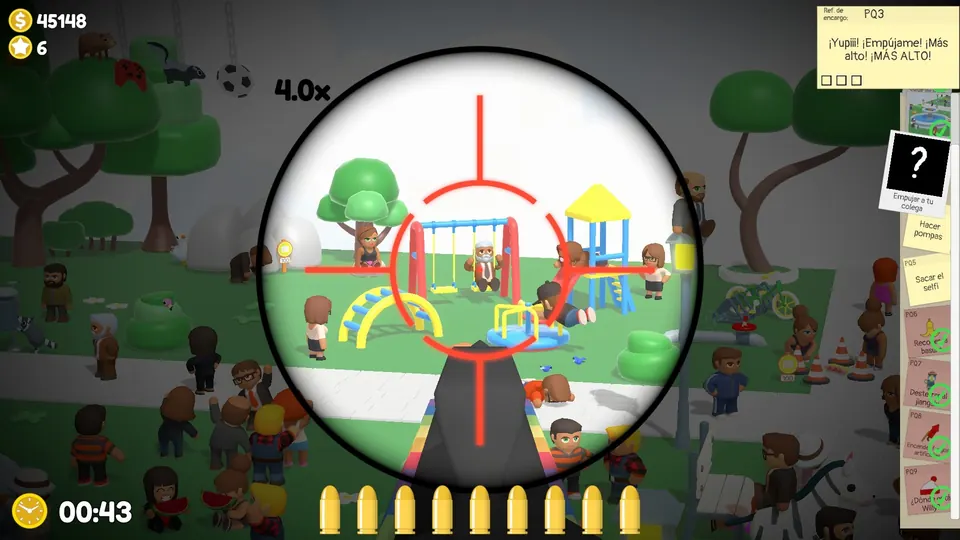
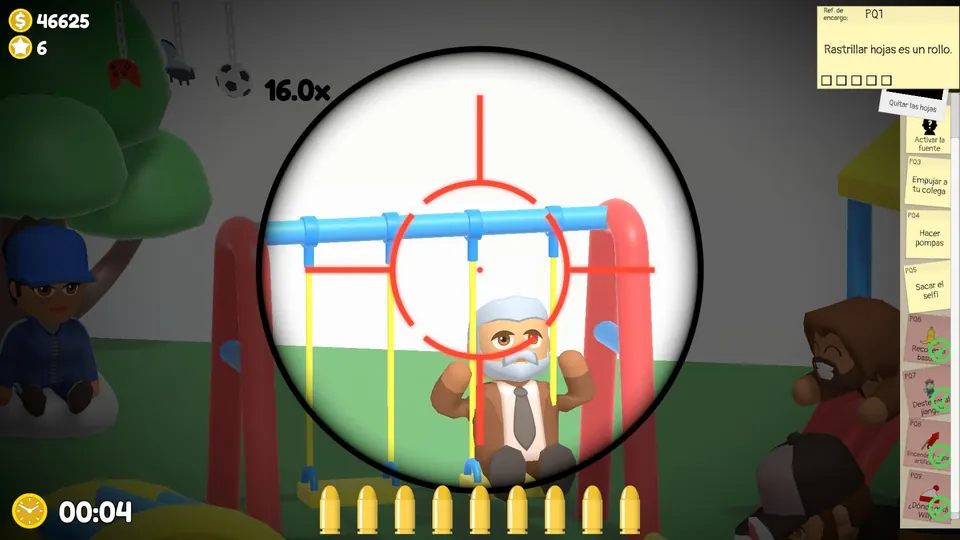
Push your pal on the swing
The NPC sitting on the swing is always at the swing set in the top left of the map. Shoot the rope of the swing three times to push them.
Turn on the fountain
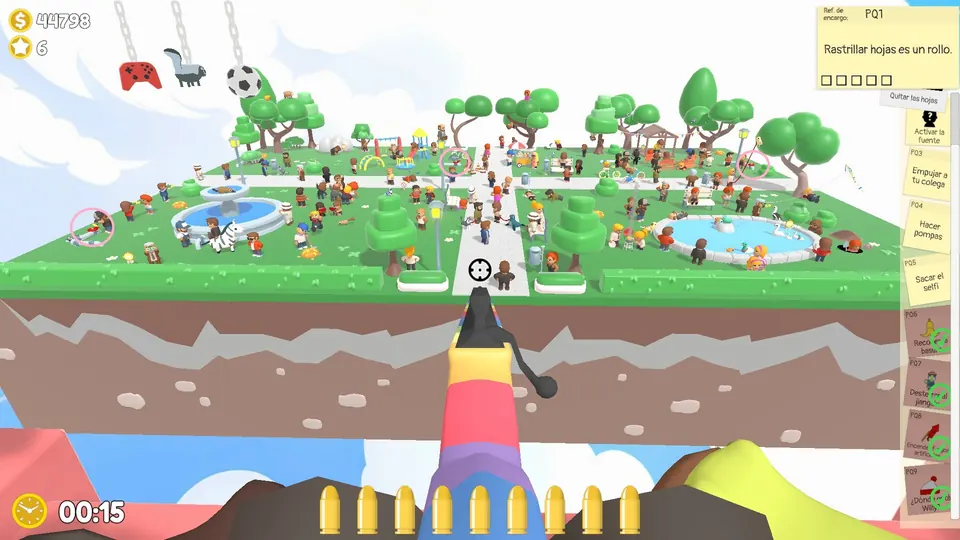
Three valves around the park switch the fountain on. They are always in the same places; shoot all three.
Take the selfie
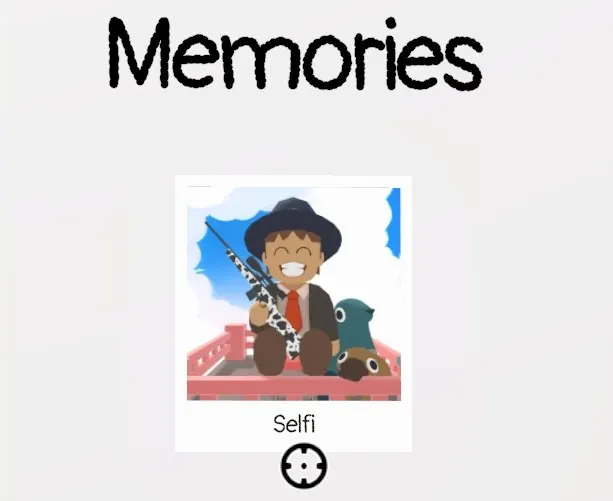
The Perky Park task list also asks for a selfie. Take a photo anywhere without zooming the camera in, and it counts as a selfie. It then shows up in your photo album. It needs the camera, so it has to wait until you own one (see Photos on every map).
Vibrant Village bananas, fireworks, Willy and Jiangshi
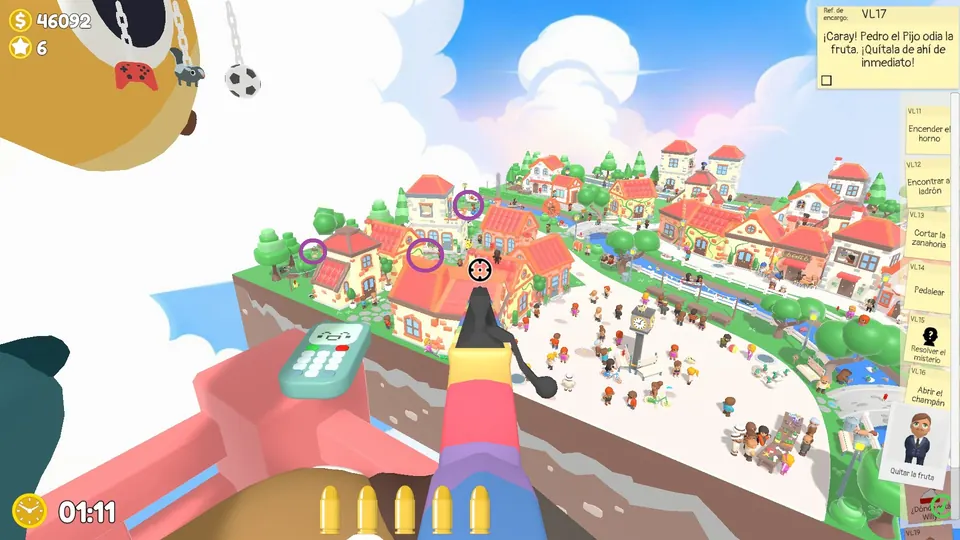
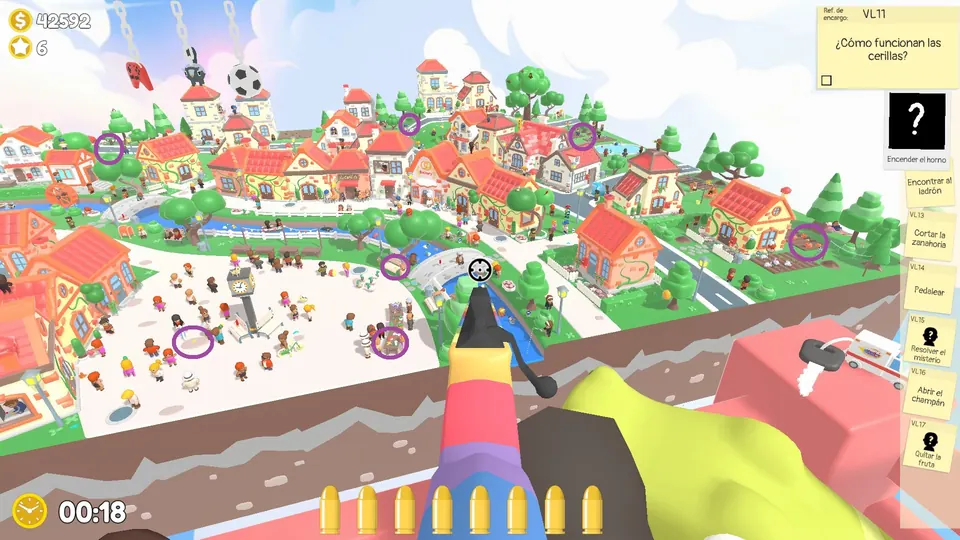
Vibrant Village bananas (10)
The village bananas are split across two overview shots.
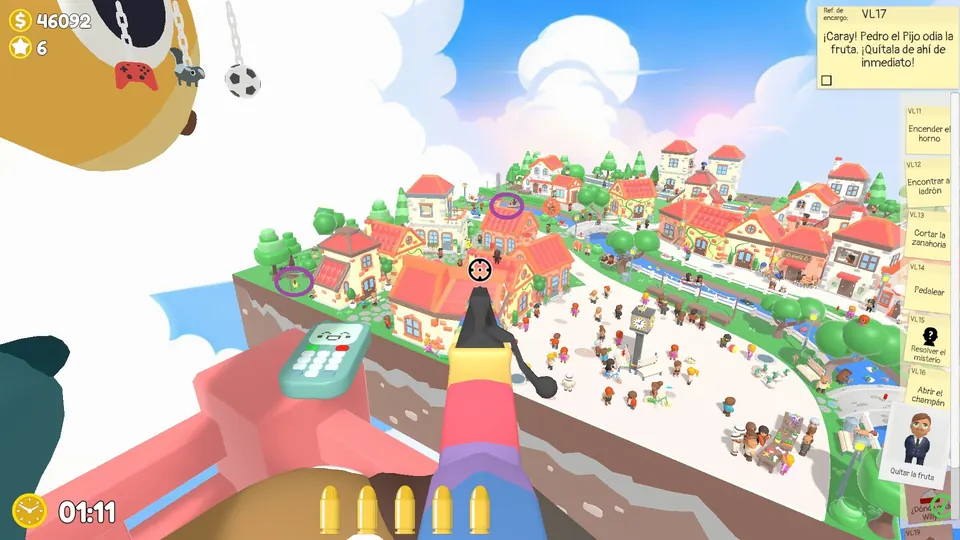
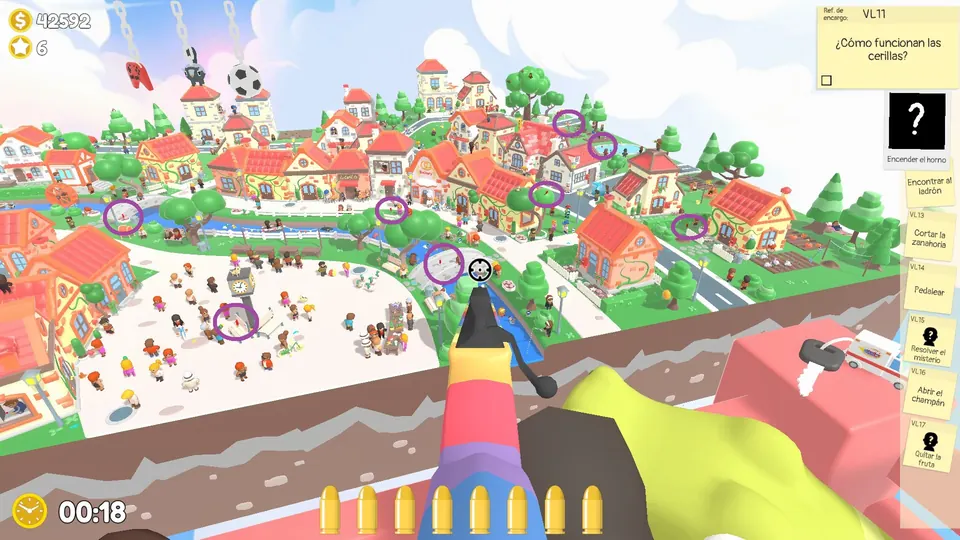
Vibrant Village fireworks (10)
The village fireworks are also spread over two overview shots.
Vibrant Village Willy and Jiangshi
Willy is in the middle of the village square. The Jiangshi is over the bridge behind a bush: shoot the bush, then its scroll.
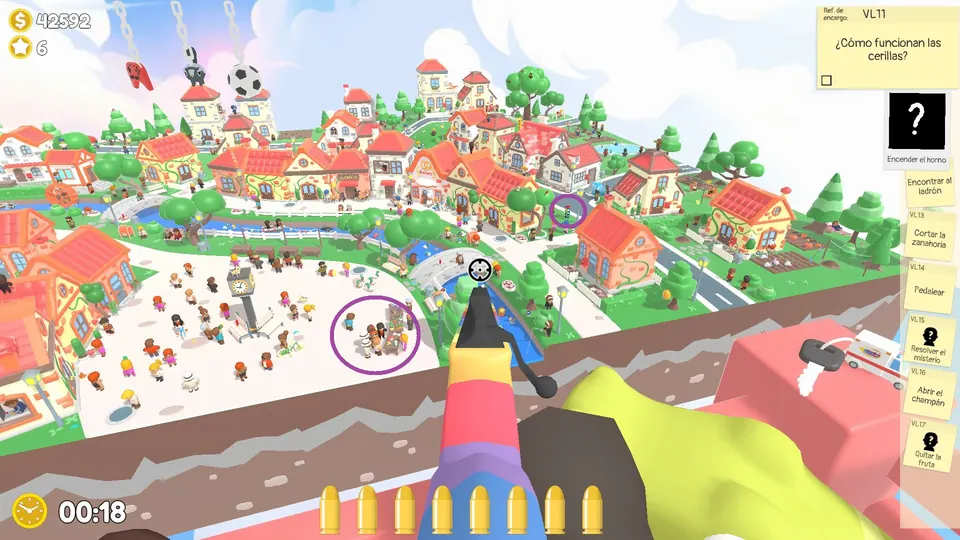
Vibrant Village Day 1
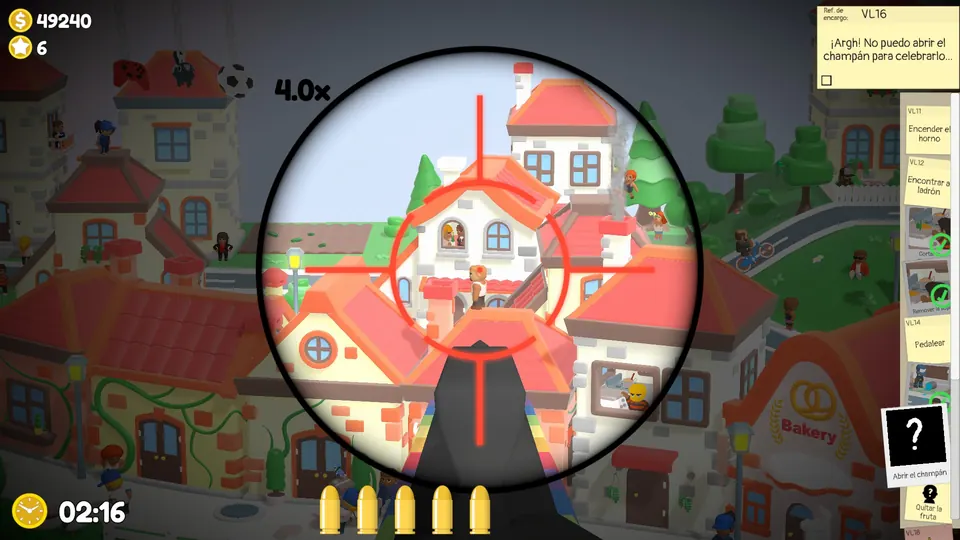
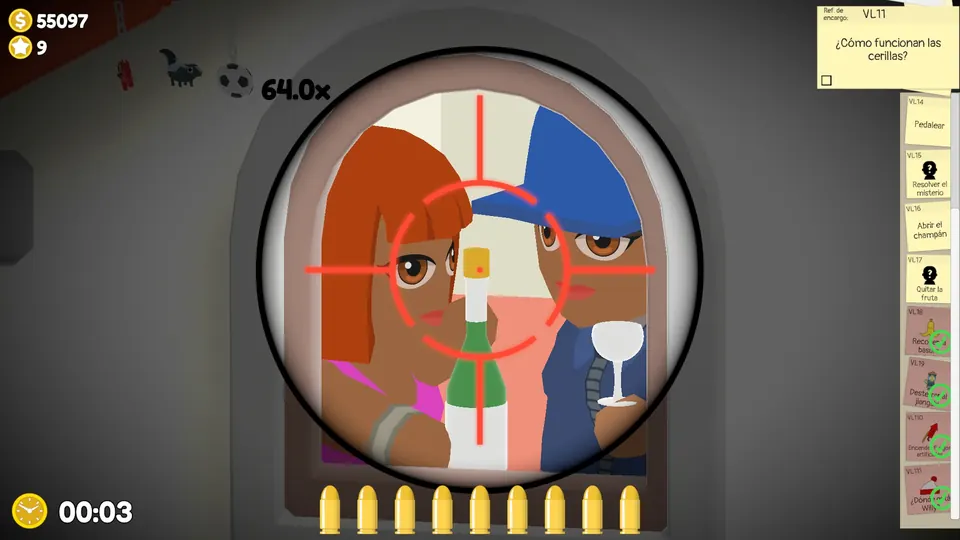
Uncork the bottle
The bottle is always in the middle of the map. Shoot the cork to pop it open.
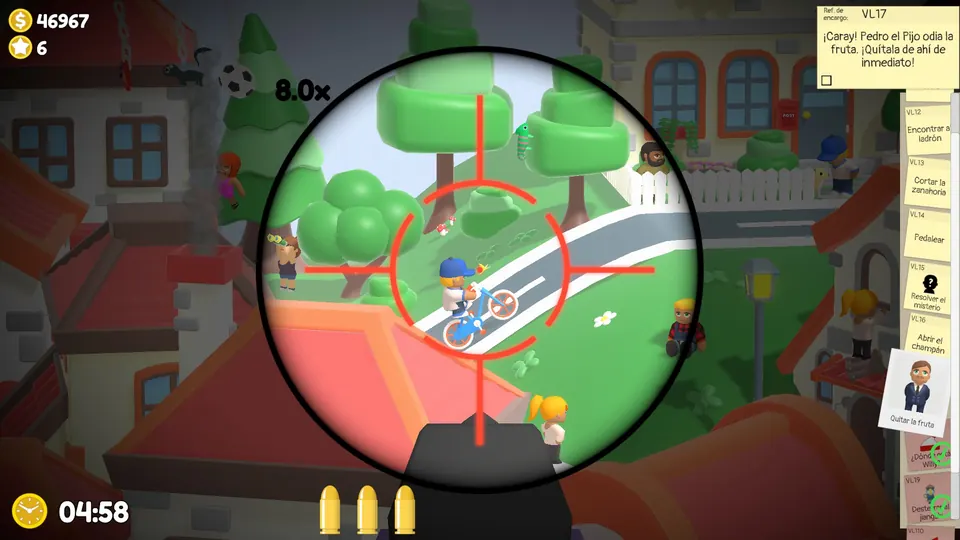
Help with the pedalling
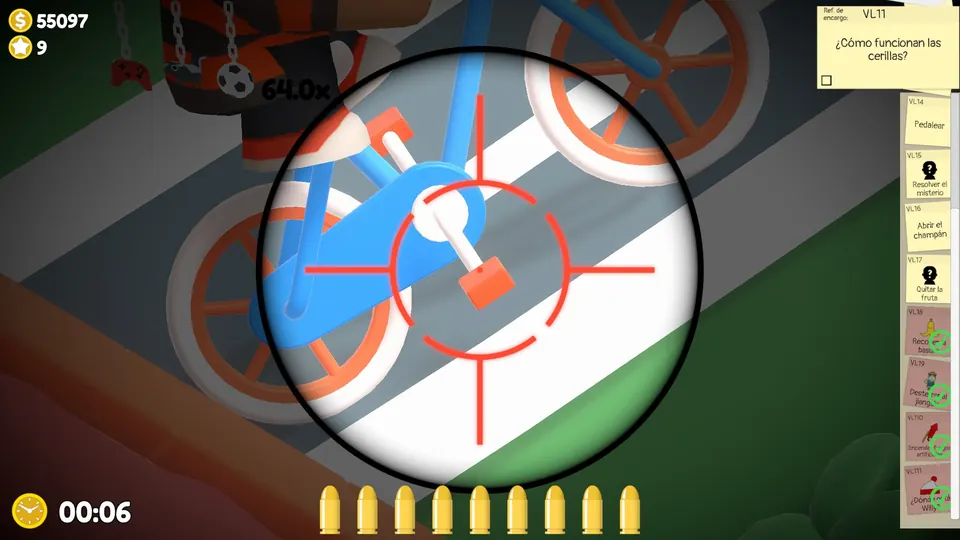
On the back street, halfway up the hill, an NPC is stuck on a bicycle. Shoot the pedal three times to get them moving up the slope.
Help with the cooking
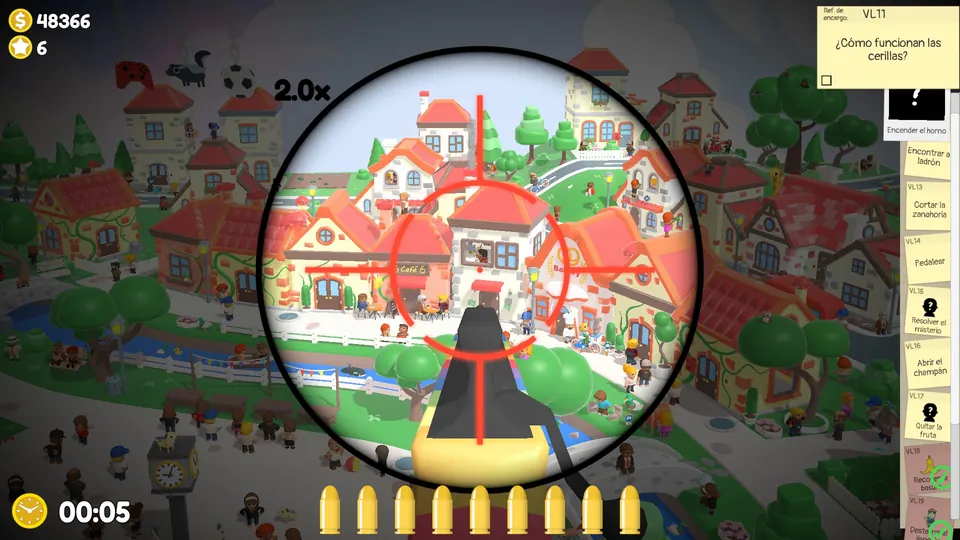
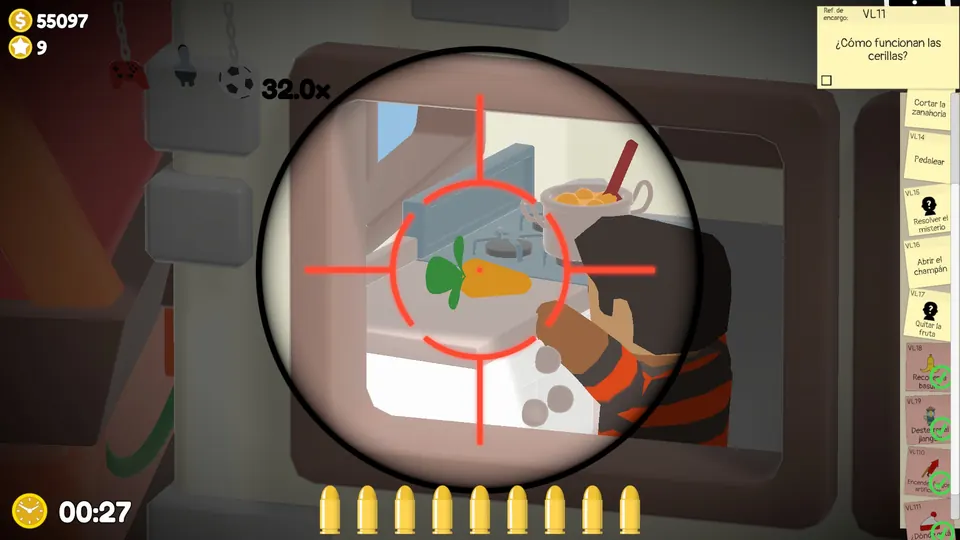
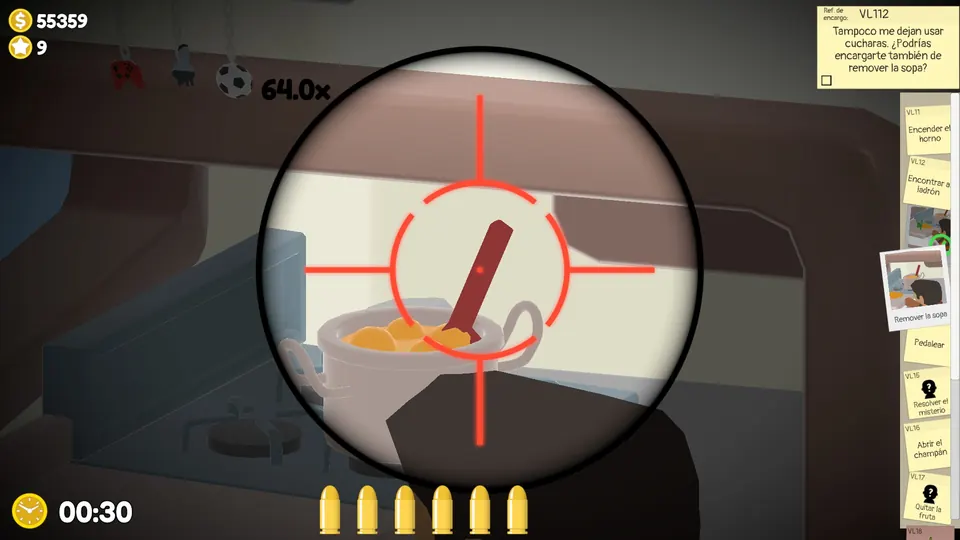
Near the square in the middle of the map, an NPC is cooking with a carrot on the table. Shoot the carrot three times, then shoot the spoon in the pot next to it.
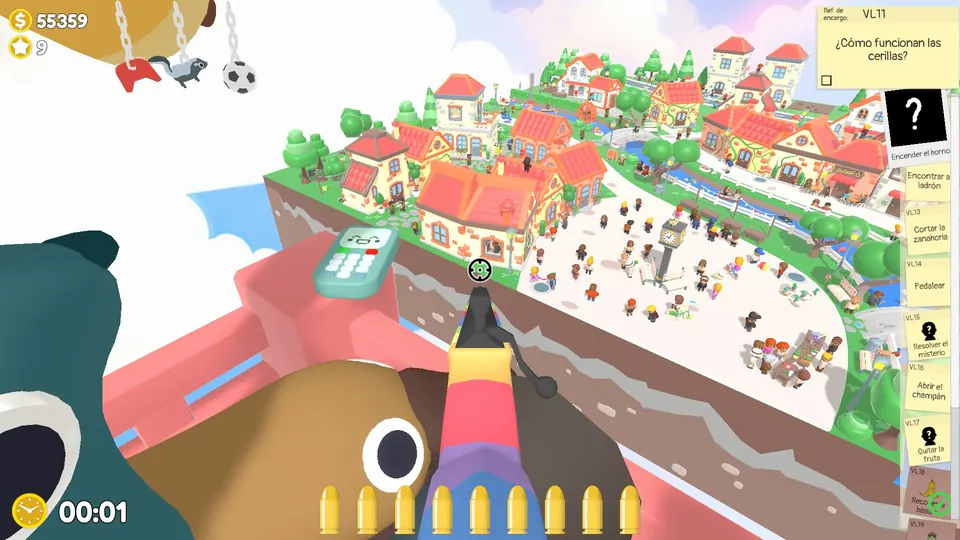
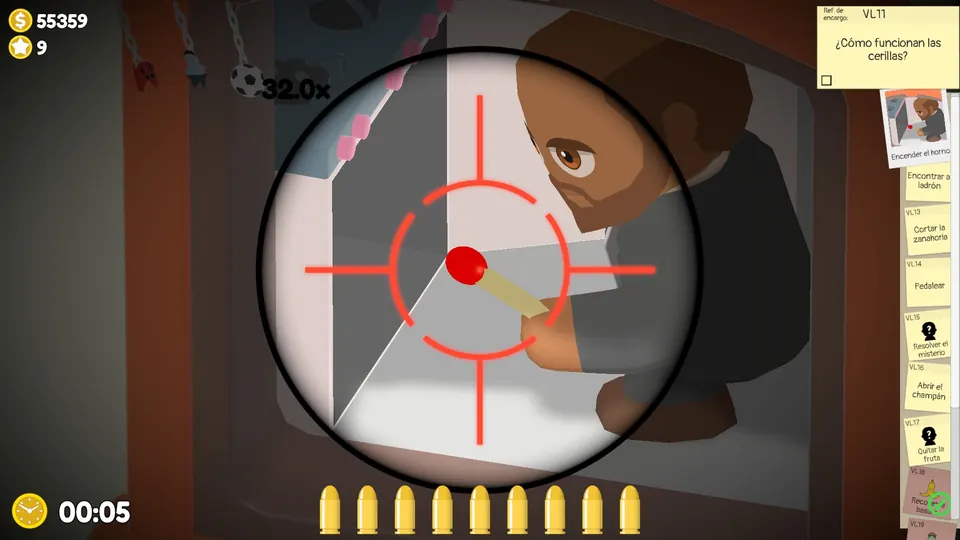
Light the match
In the first house below and to the left of the square, an NPC is holding a match. Shoot the match head to light it.
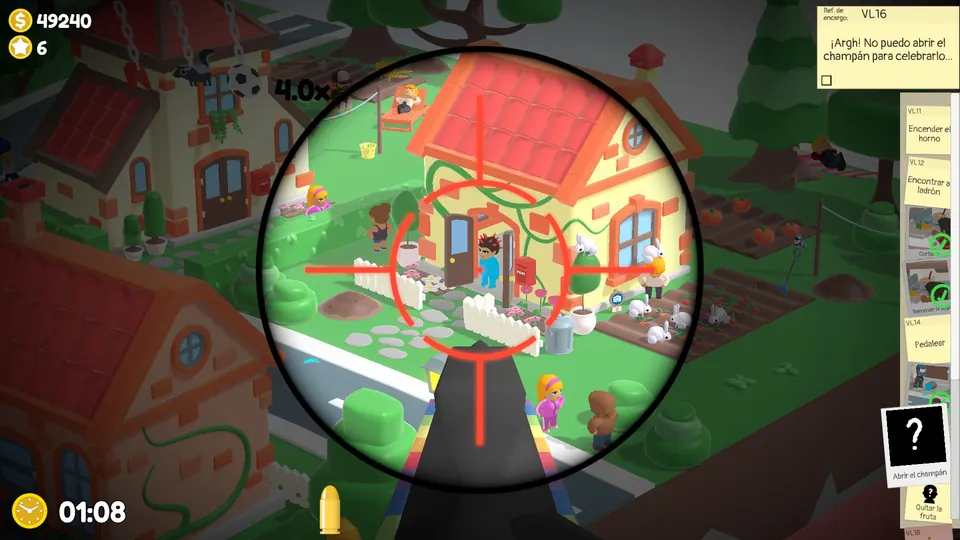
Follow the blue paint footprints
Follow the blue paint footprints to find where the NPC is hiding. The trail always ends at the first house next to the crops on the right side of the map. Shoot the door.
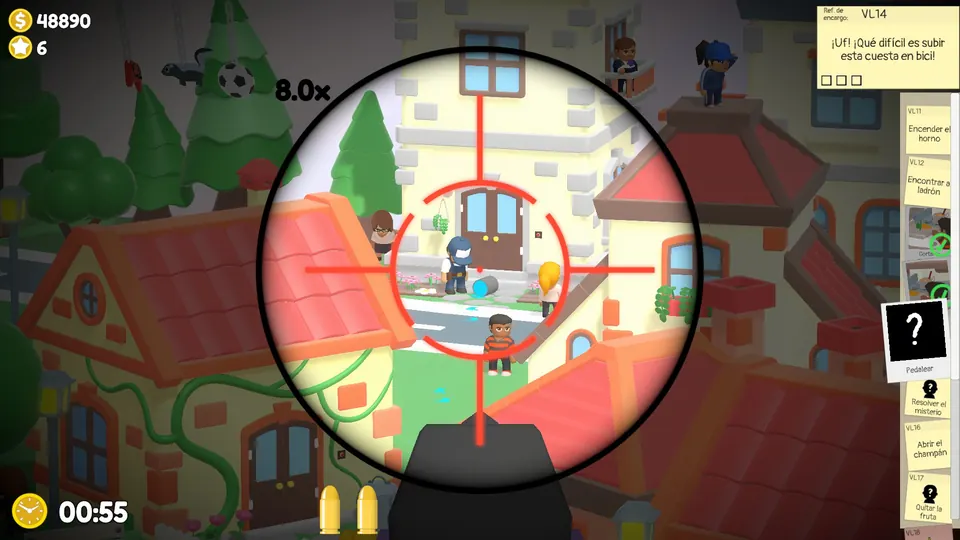
Phone objective: stop the robots
Answering the phone spawns three robots: one in the square, one past the bridge and one in the crops. Stop each by shooting the spinning part on its back. Take the crops robot first, because it quickly walks out of sight behind the houses and leaves little time to catch it.
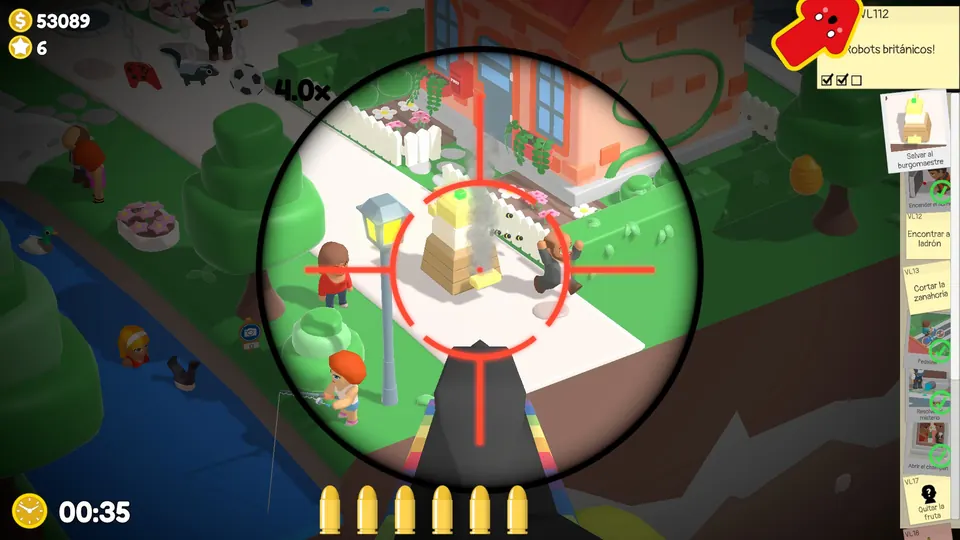
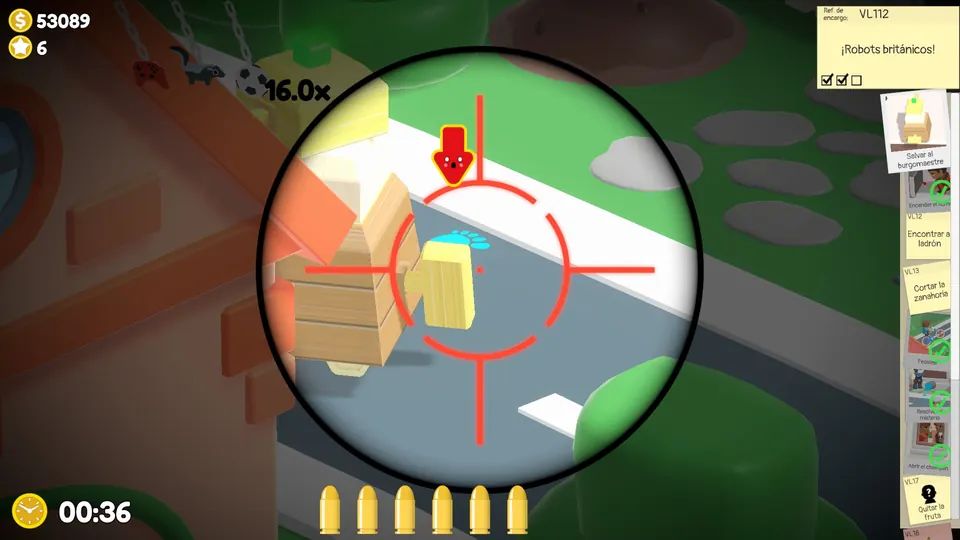
Catch the rubbish thief
Look for a bin with a red milk carton beside it and shoot it to flush out the thief. The bin has three possible spots.
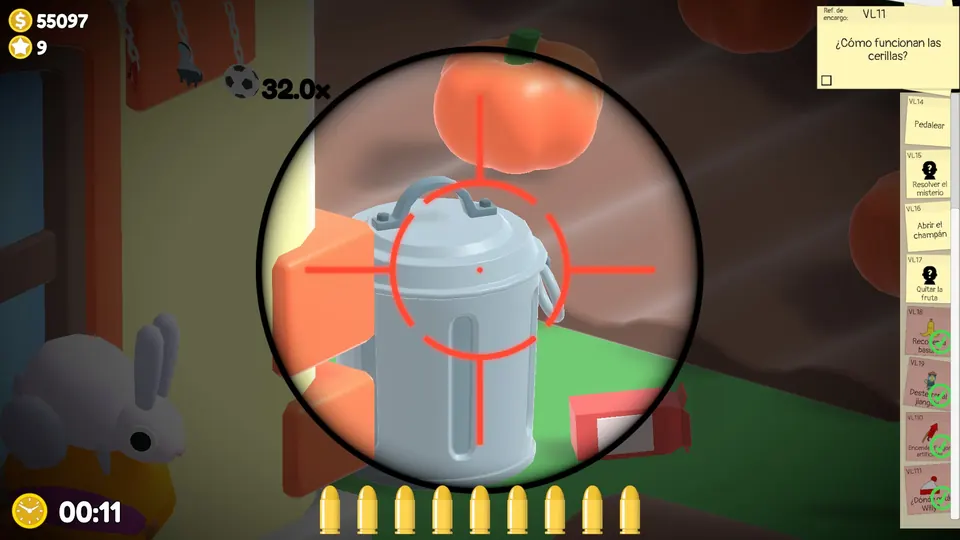
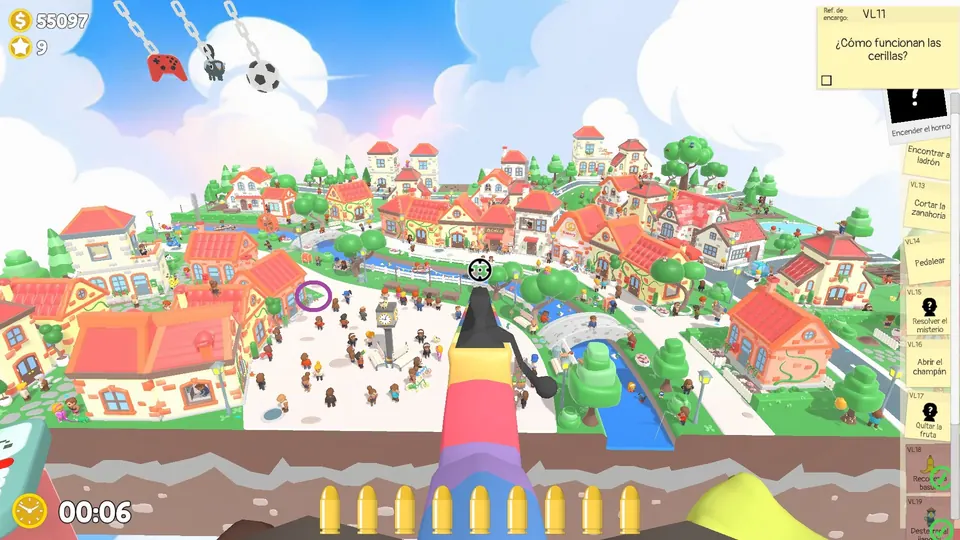
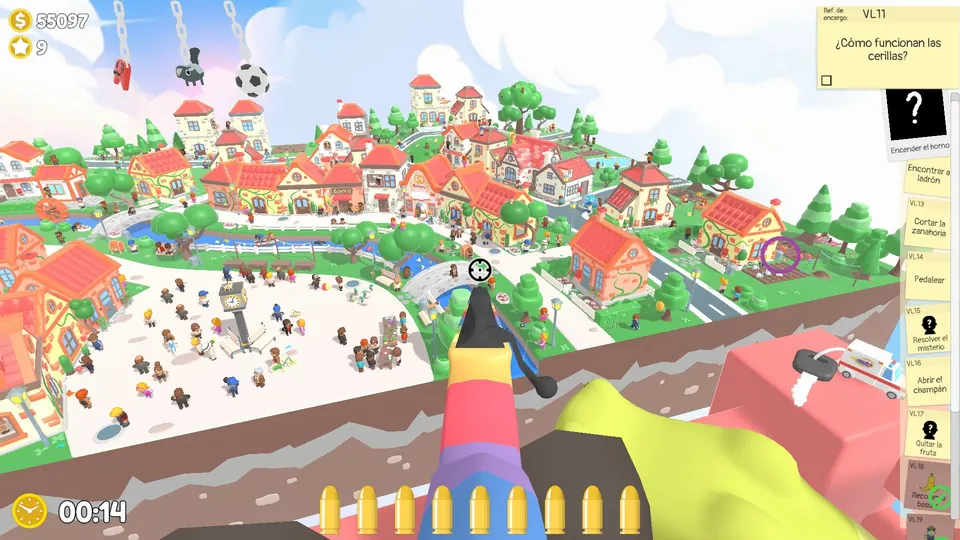
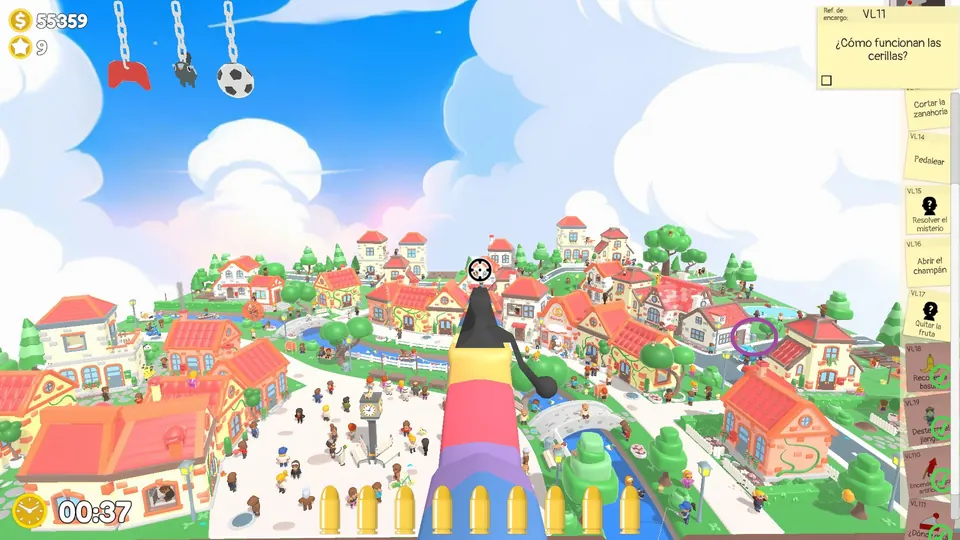
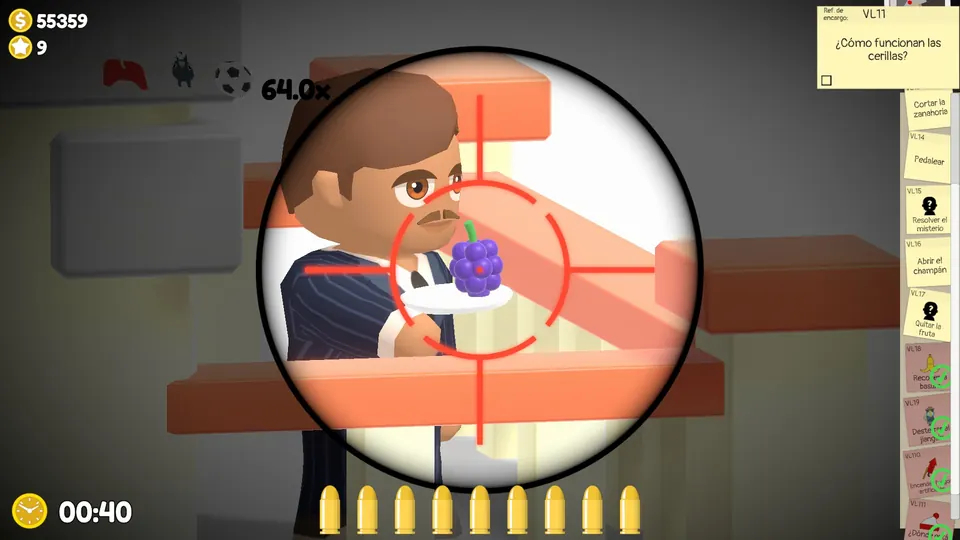
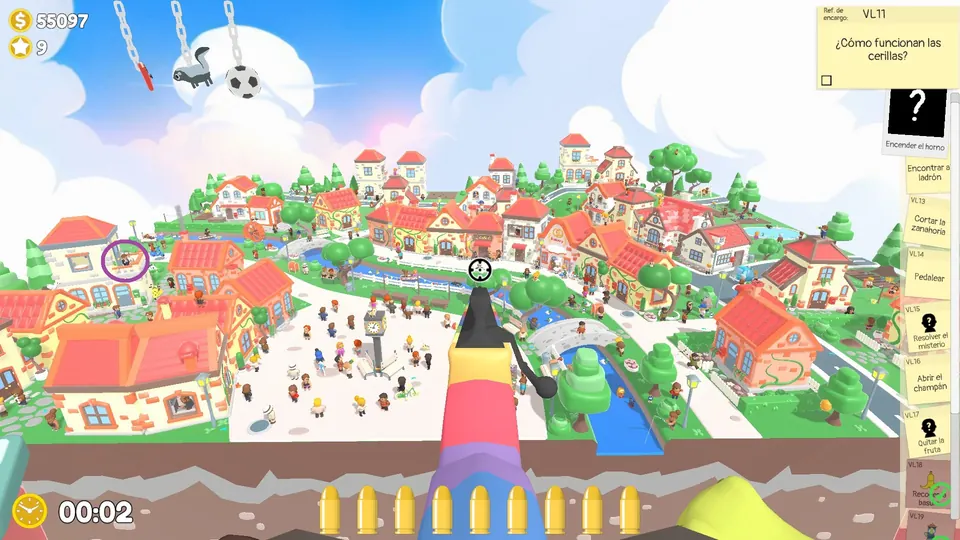
Shoot the grapes off the balcony
A man in a suit on a balcony is holding grapes. Shoot the grapes out of his hand. The grapes balcony has three possible spots. The third one can take a lot of restarts to show up, so do not assume there are only two.
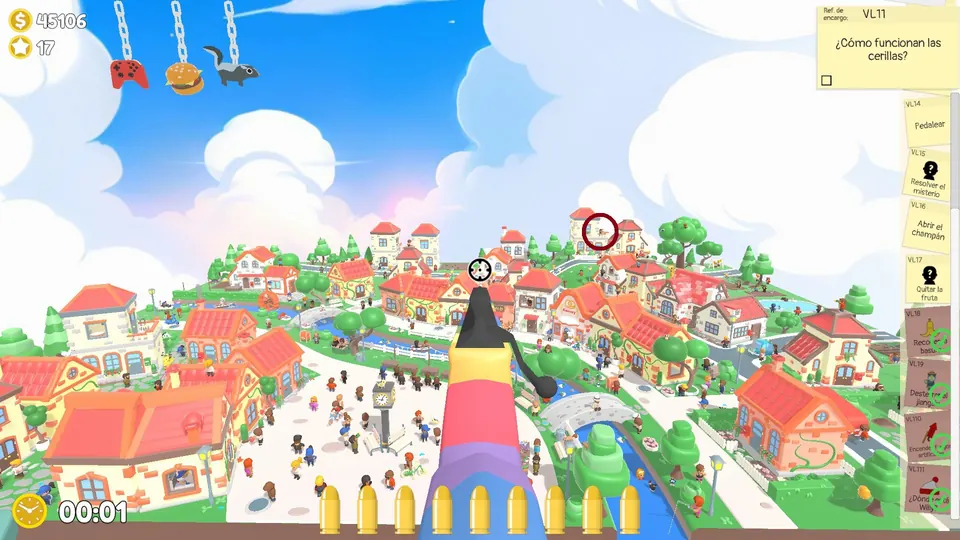
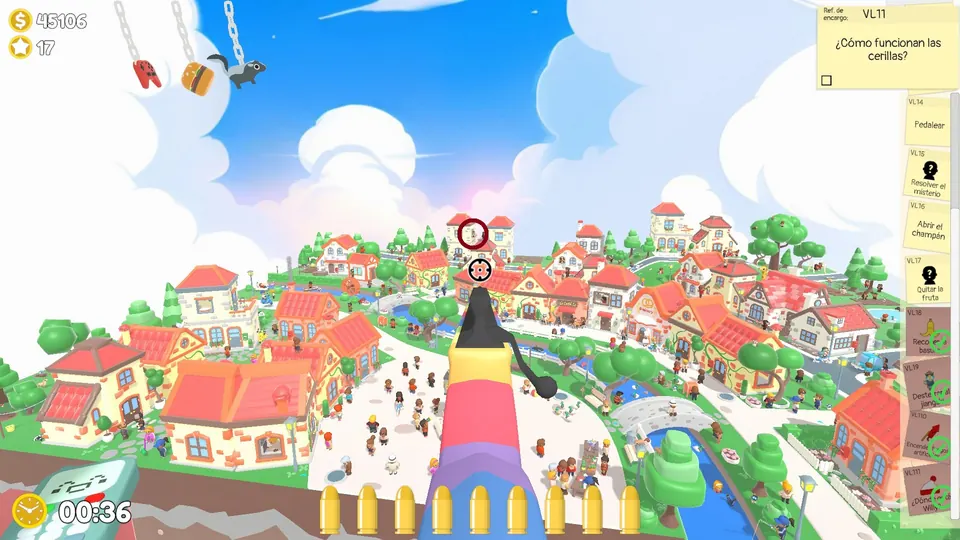
Vibrant Village Day 2
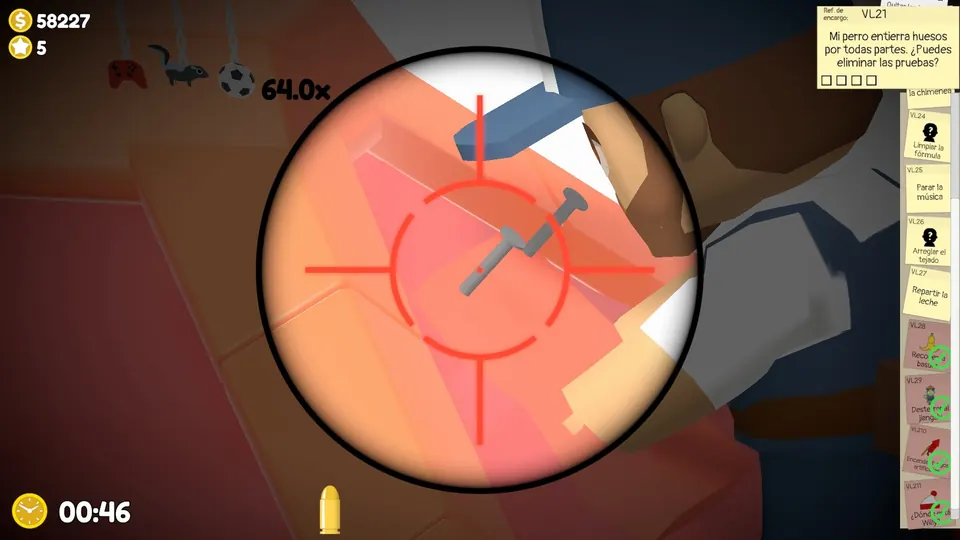
Fix the roof
An NPC called Manu is always on the same roof. Shoot the two nails to fix it.
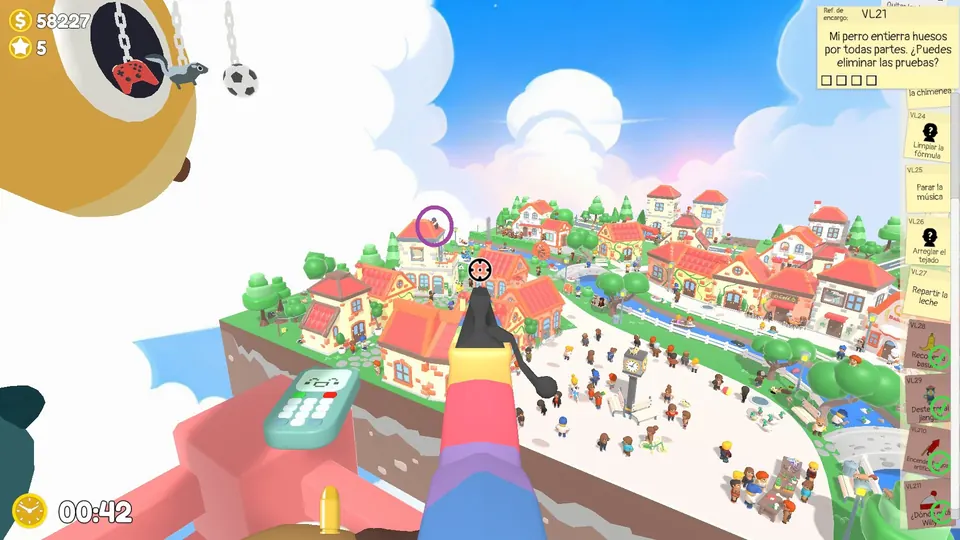
Find Tim in Vibrant Village
On Day 2 in the village, Tim is hiding in a potted bush. Shoot the bush to uncover him. The potted bush has three possible spots.
Deliver the milk
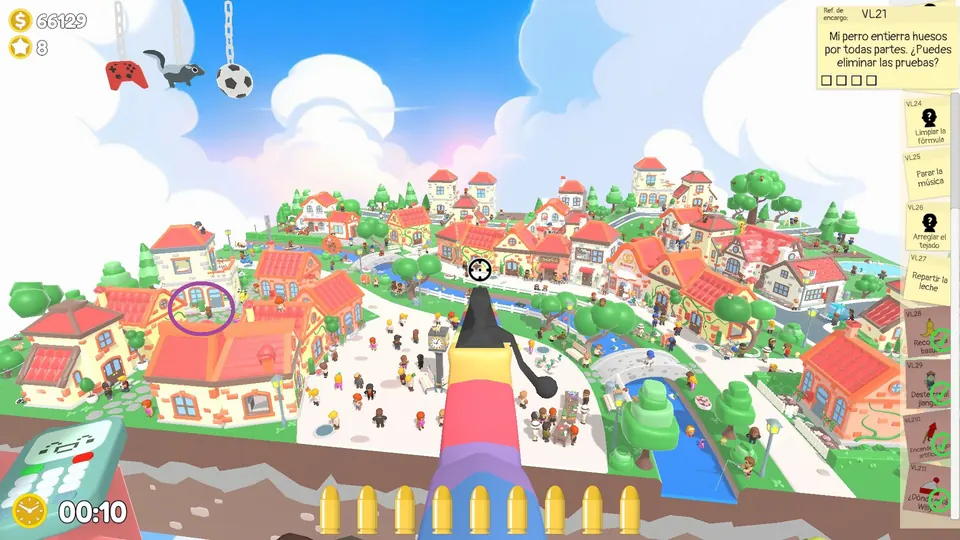
Shoot the doorbells on the doors to deliver the milk. The doors with bells are always the same ones.
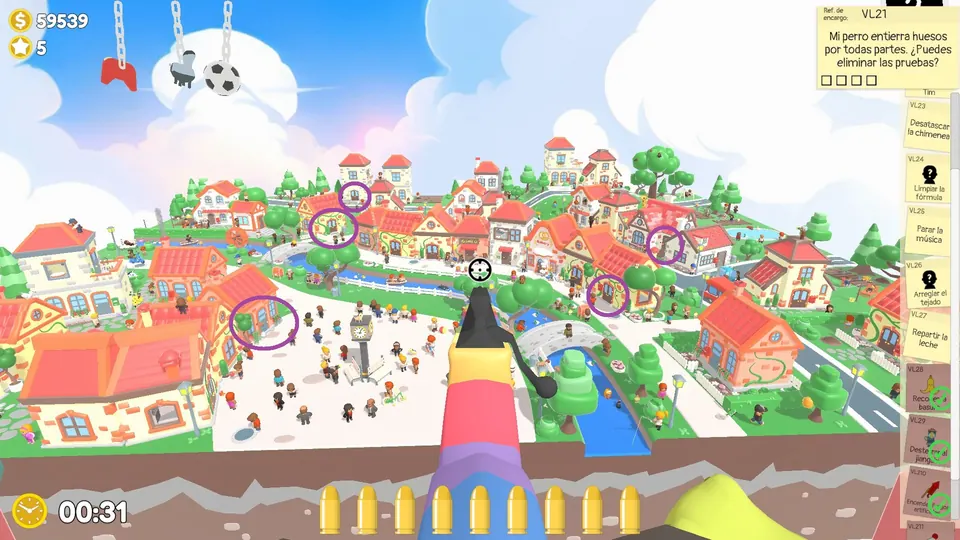
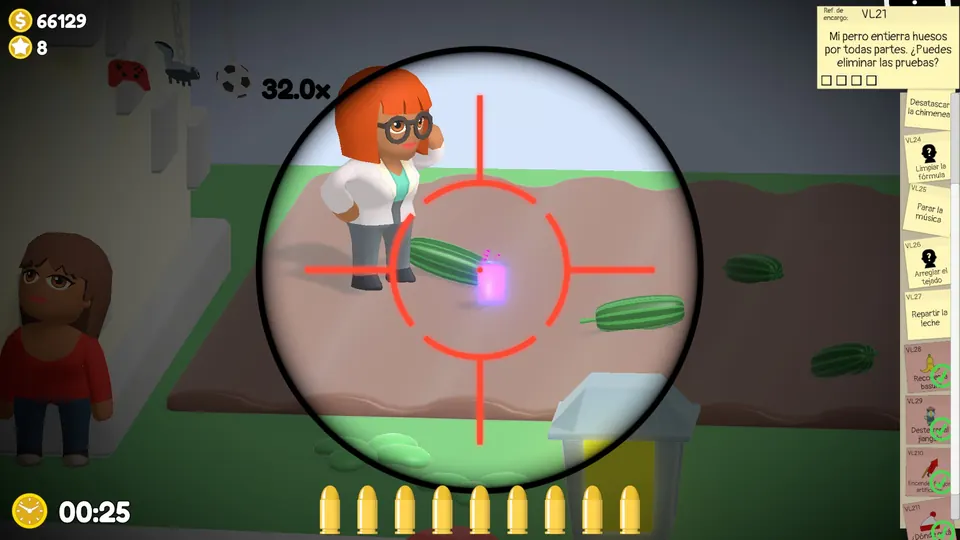
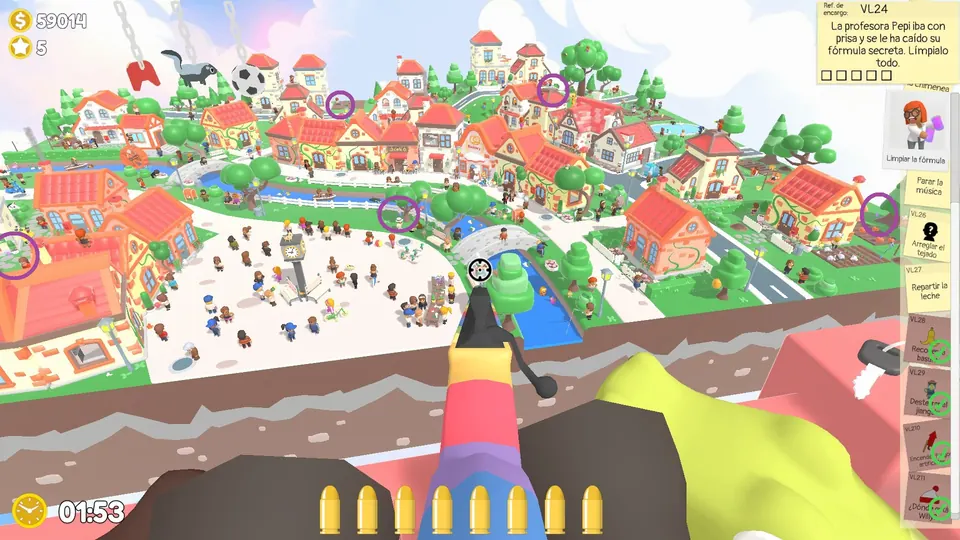
Destroy the purple flasks
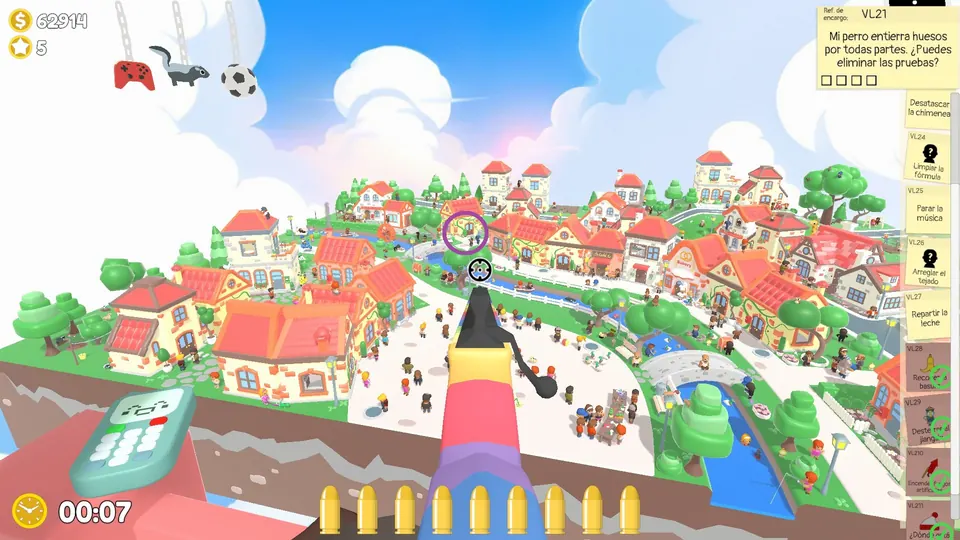
Destroy the doctor’s secret formula by shooting five purple flasks. The flasks come in three possible layouts.
Destroy the bones
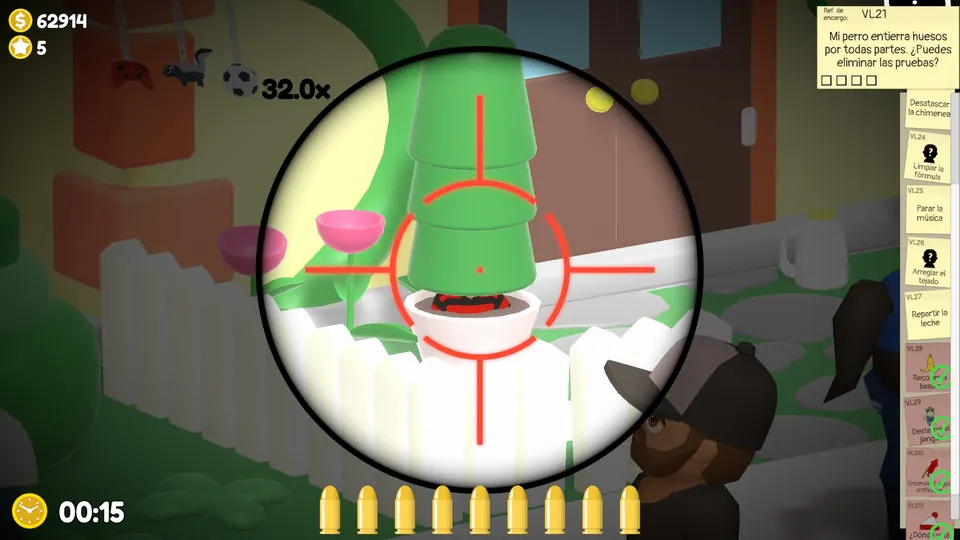
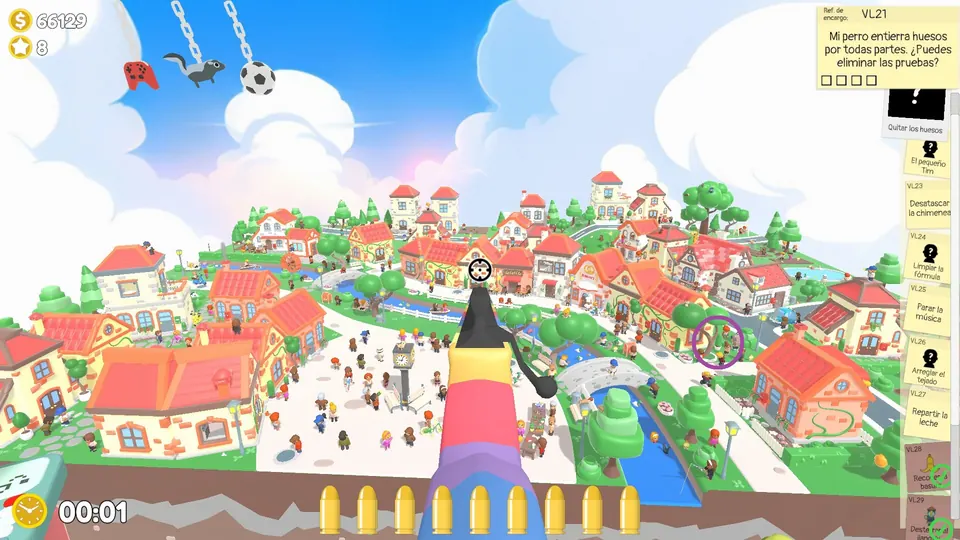
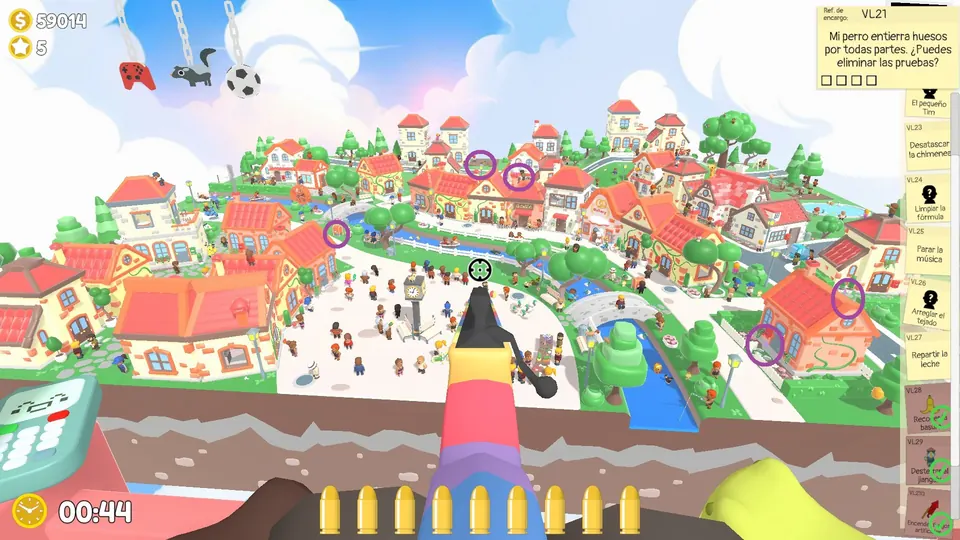
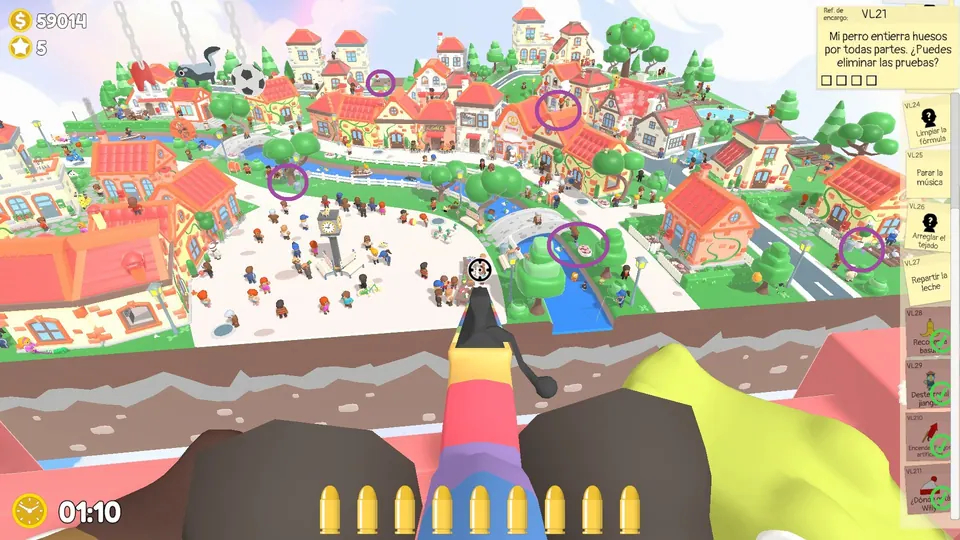
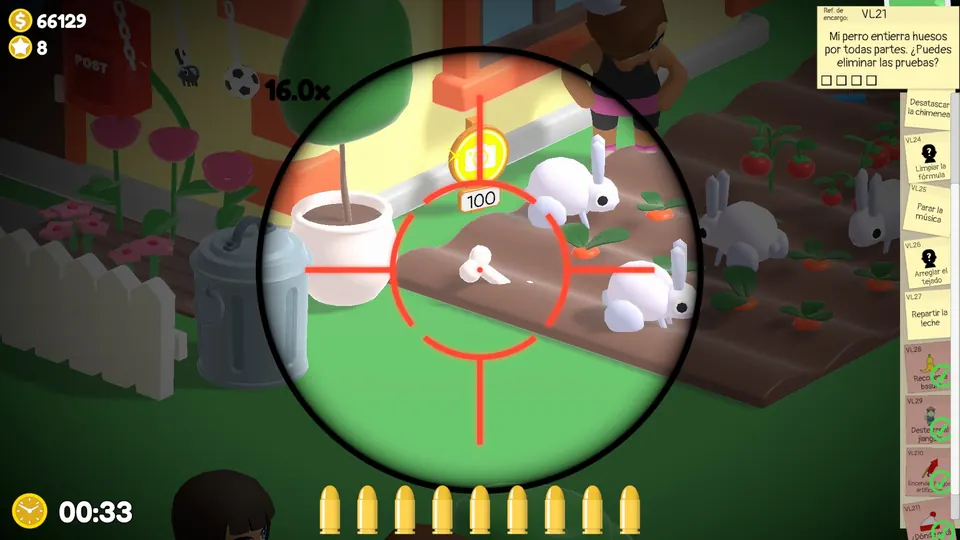
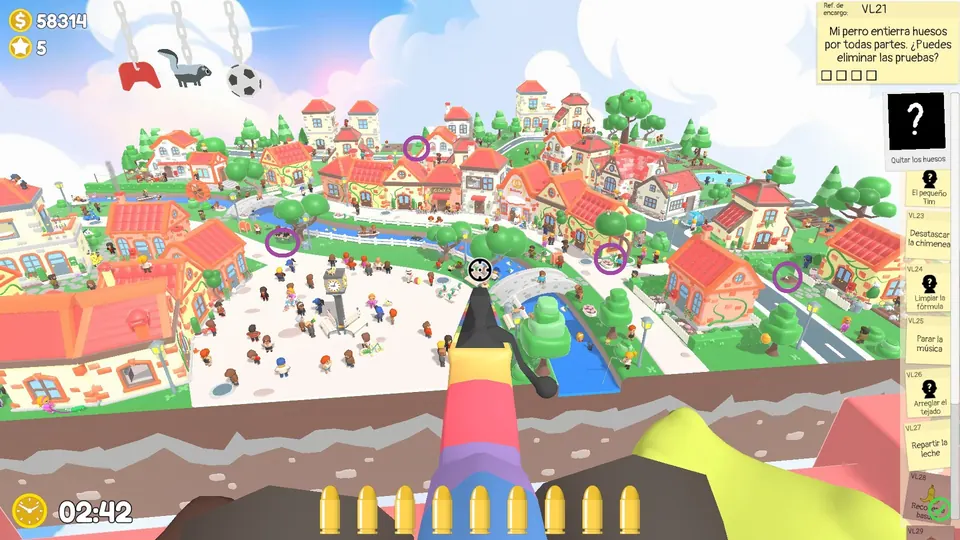
The dog has buried four bones; shoot all of them. The bones come in three possible layouts.
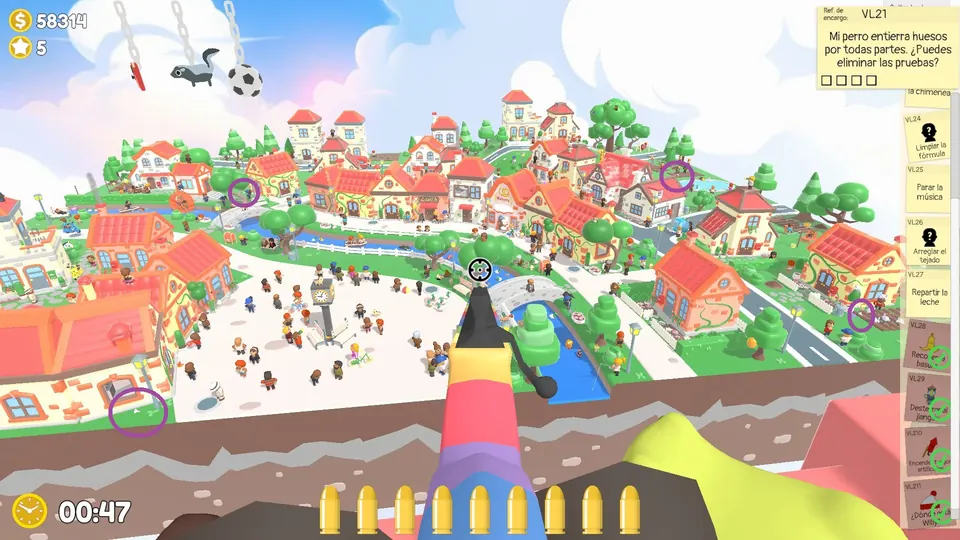
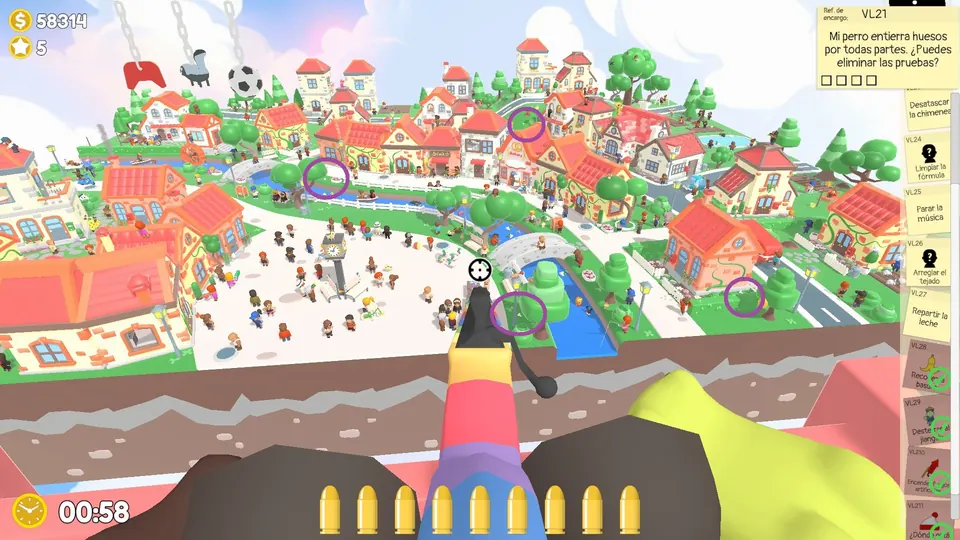
Phone objective: shoot the rolling watermelons
After you answer the phone, watermelons start rolling across the square towards an NPC. Shoot them all before they reach the NPC.
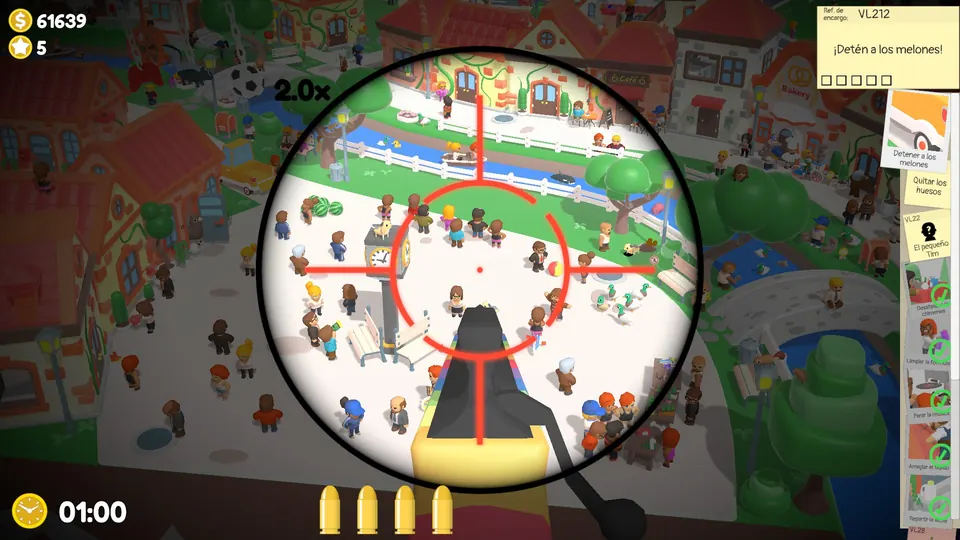
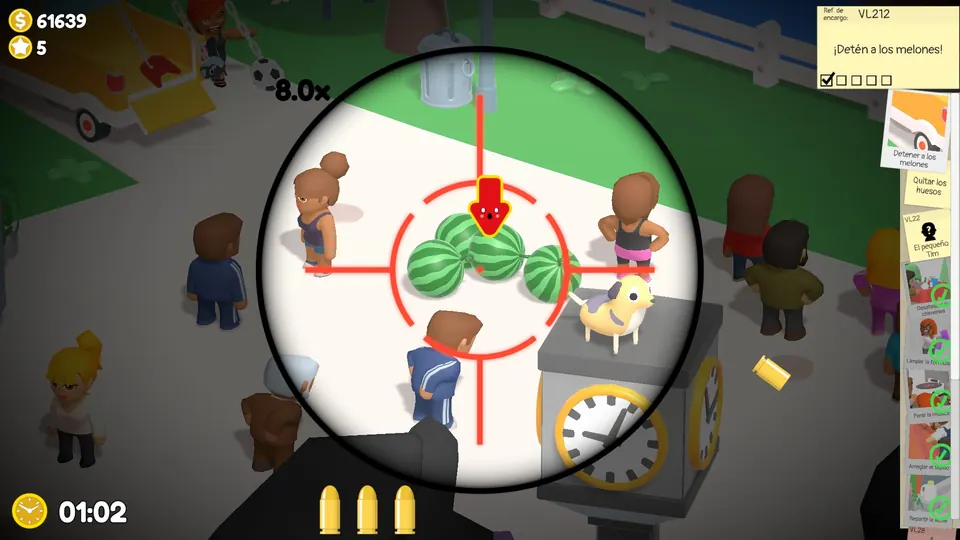
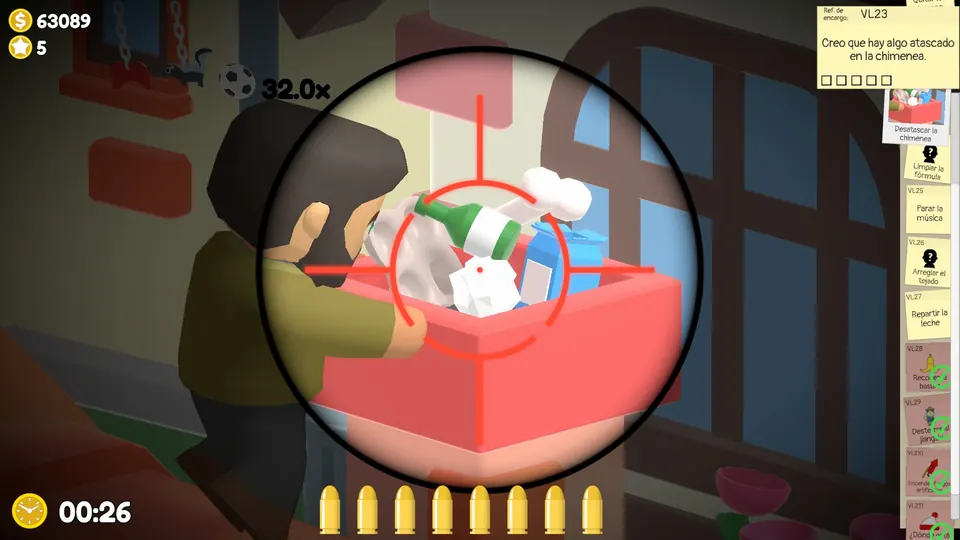
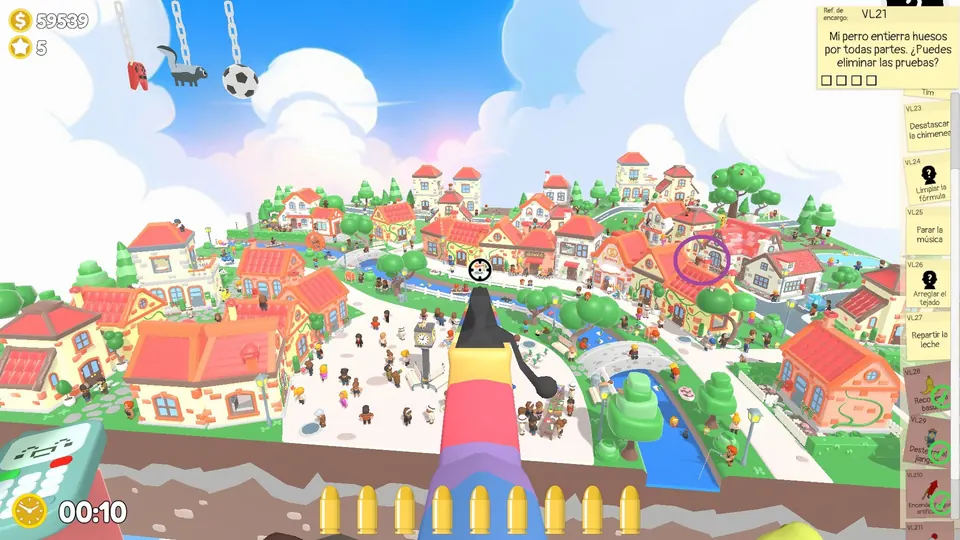
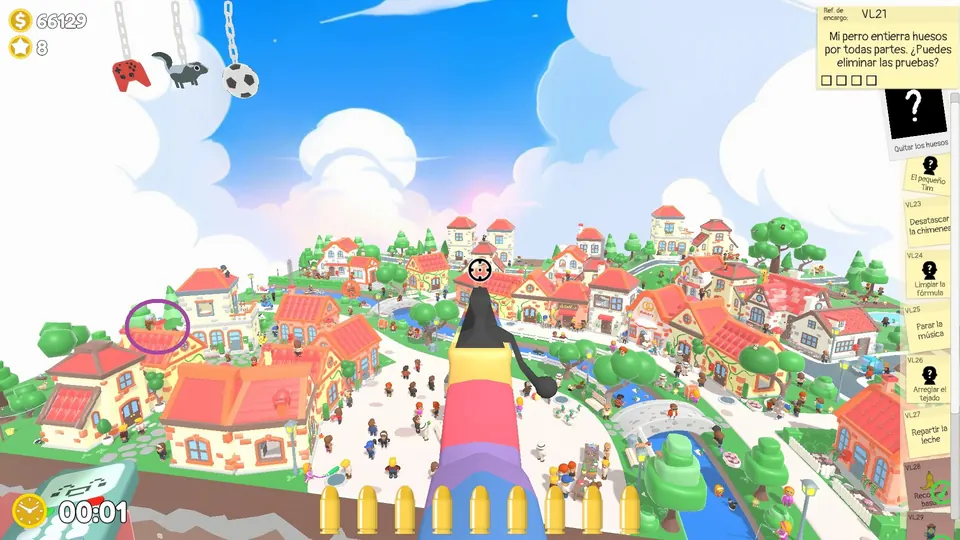
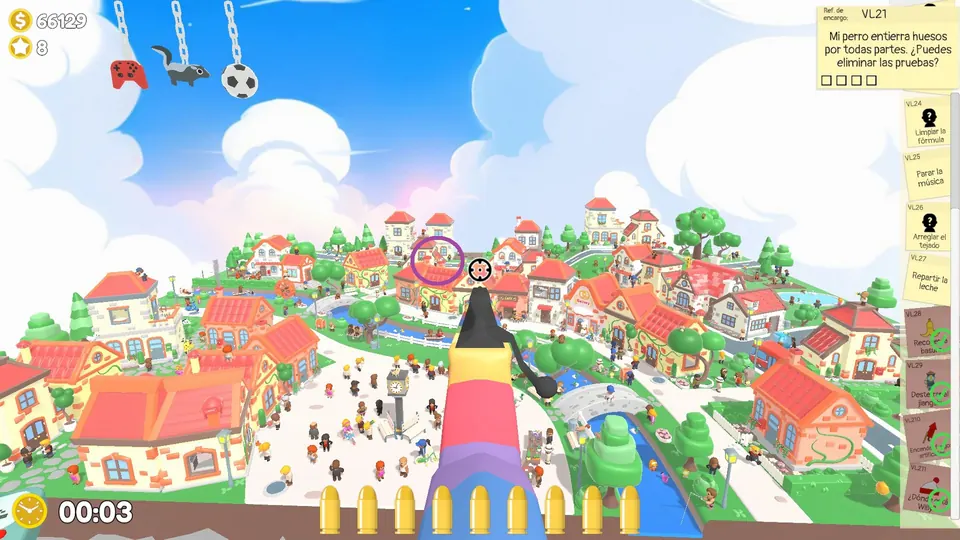
Unblock the village chimney
Shoot the rubbish blocking the village chimney. The blocked chimney has three possible spots.
Stop the music
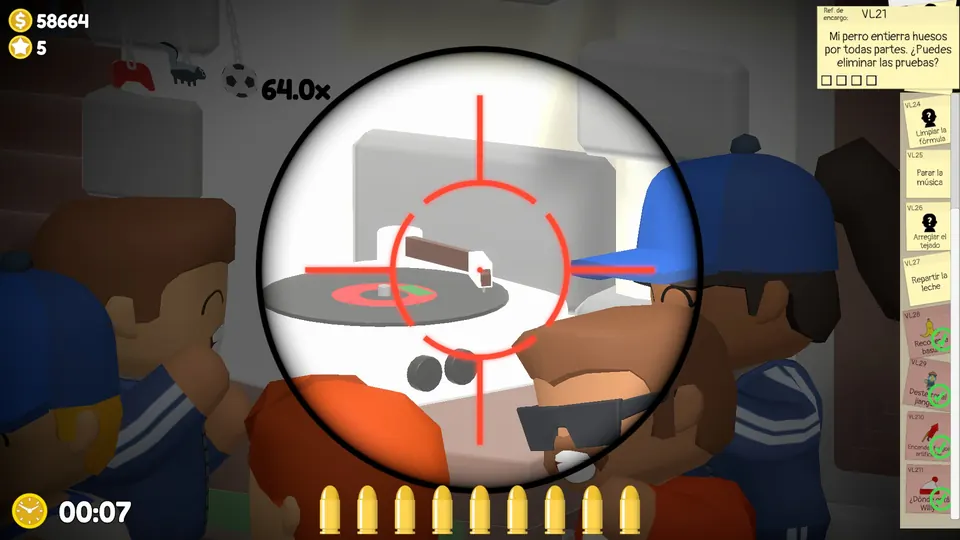
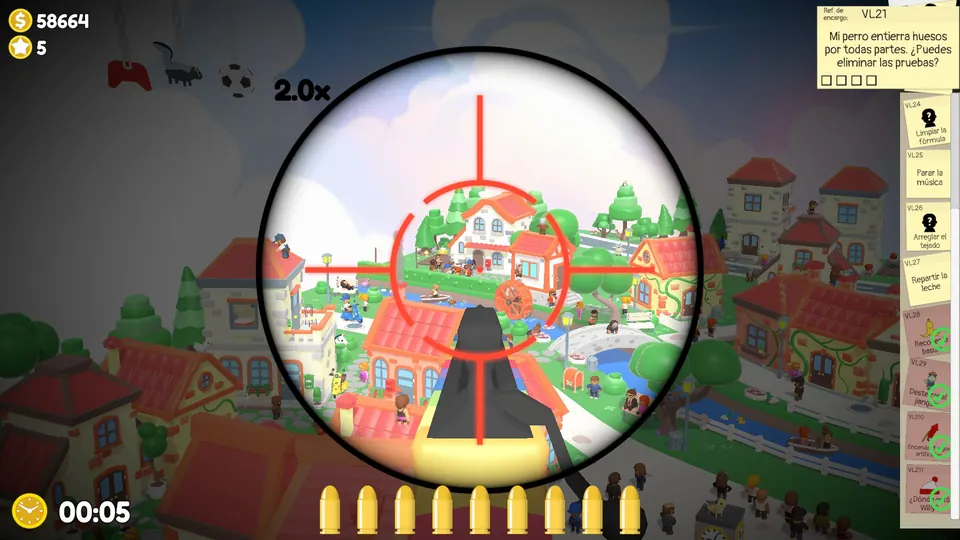
Shoot the needle of the record player to stop it. It is always on the left side of the map, past the stream.
Vibrant Village Day 3
Clean the leopard
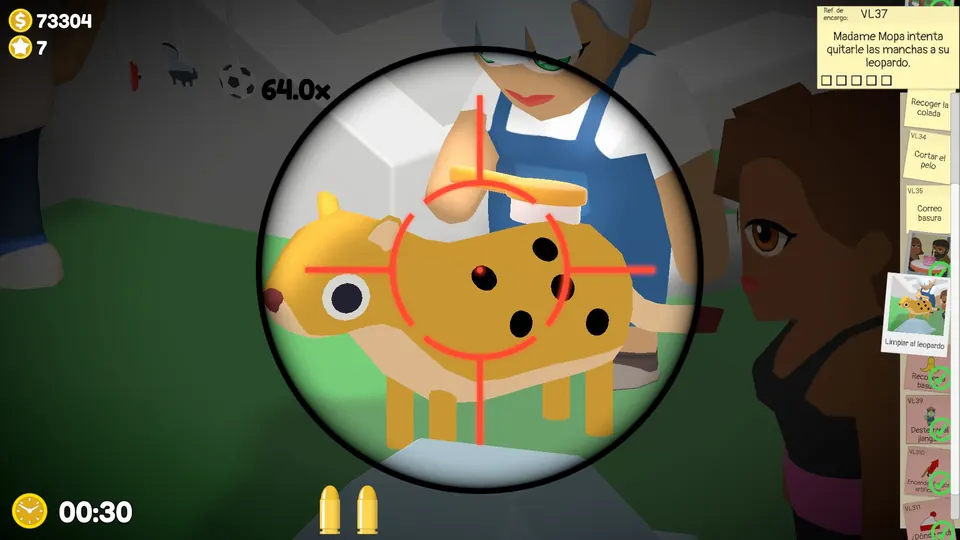
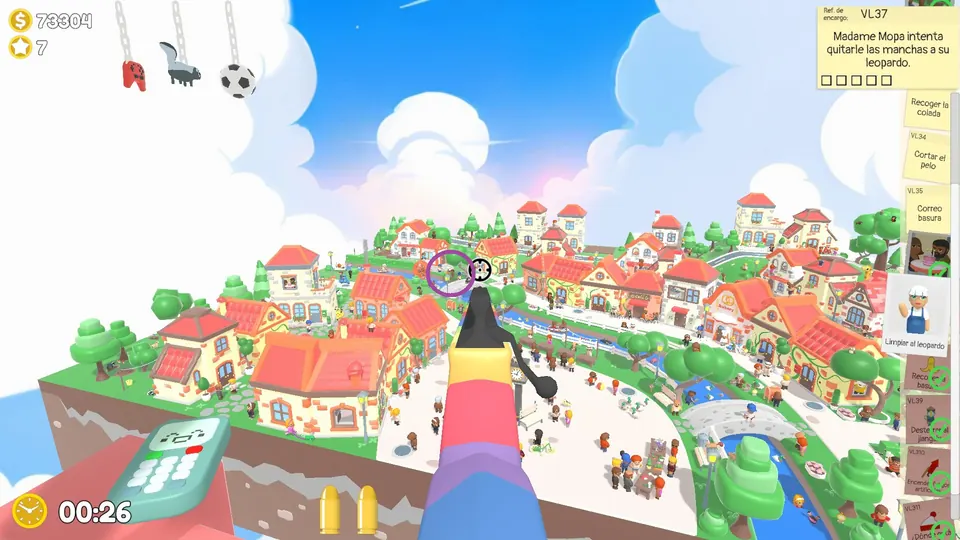
Shoot the five black spots on the leopard. The leopard has three possible spots.
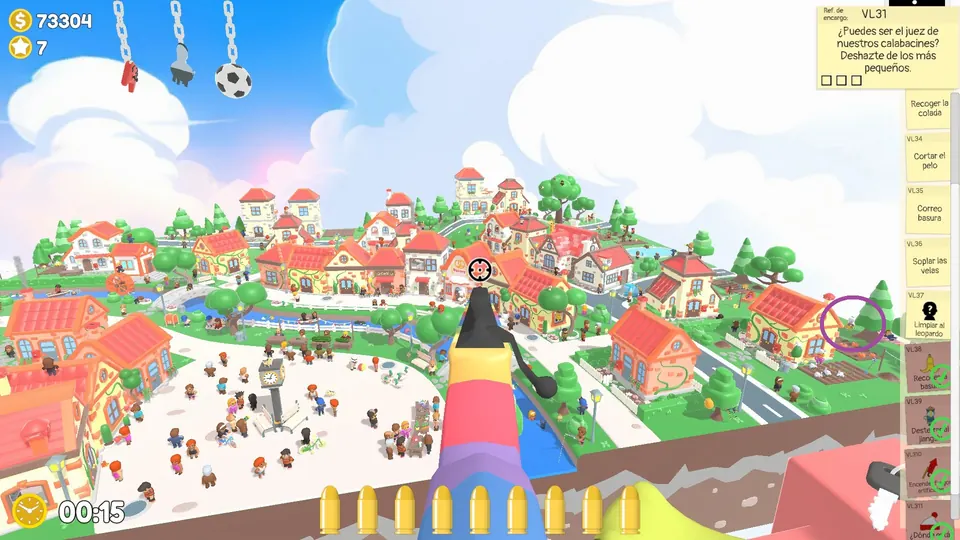
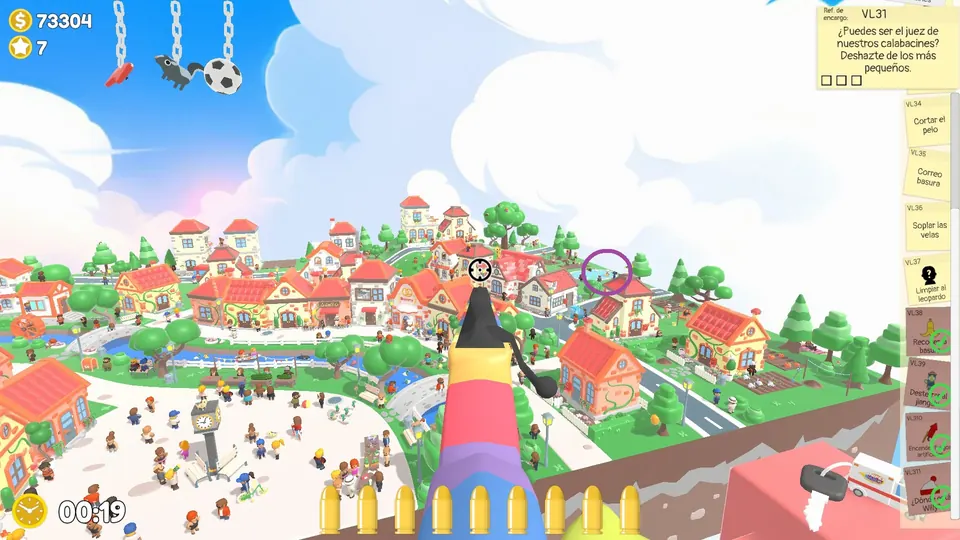
Destroy the letters
Three letters stick out of a green mailbox. Shoot all three. The green mailbox has three possible spots.
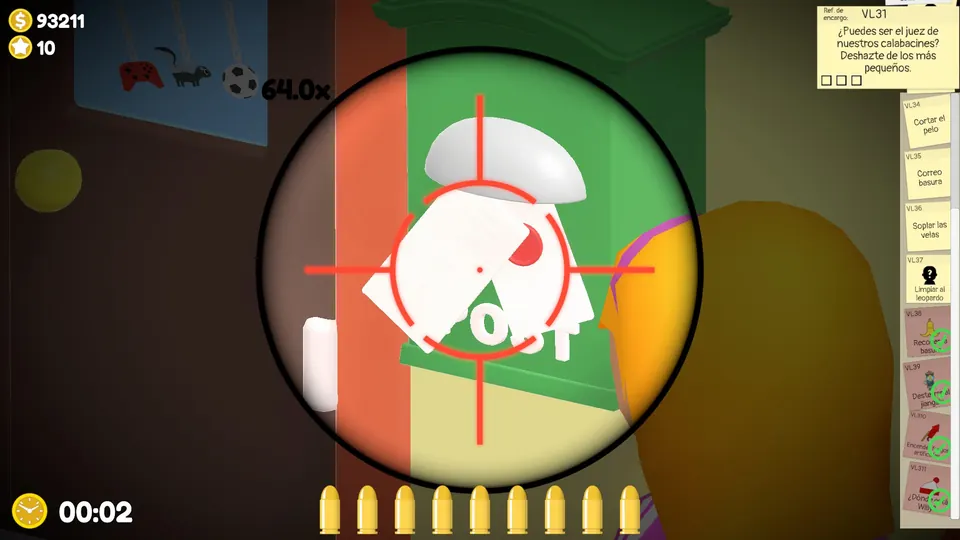
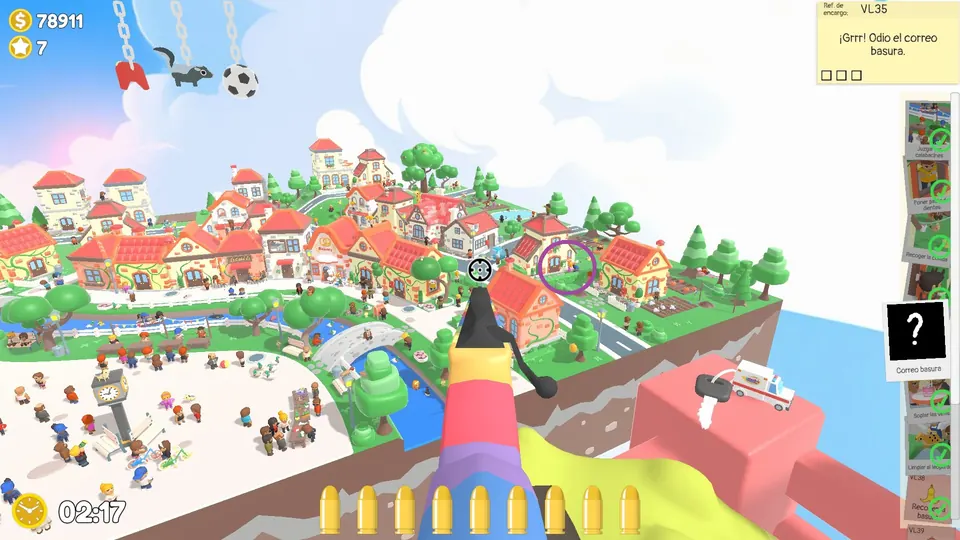
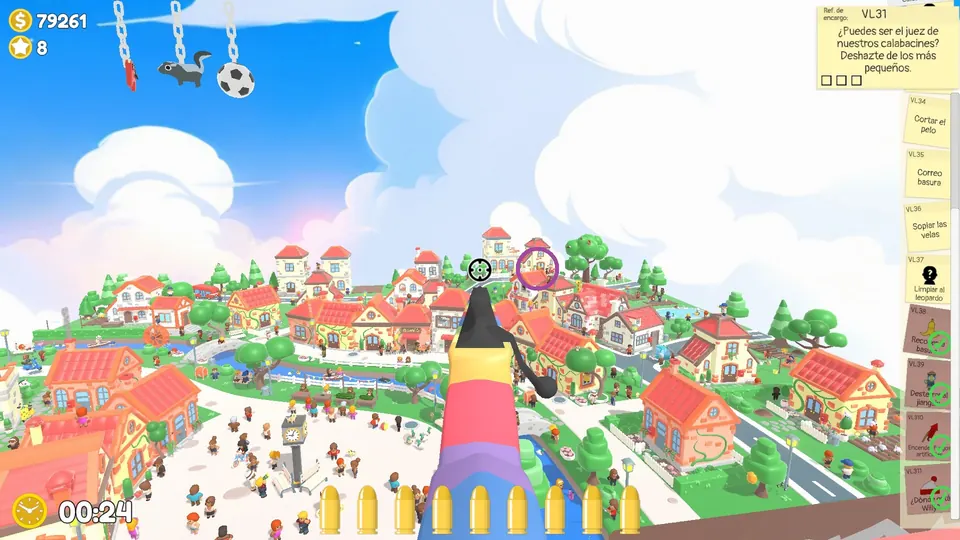
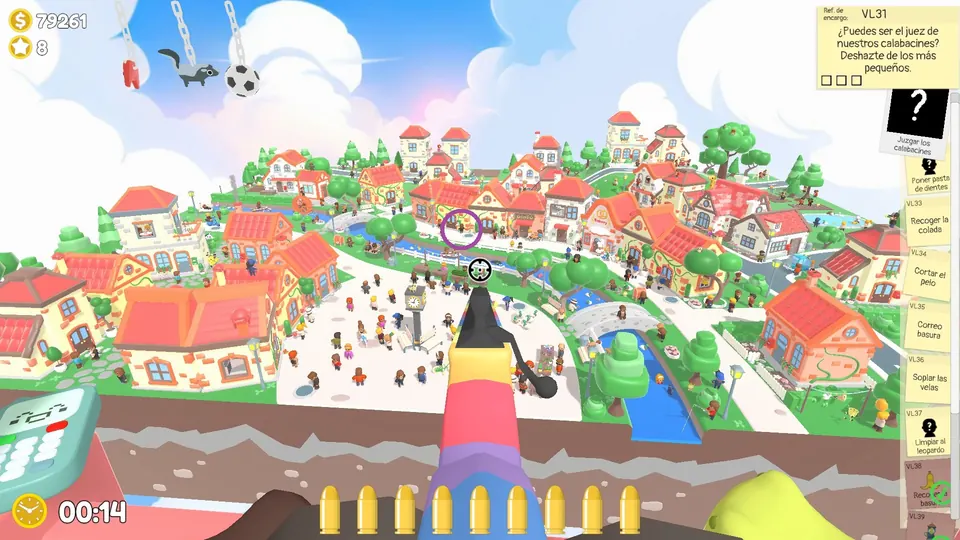
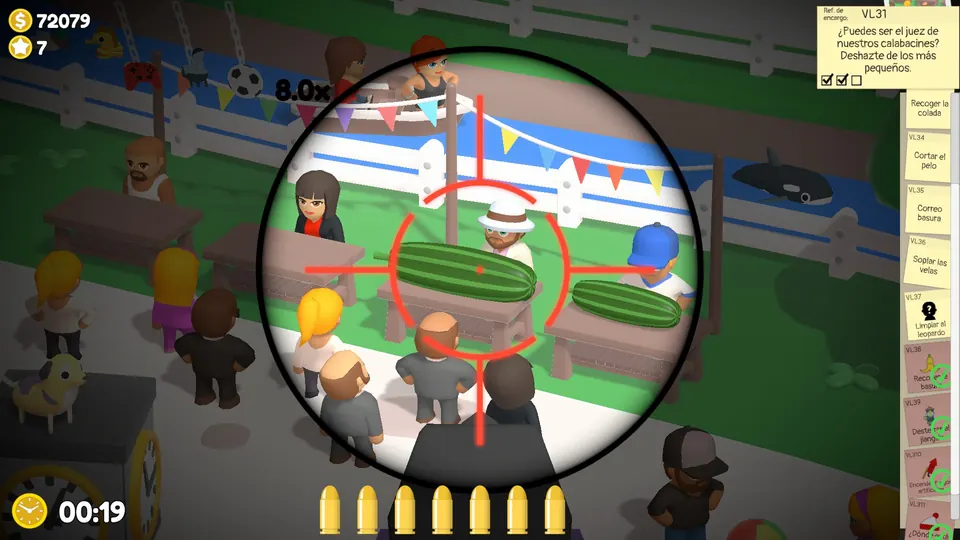
Shoot the smaller marrows in the contest
The contest is always in the village square. Shoot the two smaller striped marrows and the sausage, and leave the biggest marrow alone.
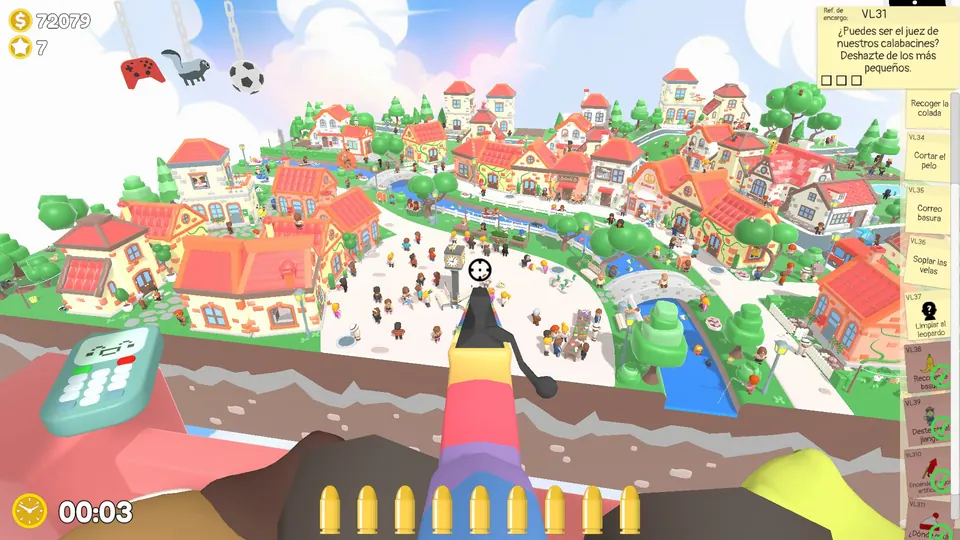
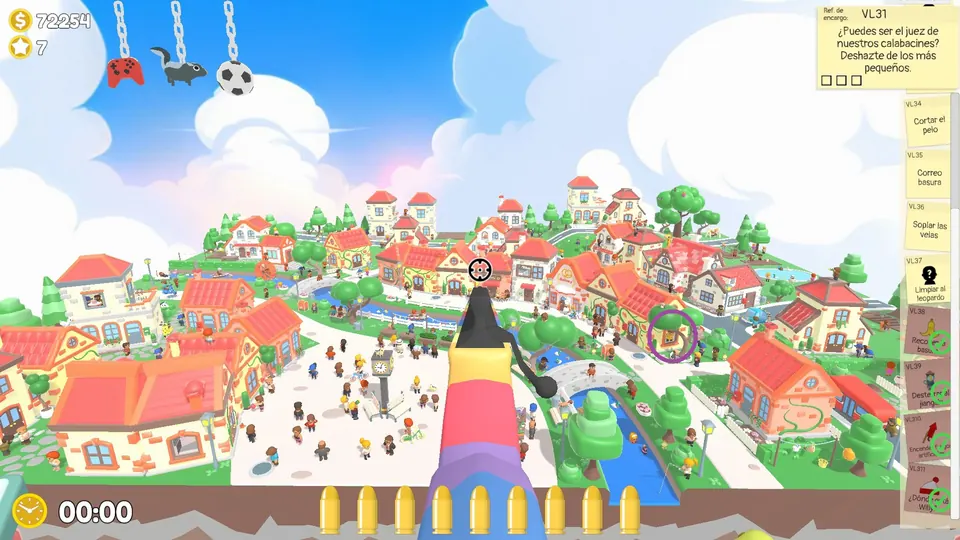
Open the toothpaste
The NPC with the toothpaste is always across the bridge, on the right. Shoot the toothpaste cap to open it.
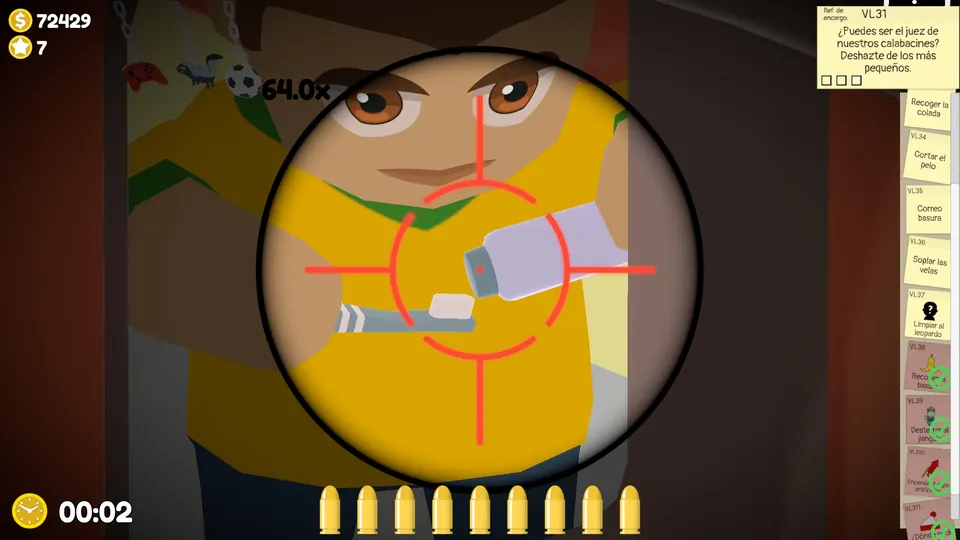
Trim the striped-shirt NPC’s hair
Shoot the tufts of hair on the NPC in the striped shirt. The striped-shirt NPC has three possible spots.
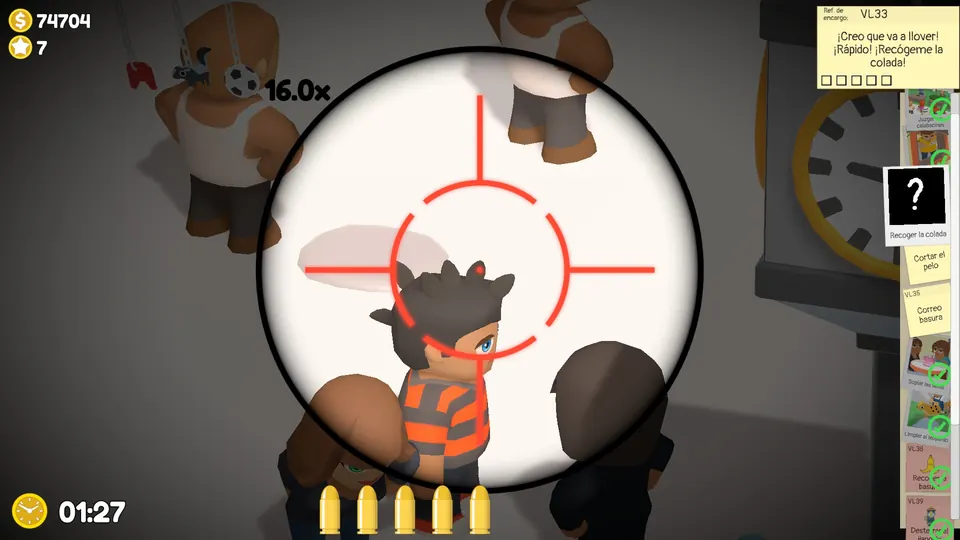
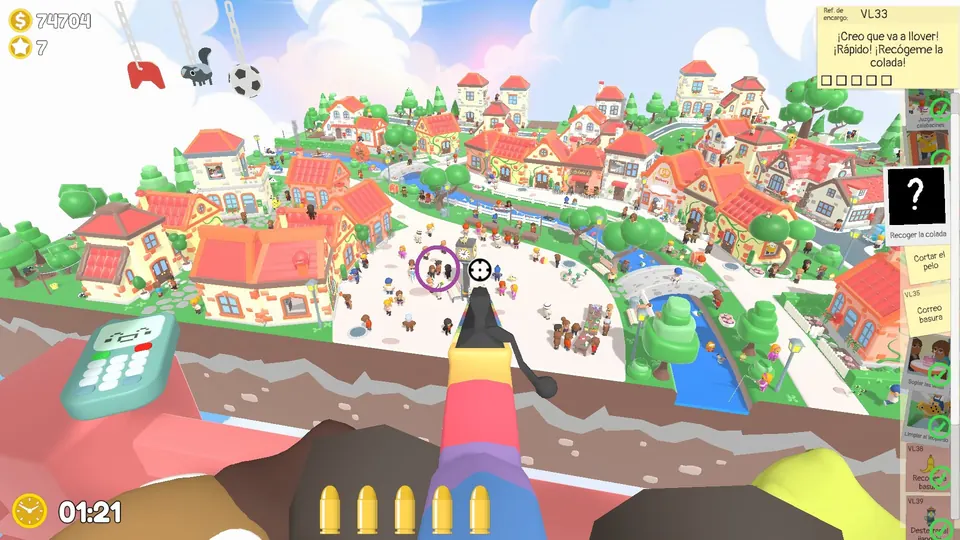
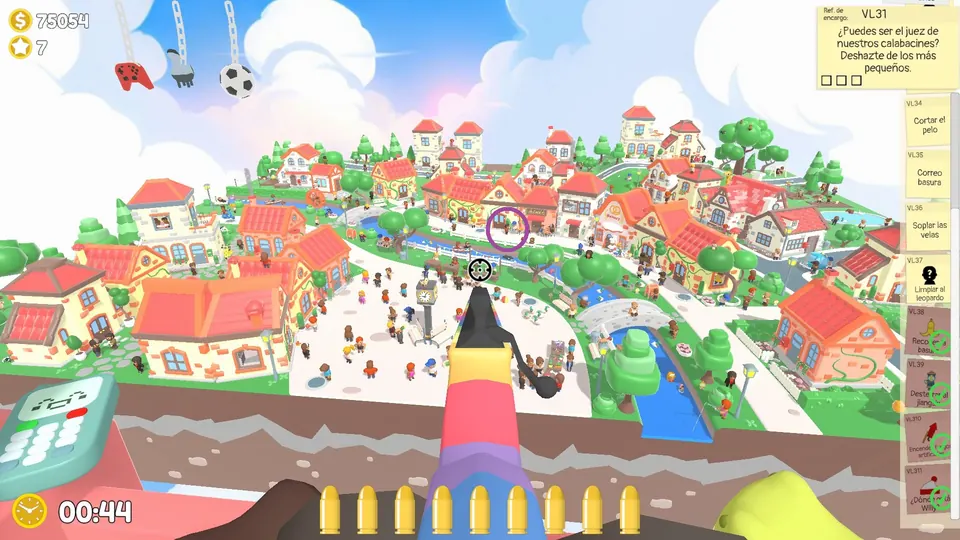
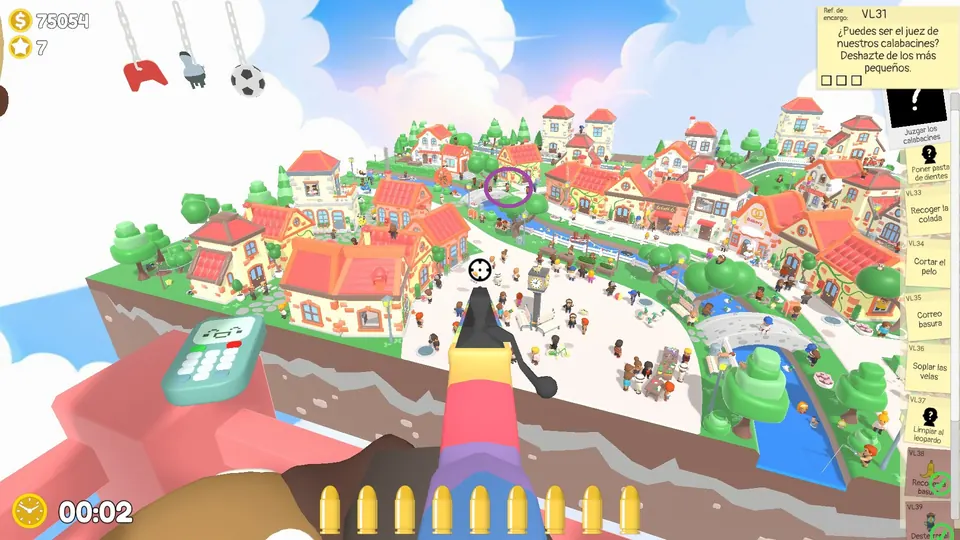
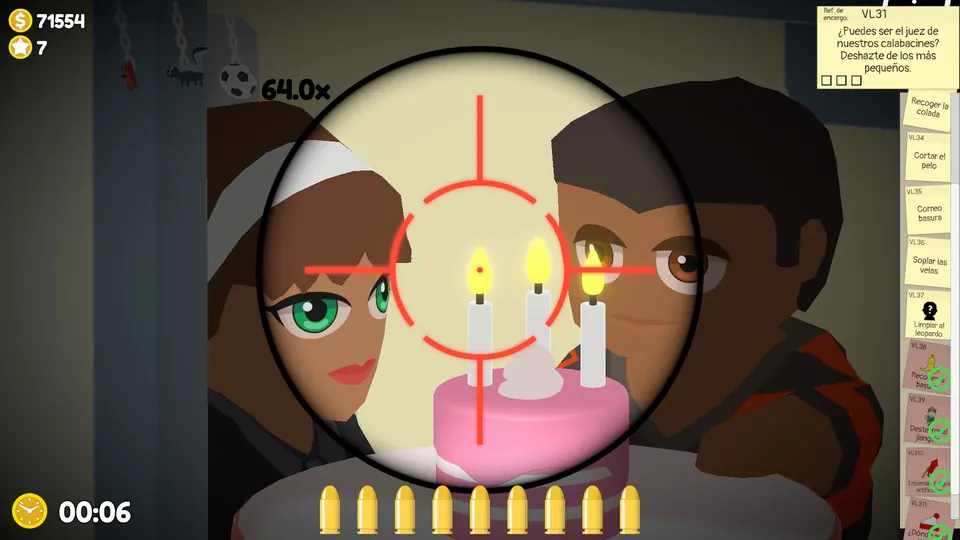
Blow out the candles
Shoot the three candles on the cake. The cake is always in the houses to the left of the square.
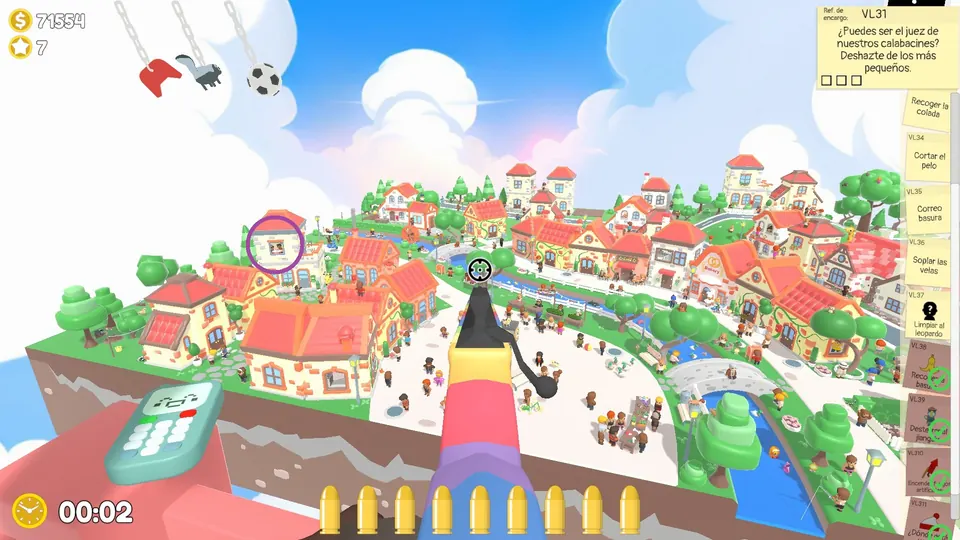
Remove the clothes pegs
Five pegs hold a cat and two other items on a washing line. Shoot all five pegs. The washing line has two possible spots.
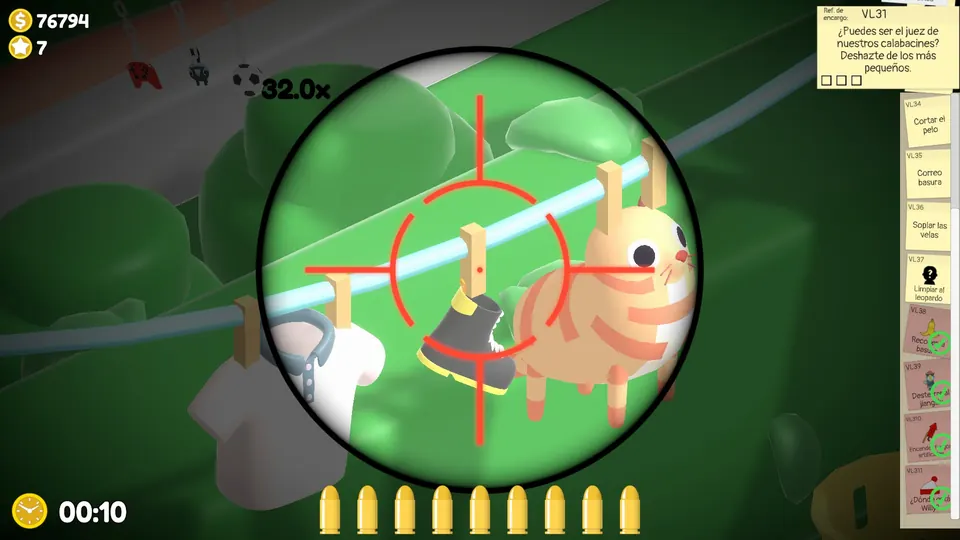
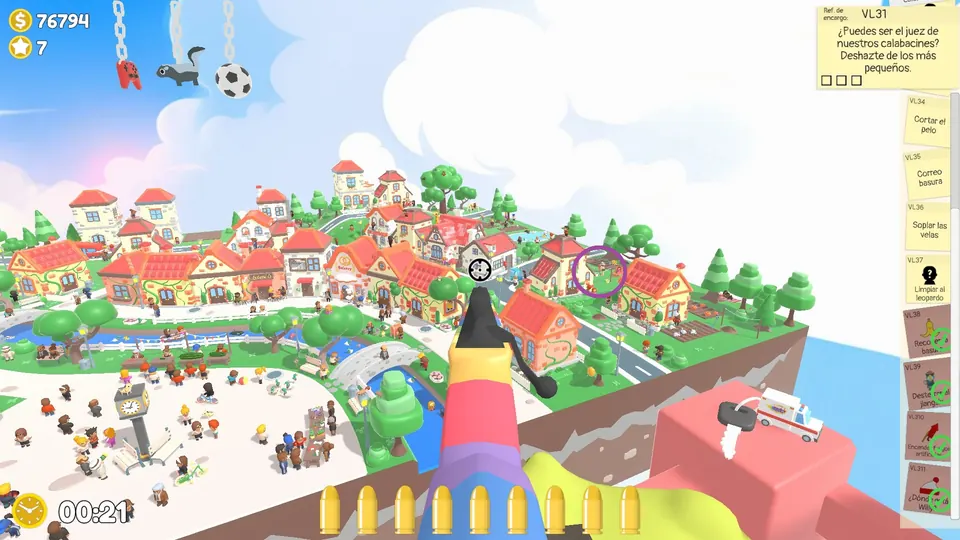
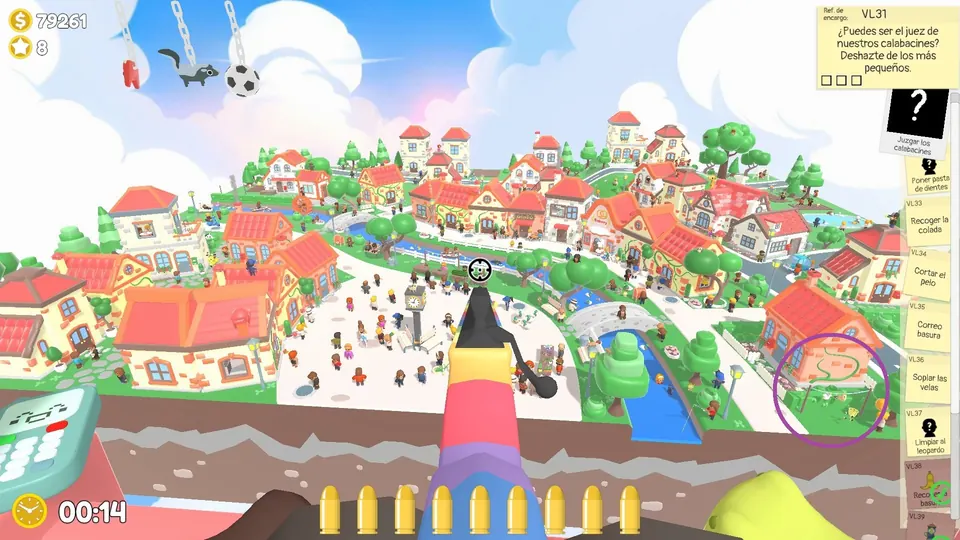
Vibrant Village boss objective
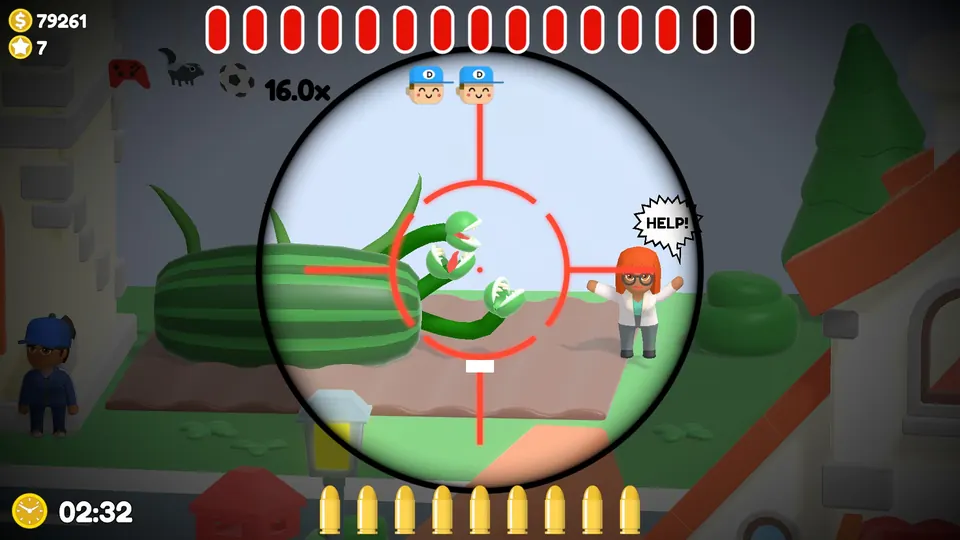
Snapping heads keep growing out of a giant striped marrow; shoot each one before it reaches the NPC. The boss starts after you finish everything else on Day 3.
Happy Harbour bananas, fireworks, Willy and Jiangshi
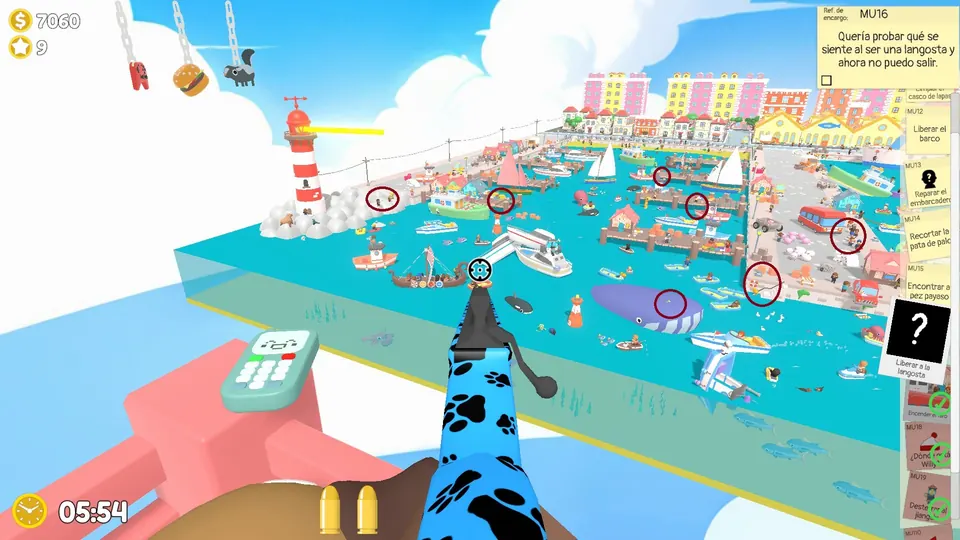
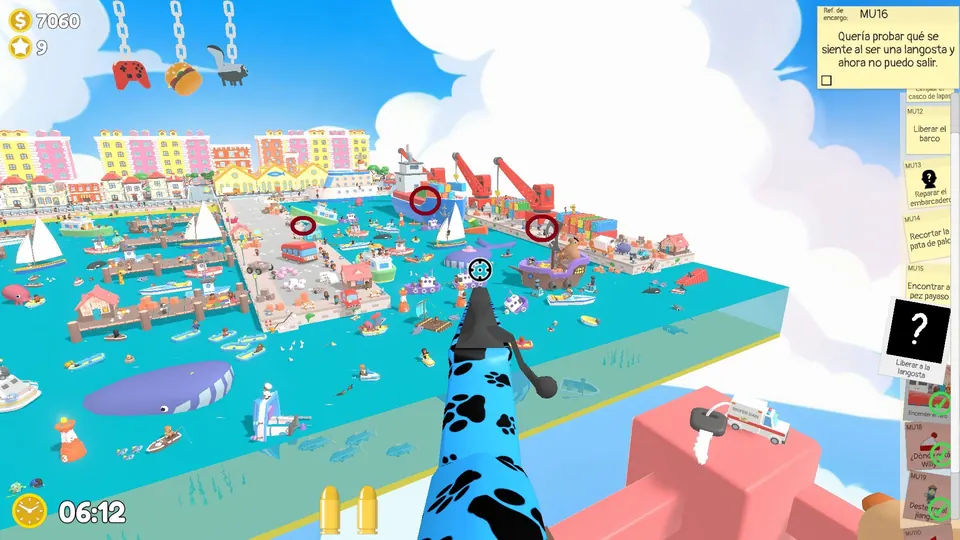
Happy Harbour bananas (10)
The harbour bananas are shown over two overview shots of the harbour.
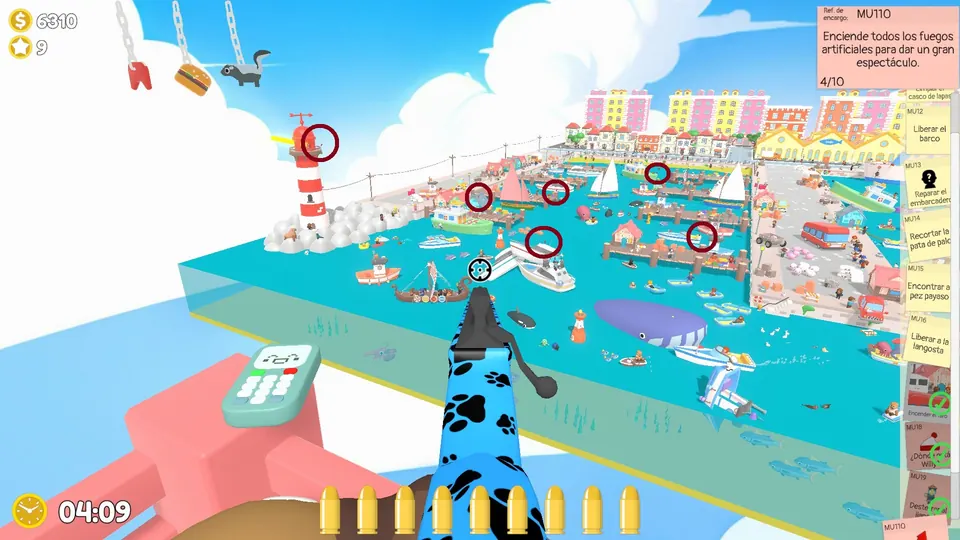
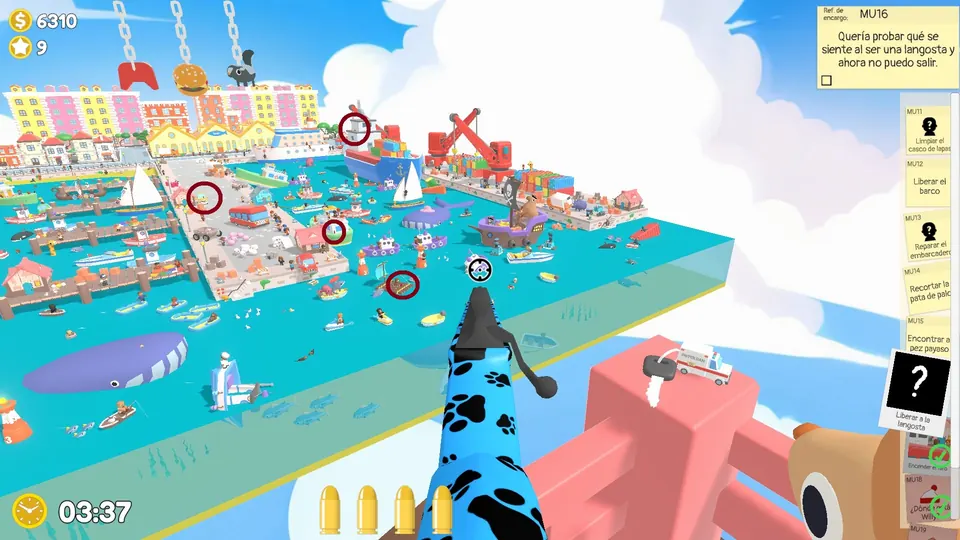
Happy Harbour fireworks (10)
The harbour fireworks are split across two overview shots as well.
Happy Harbour Willy and Jiangshi
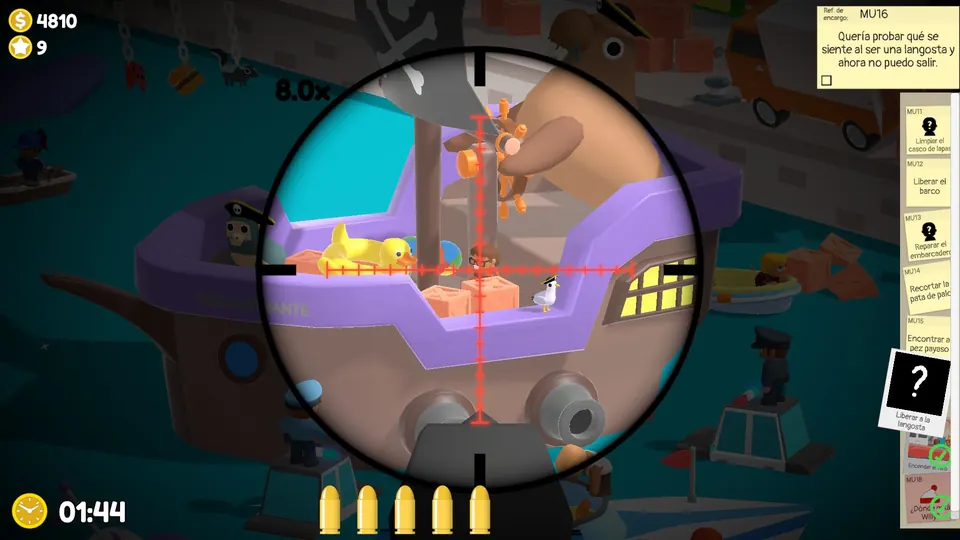
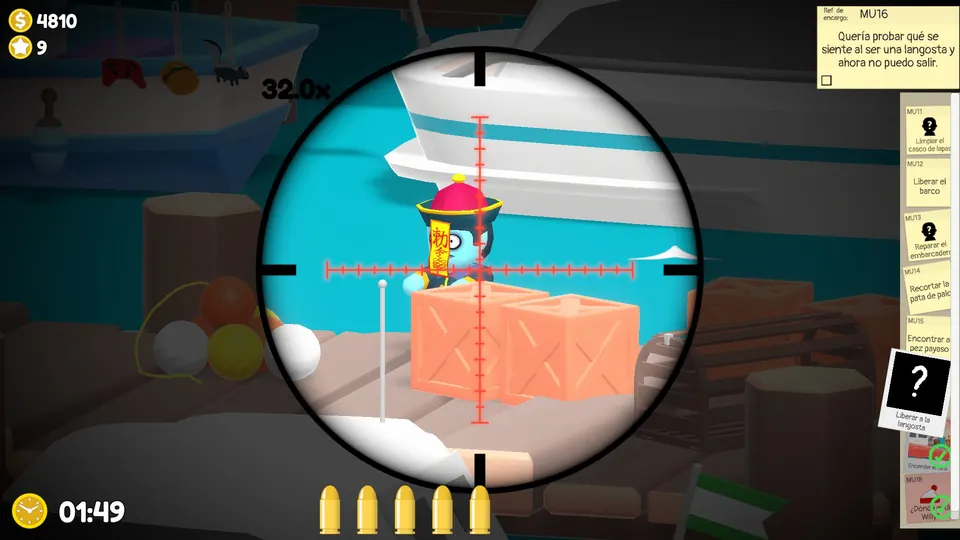
Willy and the Jiangshi are both circled on the harbour overview below.
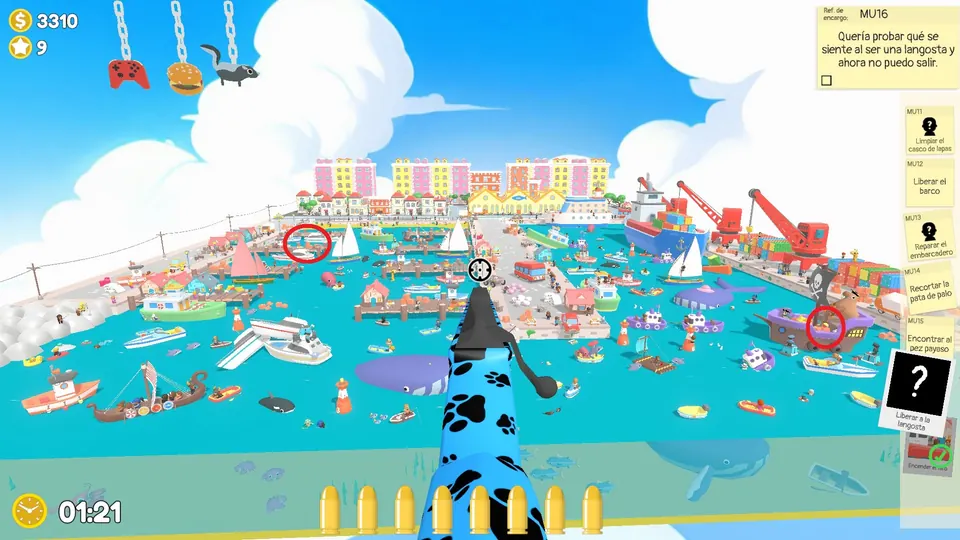
Willy is on the pirate ship on the right, tucked behind a beach ball and some crates.
The harbour Jiangshi is behind some crates on the docks on the left side of the map.
Happy Harbour Day 1
Light the lighthouse
Find the lever that switches on the lighthouse. It is at the back of the map. Shoot the lever.
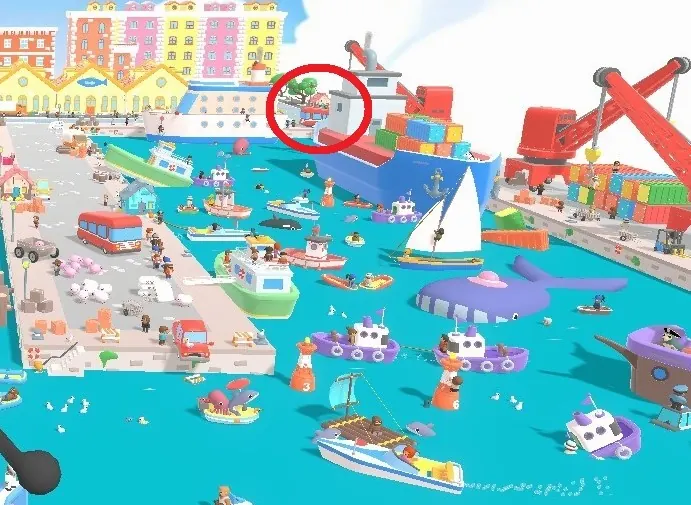
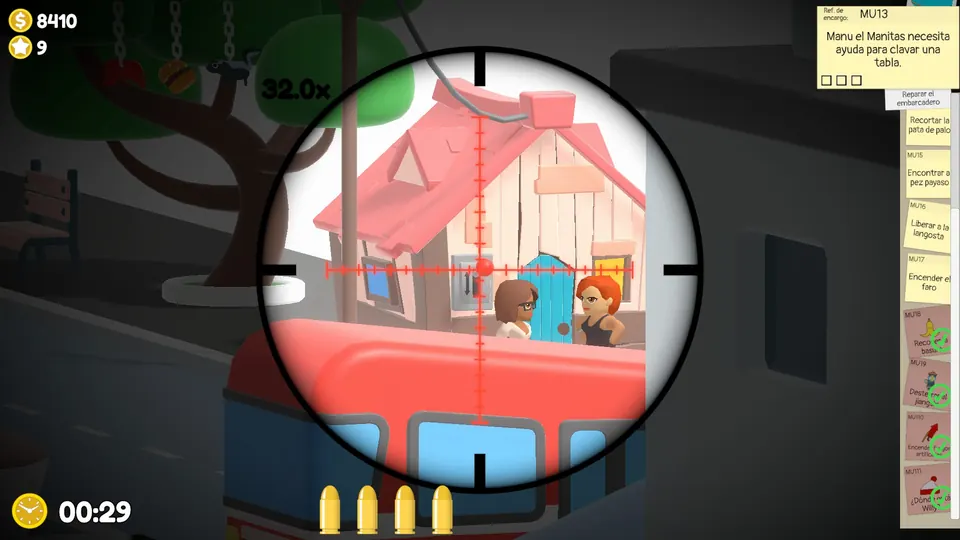
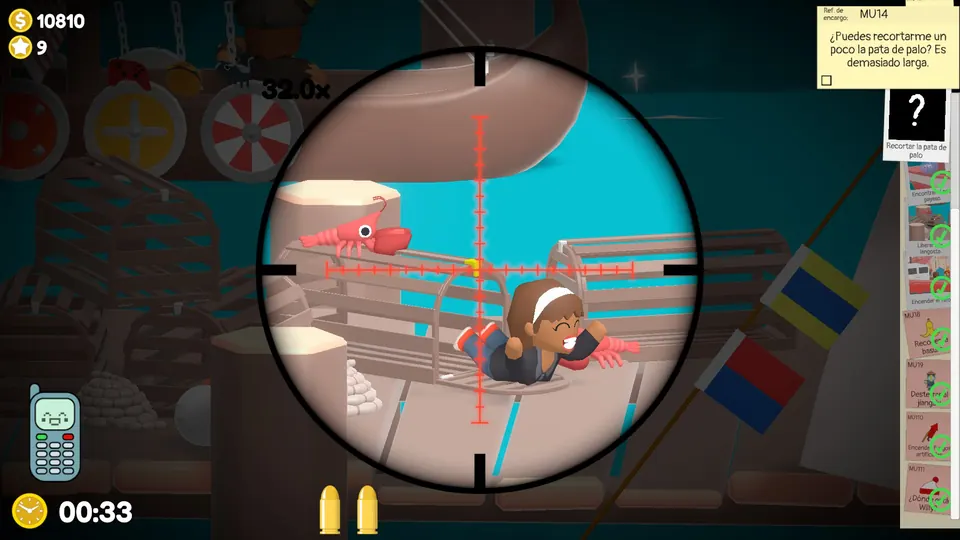
Free the lobster from its cage
Shoot the cage to free the lobster. The lobster cage has three possible spots.
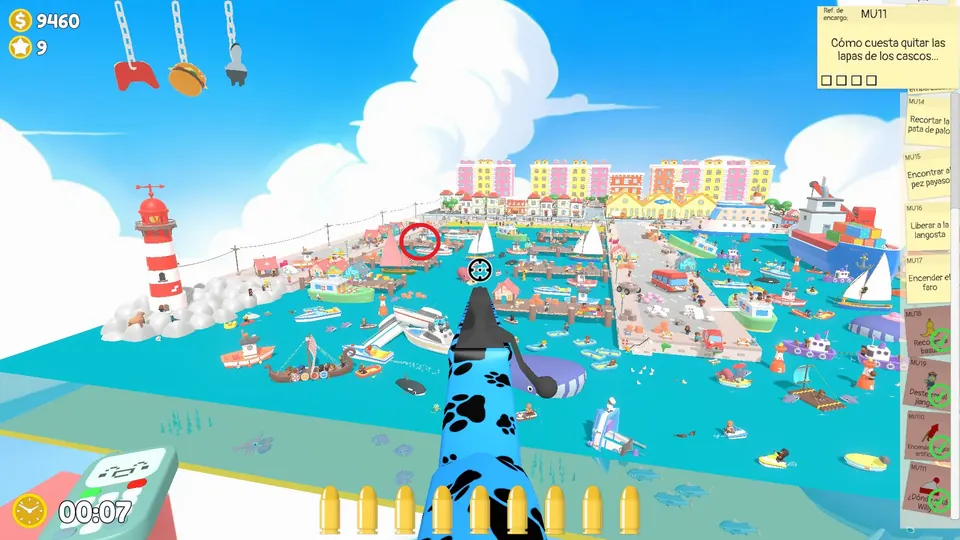
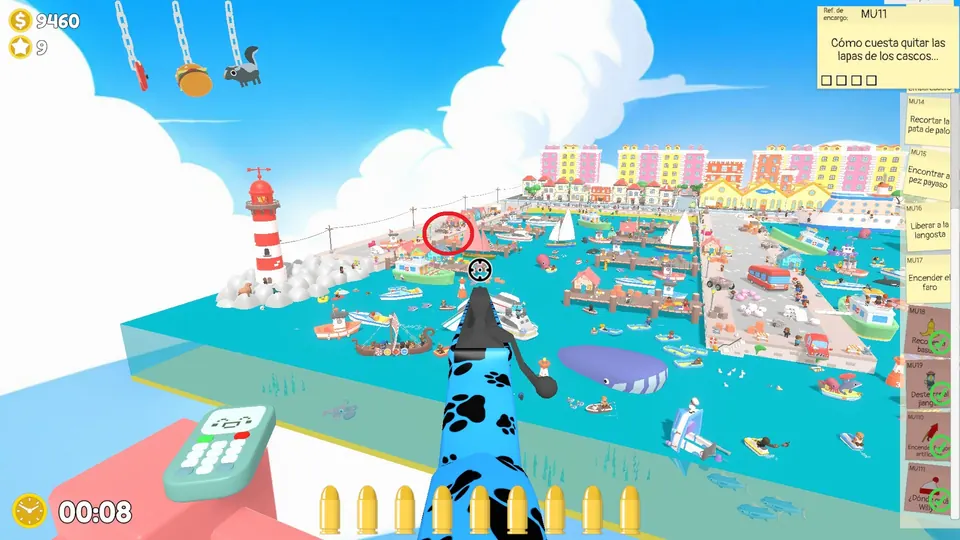
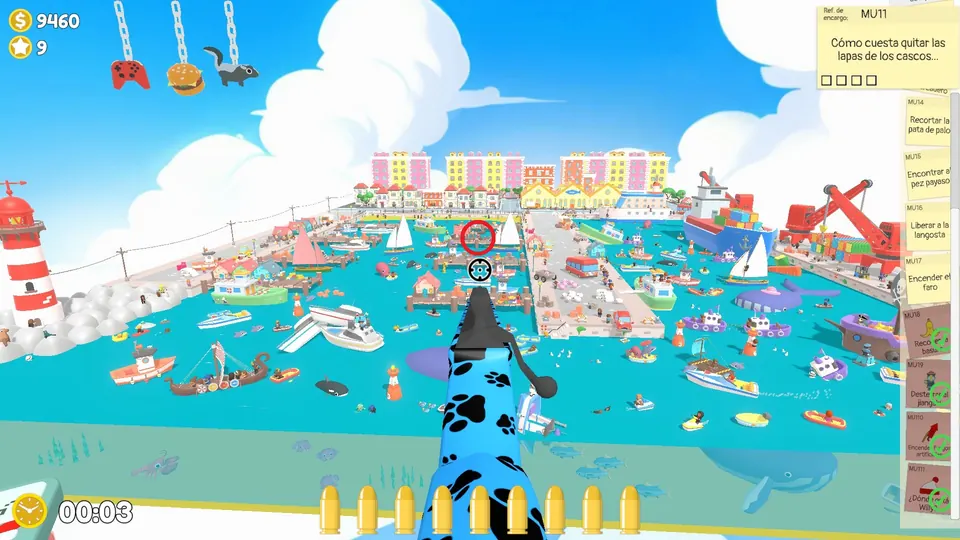
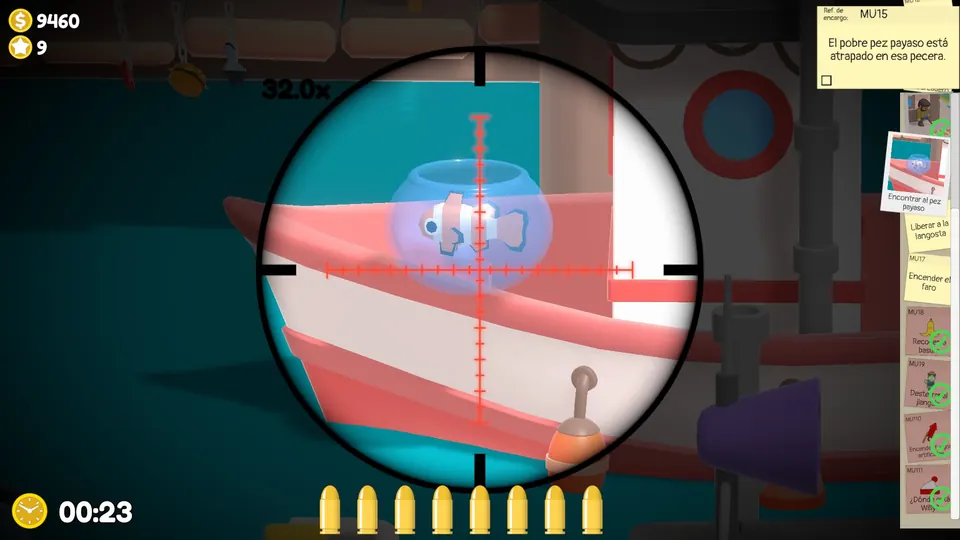
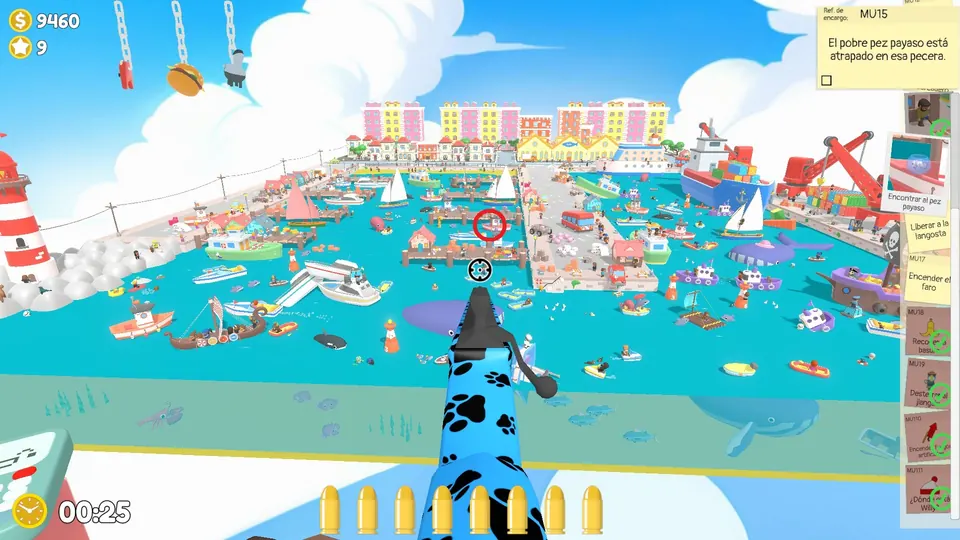
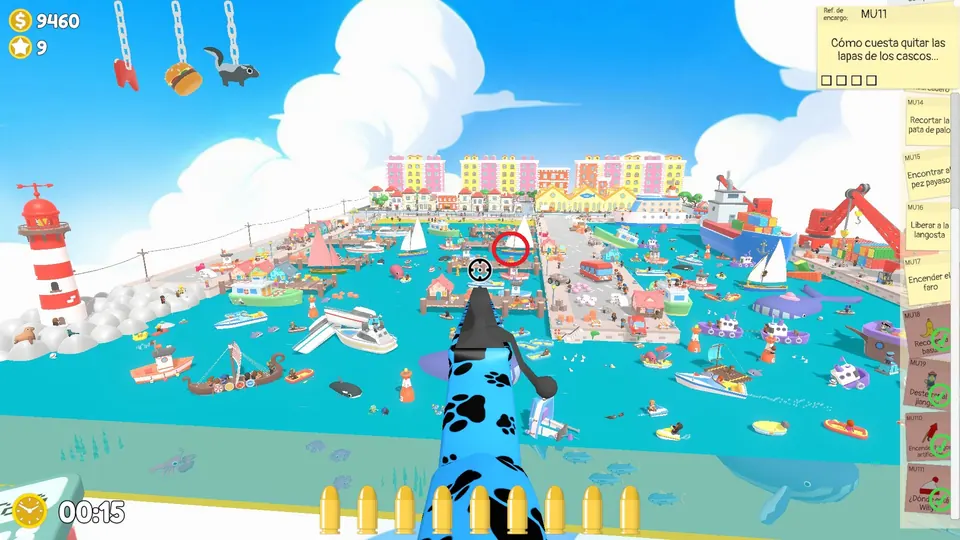
Free the fish
Shoot the fish tank to let the fish out. The fish tank has three possible spots.
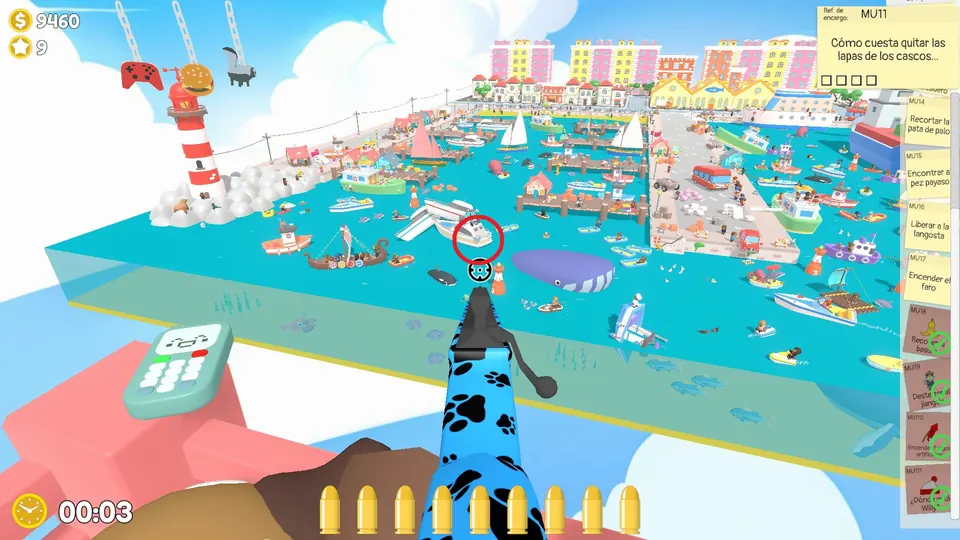
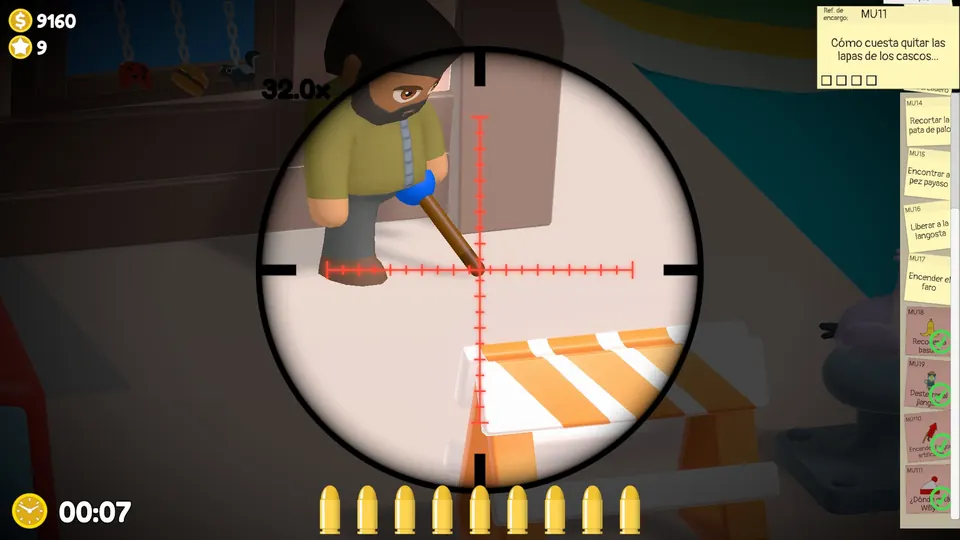
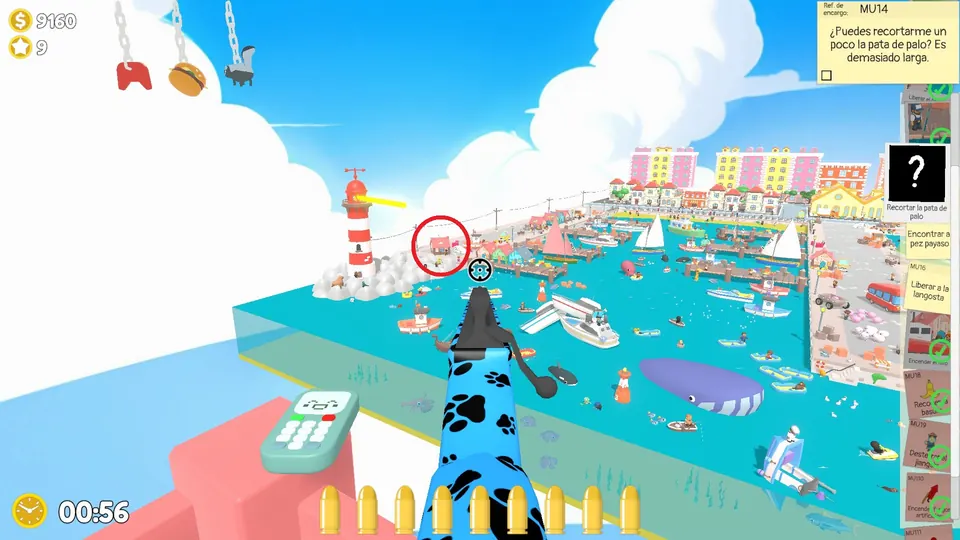
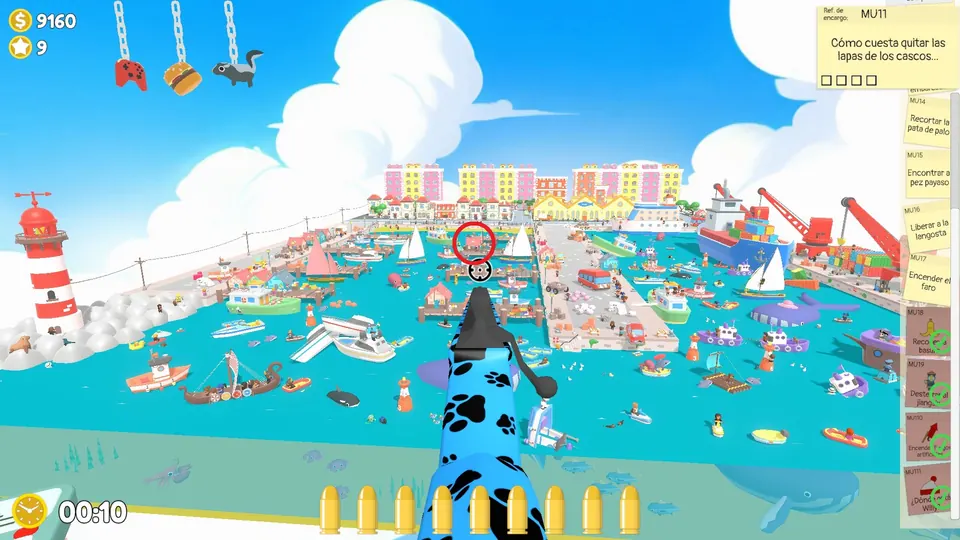
Shoot the wooden leg
An NPC is leaning on a hut. Shoot the tip of their wooden leg. The wooden-leg NPC has three possible spots.
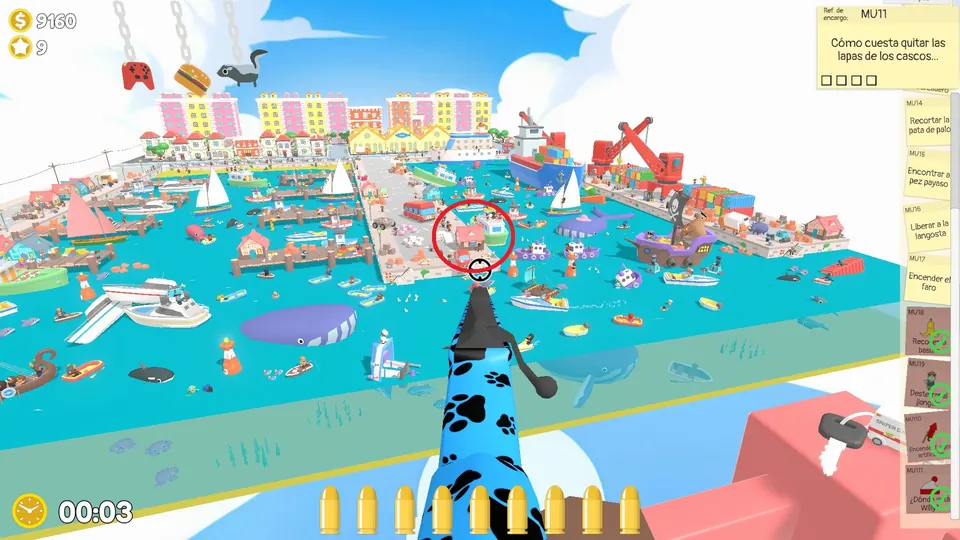
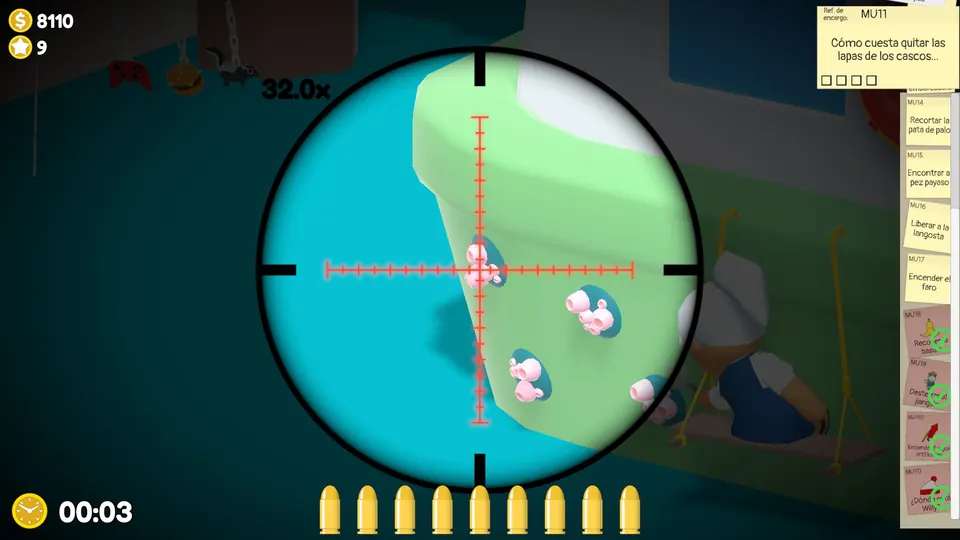
Remove the barnacles
The boat with barnacles on its hull is always in the same place. Shoot the four barnacles sticking out of its side.
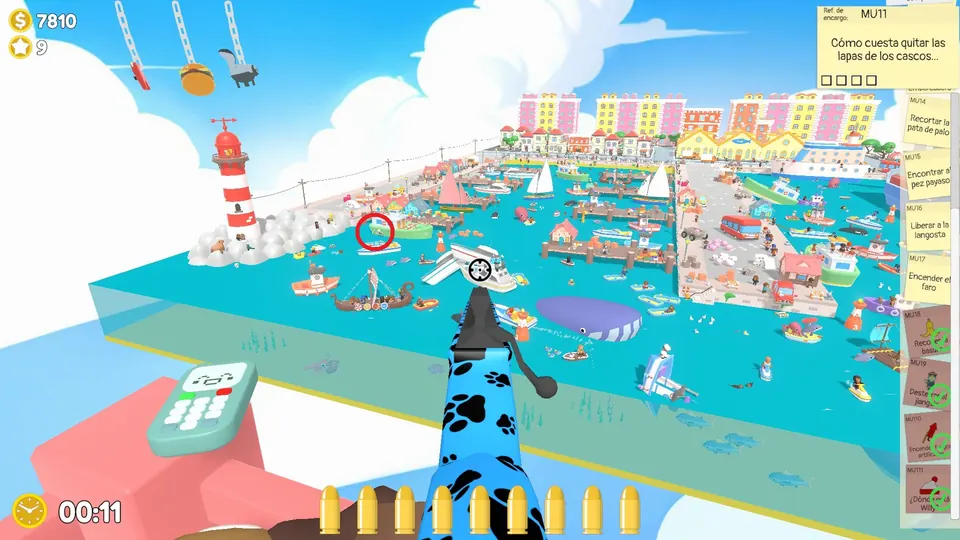
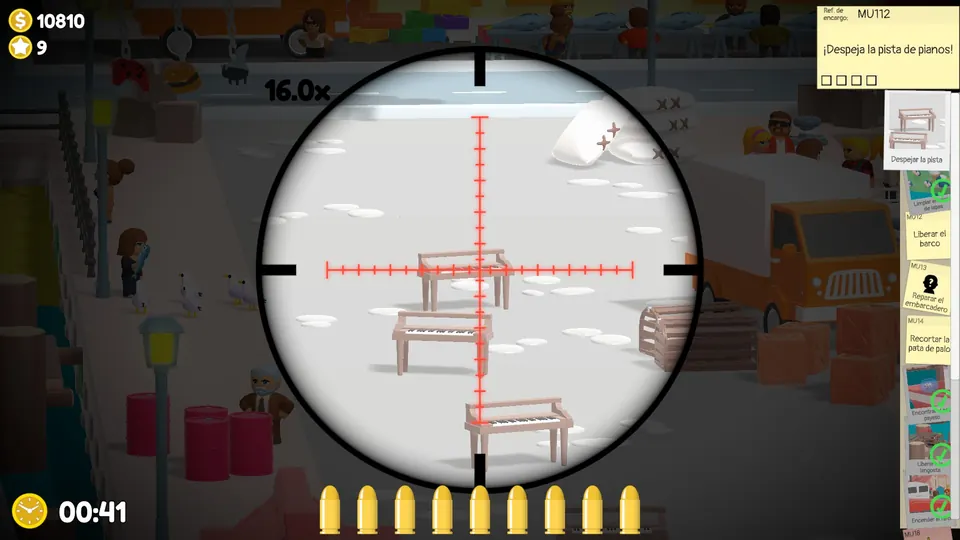
Phone objective: clear the pianos
After you answer the phone, pianos appear on the central path through the docks. Shoot every piano so the plane can land.
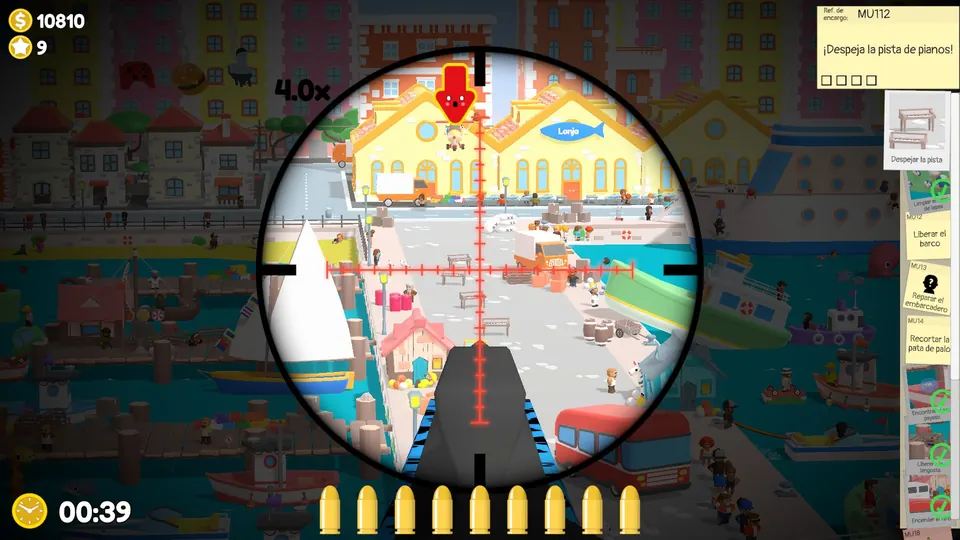
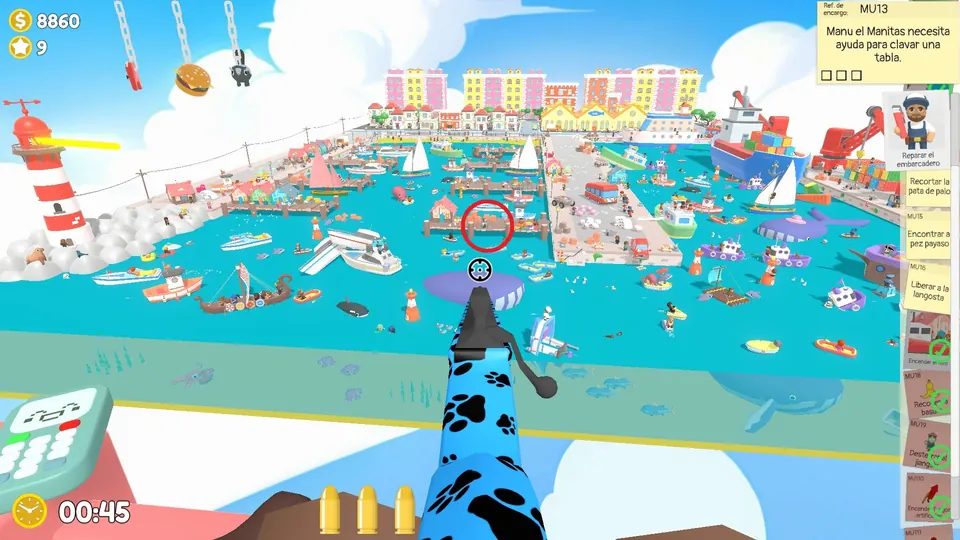
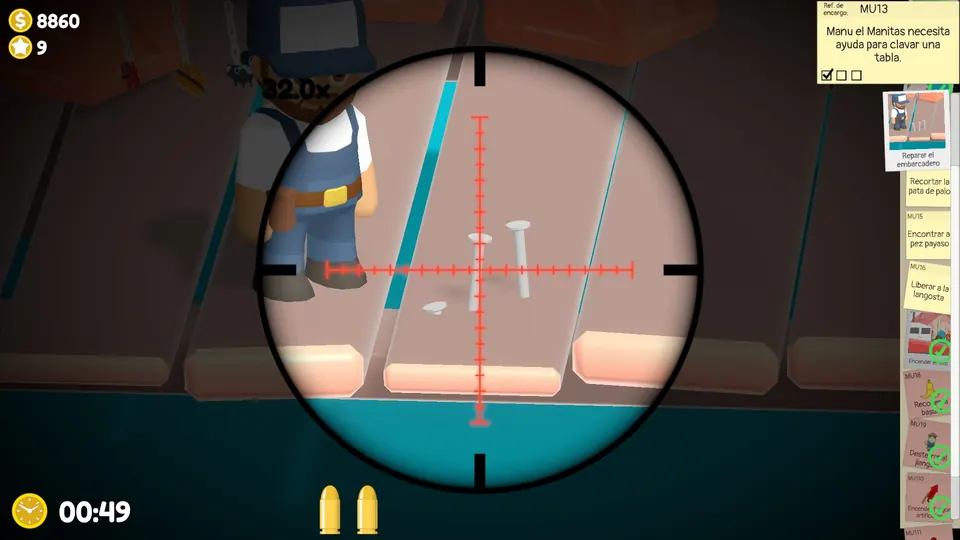
Repair the pier
The pier with three loose nails is always the first pier in the middle of the map. Shoot all three nails.
Happy Harbour Day 2
Shoot the ball to the dolphins
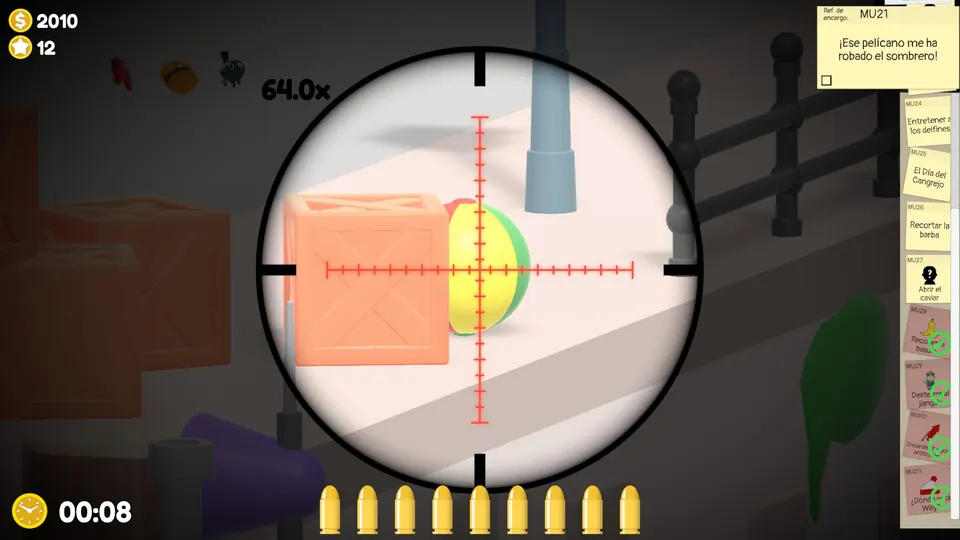
A ball with dolphins nearby is always at the top left edge of the map. Shoot the ball behind the crates.
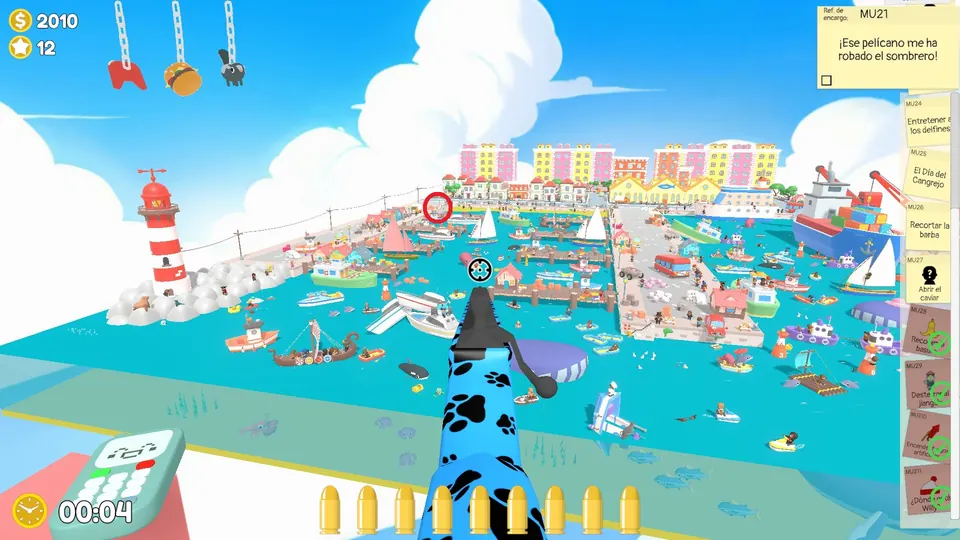
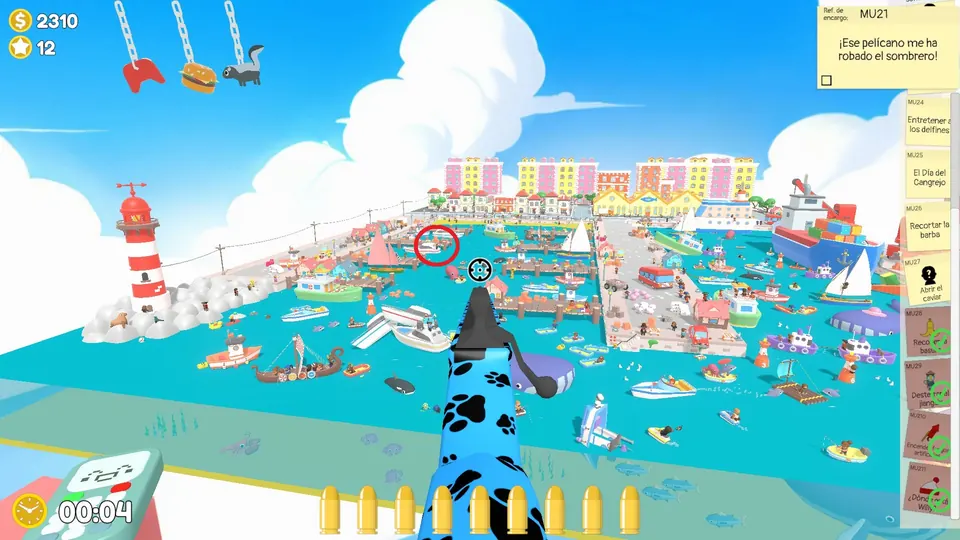
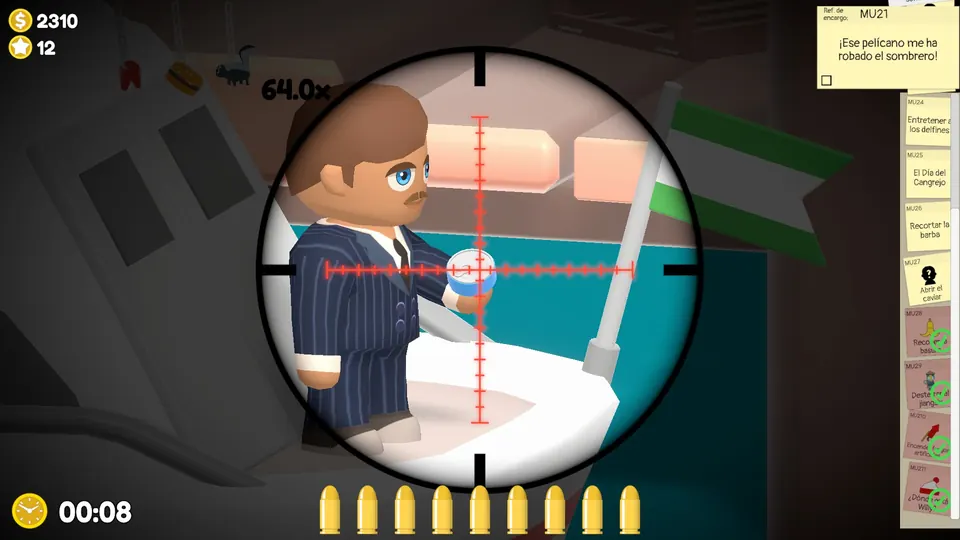
Open the caviar
The caviar tin is always on the docks on the left. Shoot the tin to open it.
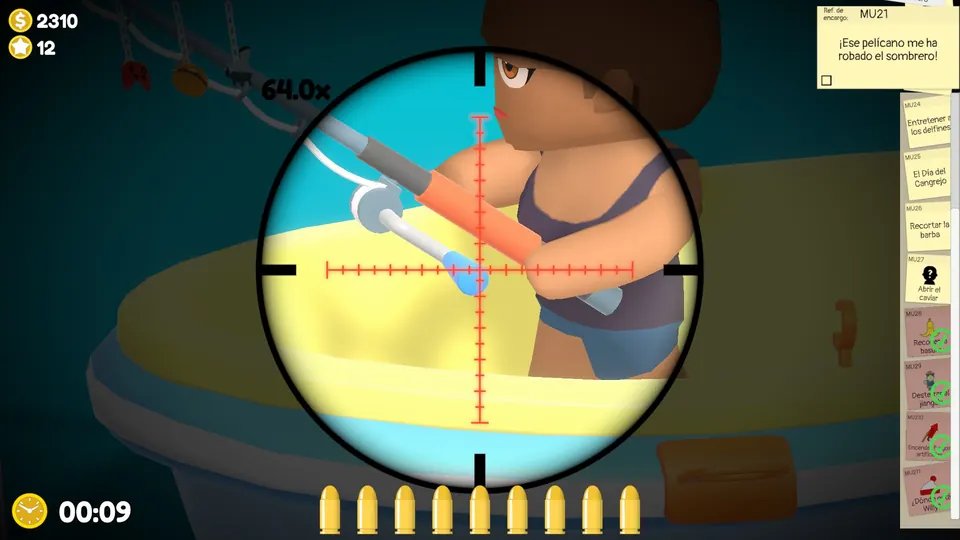
Help with the fishing
Find the NPC trying to fish and shoot the blue part of the rod three times to reel in the catch. The fishing NPC has three possible spots.
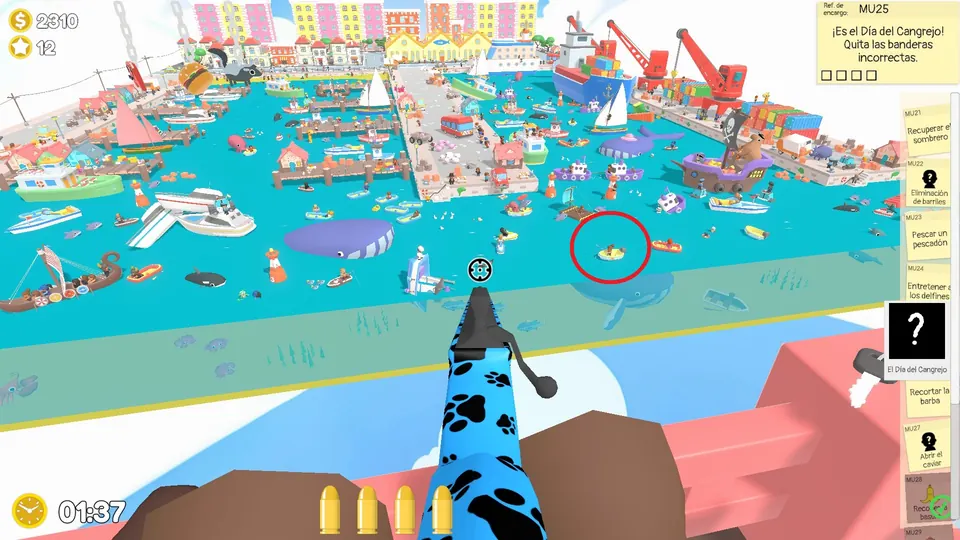
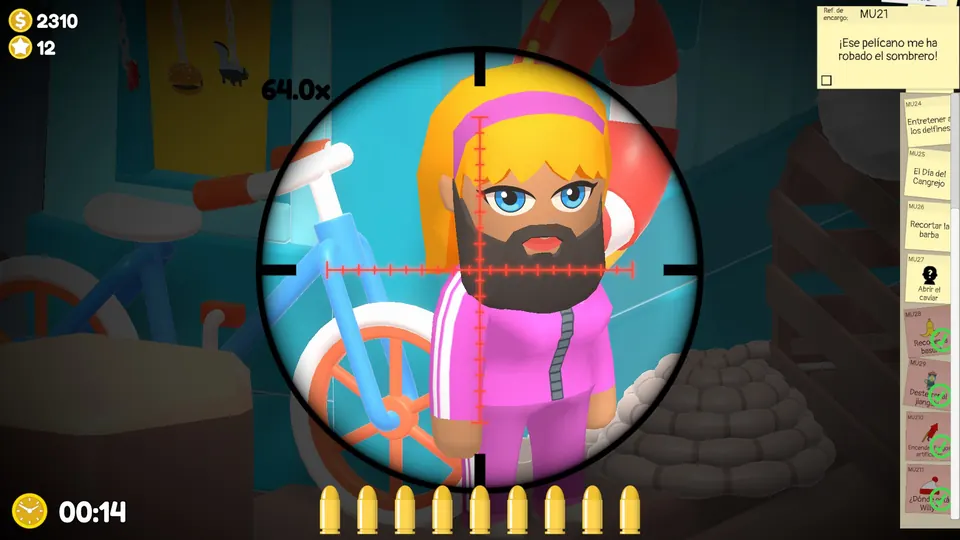
Trim the beard
Find the bearded NPC and shoot the three parts of the beard: left, middle and right. The bearded NPC has three possible spots.
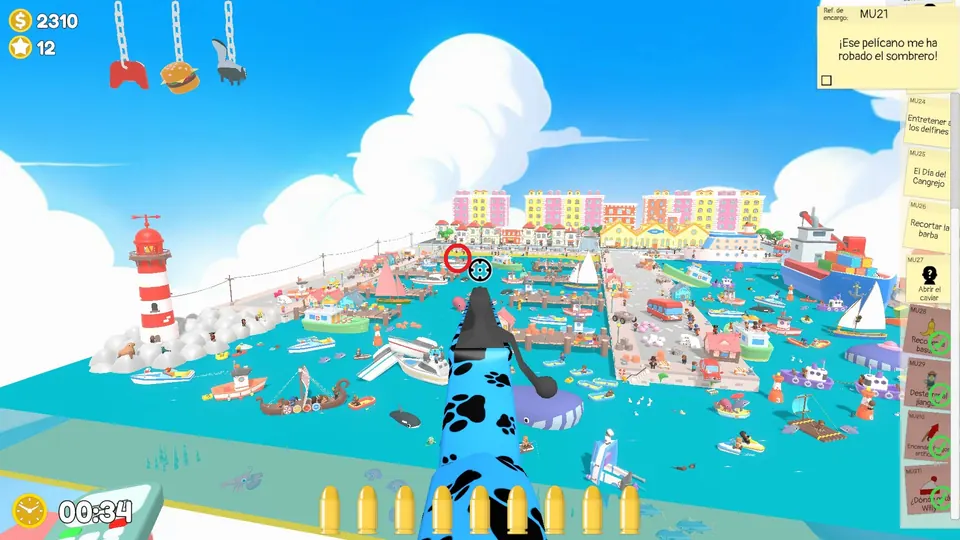
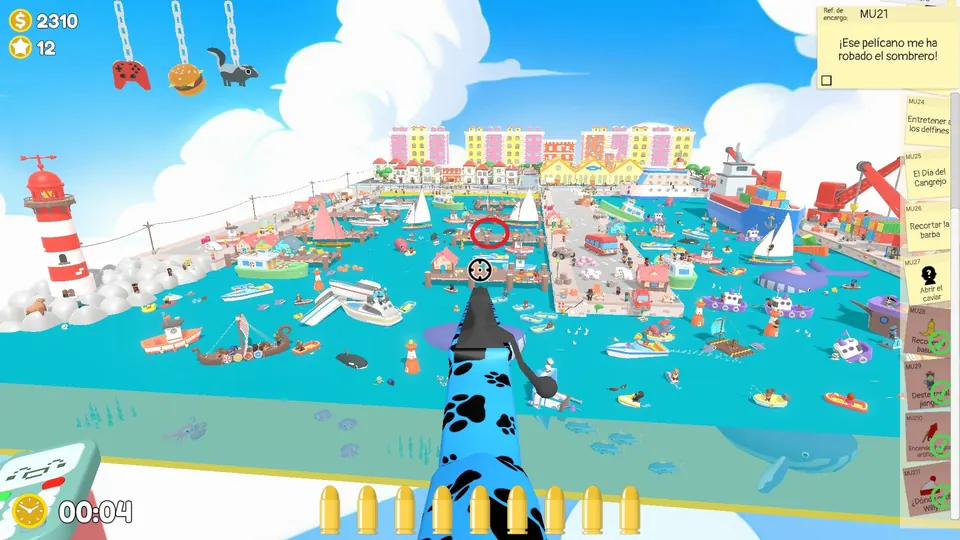
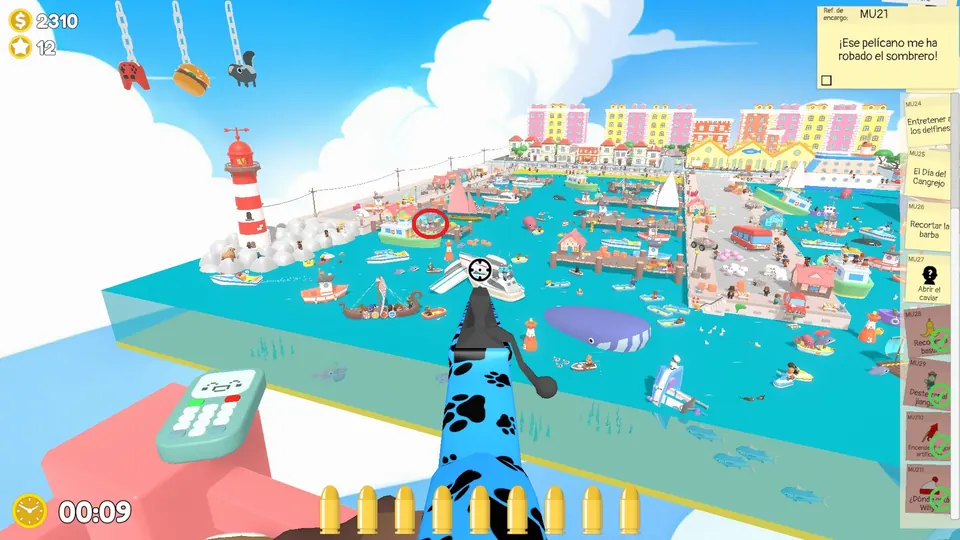
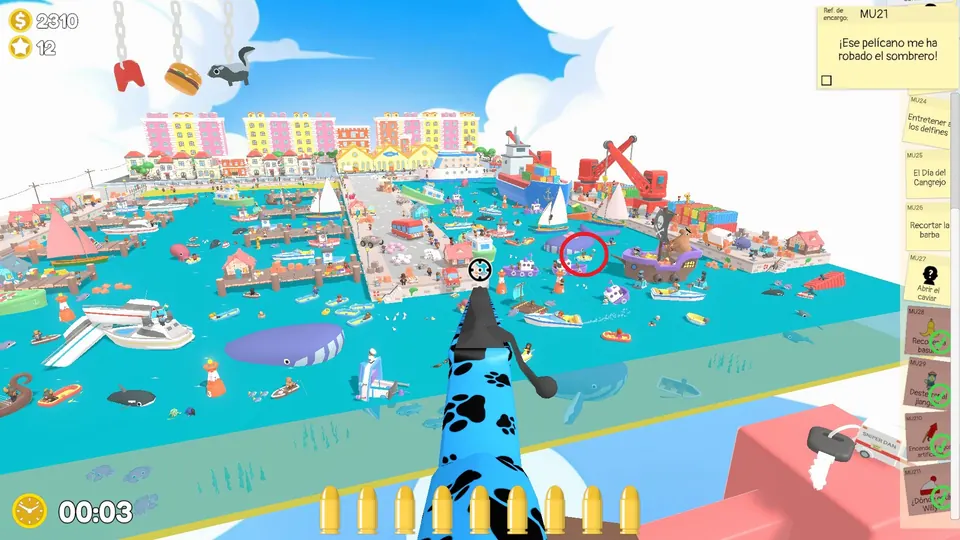
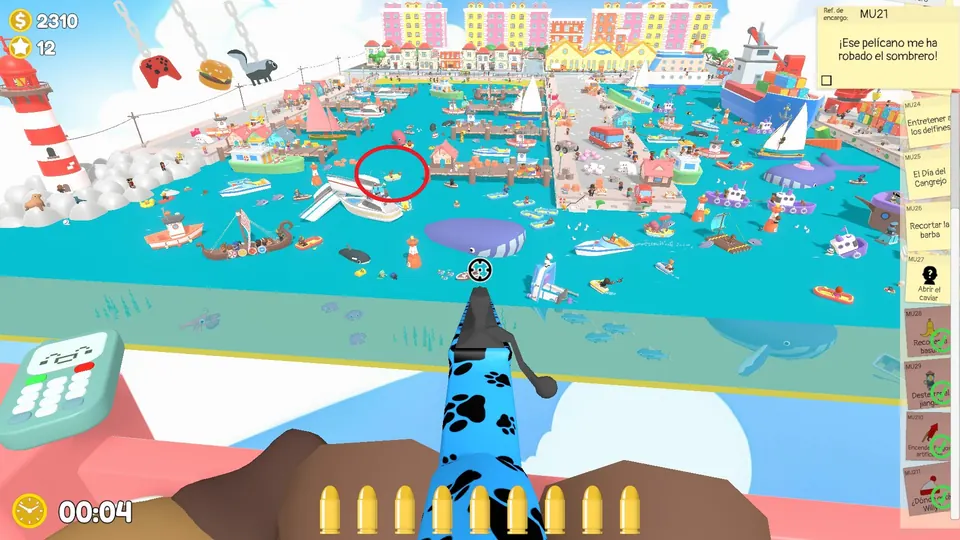
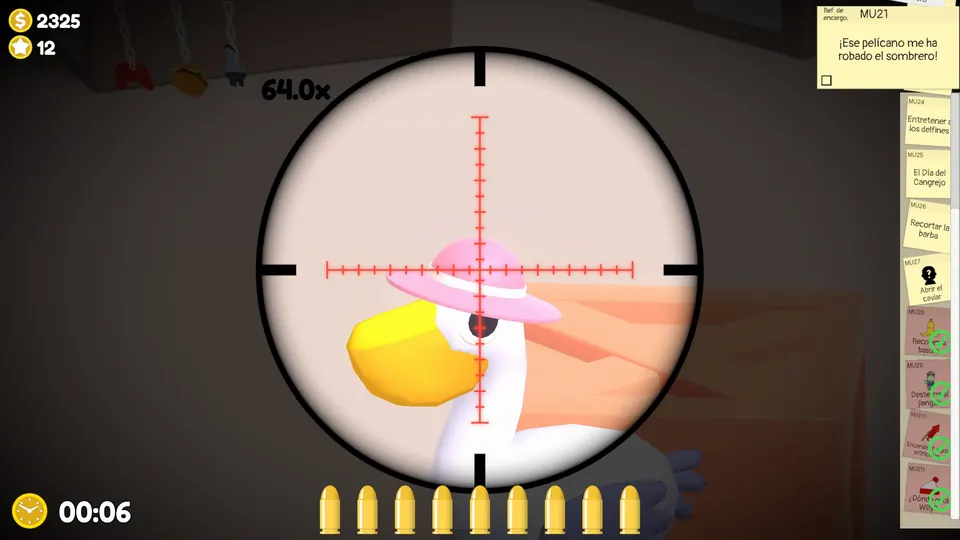
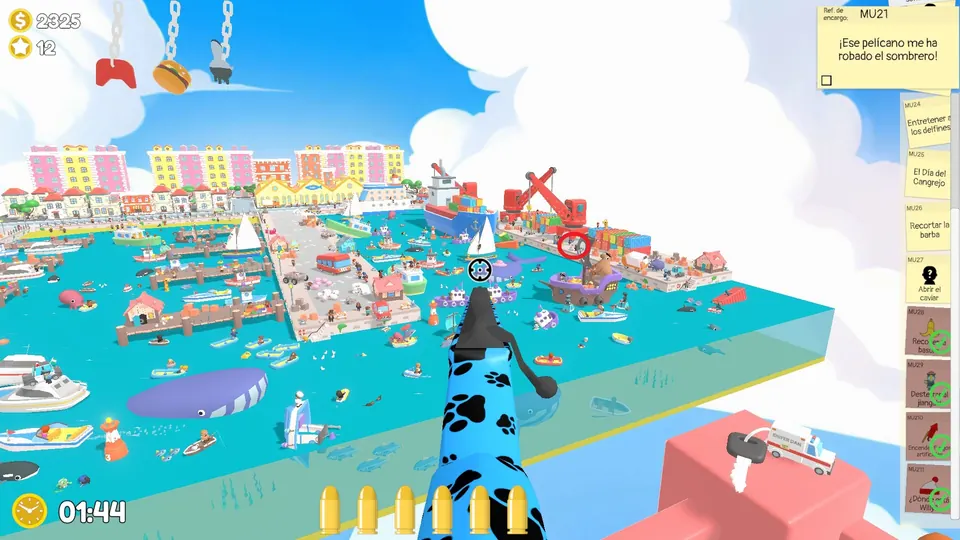
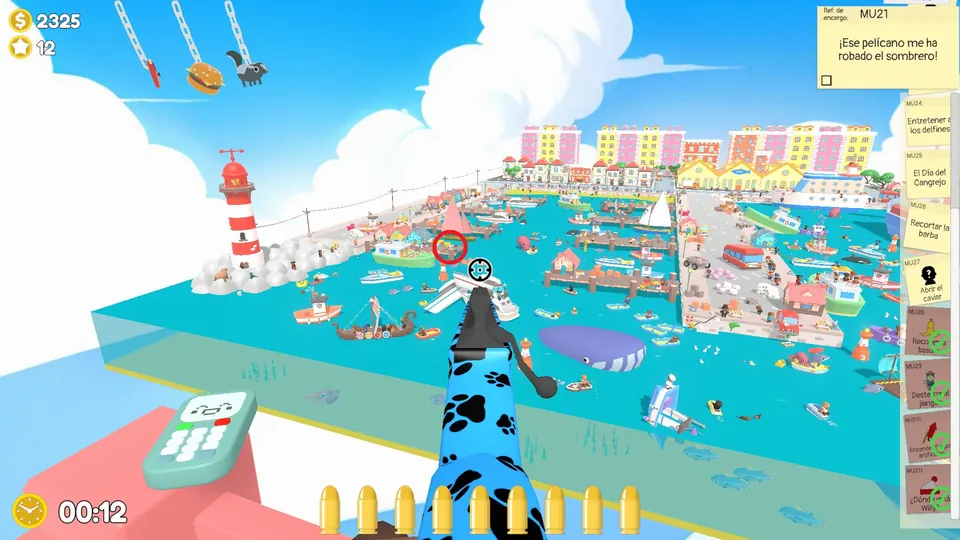
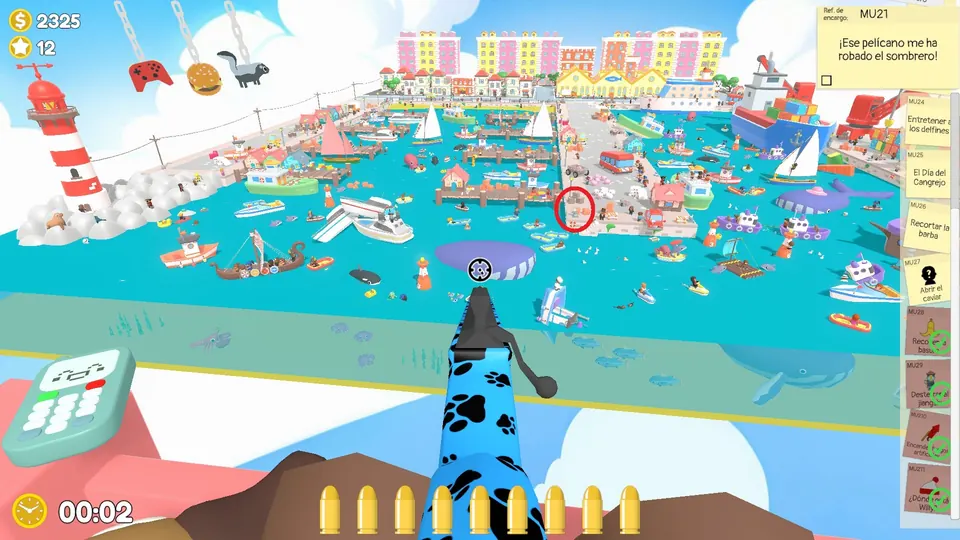
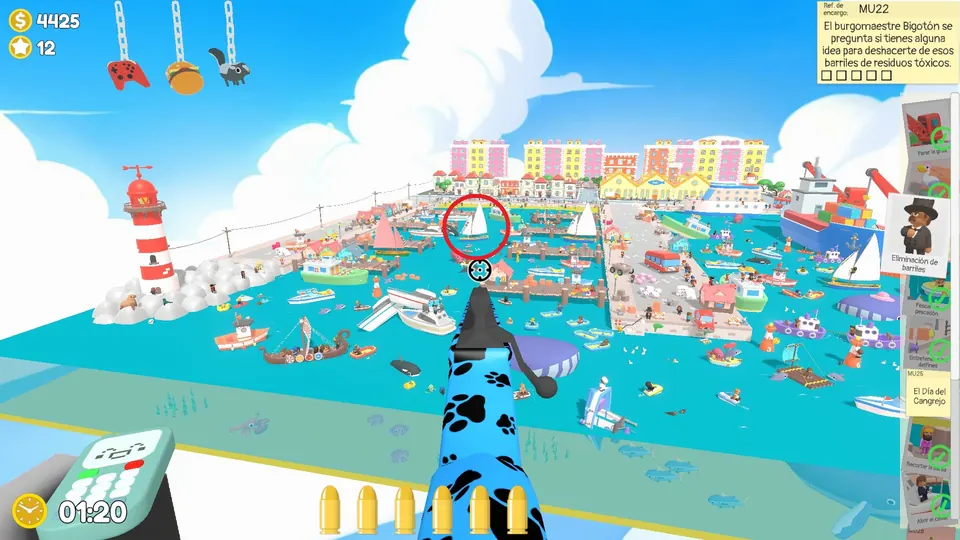
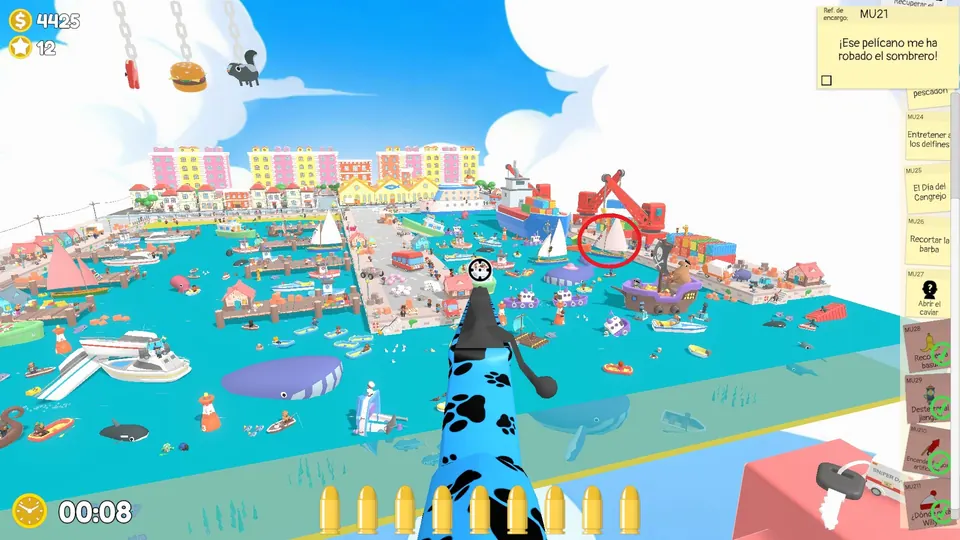
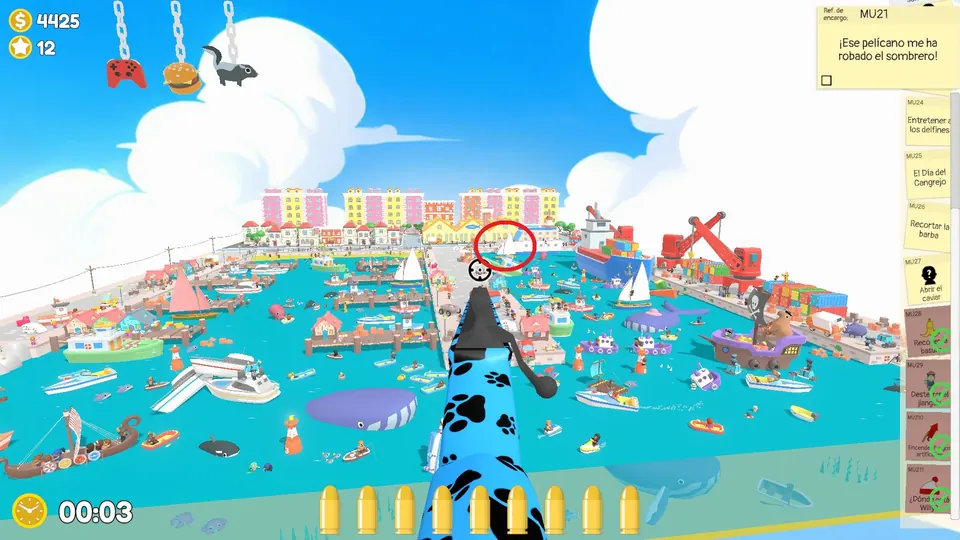
Shoot the hat off the pelican
A pelican is wearing a pink hat. Shoot the hat off it. The pelican has three possible spots.
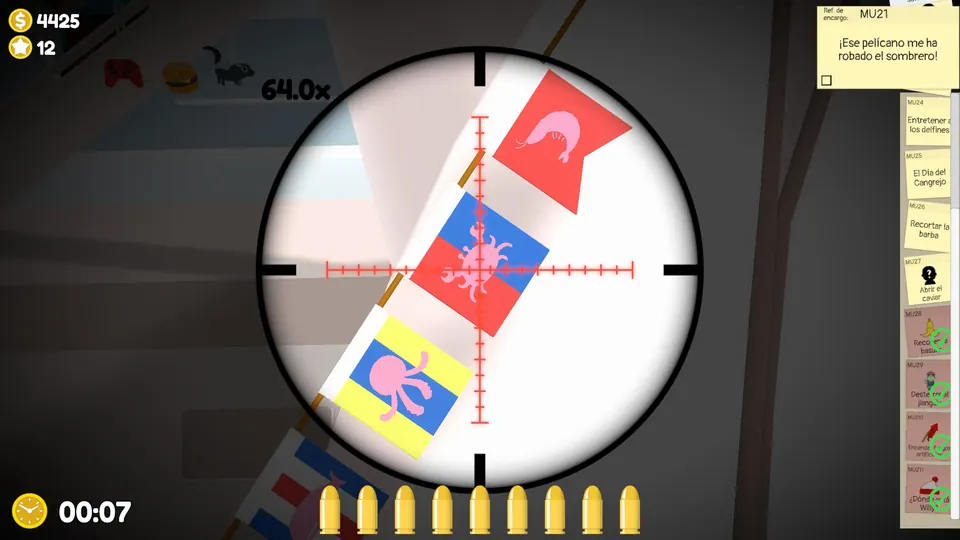
Shoot every flag except the crab
A boat’s sail is covered in different flags. It is crab day, so shoot every flag except the one with a crab on it. The flag boat has three possible spots.
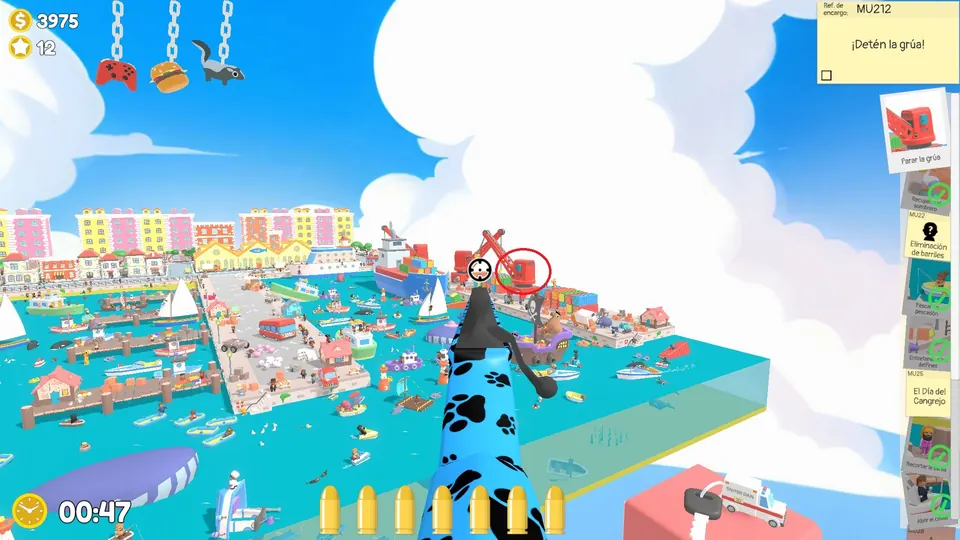
Phone objective: hit the box on the spinning crane
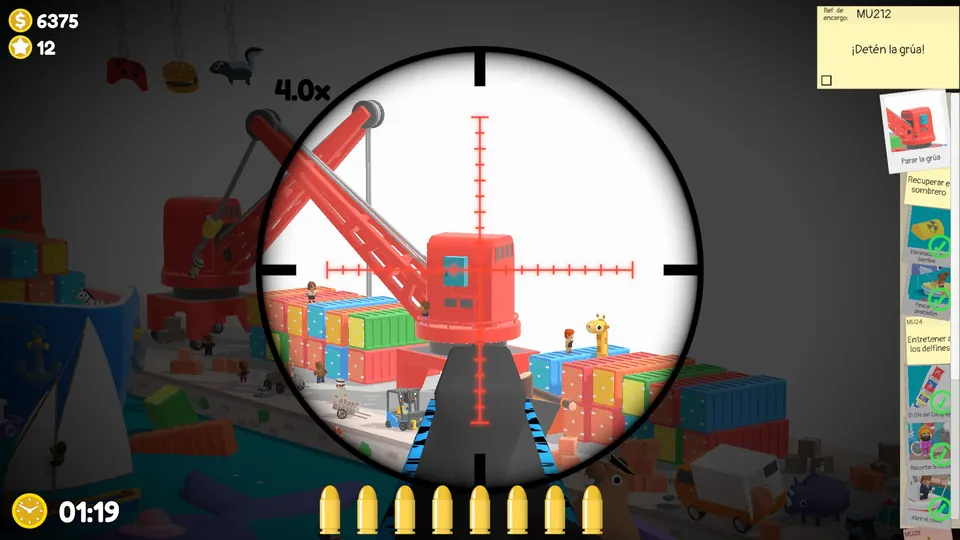
After you answer the phone, the crane on the right side of the map starts to spin. Shoot the blue electrical box on it. Keep your sight on the middle of the crane and fire as the box passes.
Shoot the toxic barrels
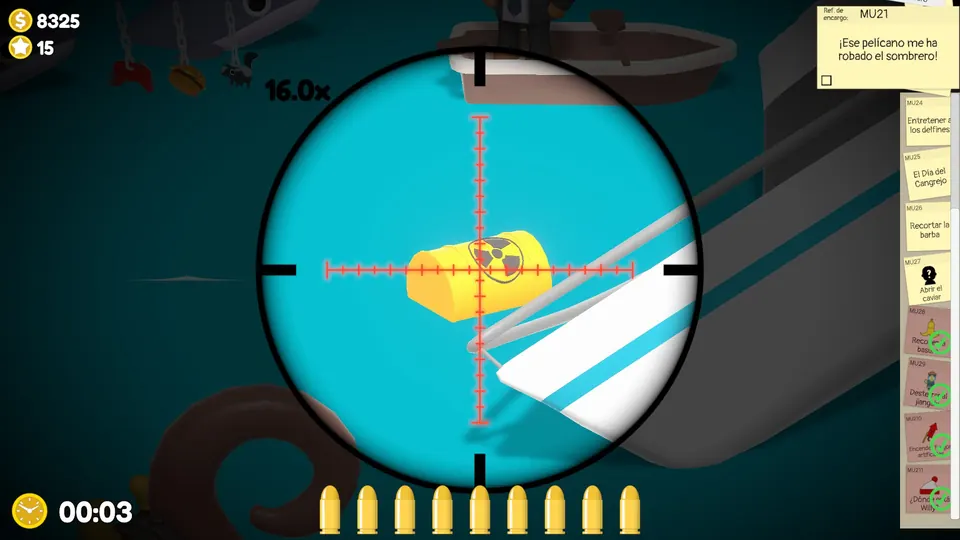
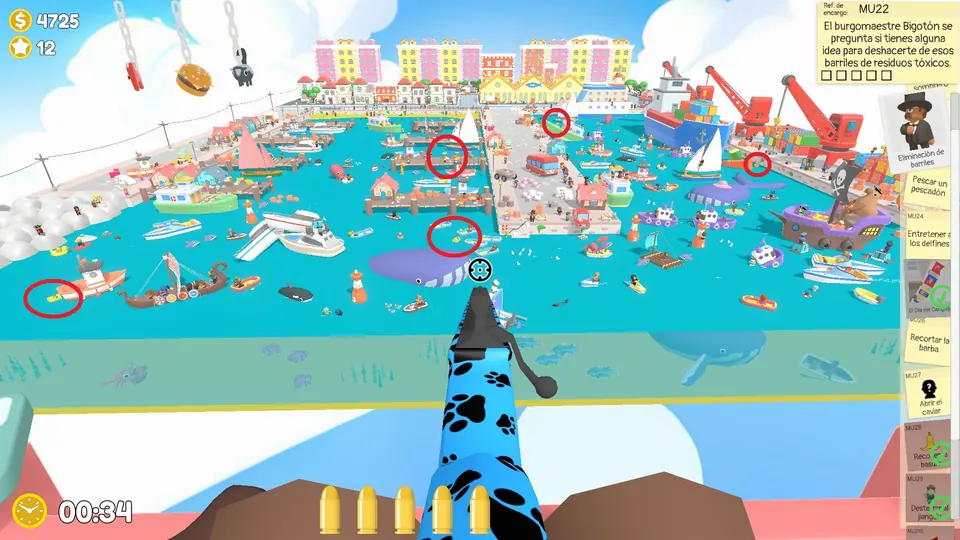
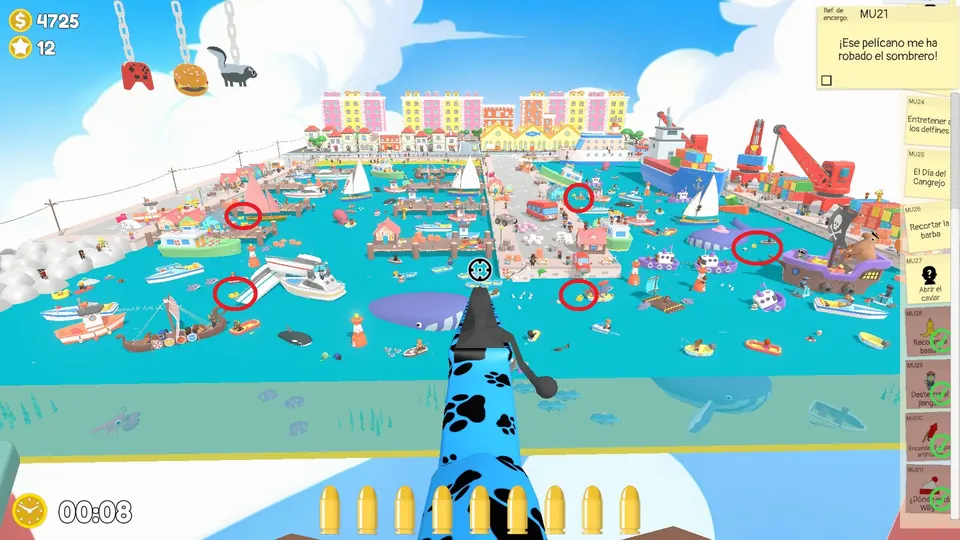
Find the five toxic waste barrels and shoot them. The barrels come in three possible layouts.
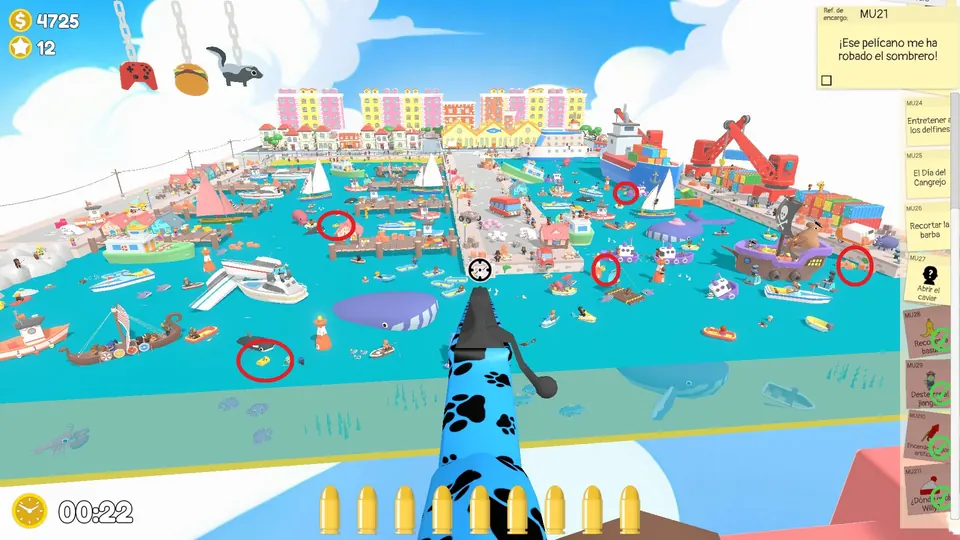
Happy Harbour Day 3
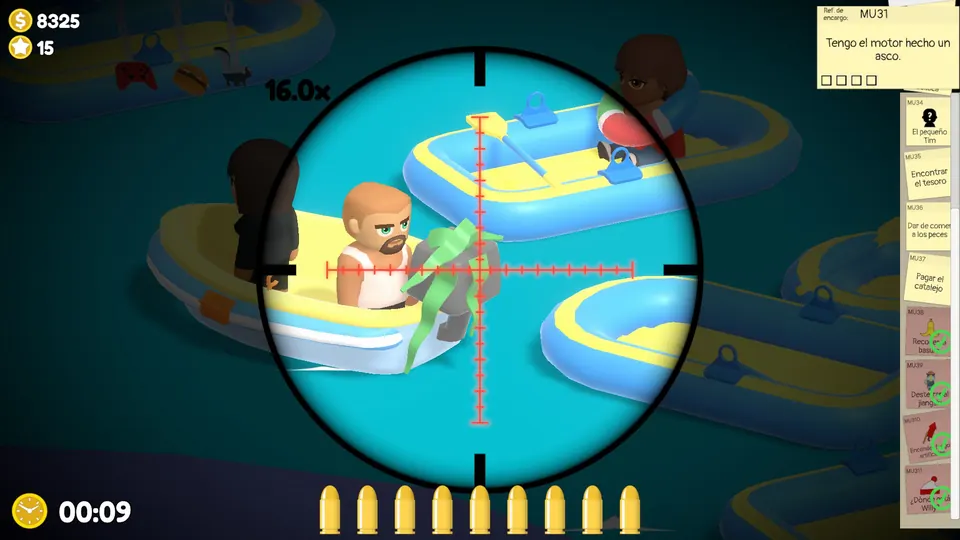
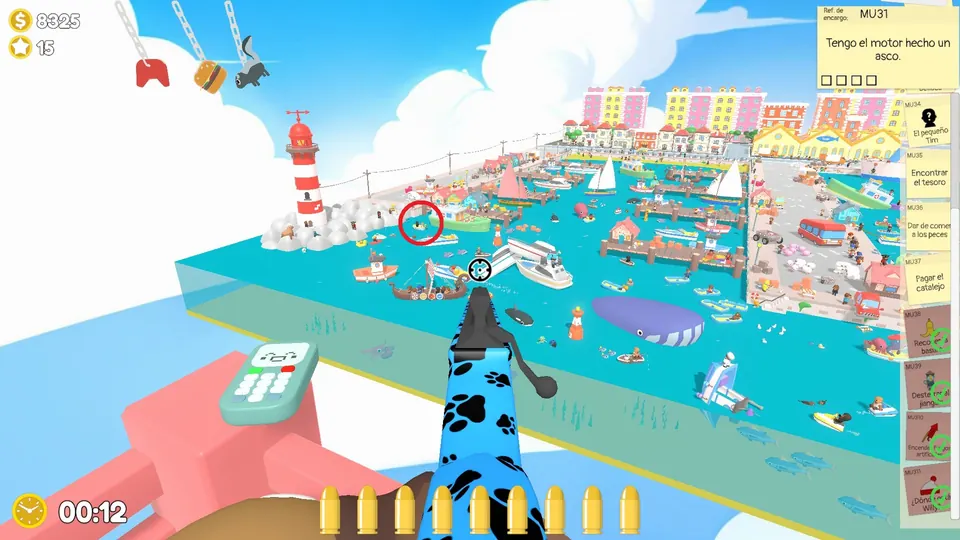
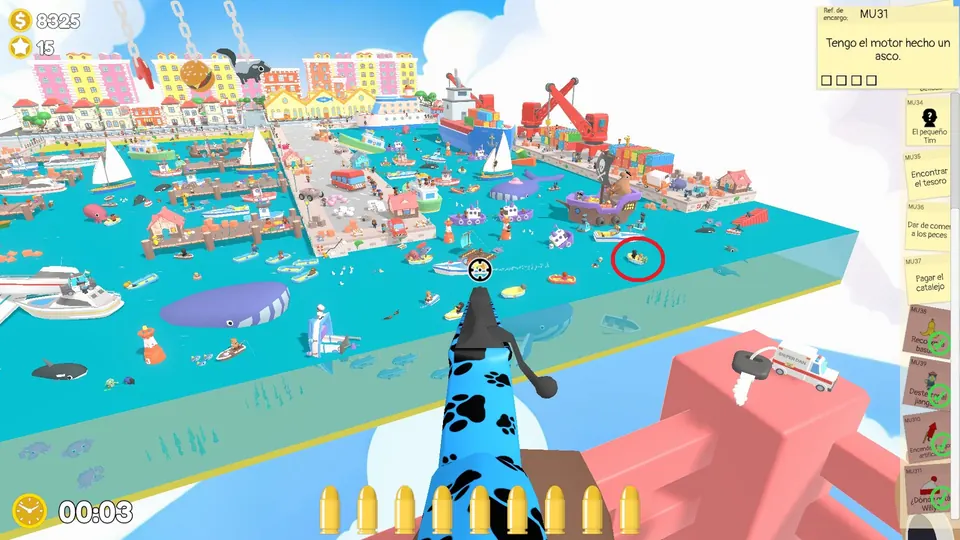
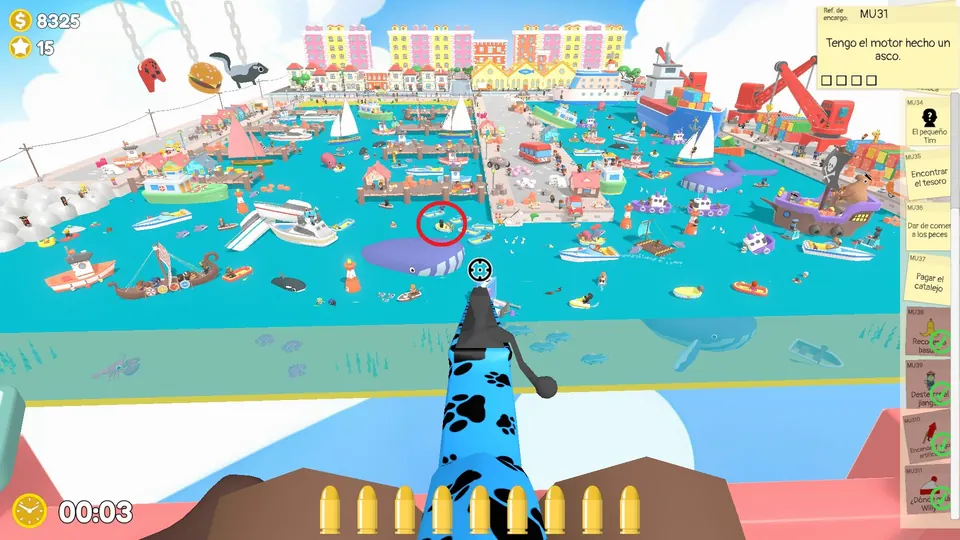
Clean the engine
Clear the motorboat engine by shooting all the seaweed on it. The motorboat has three possible spots.
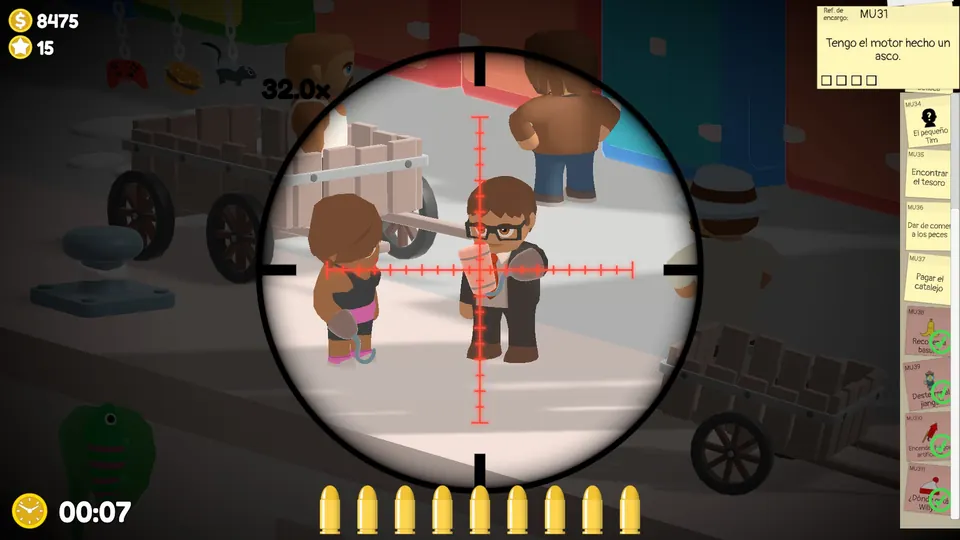
Pull the cork
Shoot the cork stuck on the NPC’s hook. The hook NPC has three possible spots.
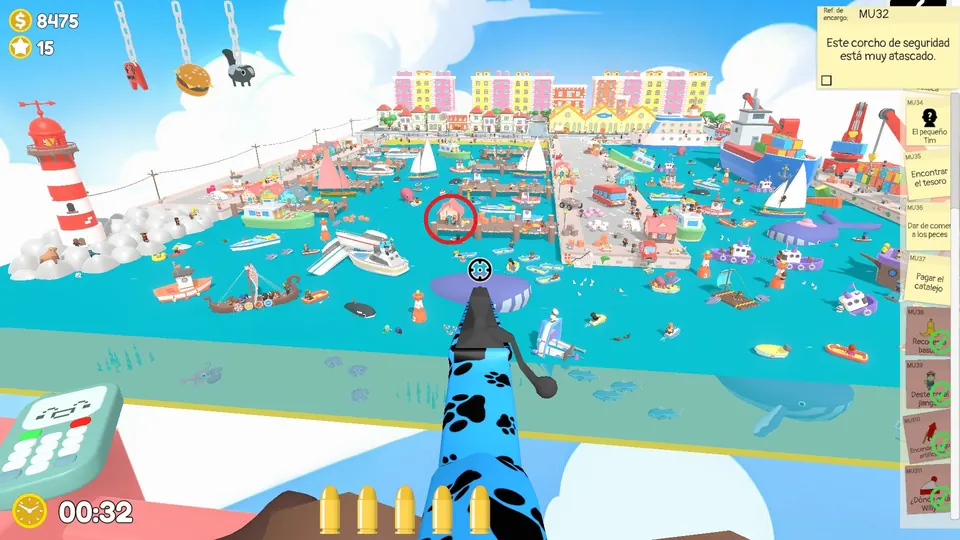
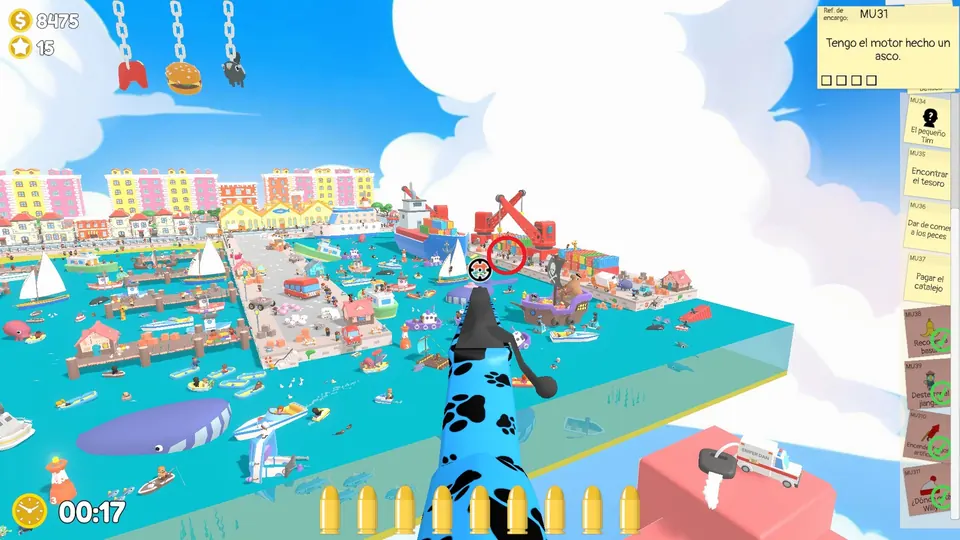
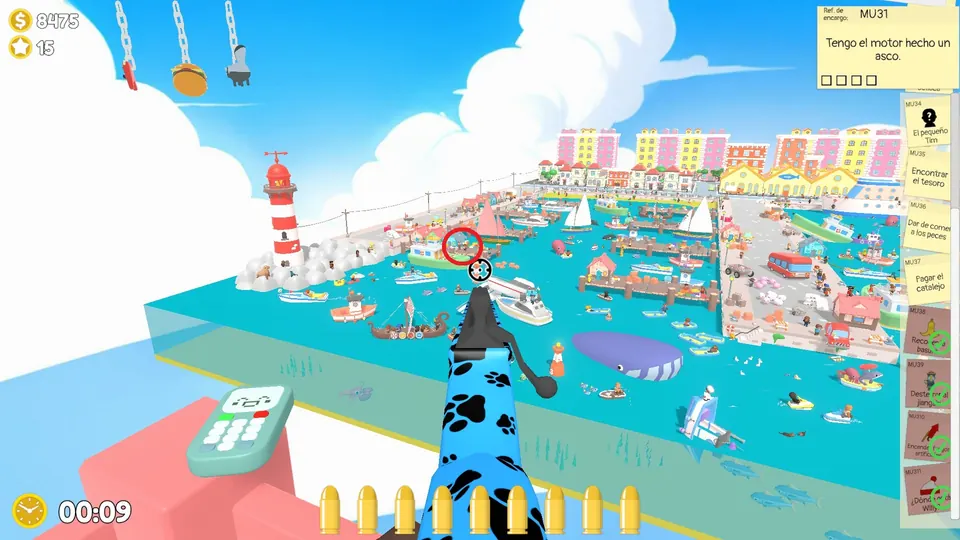
Shoot the dynamite
An NPC is fishing with dynamite from behind the first crate on the left. Shoot the dynamite. The dynamite fisher has three possible spots.
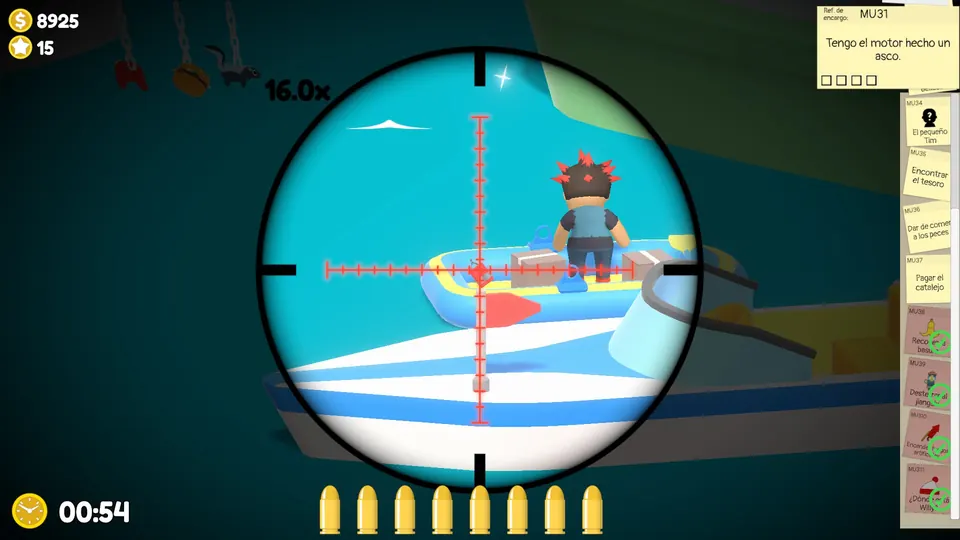
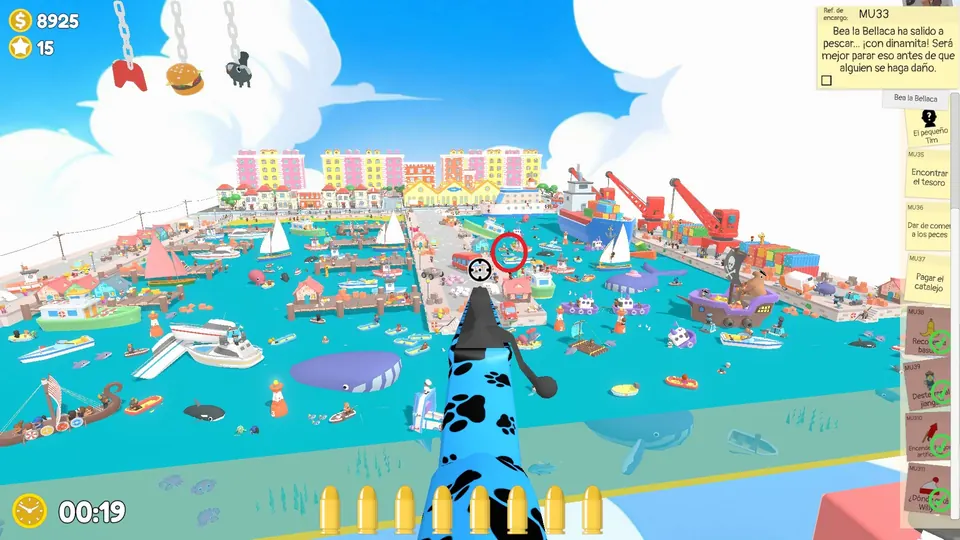
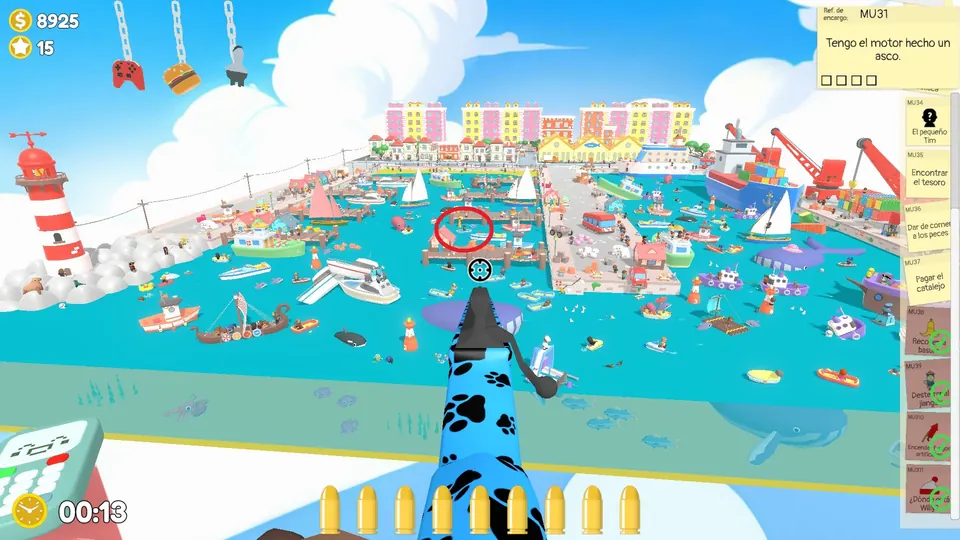
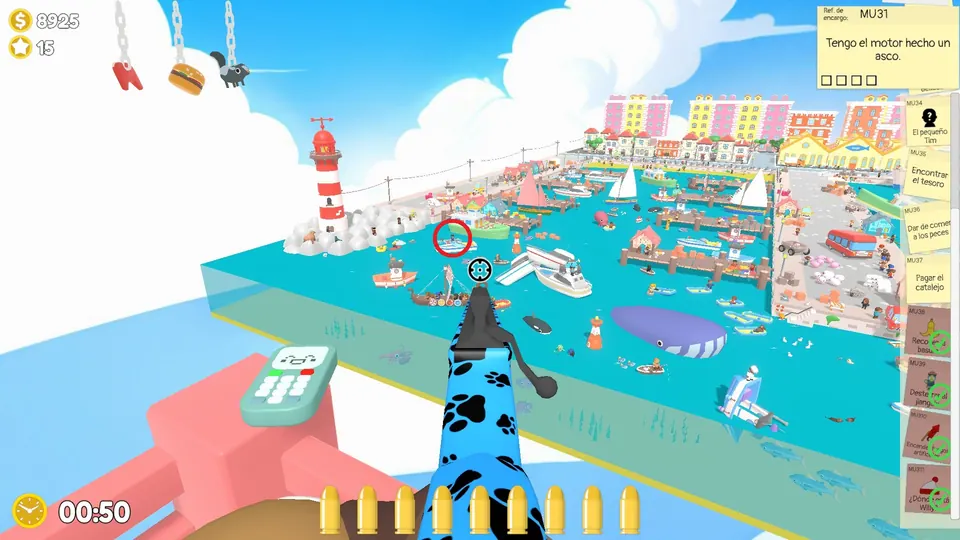
Find Tim in Happy Harbour
On Day 3 at the harbour, Tim is hiding inside a crate. The crate he is in keeps moving, which gives him away. Tim’s crate has three possible spots.
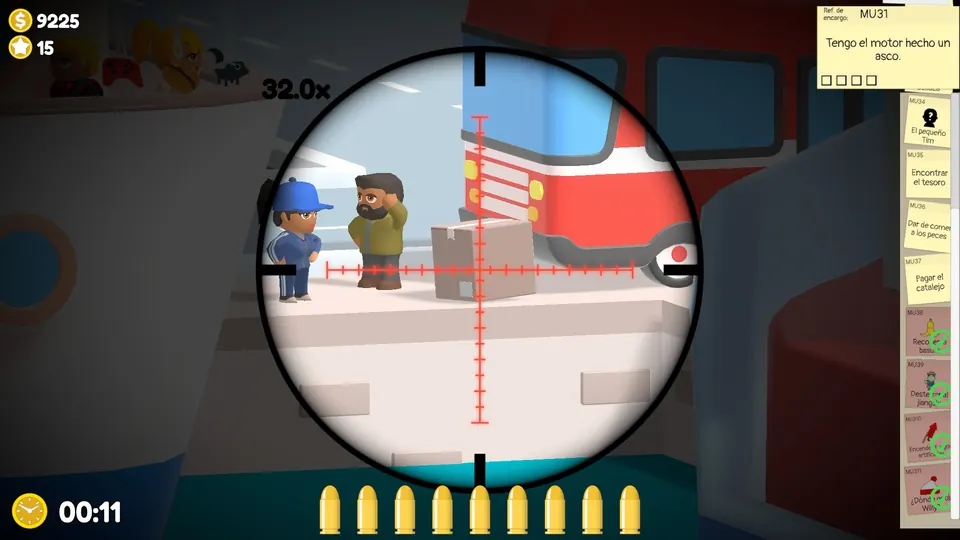
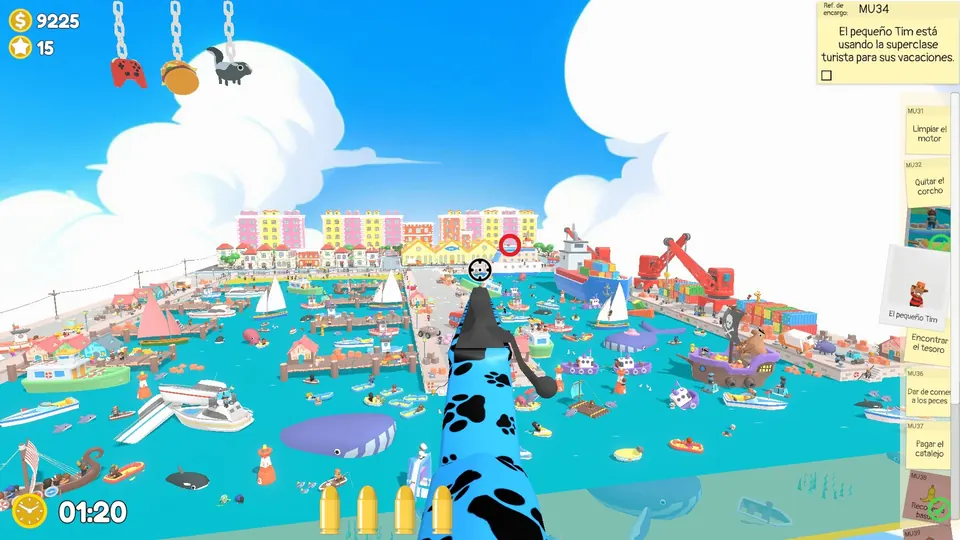
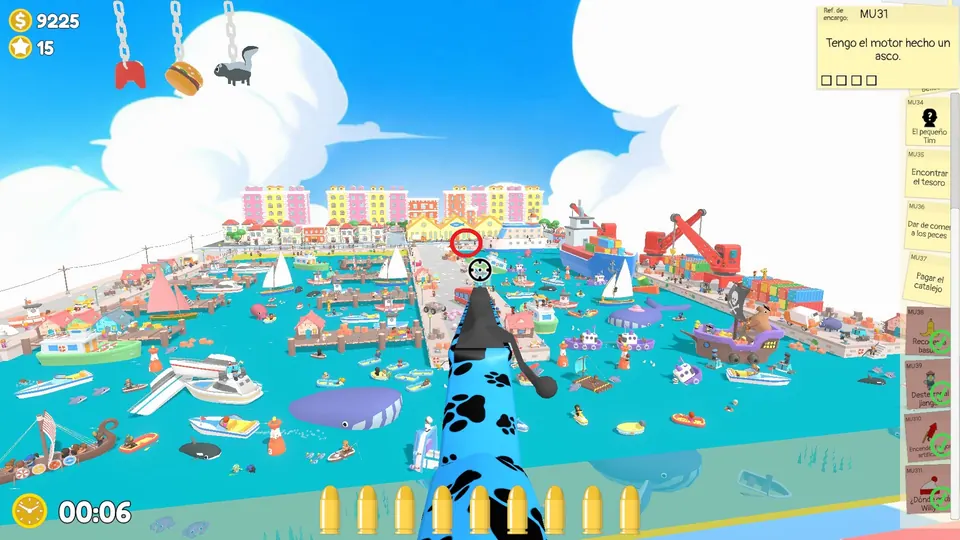
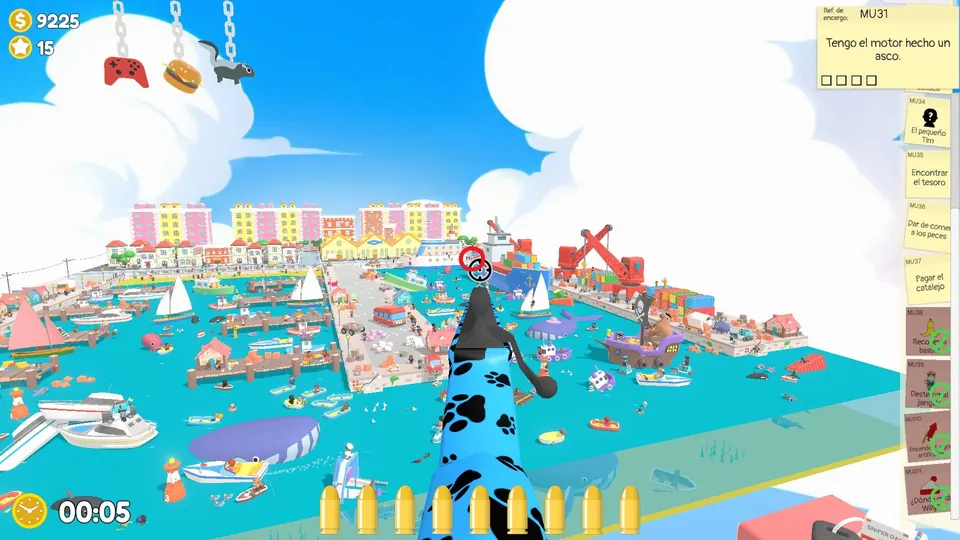
Find the treasure
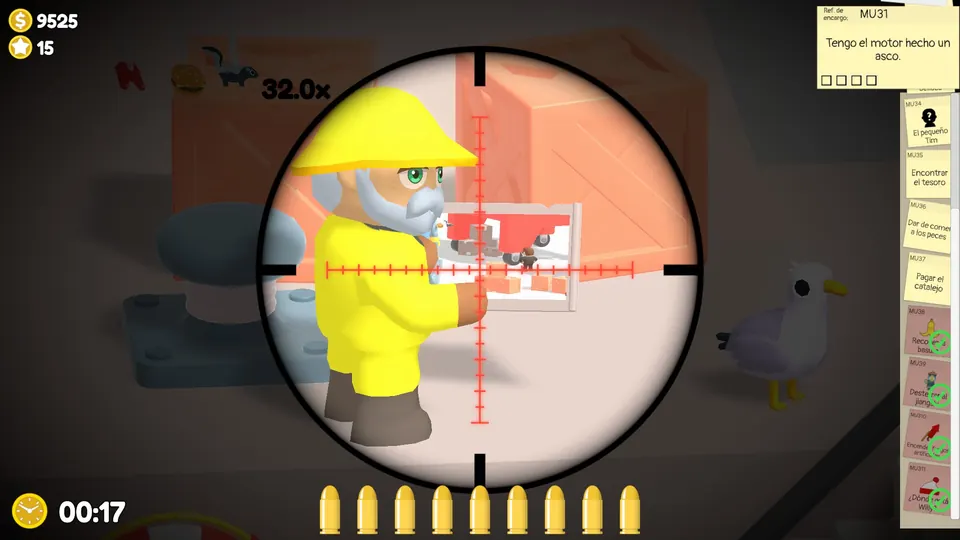
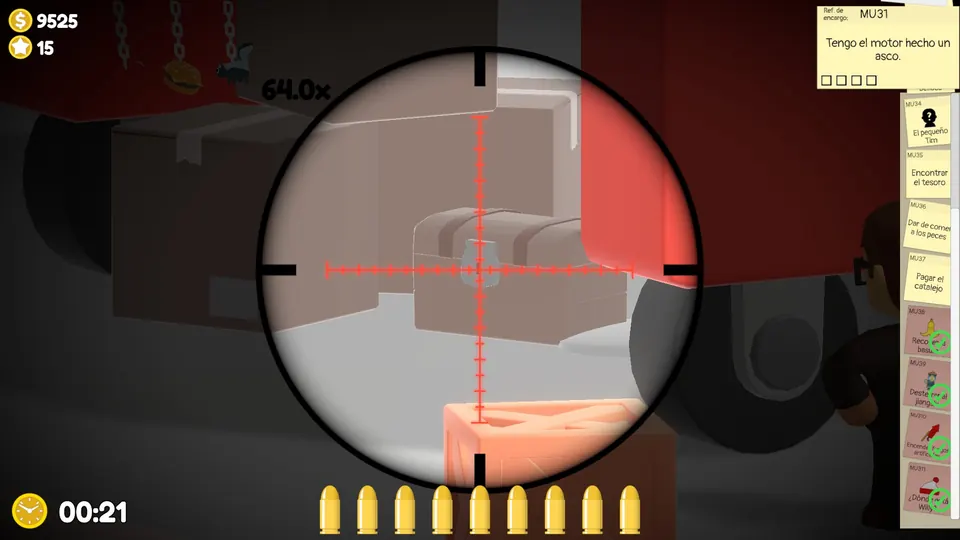
An NPC dressed in yellow is holding a photo of the treasure. The photo changes to match wherever the chest spawned, so use it as your clue, then shoot the lock on the chest.
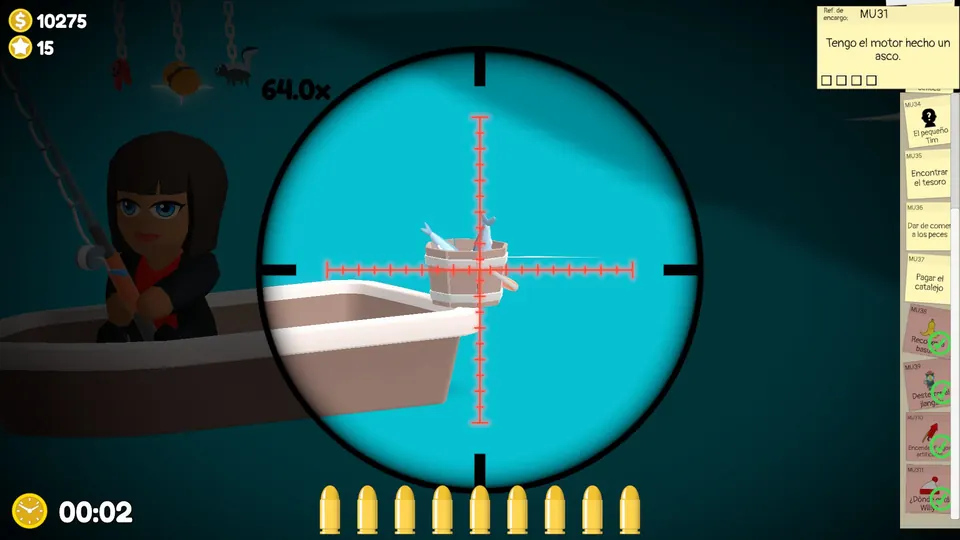
Tip out the bait bucket
A fishing NPC with a bucket of bait is always in the same place. Shoot the bucket to tip the bait out for the fish.
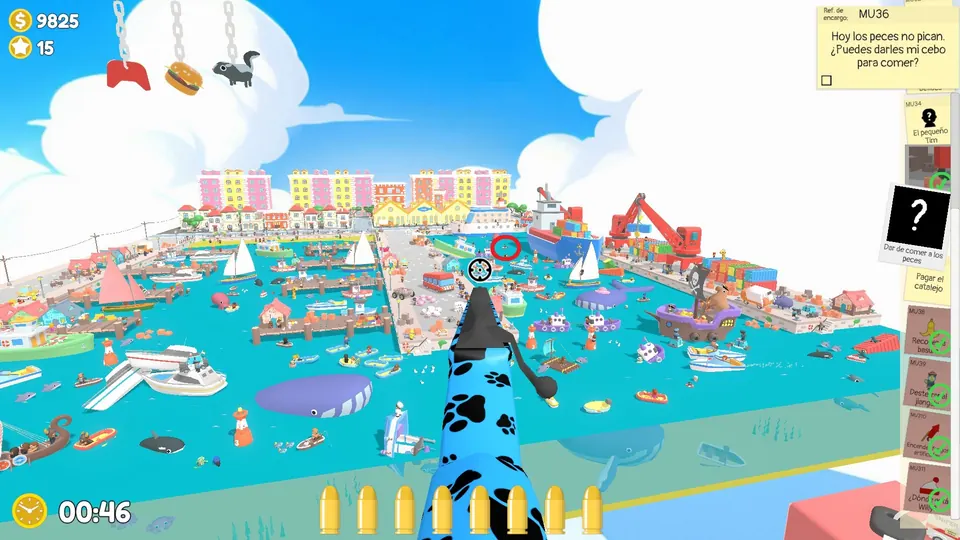
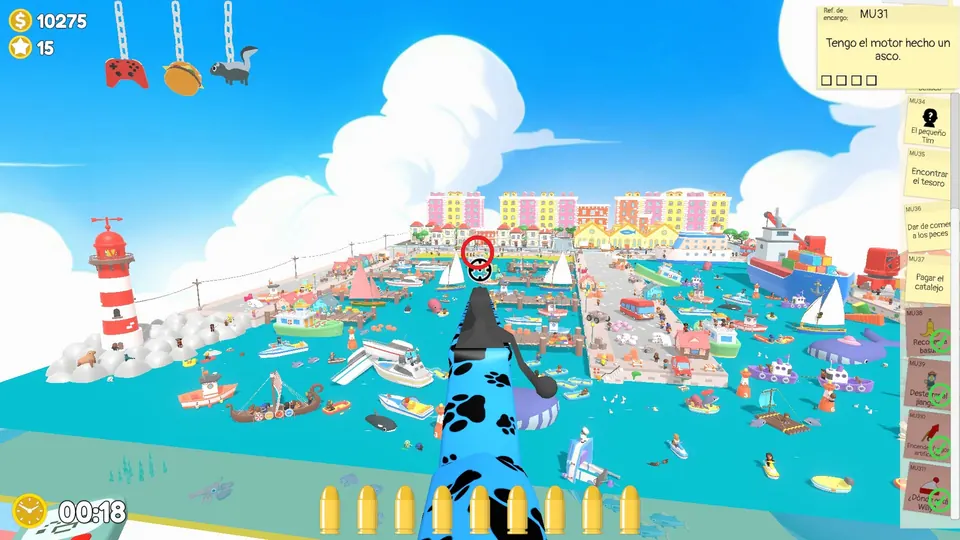
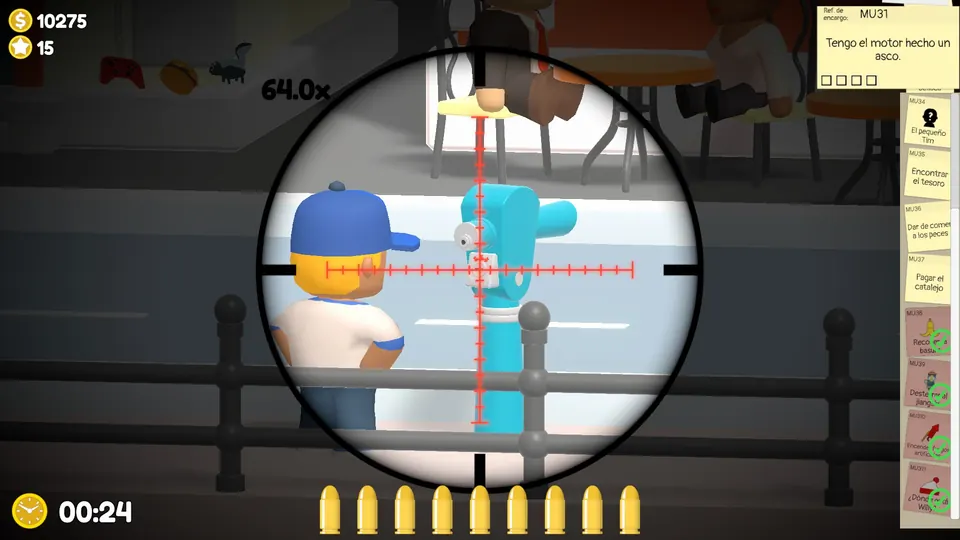
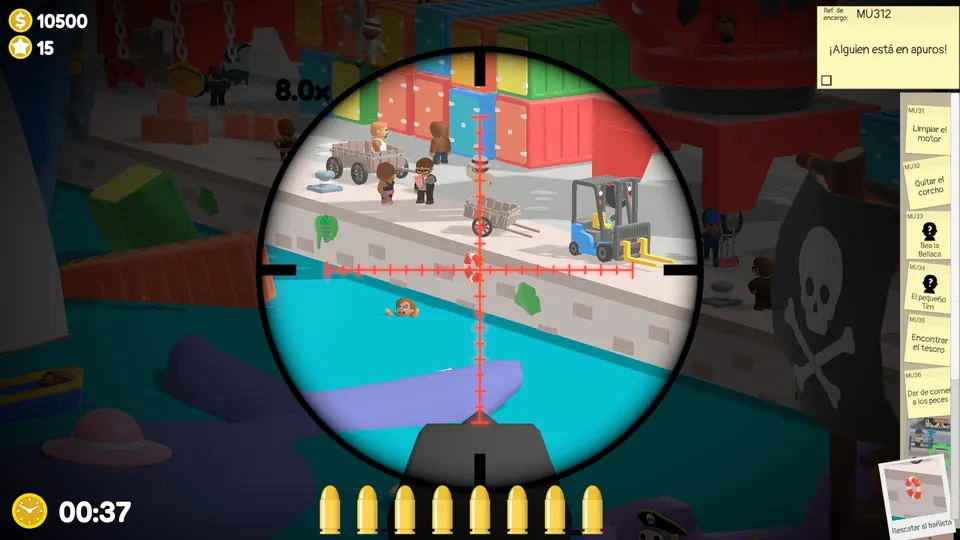
Use the spyglass and save the drowning NPC
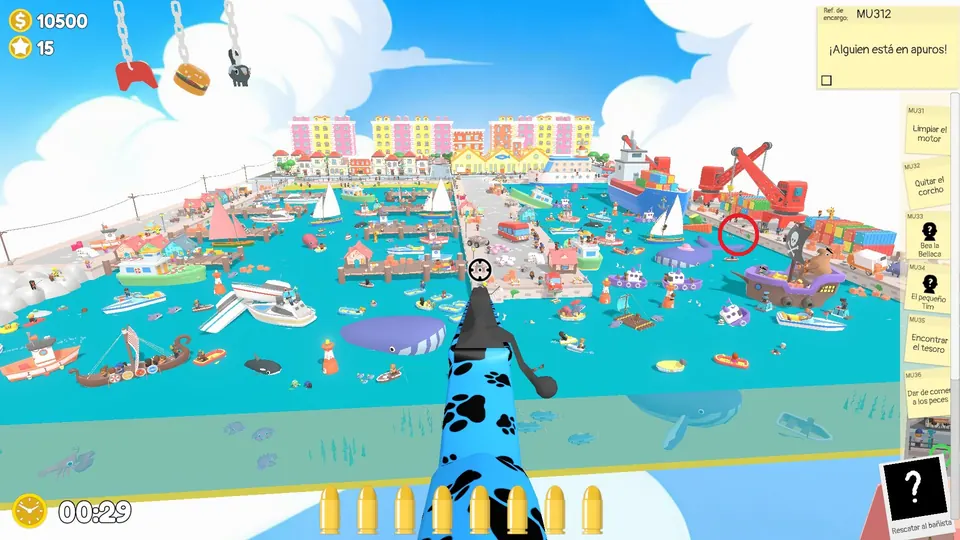
The coin-operated spyglass is always on the edge of the docks. Shoot the coin slot to use it. That finishes the objective and adds a new one: someone is drowning, and the game points you in their direction. Look that way, find them and shoot the life ring next to them.
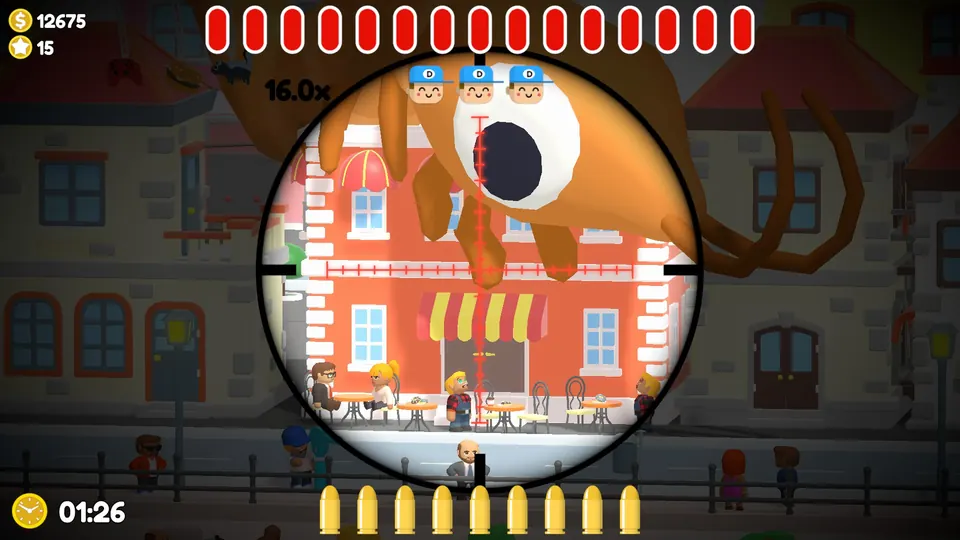
Happy Harbour boss objective
A giant prawn tries to steal the doughnuts. Shoot whichever leg is moving to grab a doughnut. The boss starts once the rest of Day 3 is done.
Central City bananas, fireworks, Willy and Jiangshi
Central City bananas (10)
The city bananas are all circled on one overview of the city.
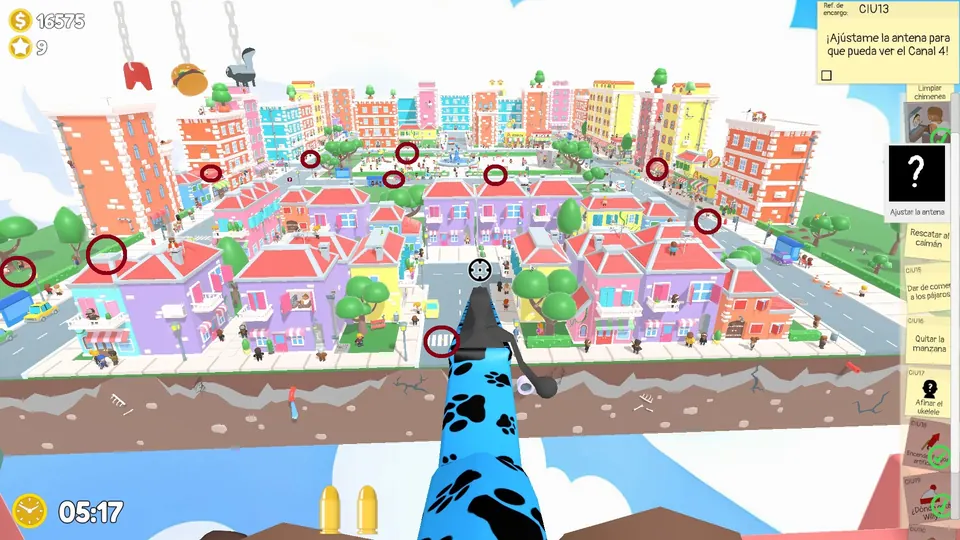
Central City fireworks (10)
The city fireworks are circled on one overview as well.
Central City Willy and Jiangshi
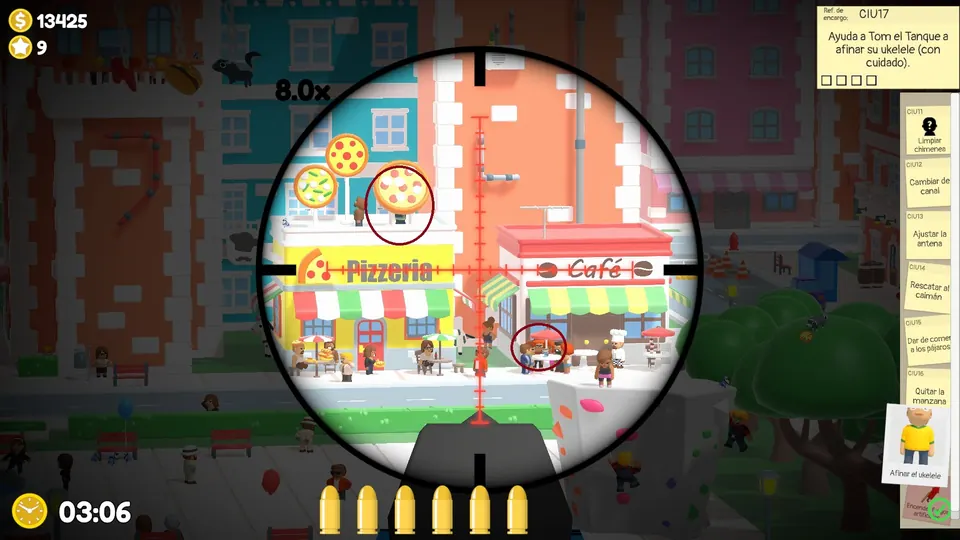
Both are in the same area at the back, by the pizzeria. For the Jiangshi, shoot the pizza sign. Willy is among the people sitting at the tables.
Central City Day 1
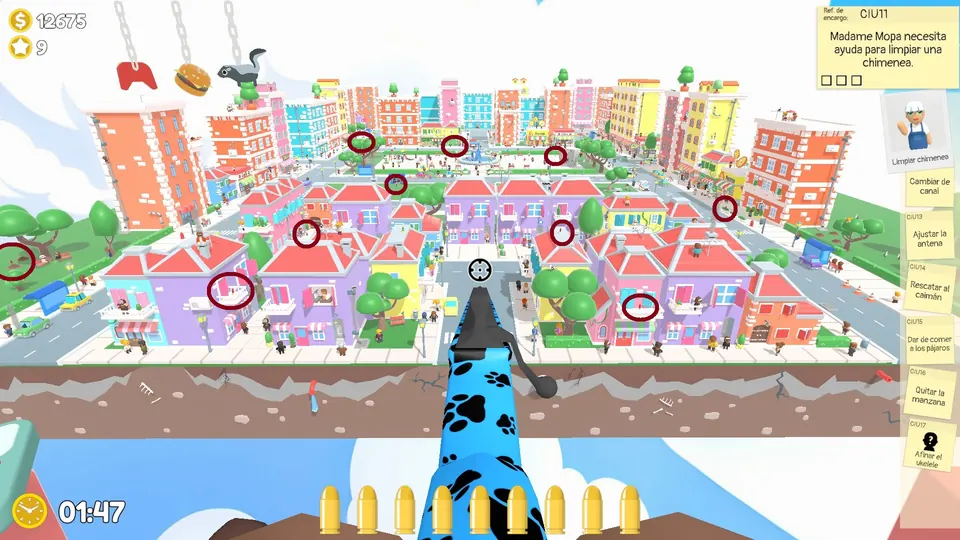
Fix the aerial
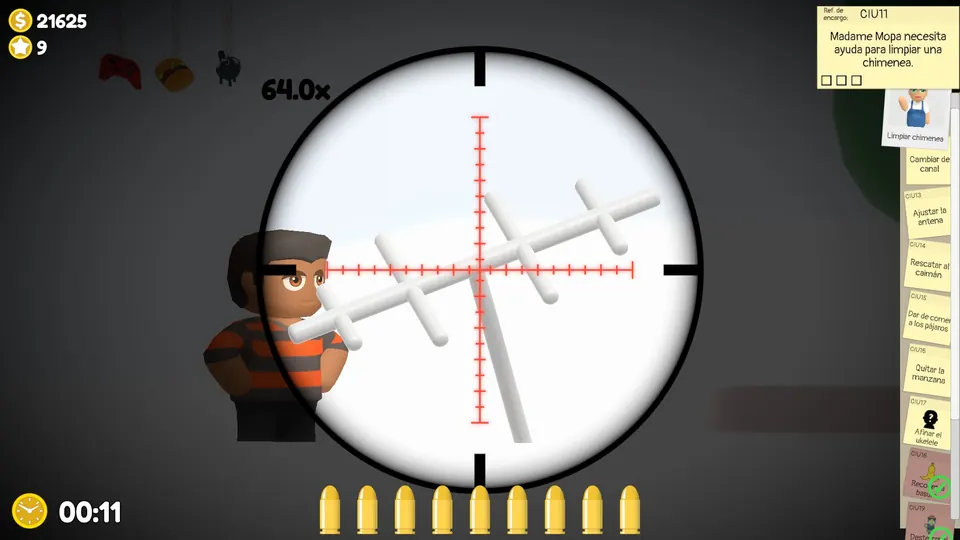
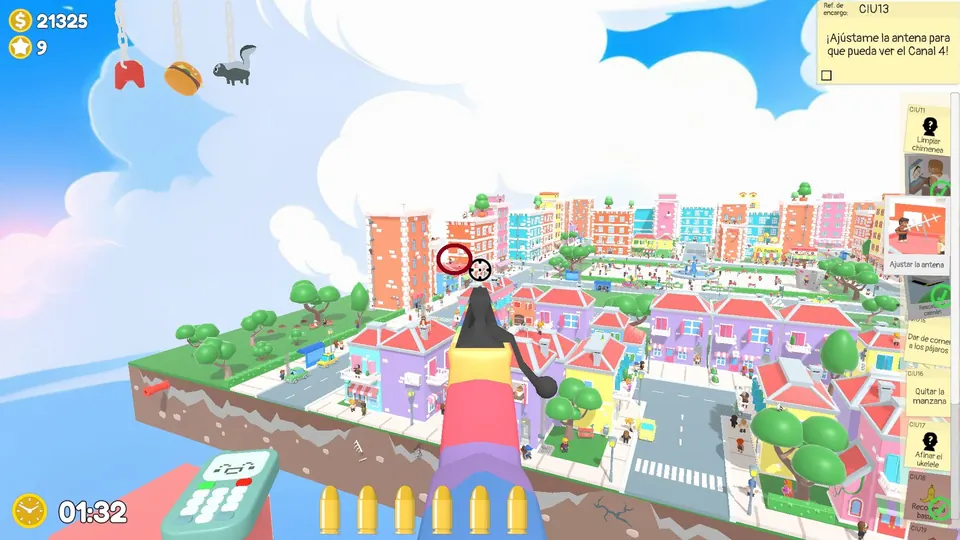
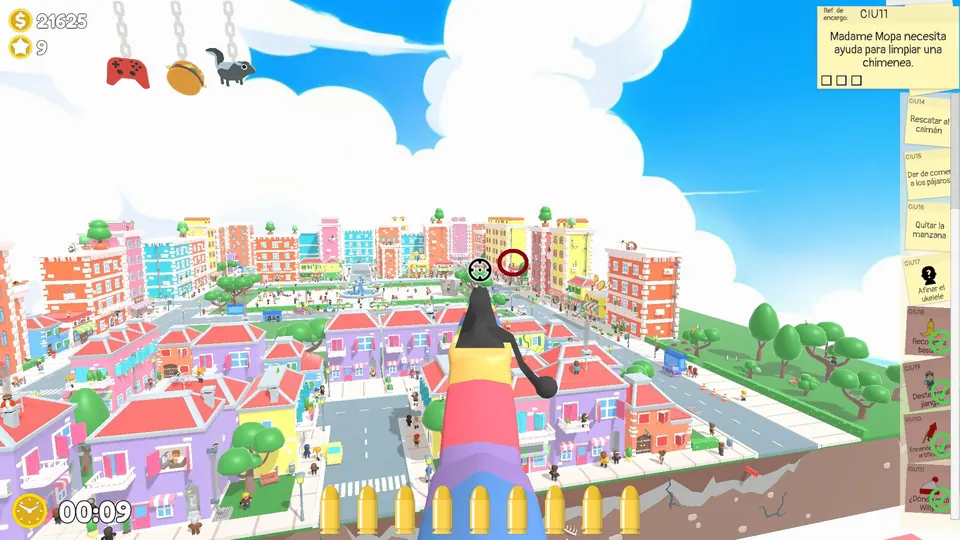
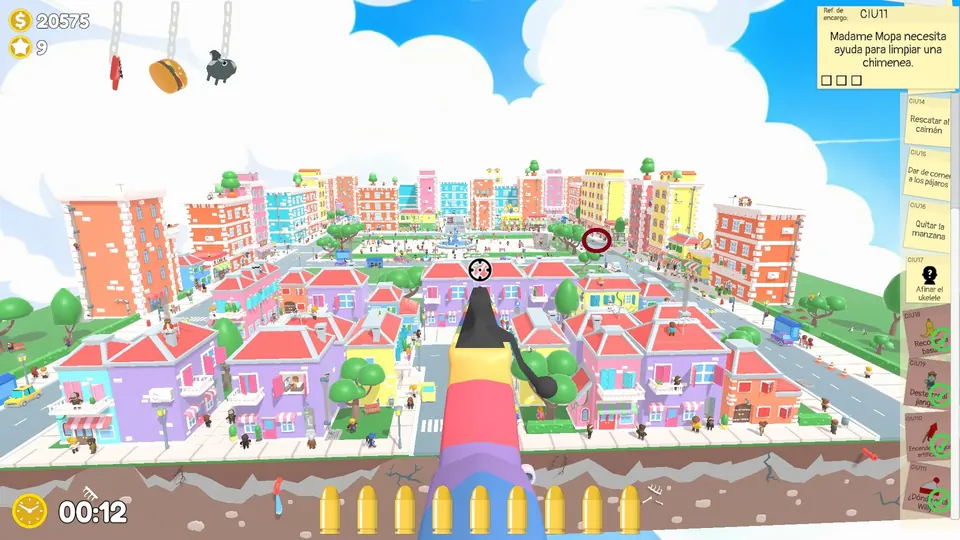
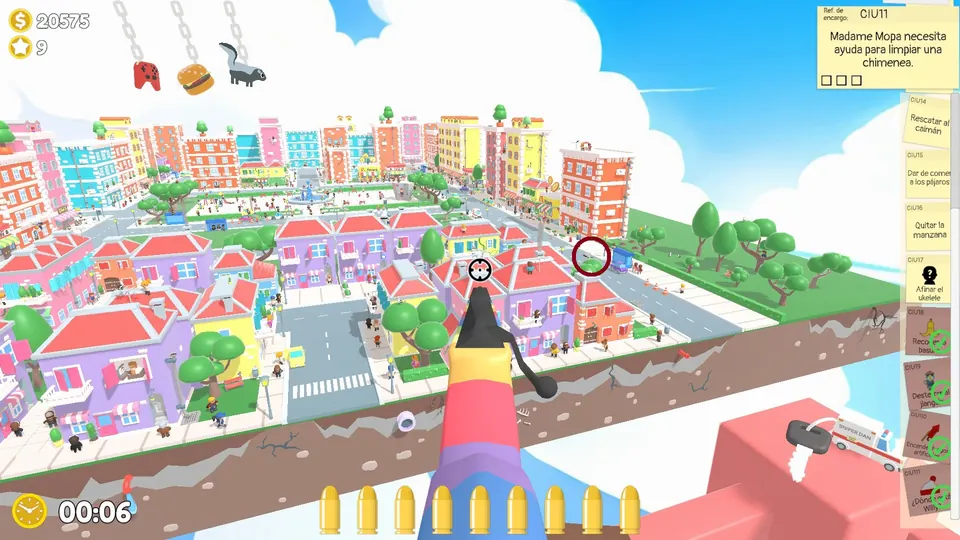
Find the bent TV aerial and shoot it to straighten it. The bent aerial has three possible spots.
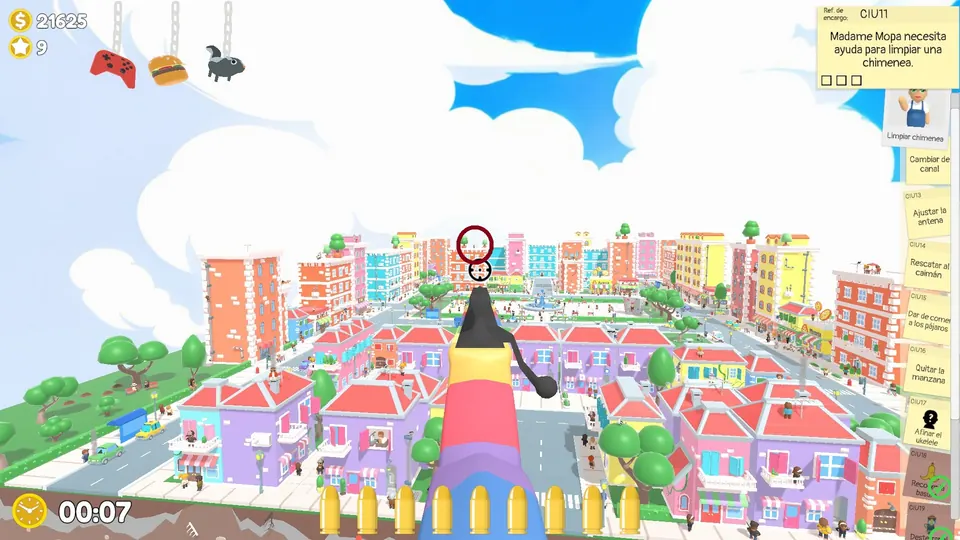
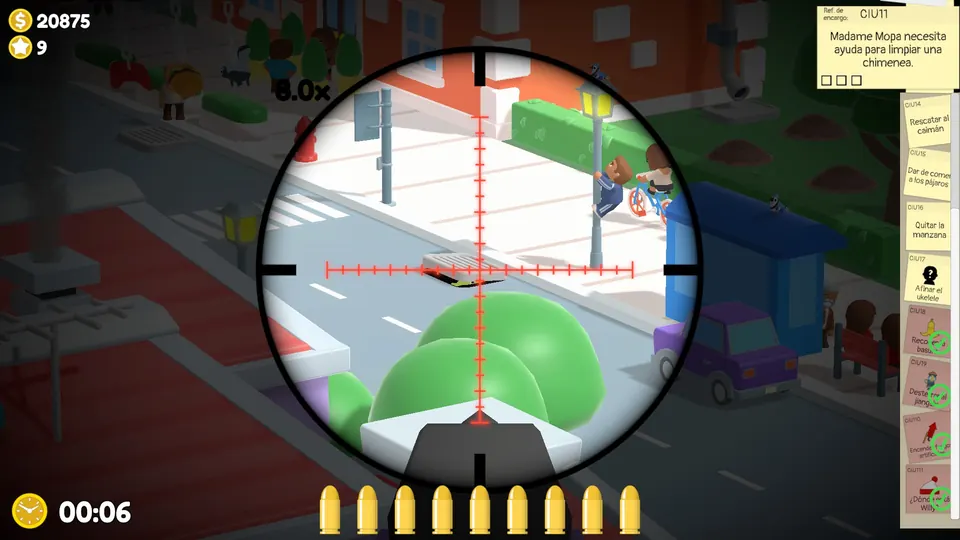
Free the alligator
Shoot the drain cover where the alligator is peeking out. The alligator drain has three possible spots.
Change the channel
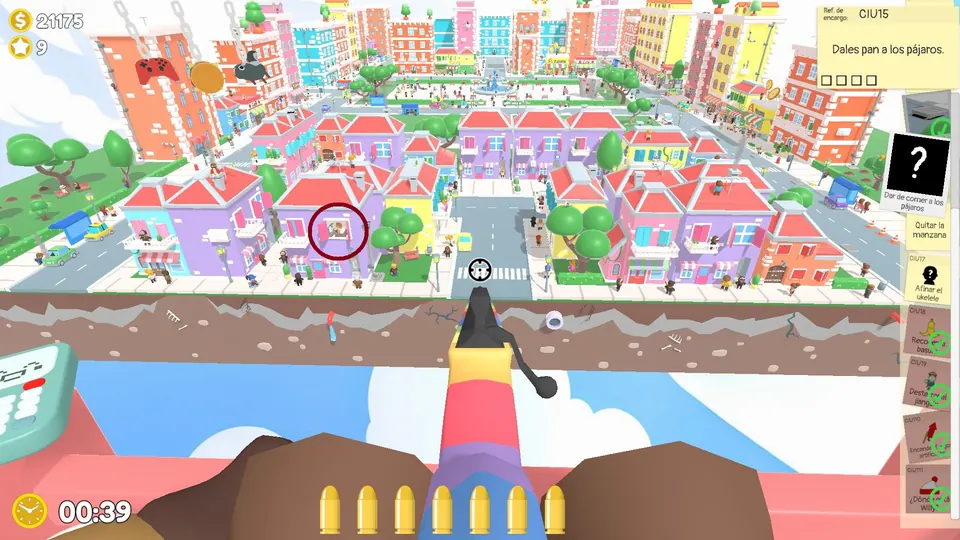
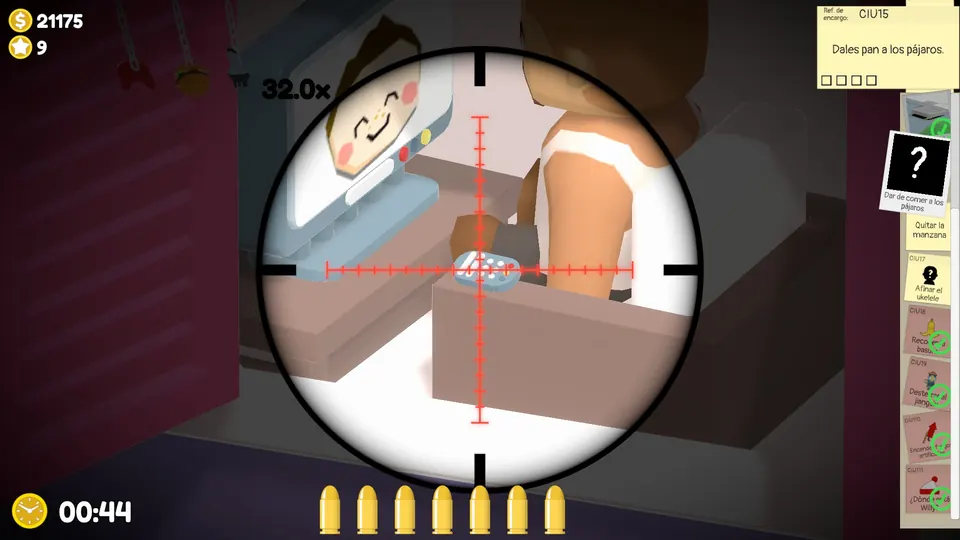
The NPC watching TV inside a house is always in the same place. Shoot the remote control to change the channel.
Clear the smoky chimney
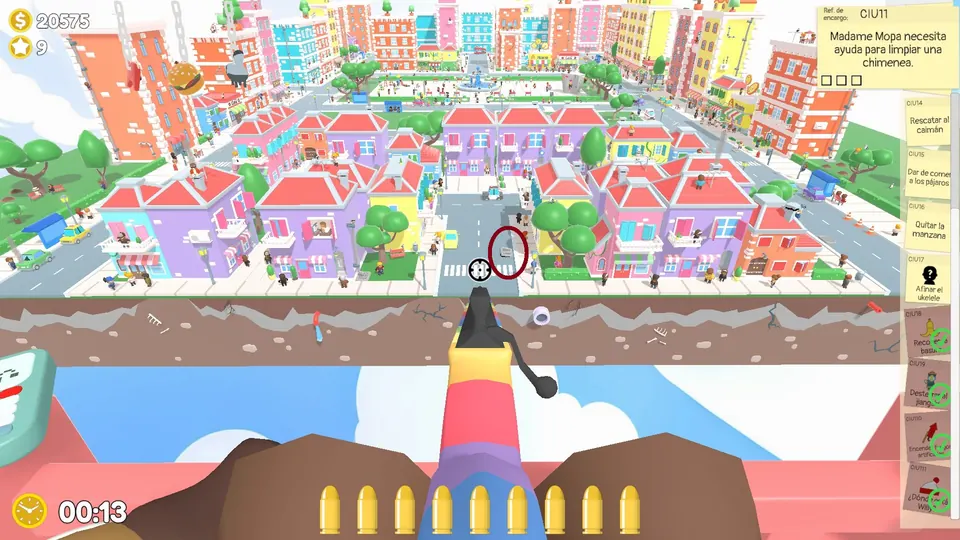
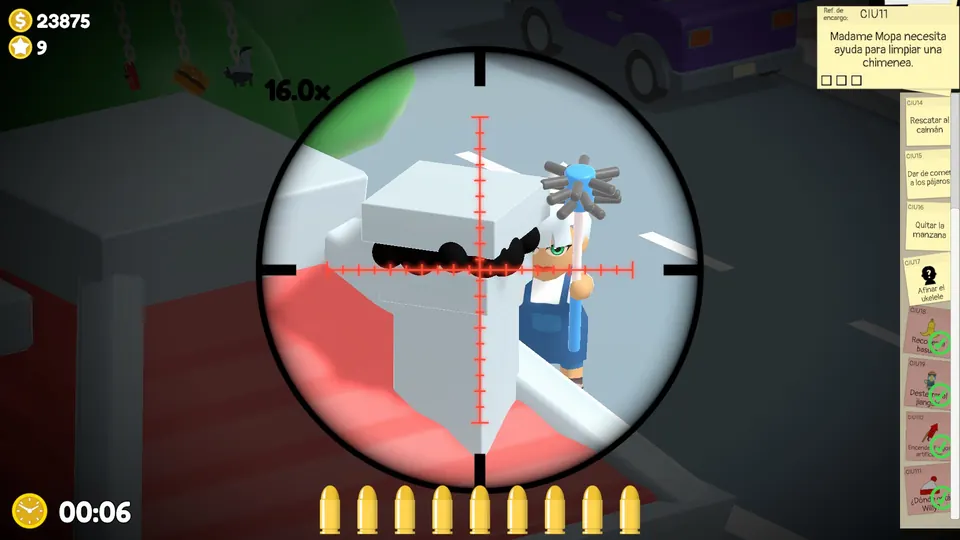
Find the chimney clogged with smoke, shown as black dots, and shoot every dot. The smoky city chimney has three possible spots.
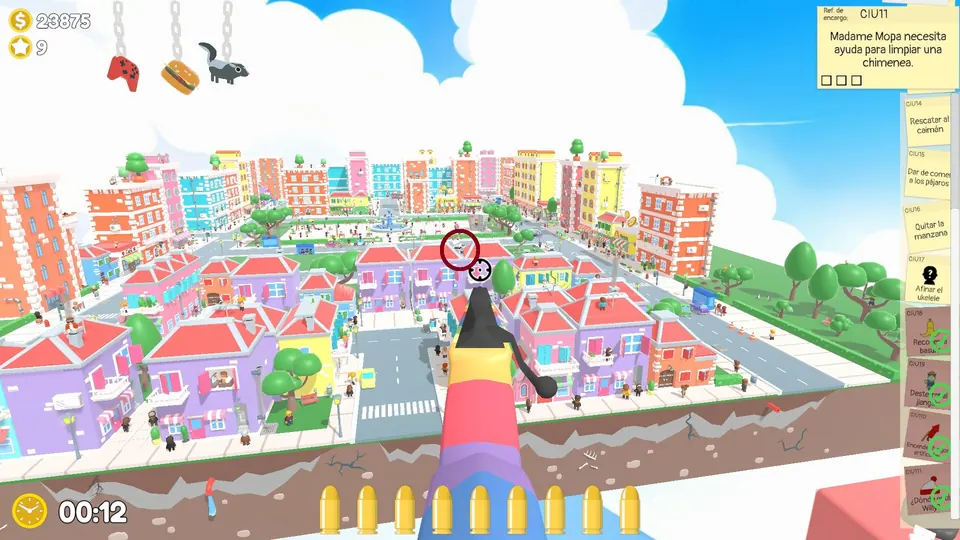
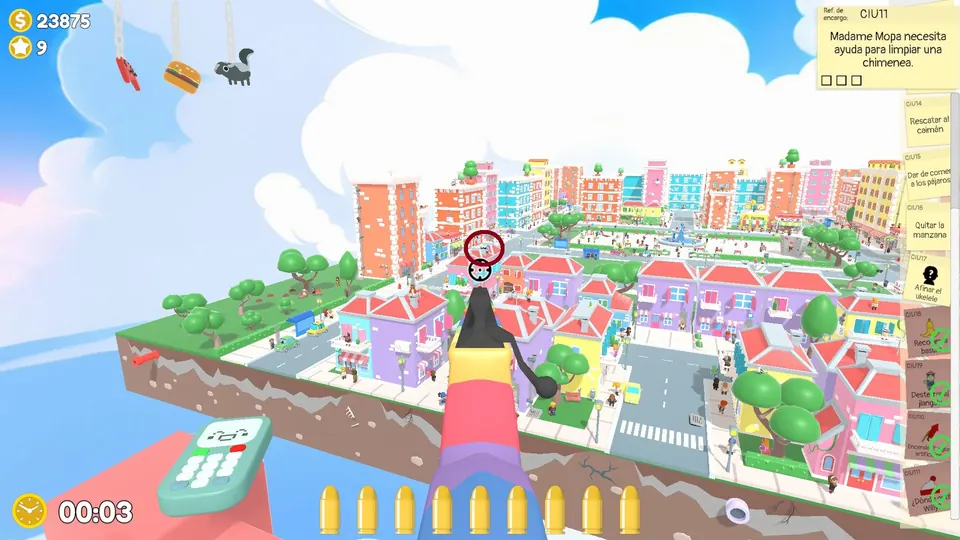
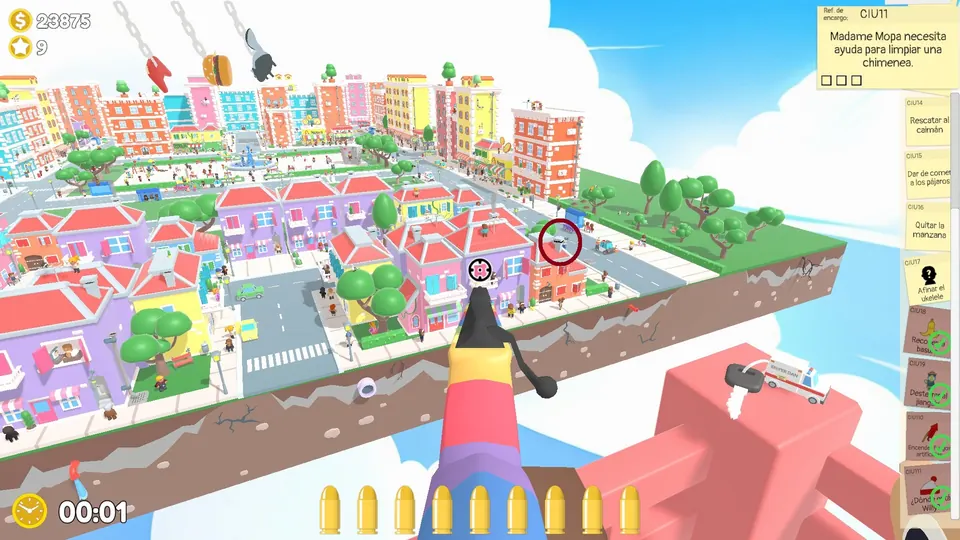
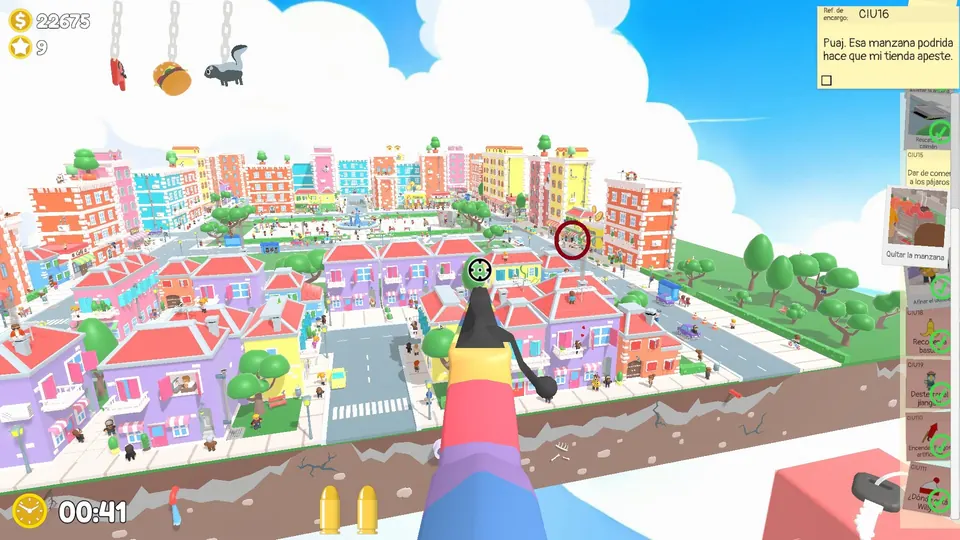
Remove the rotten apple
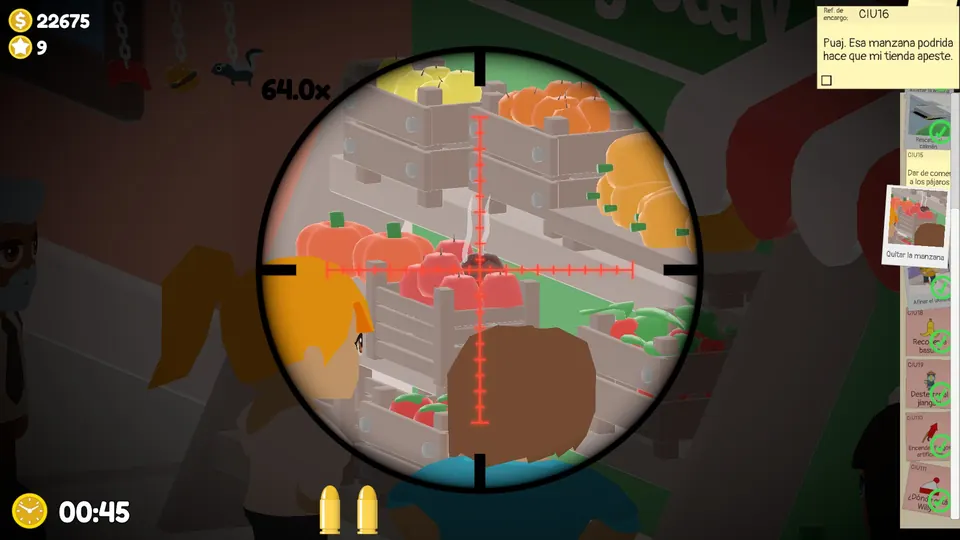
A rotten apple is always on the fruit stall. Shoot it to get it away from the good ones.
Phone objective: shoot the sausage from the pelican
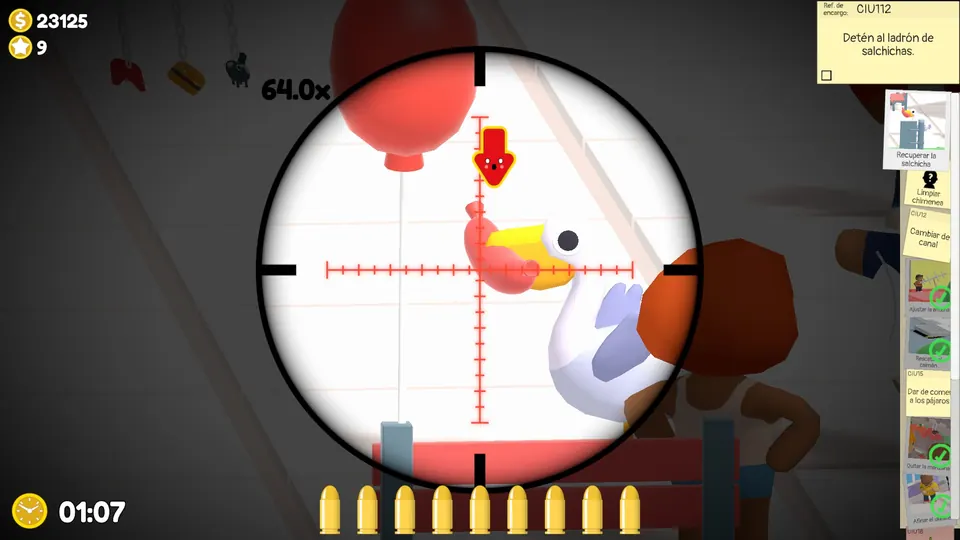
After you answer the phone, a pelican with a sausage in its beak appears in the park. Shoot the sausage before the bird escapes.
Feed the birds
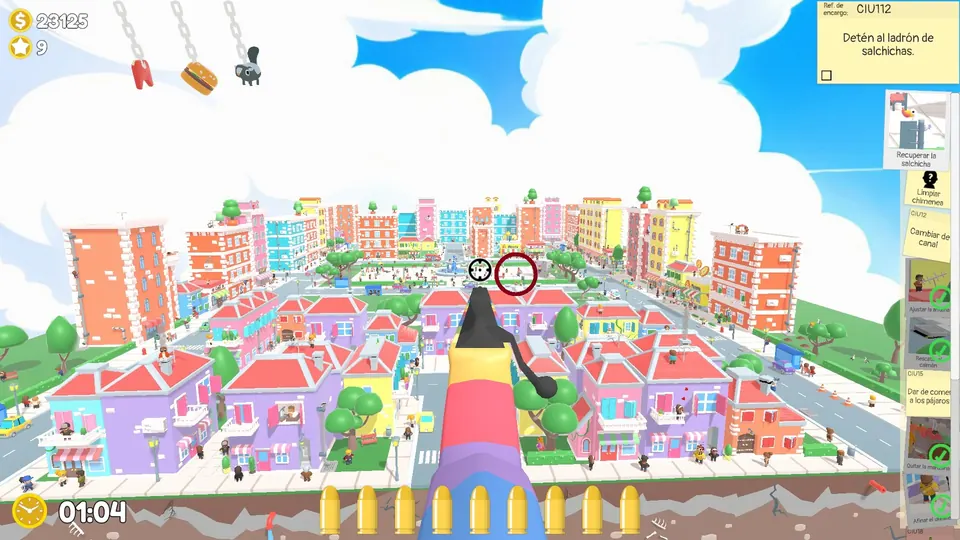
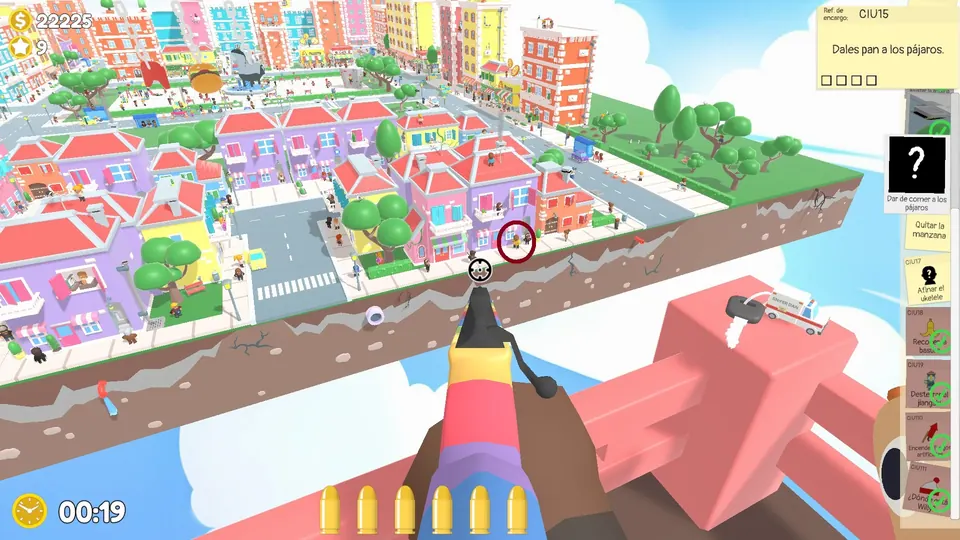
Find the NPC holding a loaf. Shoot the loaf to break it in half, shoot each half as it flies out, then shoot the last four pieces of bread. The bread NPC has three possible spots.
Tune the ukulele
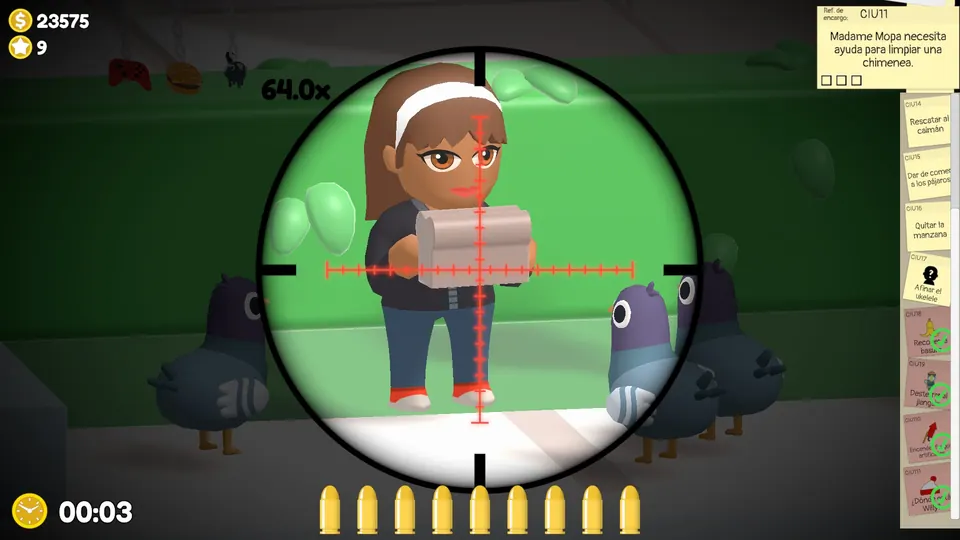
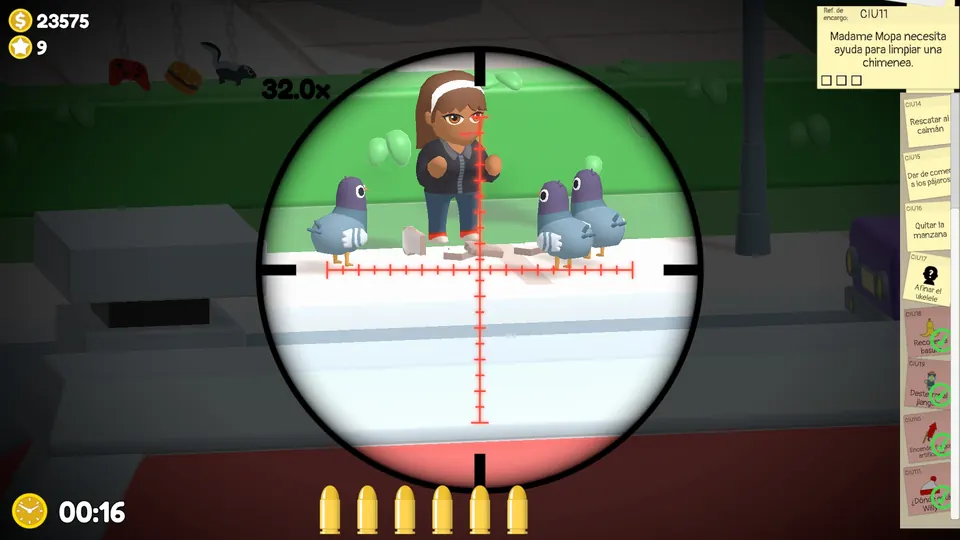
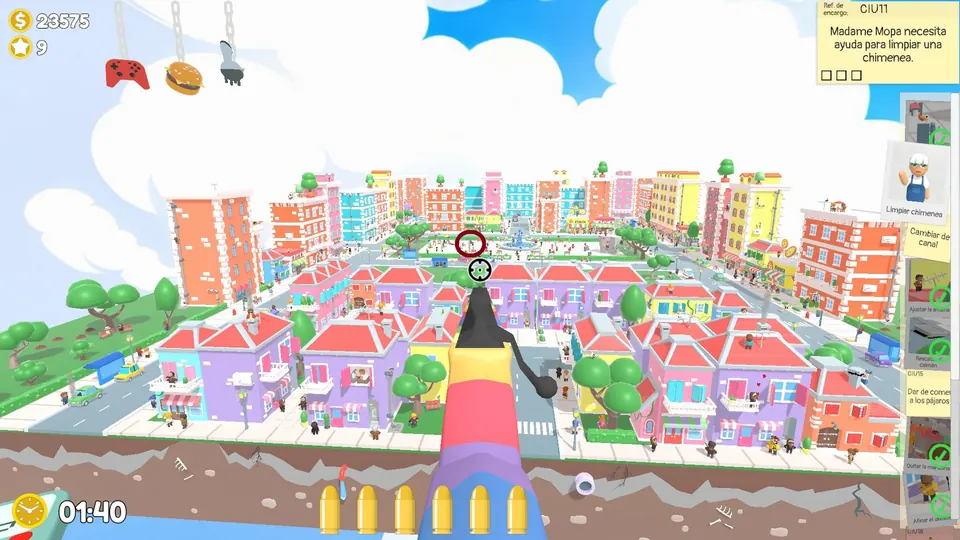
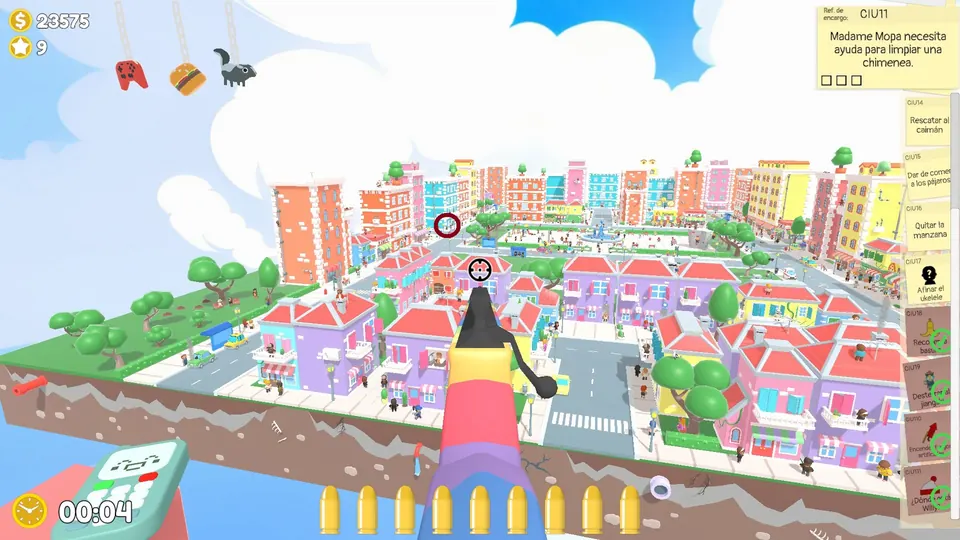
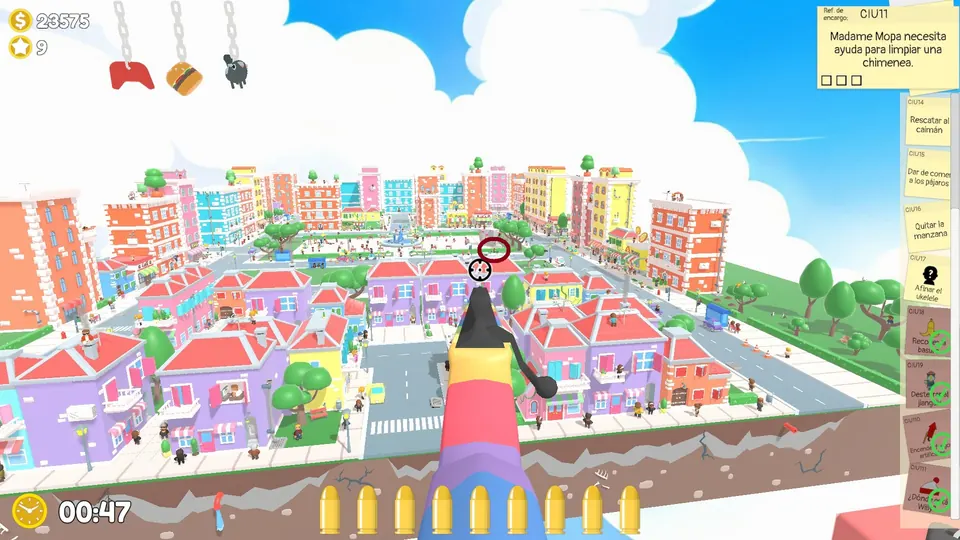
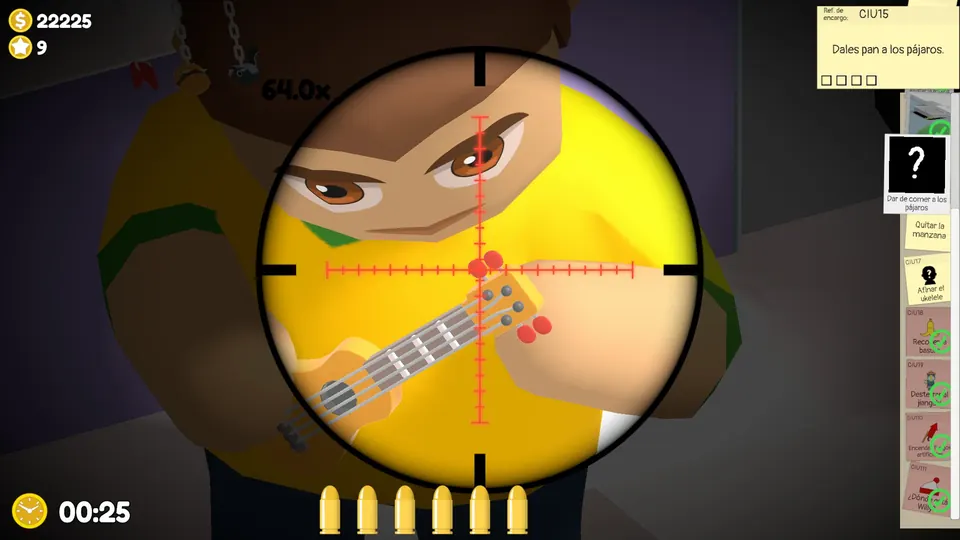
The NPC with a ukulele is always in the same place. Shoot the four tuning pegs. They are tiny, so line up the middle of each peg before firing.
Central City Day 2
Destroy the alligator posters
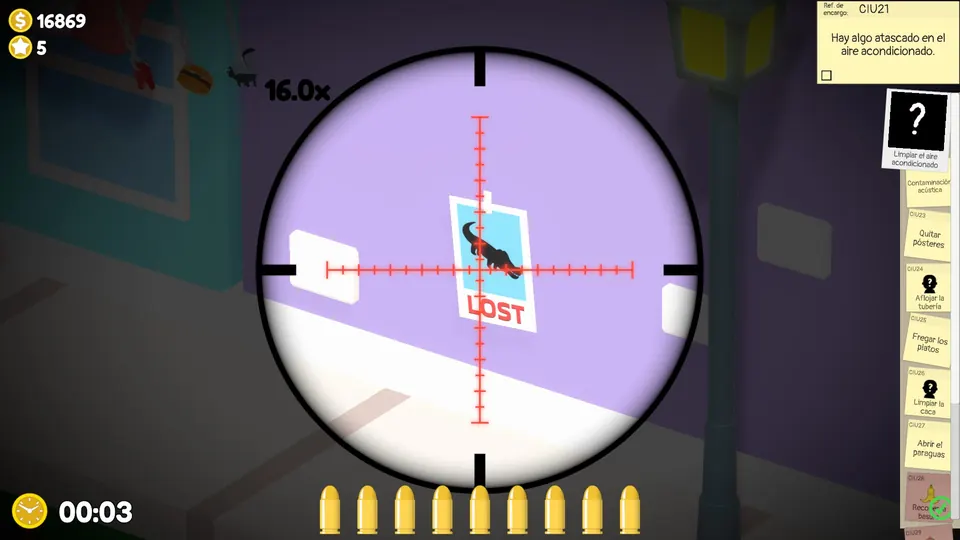
Find and destroy the five posters about the alligator you freed the day before. The posters come in three possible layouts.
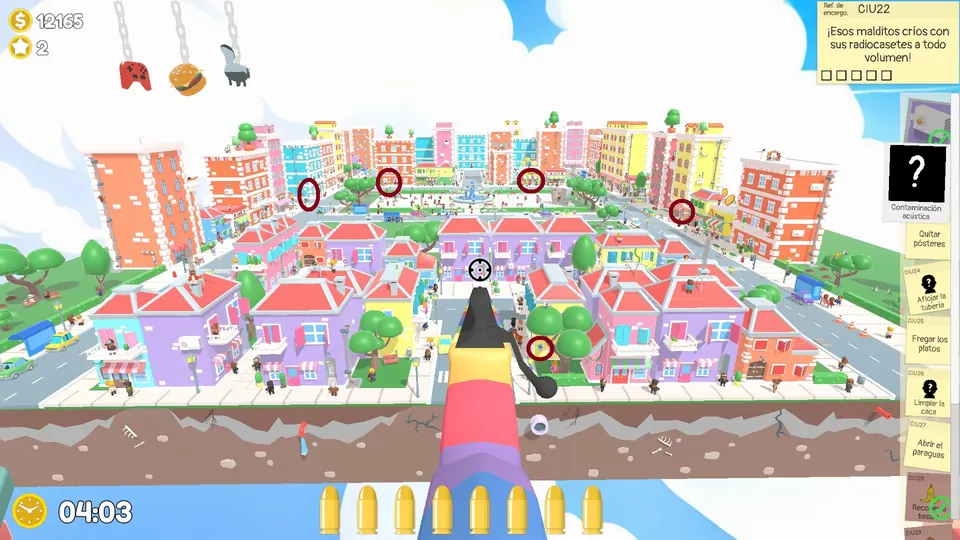
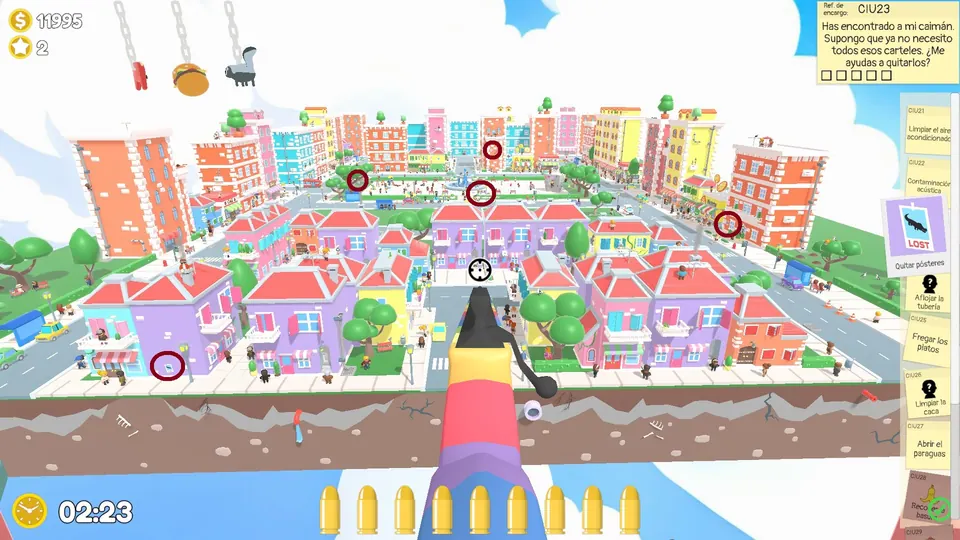
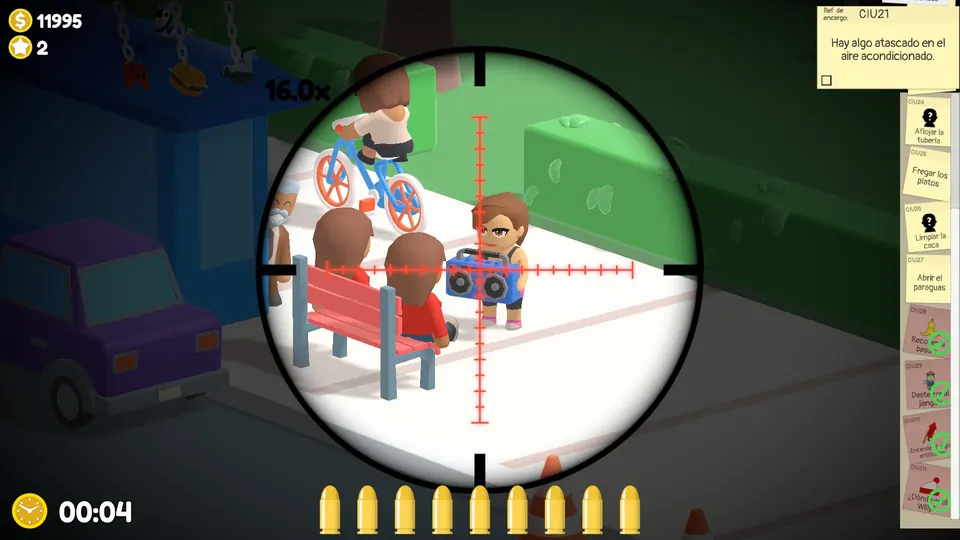
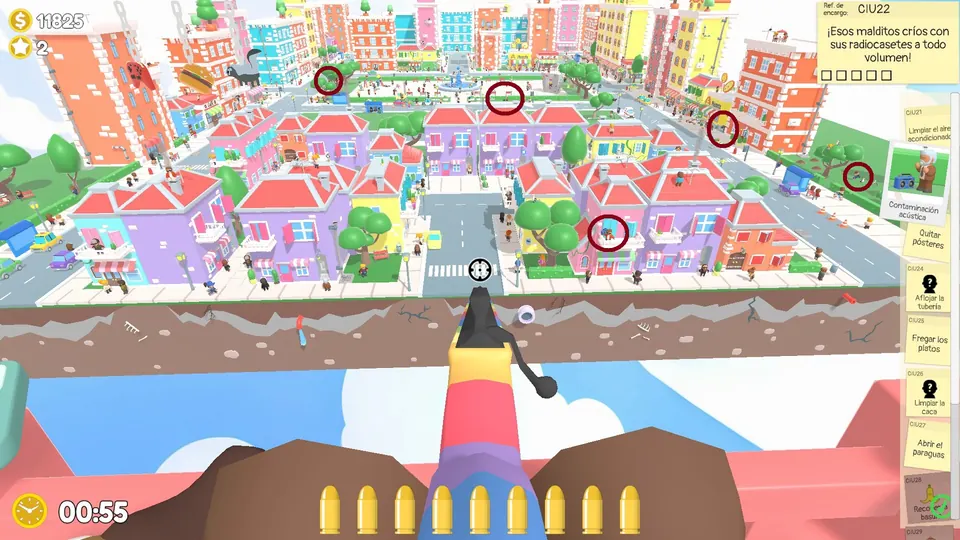
Destroy the blue radios
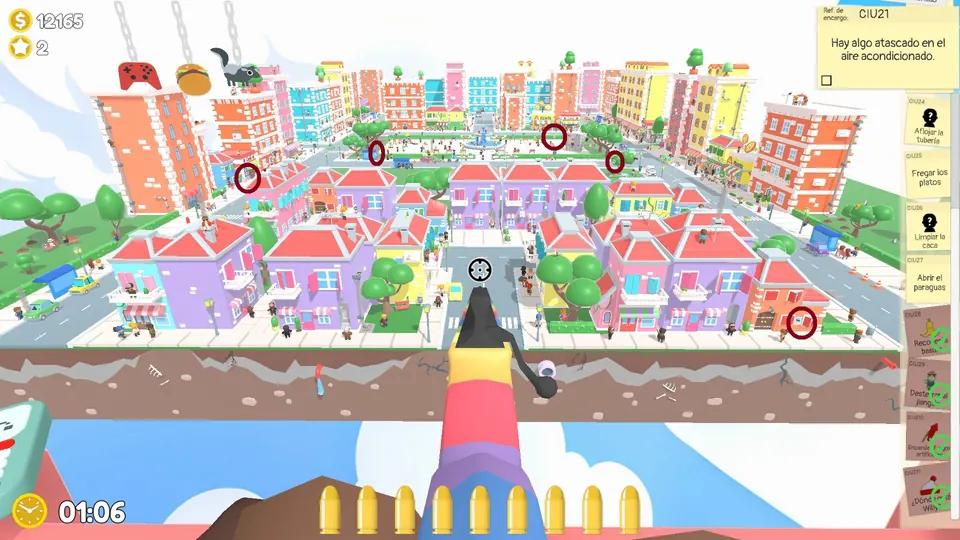
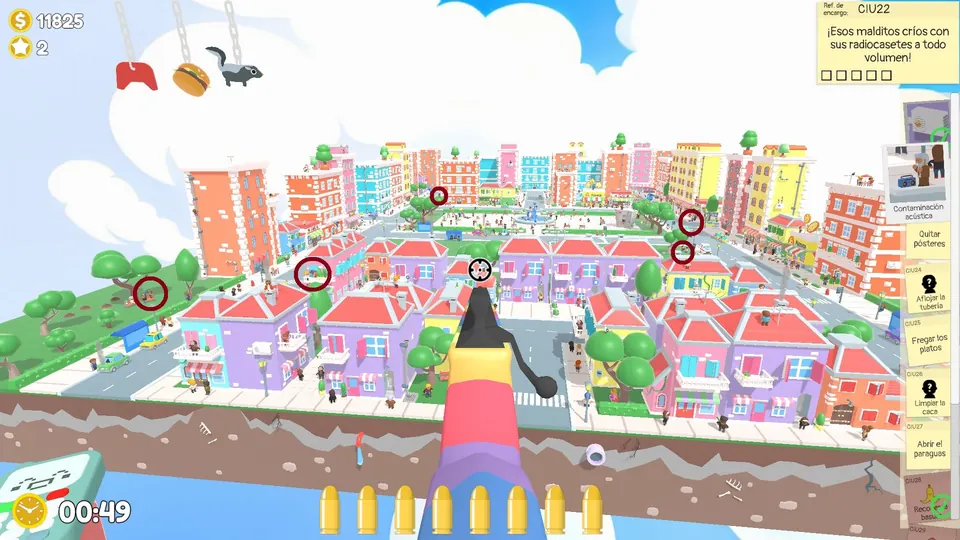
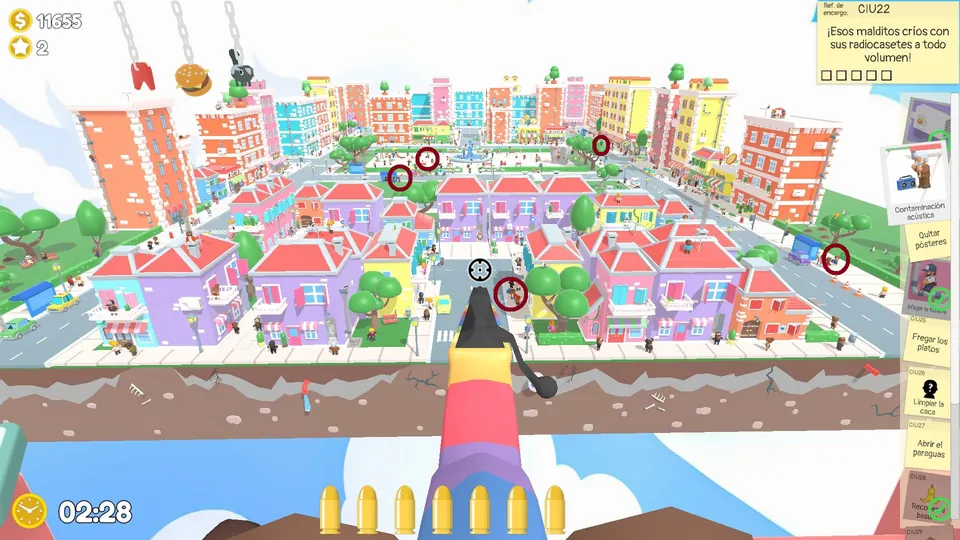
Find the five blue radios and destroy them. The radios come in three possible layouts.
Loosen the pipe
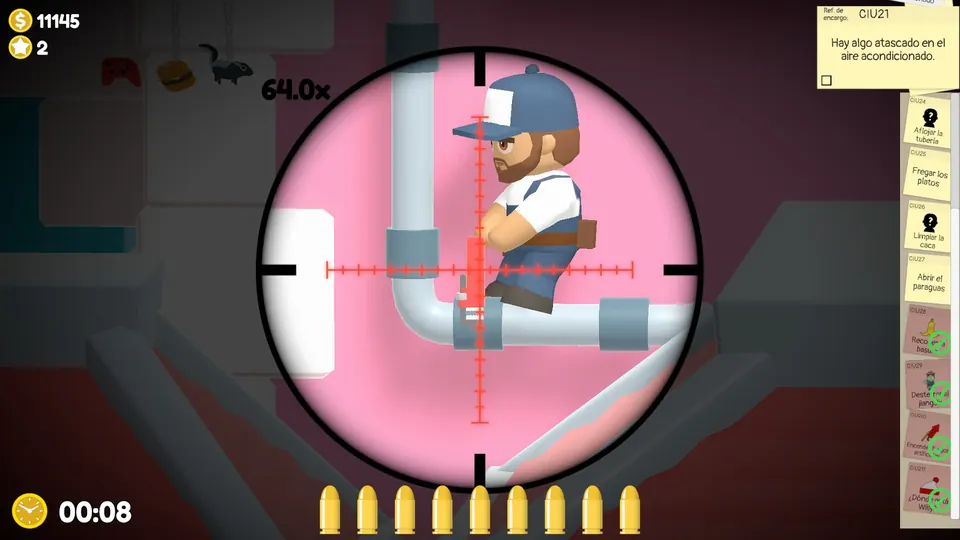
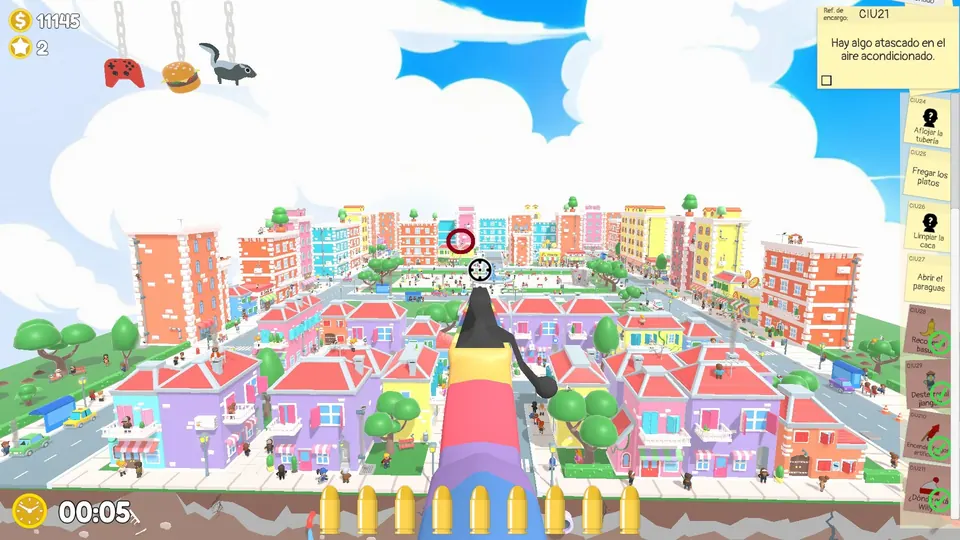
An NPC is working on a pipe down the side of a building. Shoot their wrench to loosen the pipe. The pipe NPC has three possible spots.
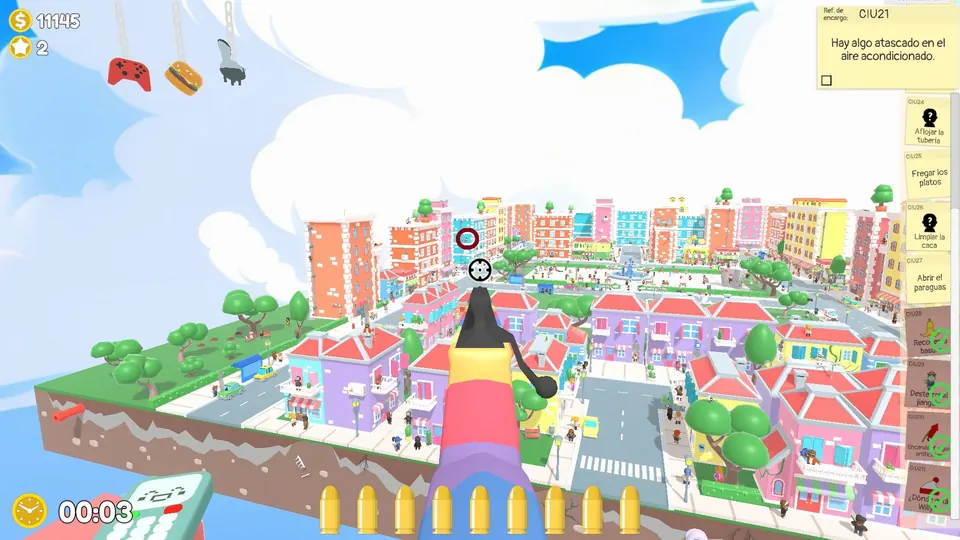
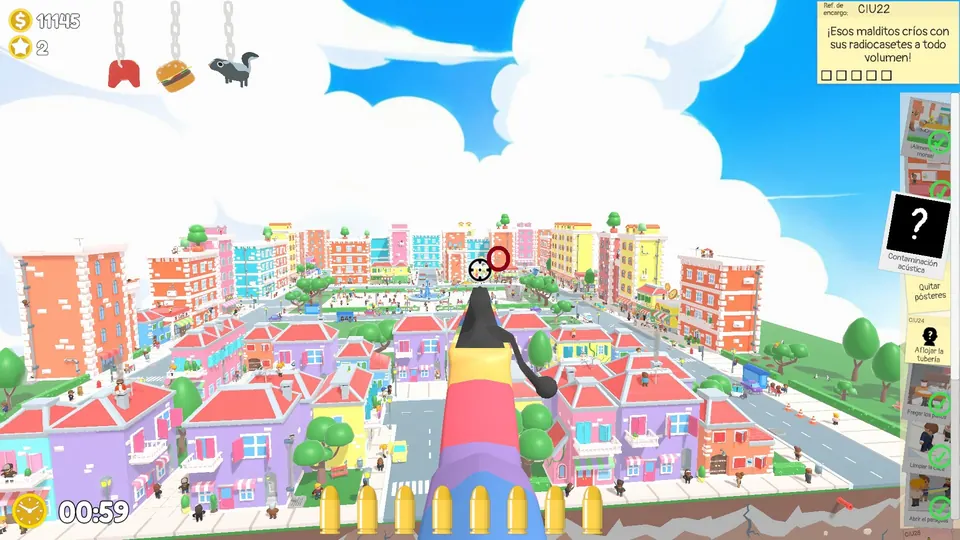
Open the umbrella
Help the NPC open their umbrella by shooting its button. The umbrella NPC has three possible spots.
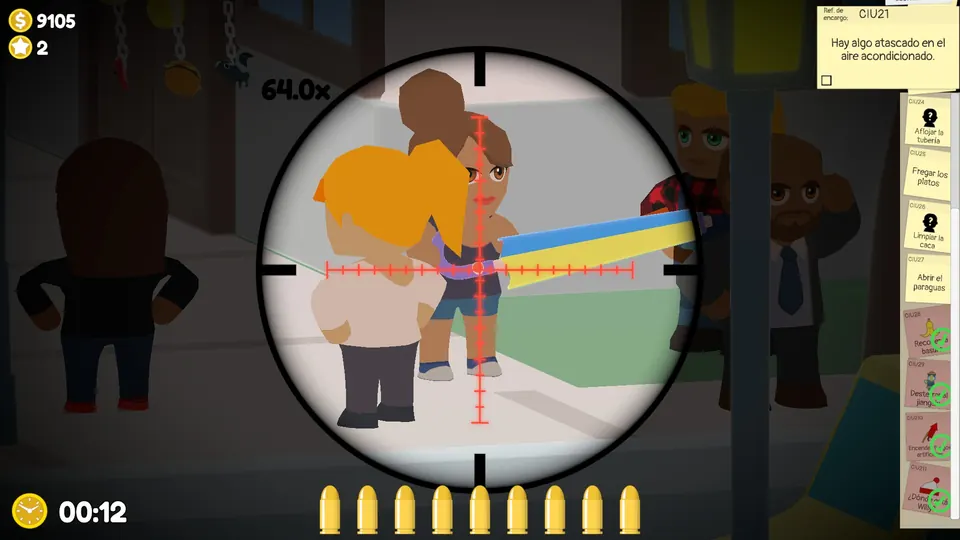
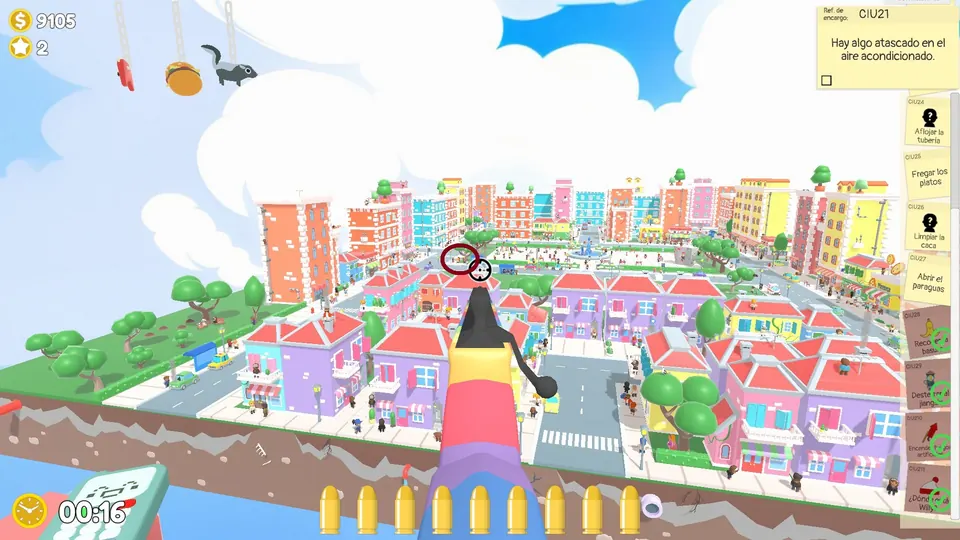
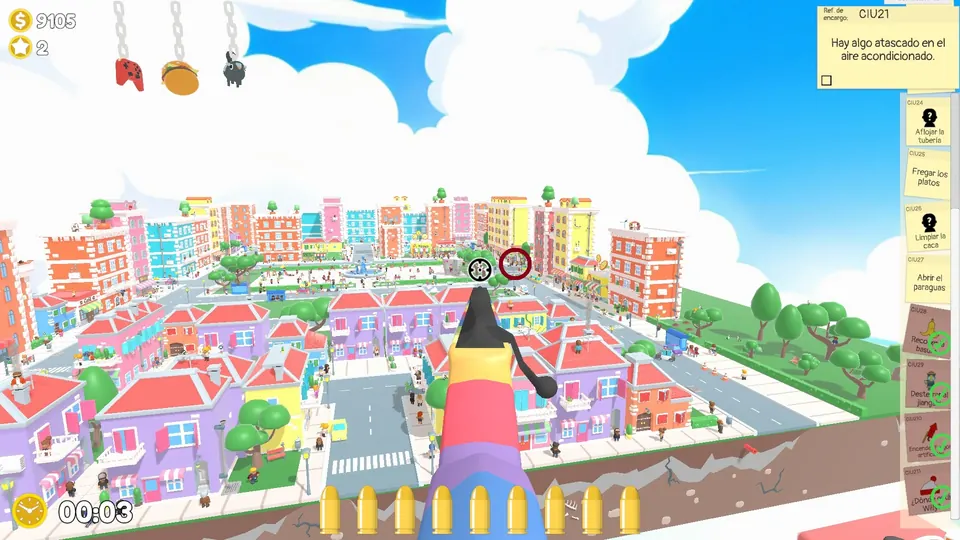
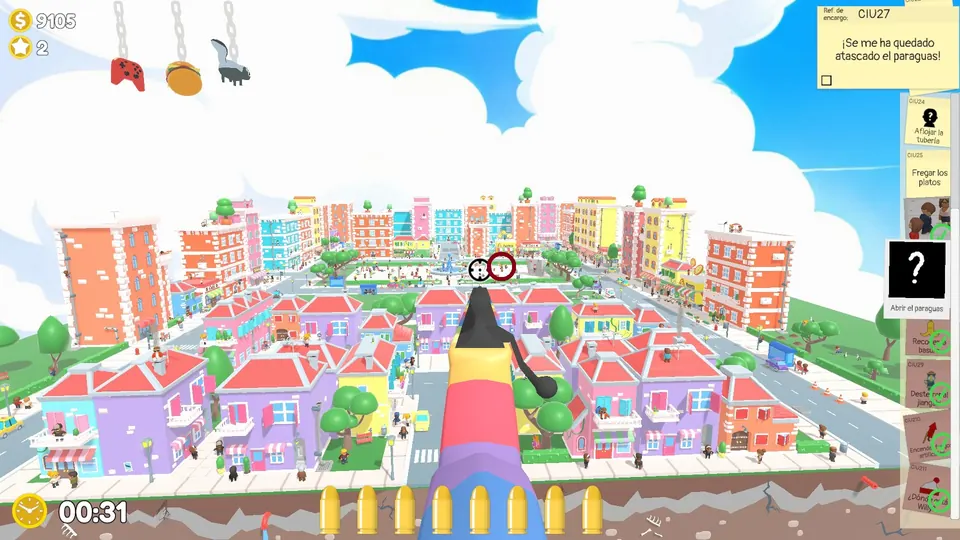
Clean the poop
An NPC has a lump of poop on one shoe. Shoot it off. The dirty-shoe NPC has three possible spots.
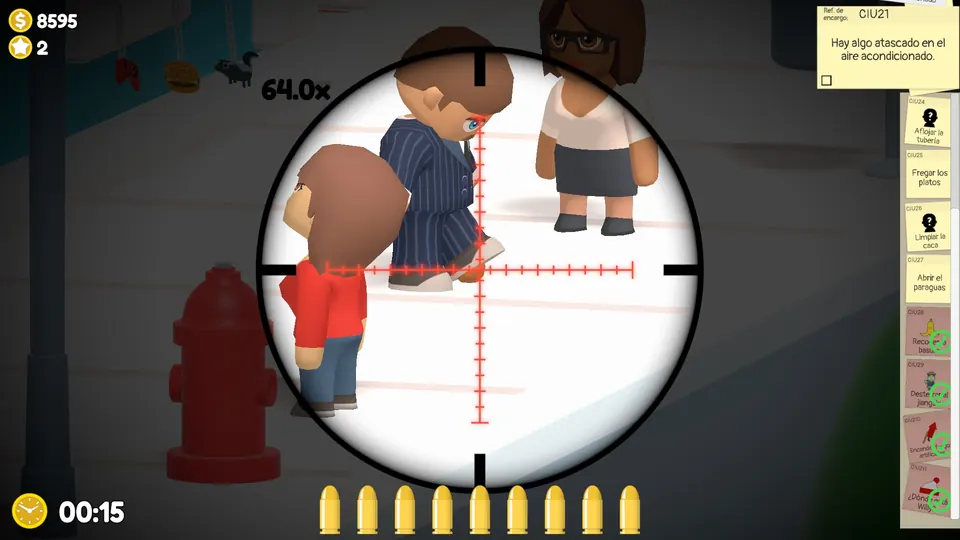
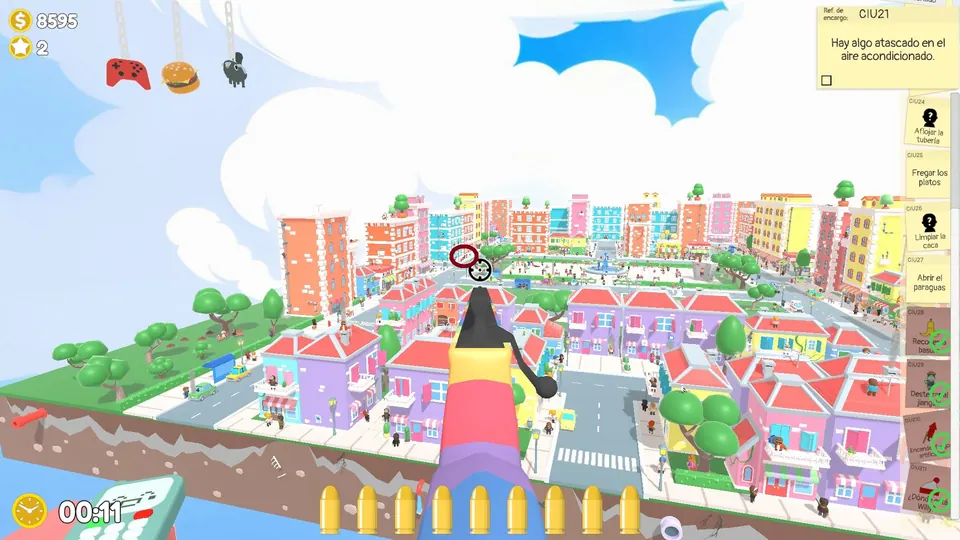
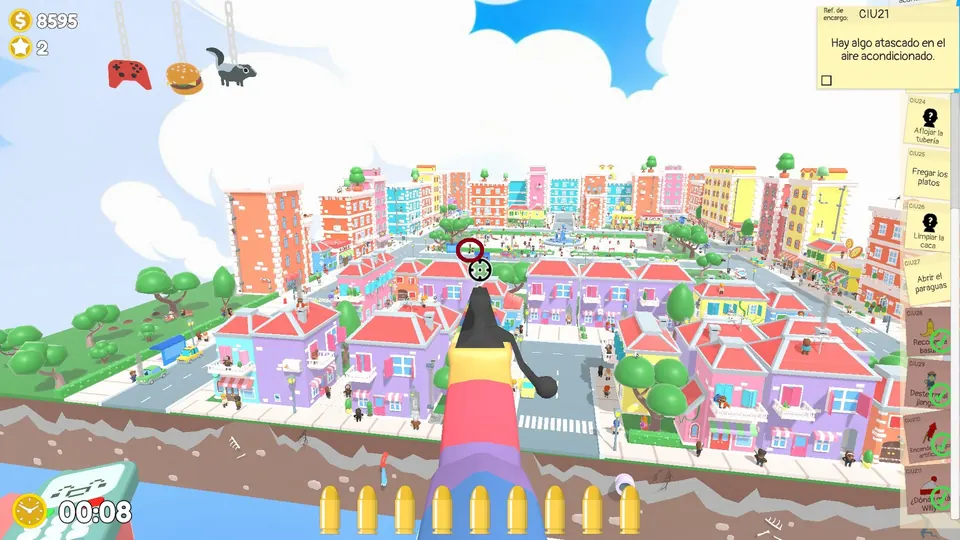
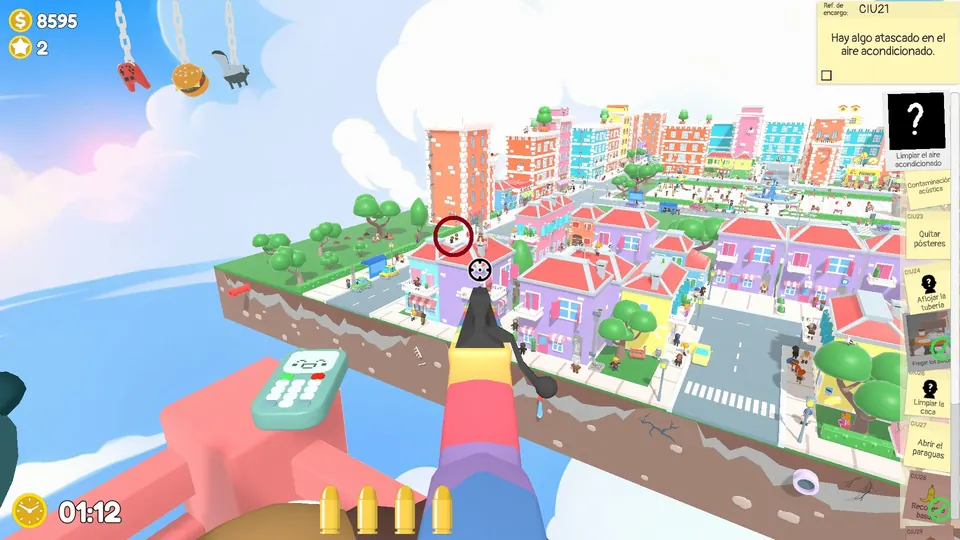
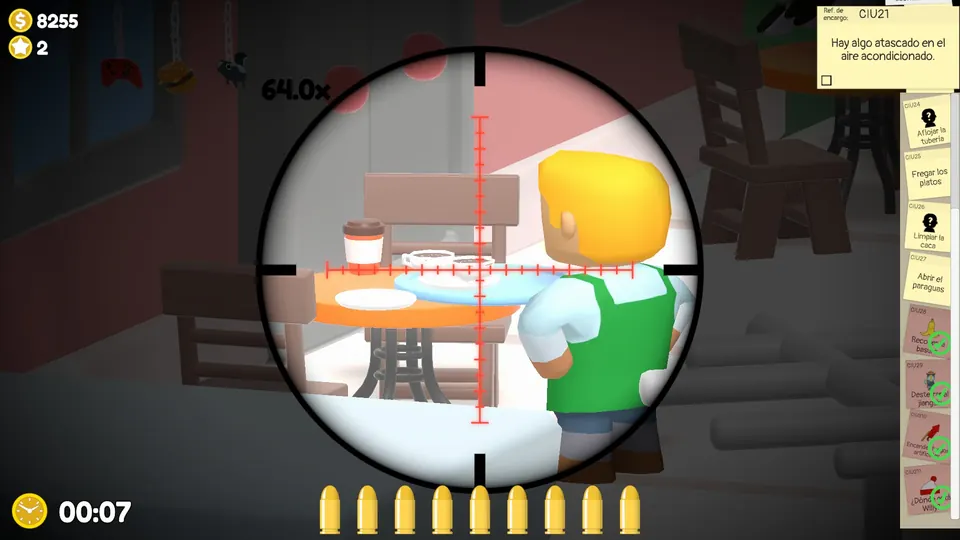
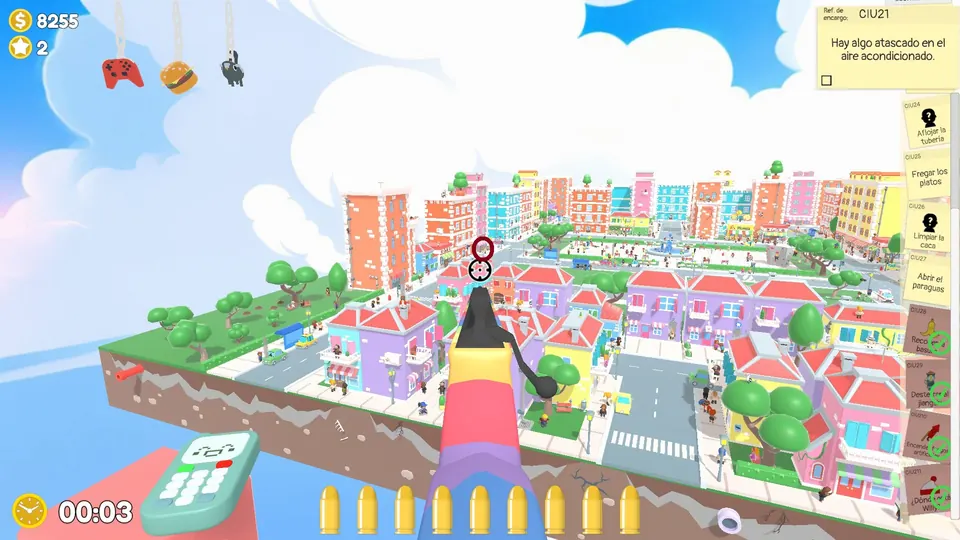
Smash the dishes
An NPC does not want to do the washing up, so smash the dishes on their table. The dishes table has three possible spots.
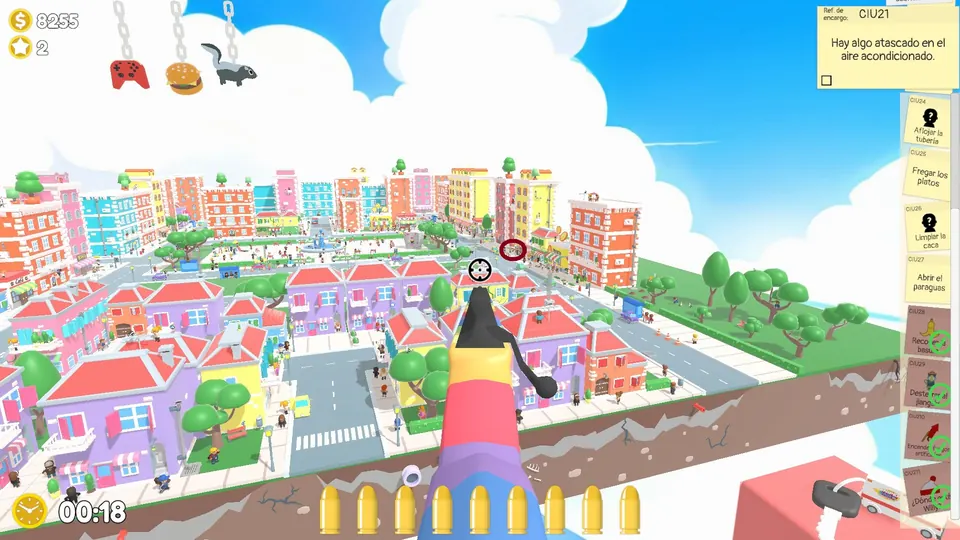
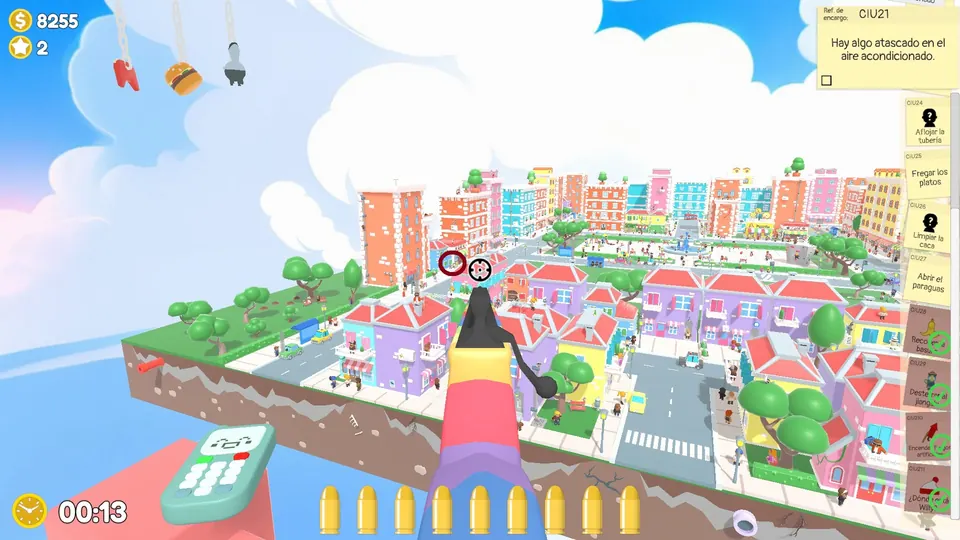
Phone objective: dump the fish before the walrus
After you answer the phone, a walrus appears at the back, on the pizzeria street, heading for a van full of fish. Shoot the lever on the van to dump the fish.
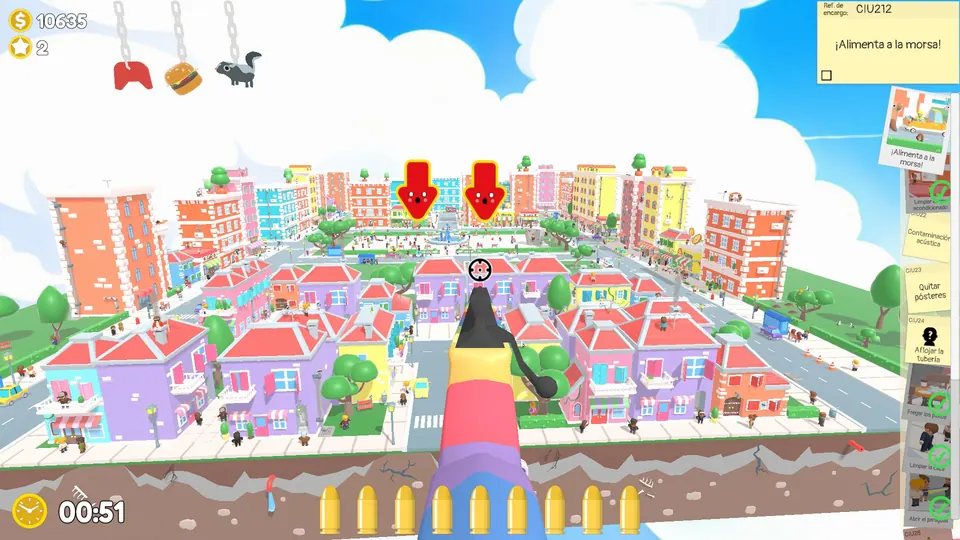
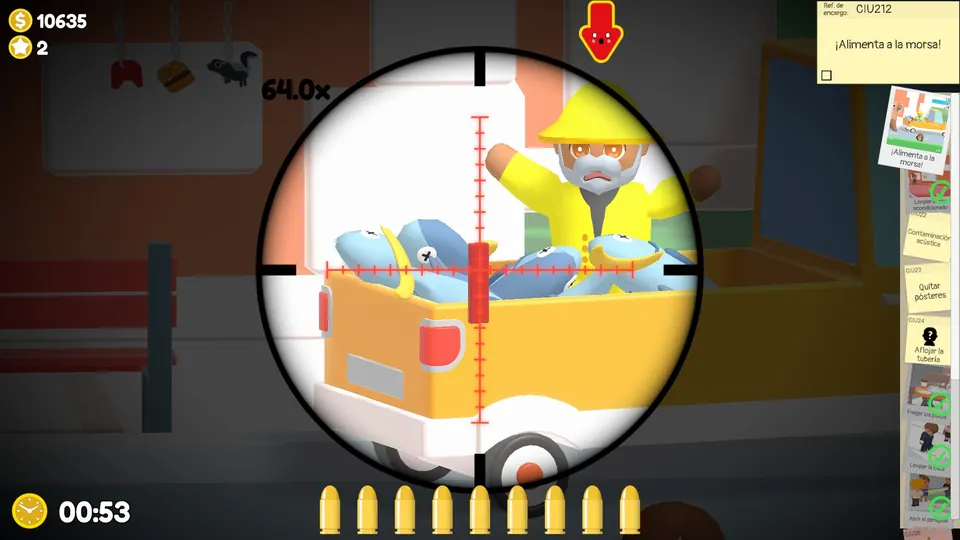
Clean the air conditioner
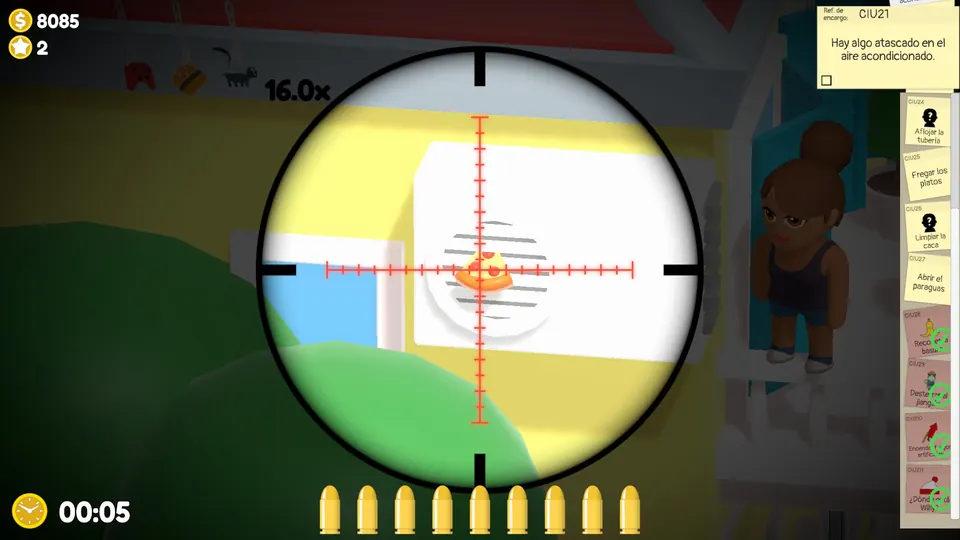
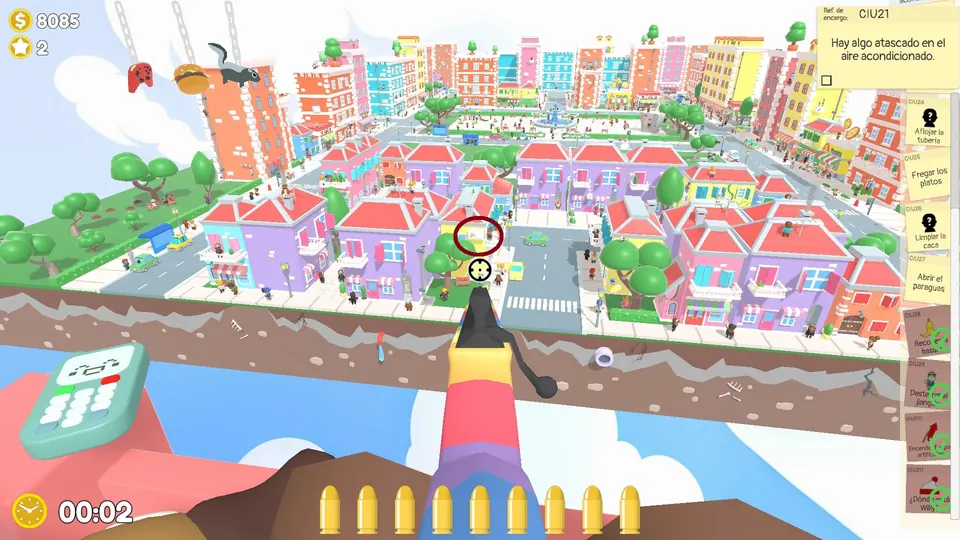
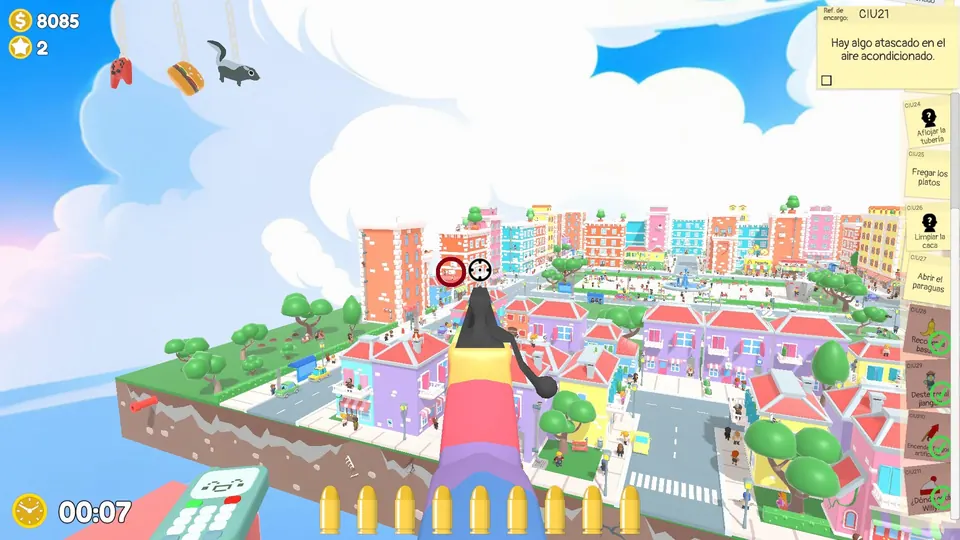
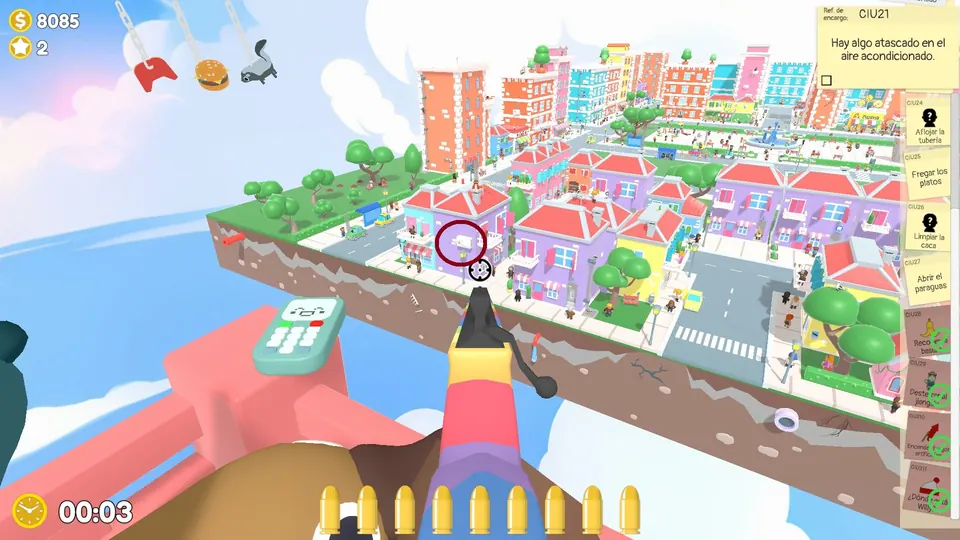
Shoot the pizza blocking the air conditioning unit. The blocked unit has three possible spots.
Central City Day 3
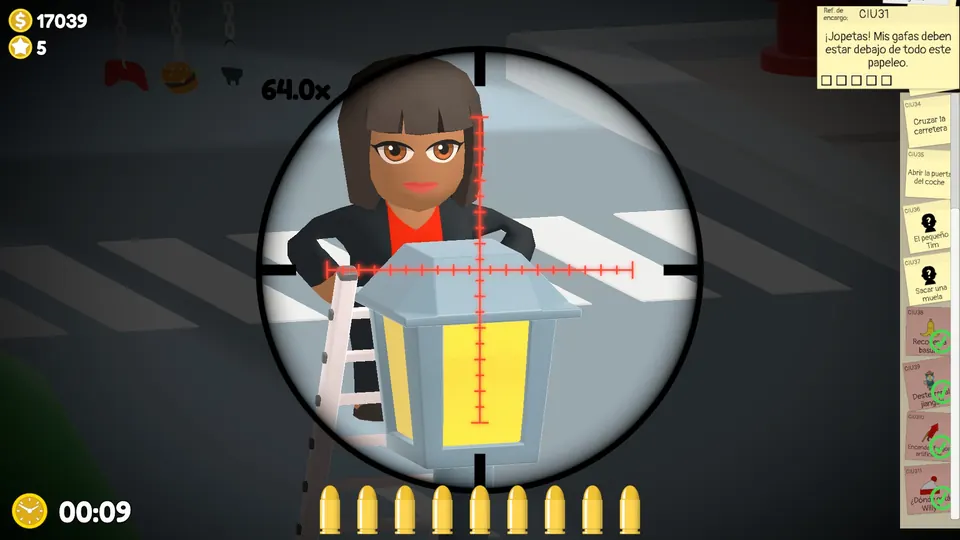
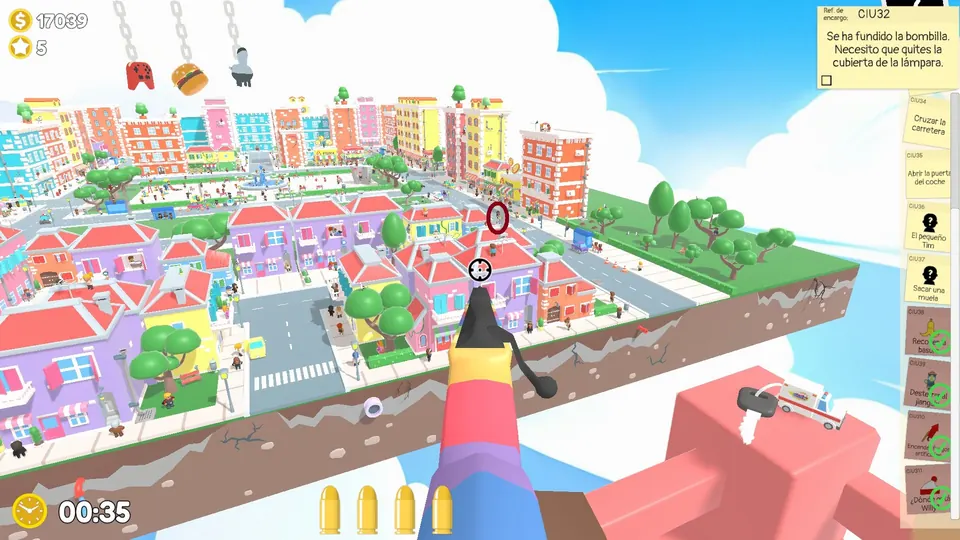
Open the lamp
An NPC is trying to repair a lamp. Shoot the lamp cover to open it. The lamp NPC has three possible spots.
Find the glasses
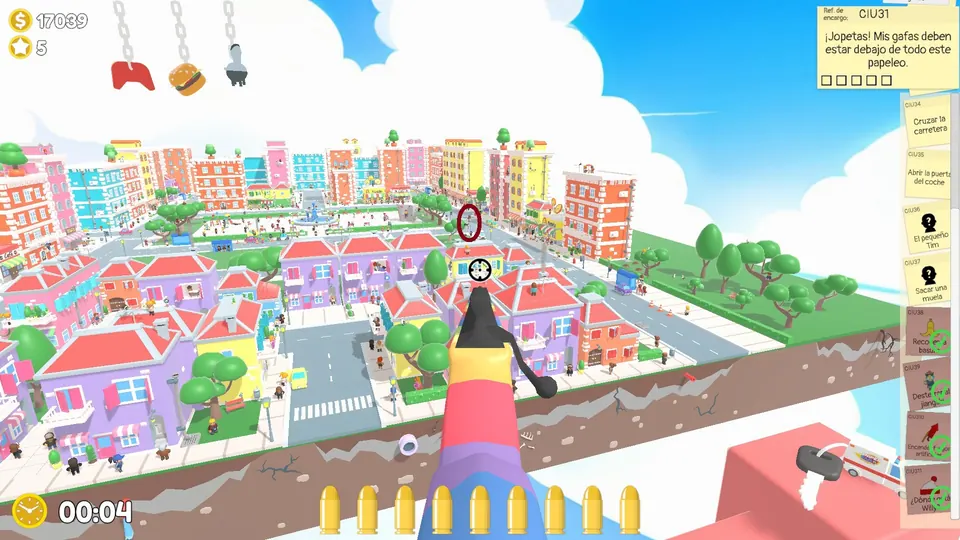
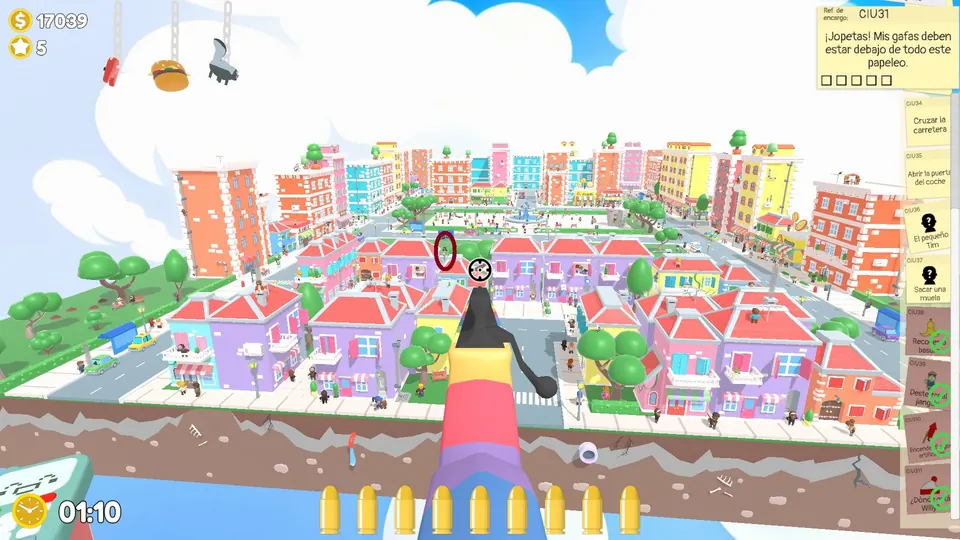
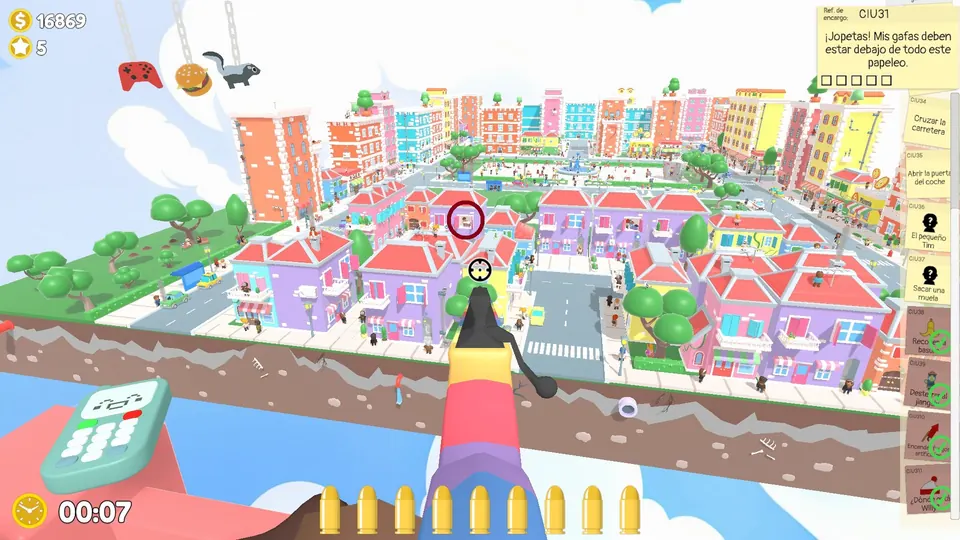
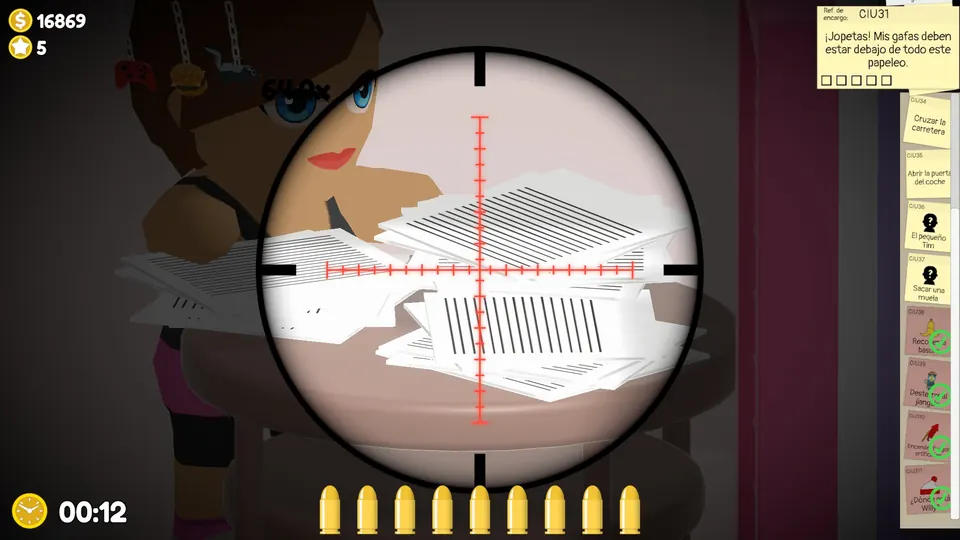
The NPC trying to read is always in the first houses on the map. Shoot the papers on top of the table five times to uncover the glasses.
Pull the tooth
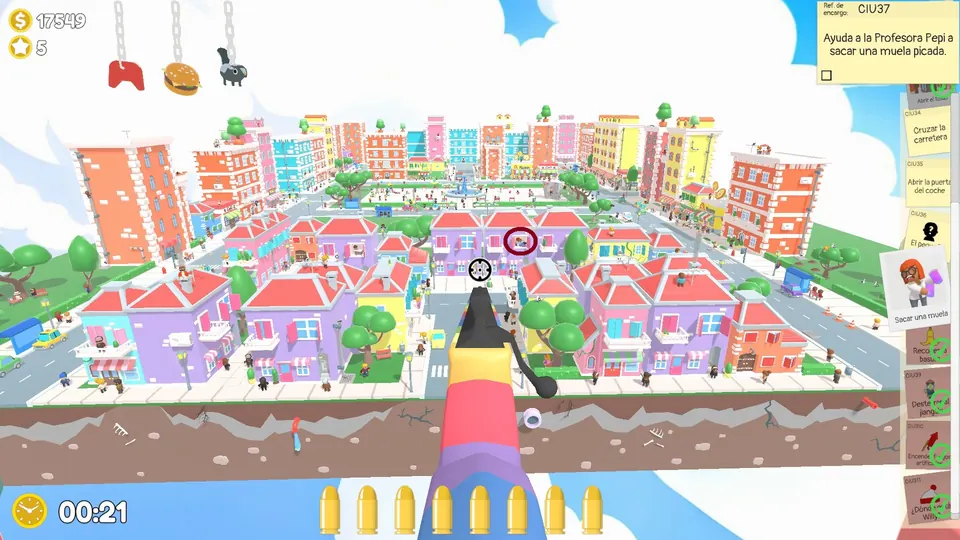
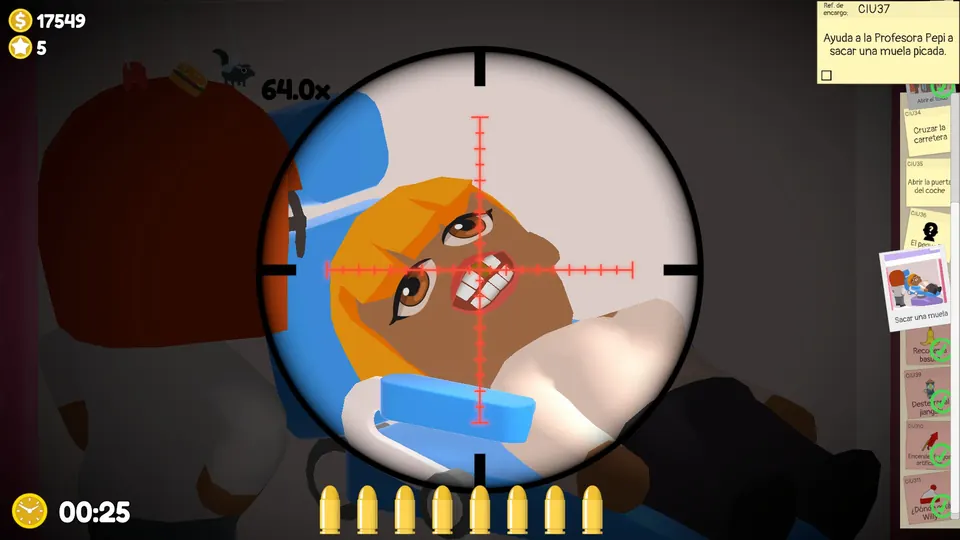
The NPC trying to pull a tooth is always in the houses at the start of the map. Shoot the stained tooth to knock it out.
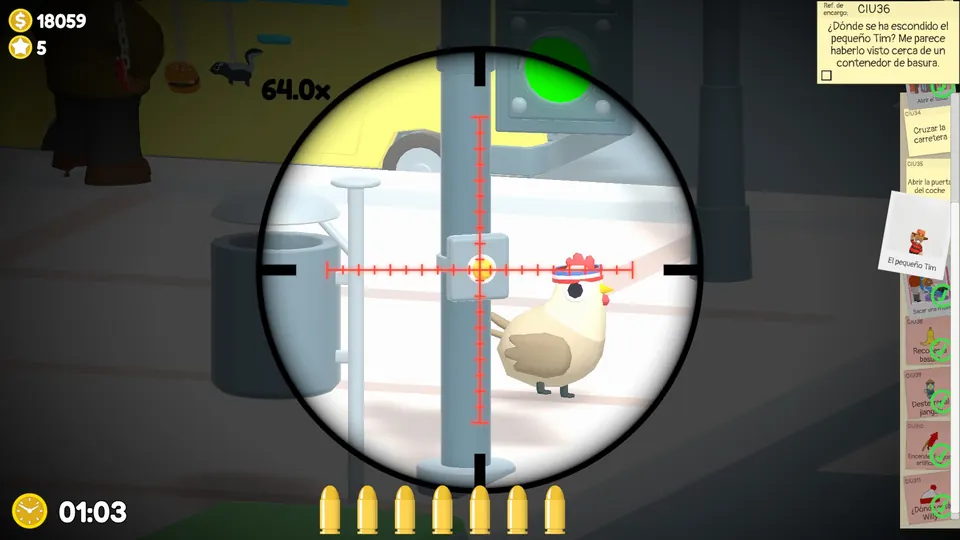
Help the chicken
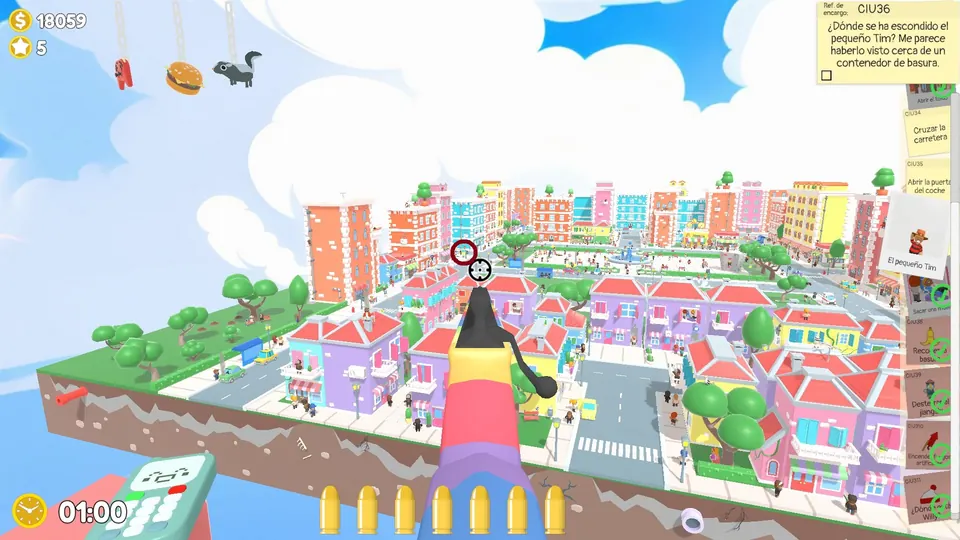
The chicken trying to cross the road is always in the same place. Shoot the button on the traffic light so it can cross.
Open the car door
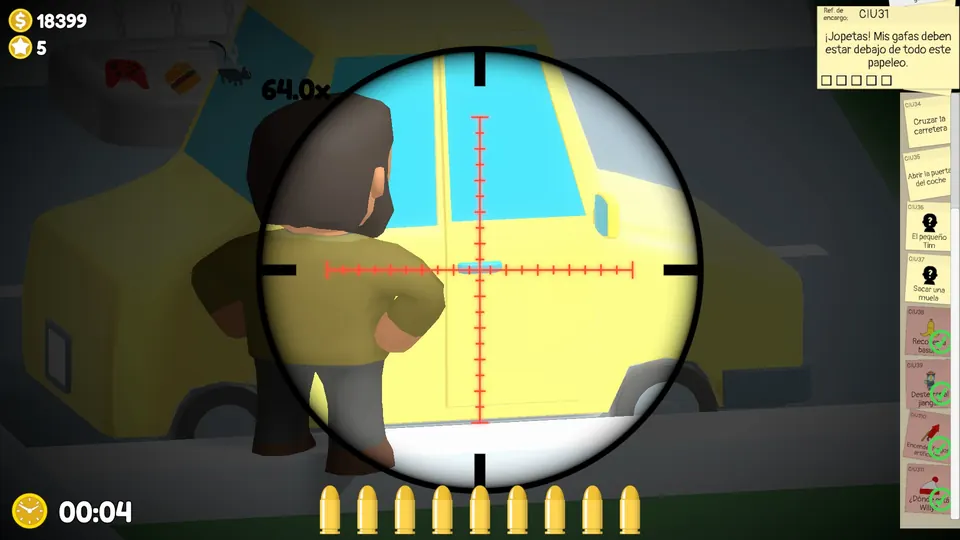
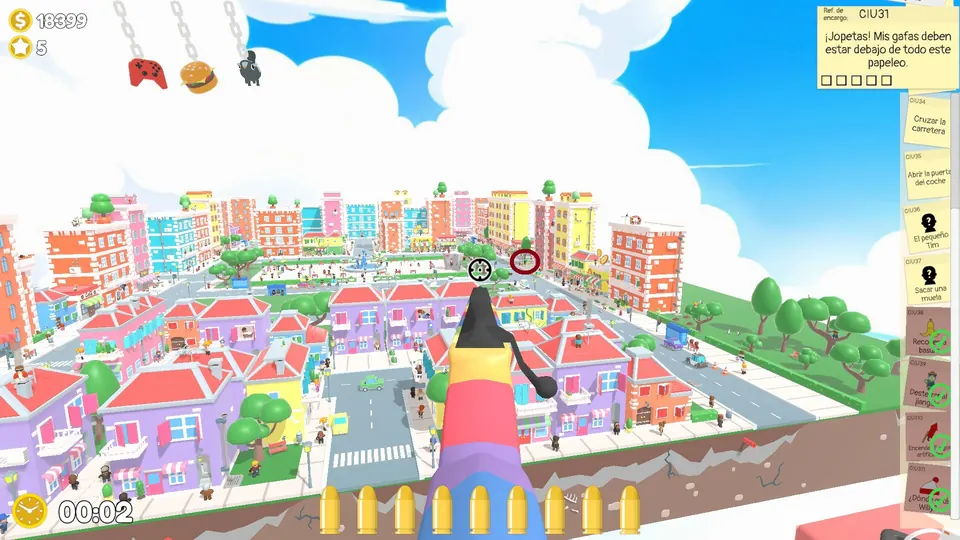
A yellow car has a stuck door. Shoot the handle to open it. The yellow car has three possible spots.
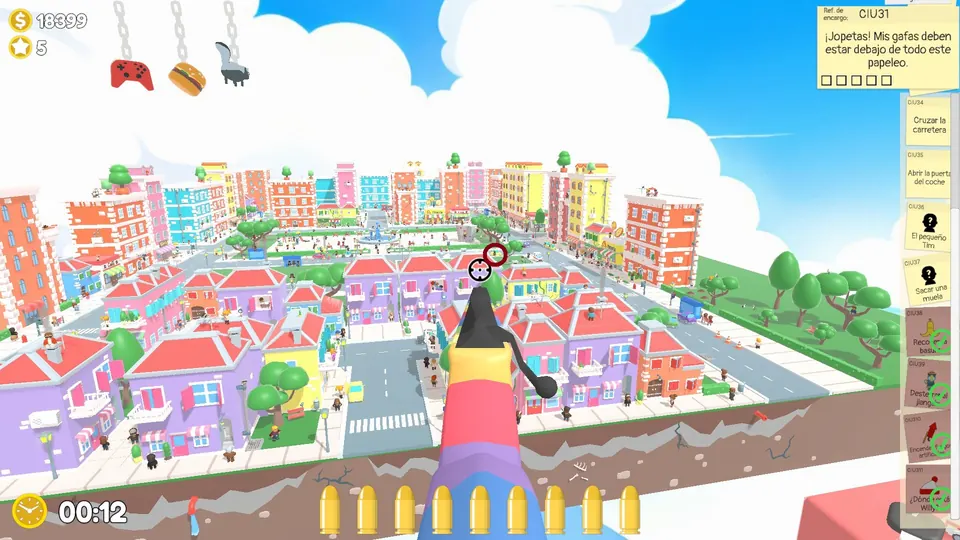
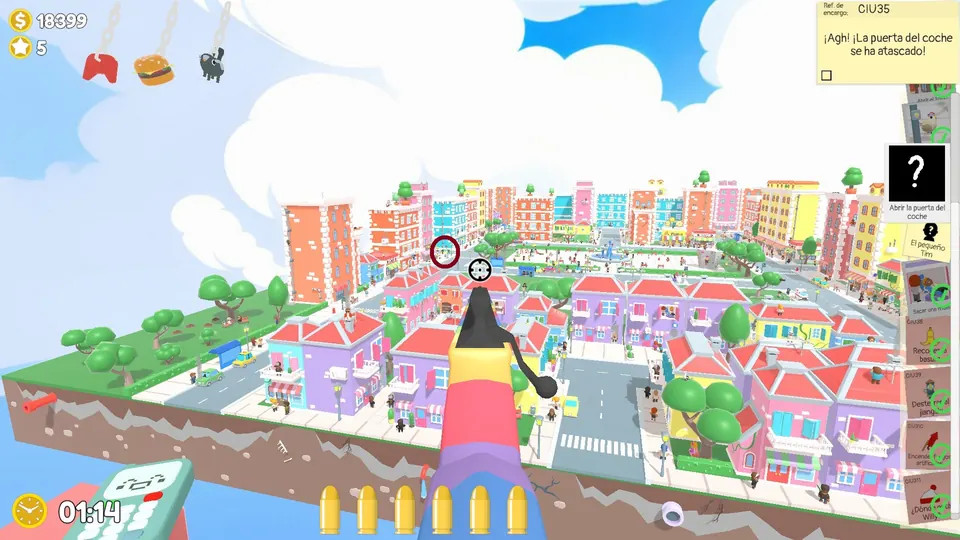
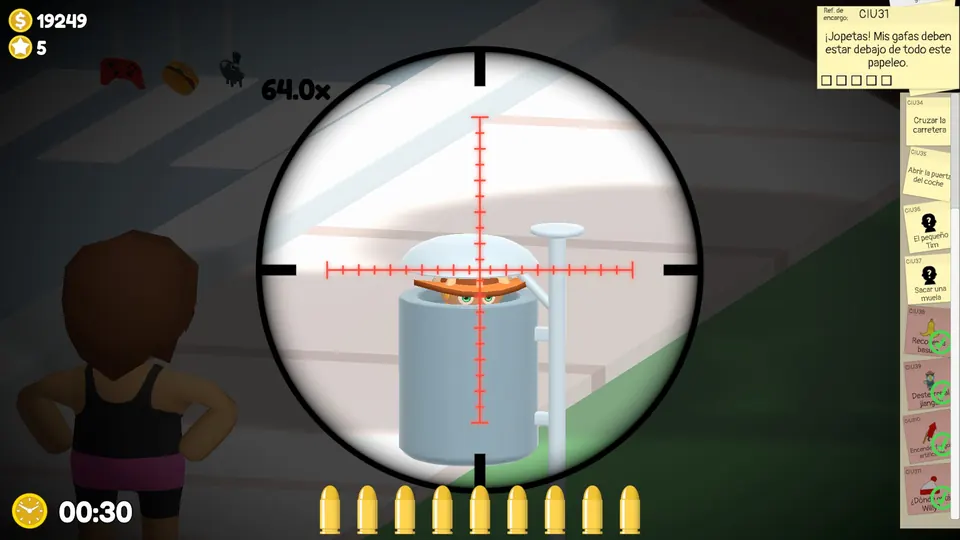
Find Tim in Central City
On Day 3 in the city, Tim is hiding in a rubbish bin. Shoot the lid to make him pop out. Tim’s bin has three possible spots.
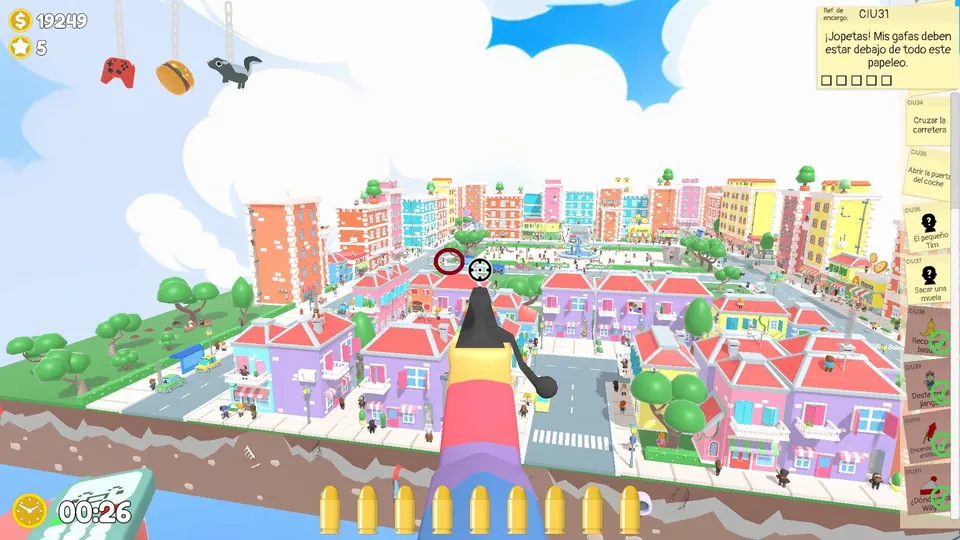
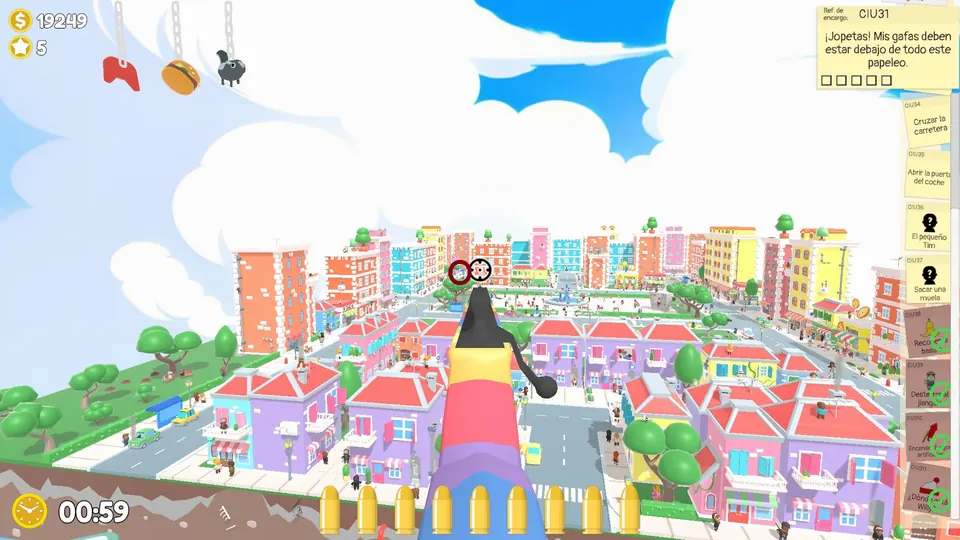
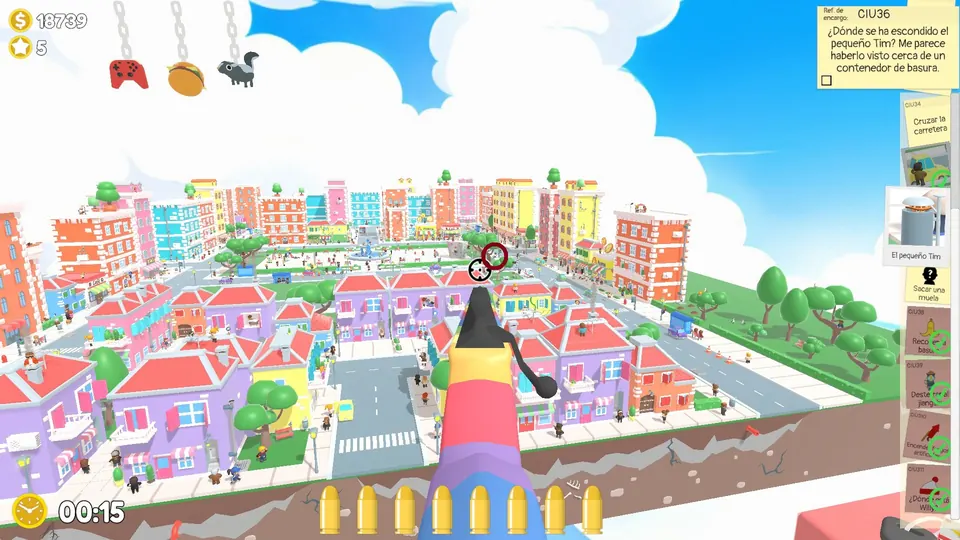
Open the awning
An NPC is struggling with a shop awning. They are always in the buildings at the back on the right. Shoot the awning to open it.
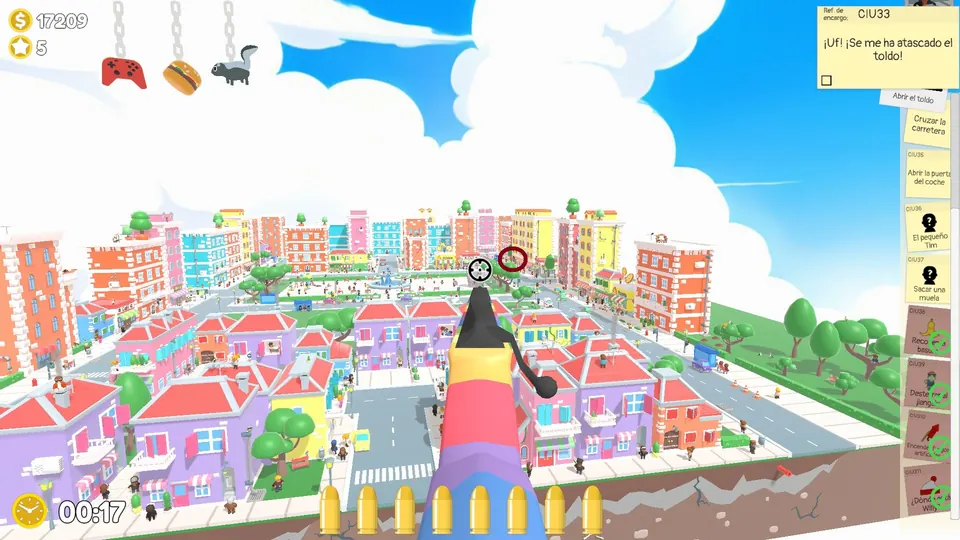
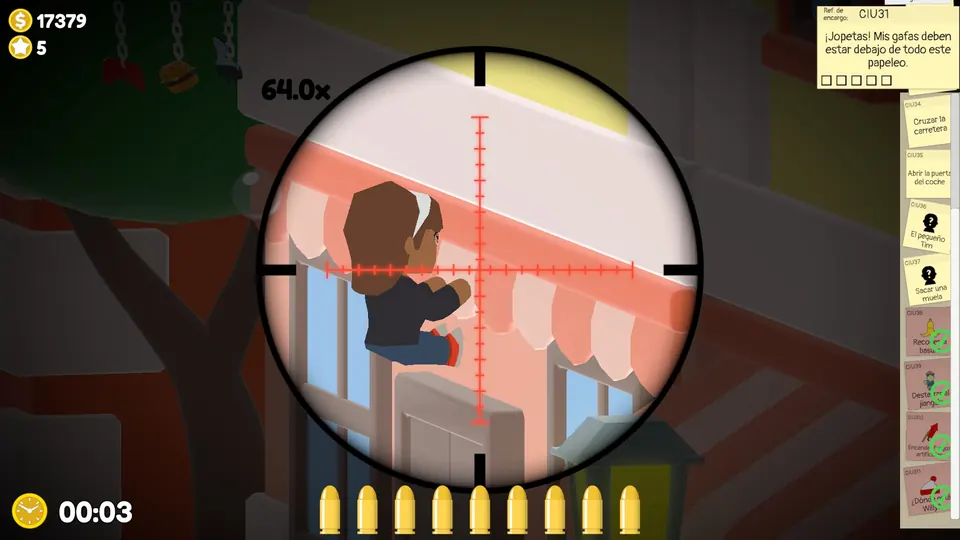
Central City boss objective
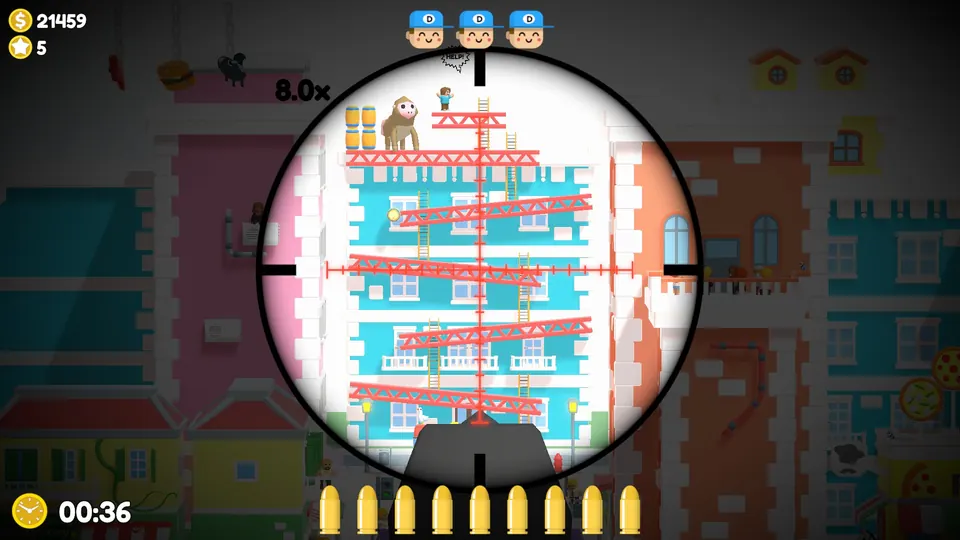
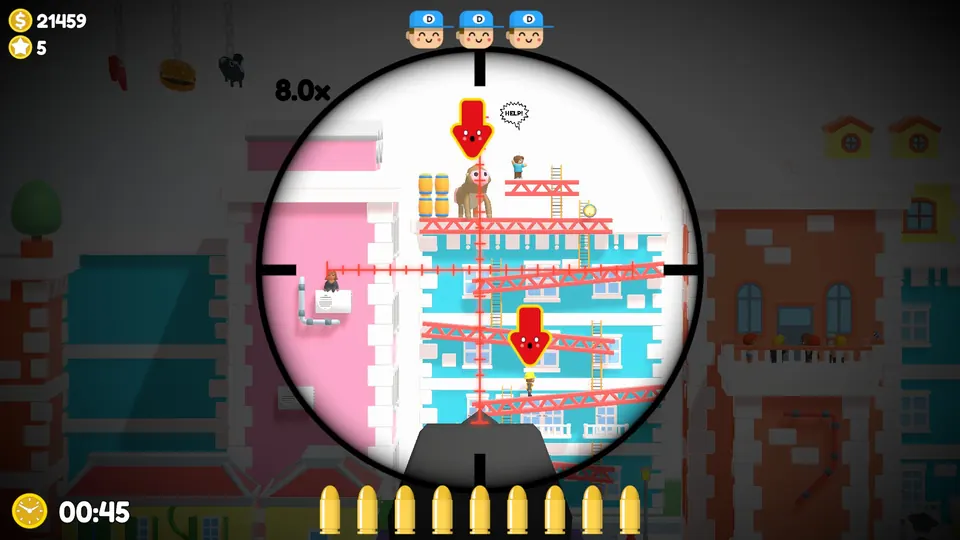
A gorilla throws barrels down while an NPC climbs to the top. Shoot every barrel before it hits the NPC. Hold your sight on the spot shown below, where barrels pass in both of the gorilla’s throwing patterns. Once the NPC is past that point, move your aim up to just before the last ladder.
Funky Farm bananas, fireworks, Willy and Jiangshi
Funky Farm bananas (10)
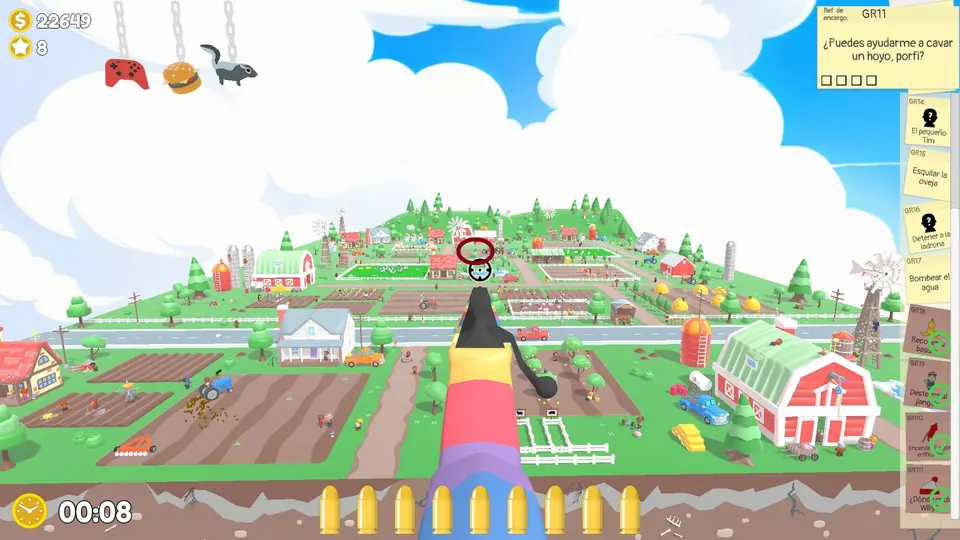
The farm bananas are circled on one overview of the farm.
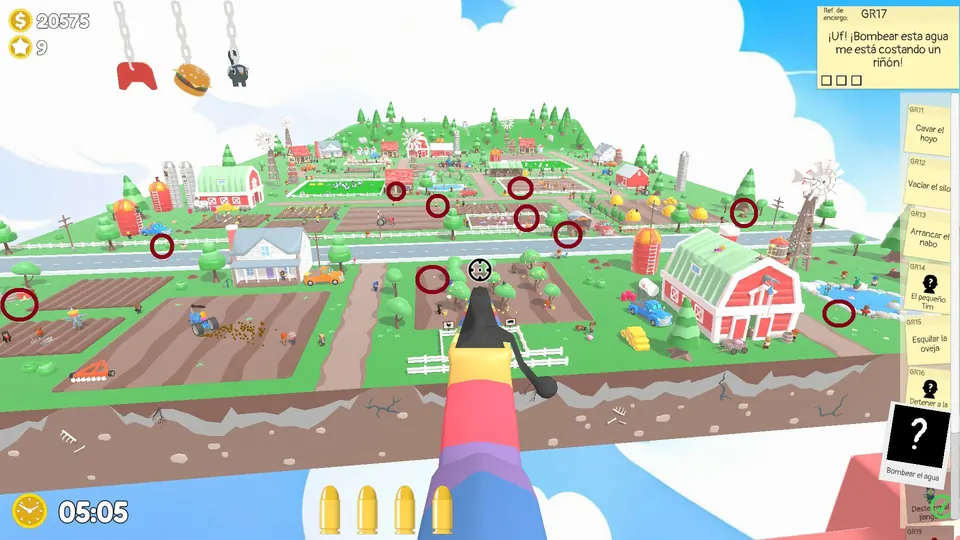
Funky Farm fireworks (10)
The farm fireworks are circled on one overview too.
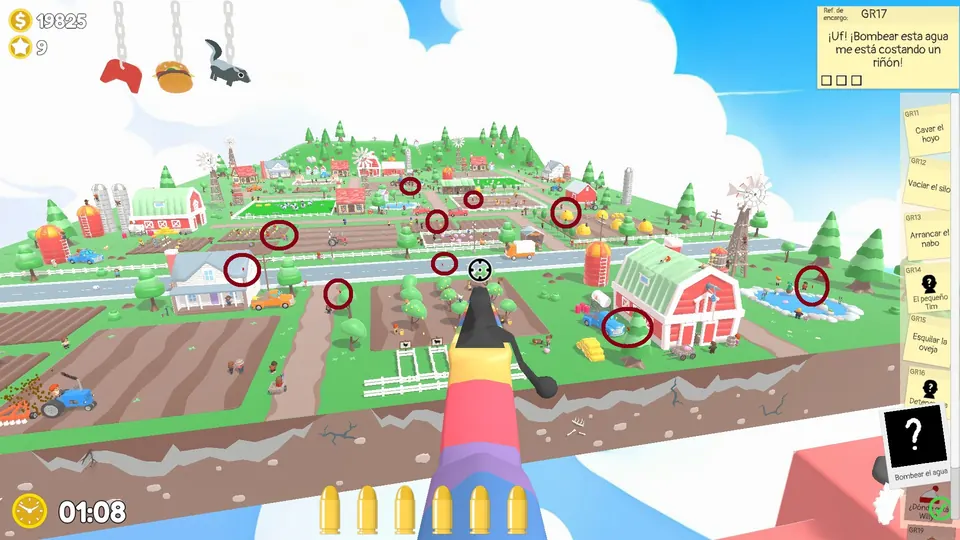
Funky Farm Willy and Jiangshi
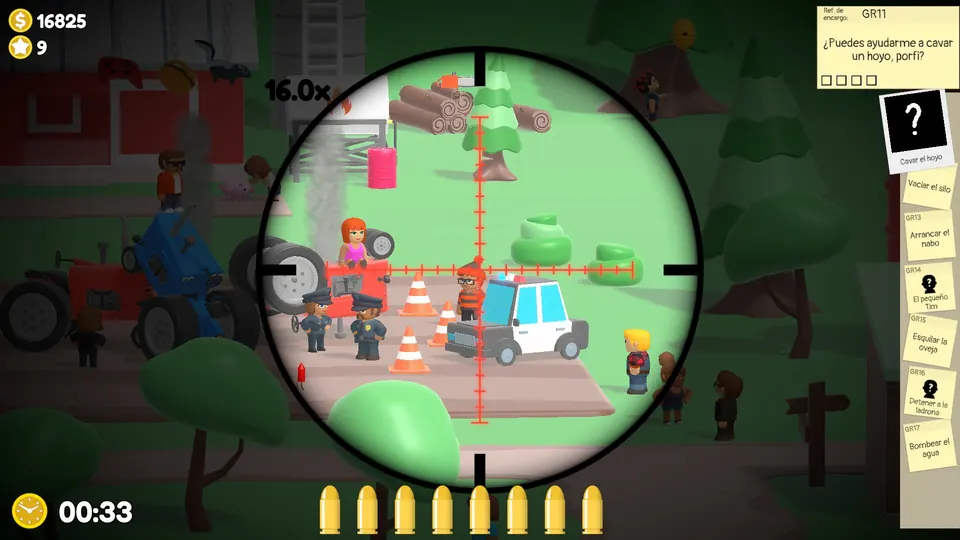
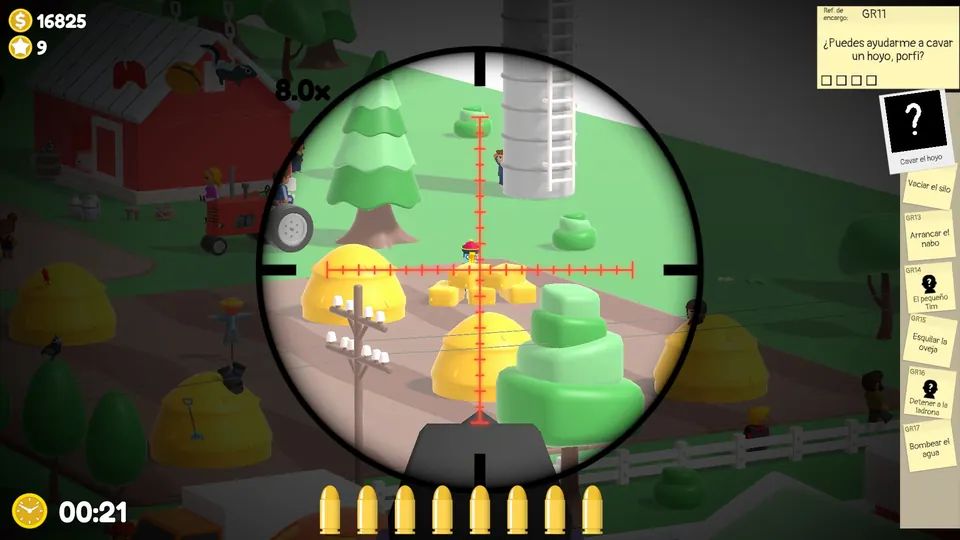
Both are in the middle band of the map, Willy in the centre and the Jiangshi a little to the right.
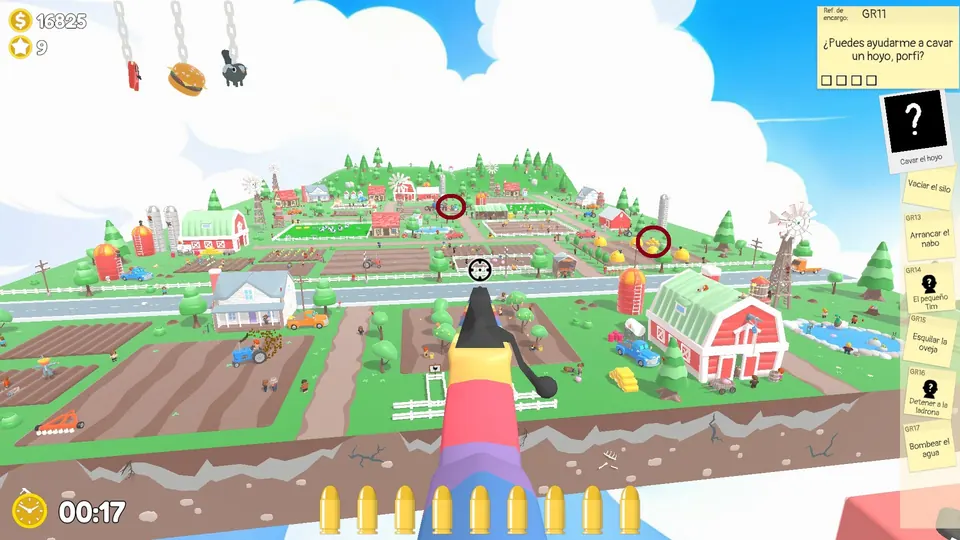
Willy is in plain sight next to the police officers.
The farm Jiangshi is hiding behind some hay bales.
Funky Farm Day 1
Stop the honey thief
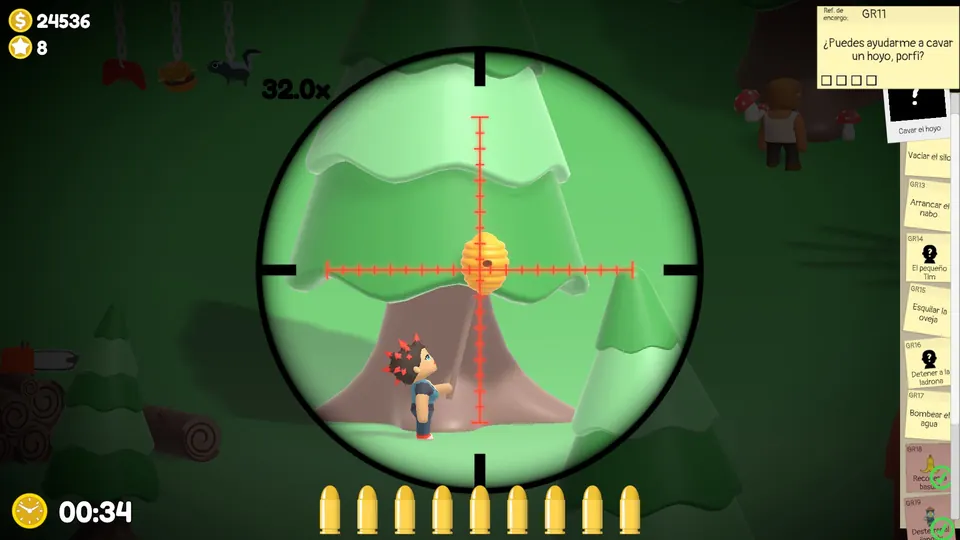
Shoot the beehive above the NPC, then the other four beehives. The beehives come in three possible layouts.
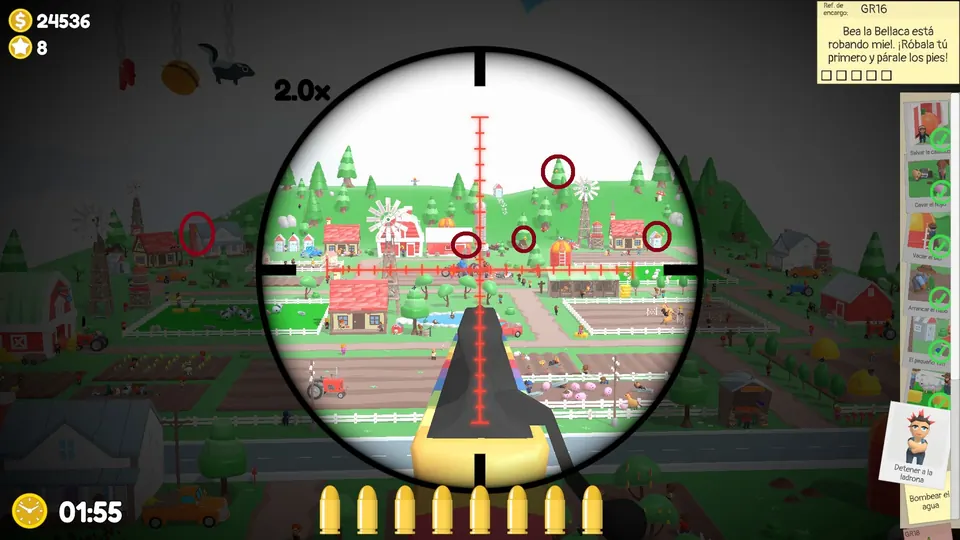
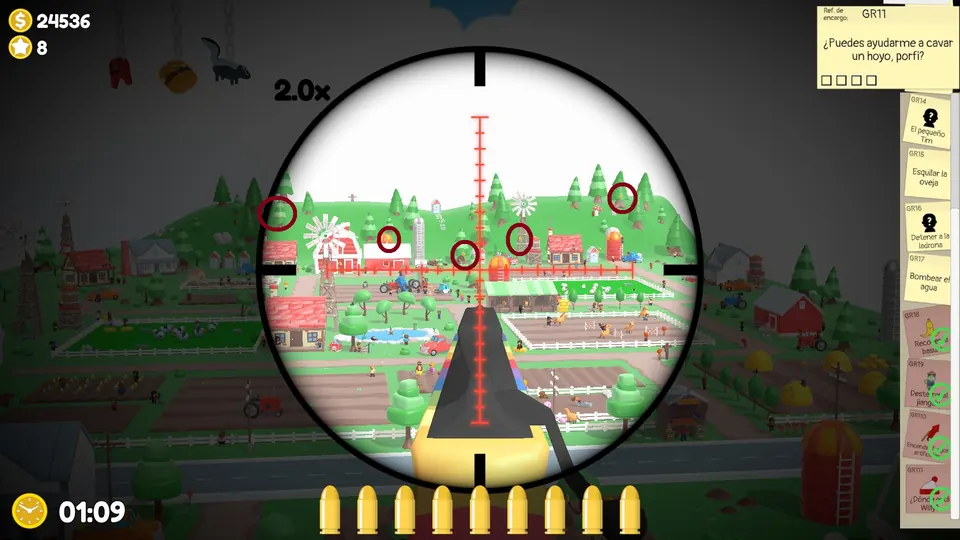
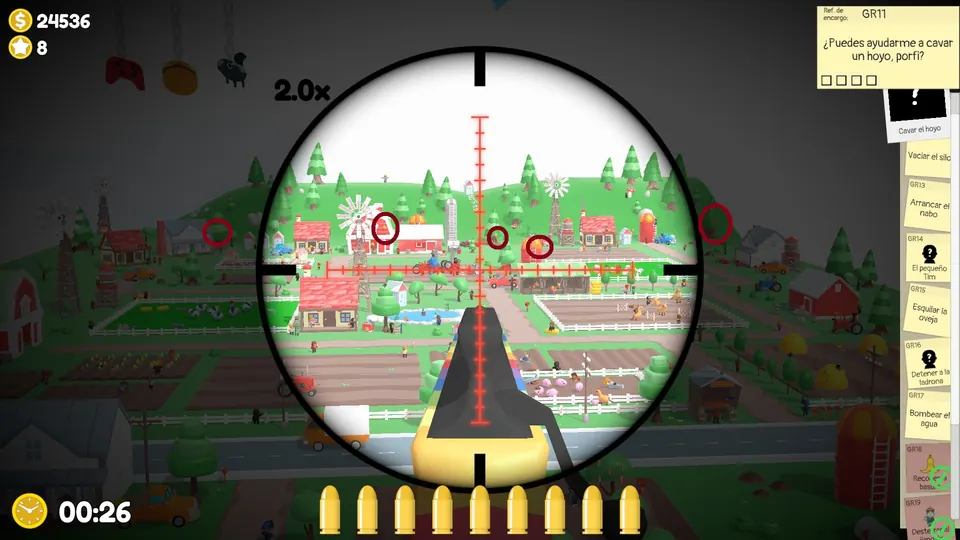
Pump the water
Shoot the handle of the valve three times to get the water flowing. The water valve has three possible spots.
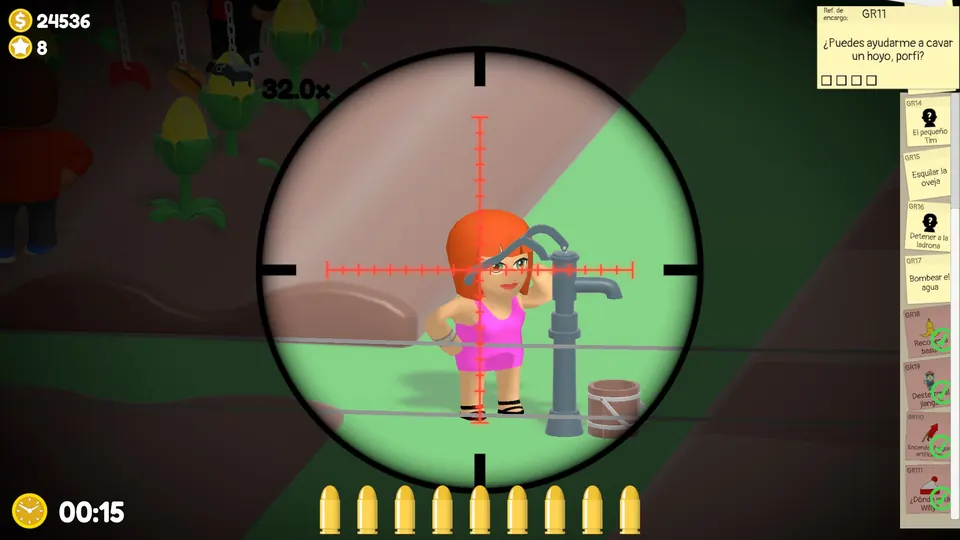
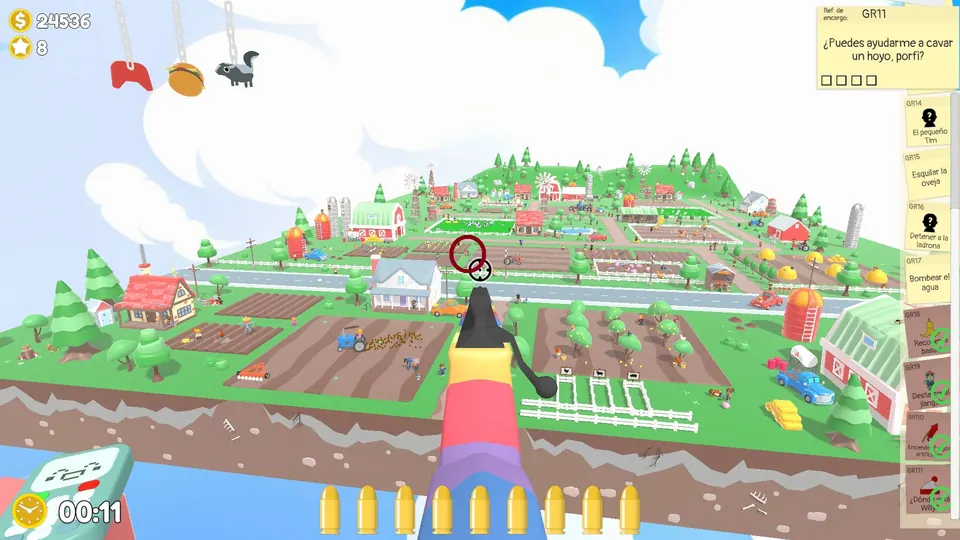
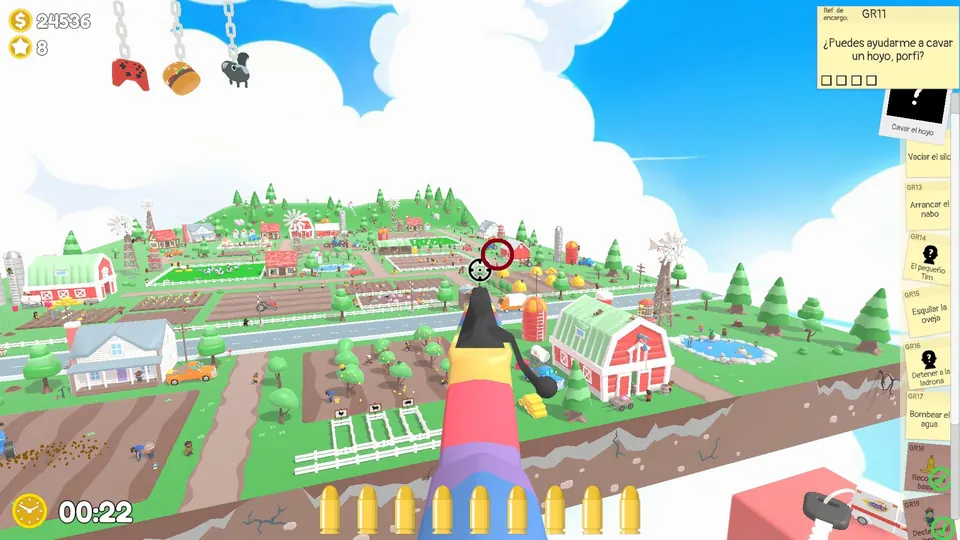
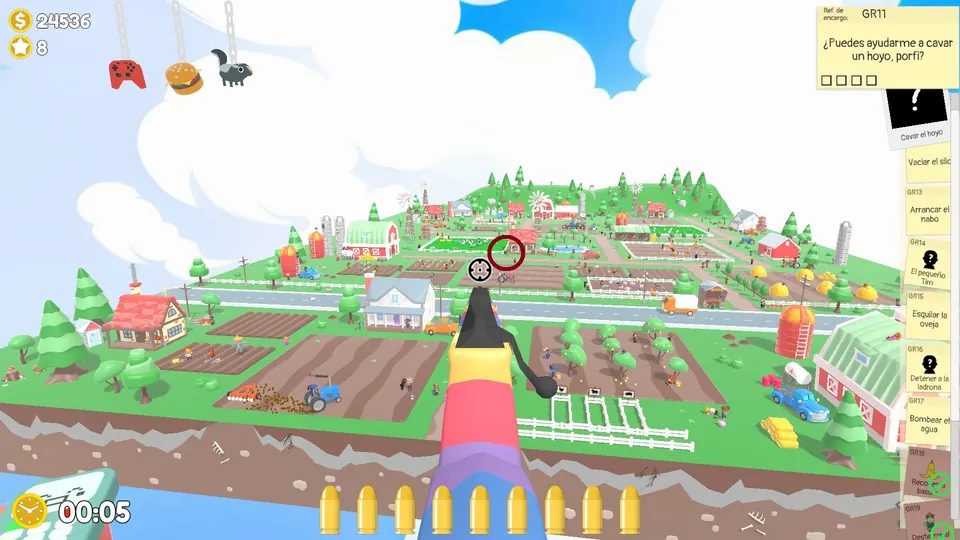
Dig the hole
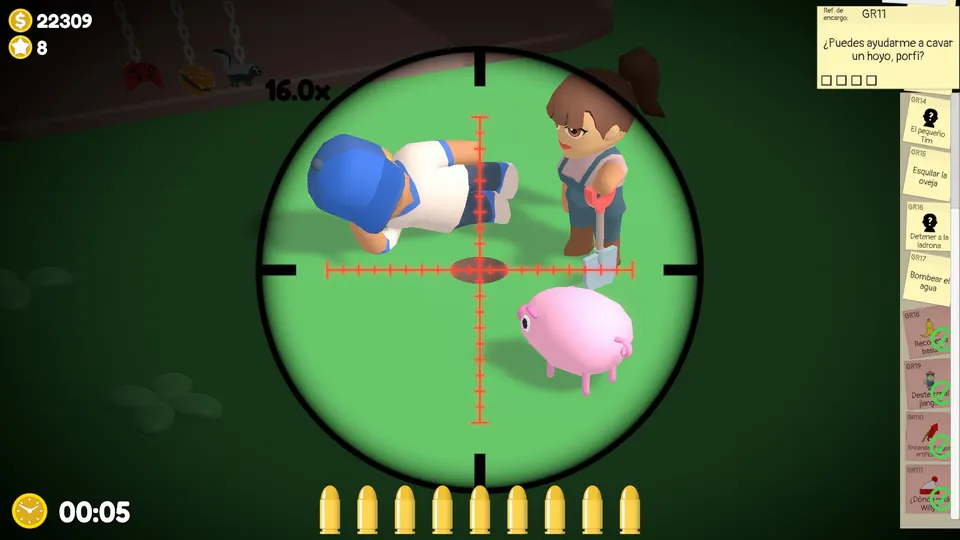
Some NPCs trying to dig a hole are always in the bottom part of the map. Shoot the hole four times to make it bigger.
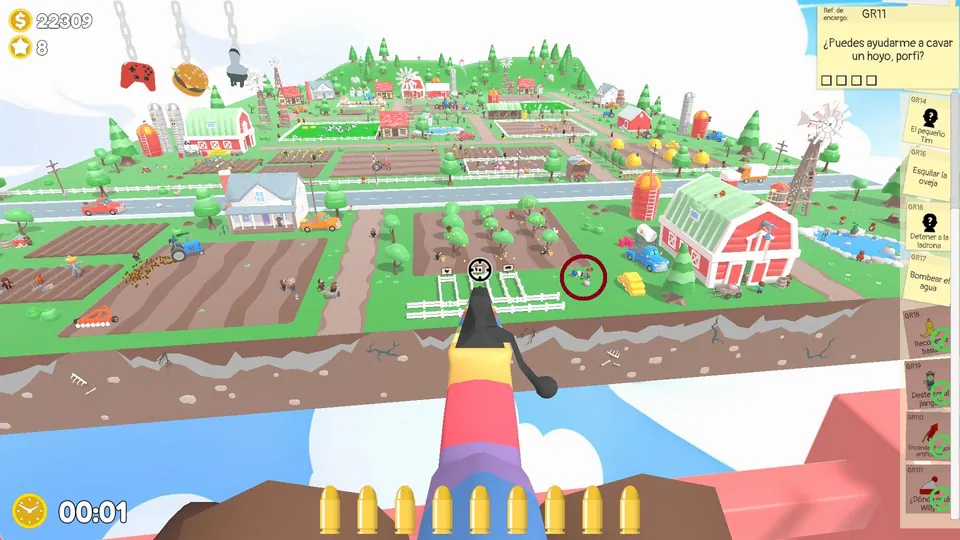
Pull the turnip
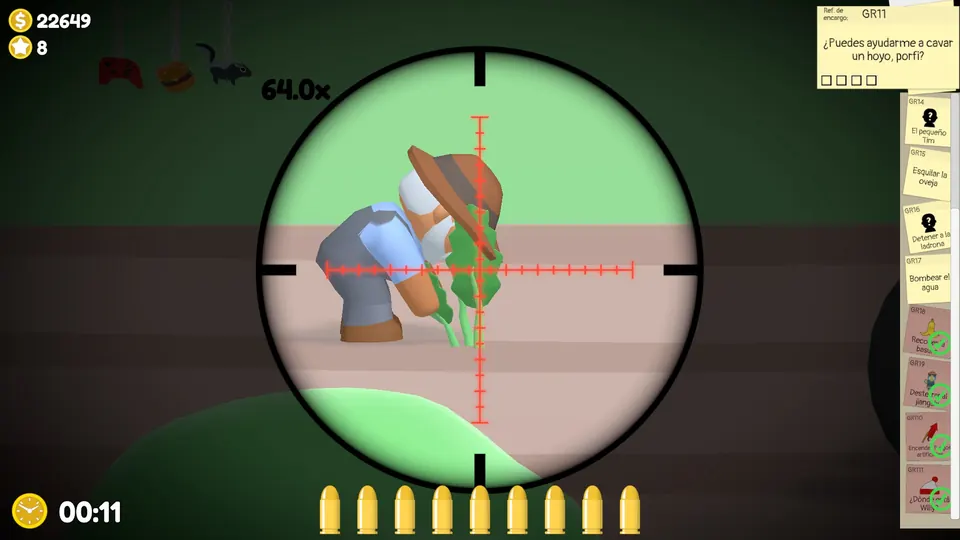
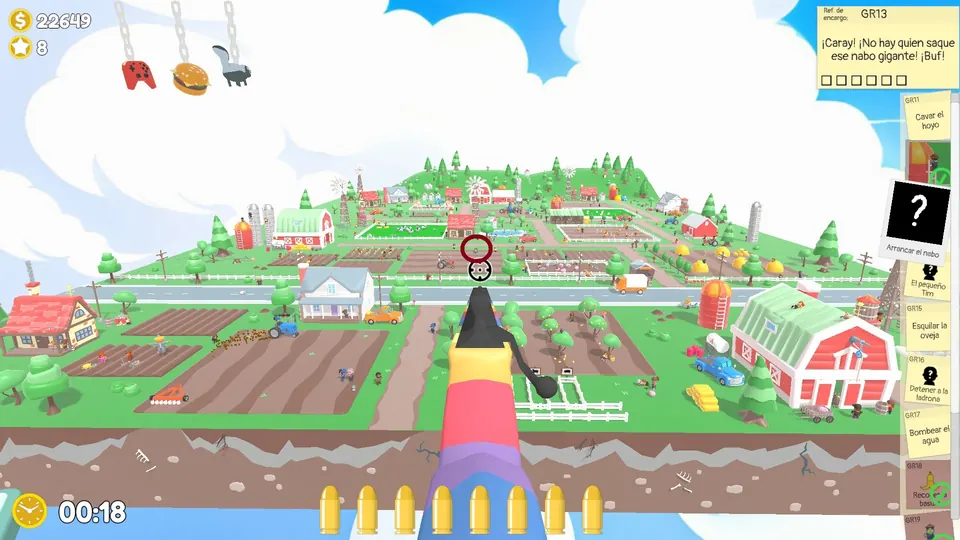
Shoot the stalk of the buried turnip six times. The turnip has three possible spots.
Shear the sheep
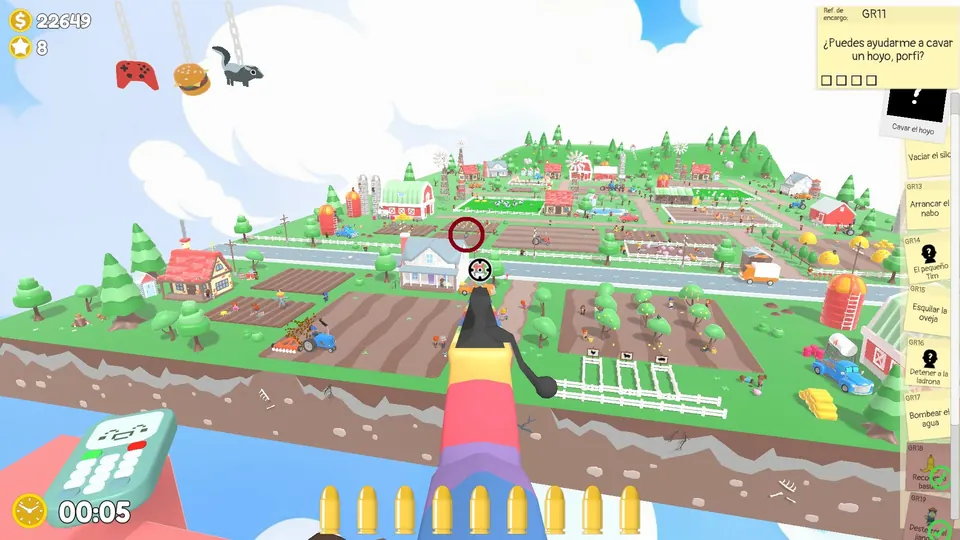
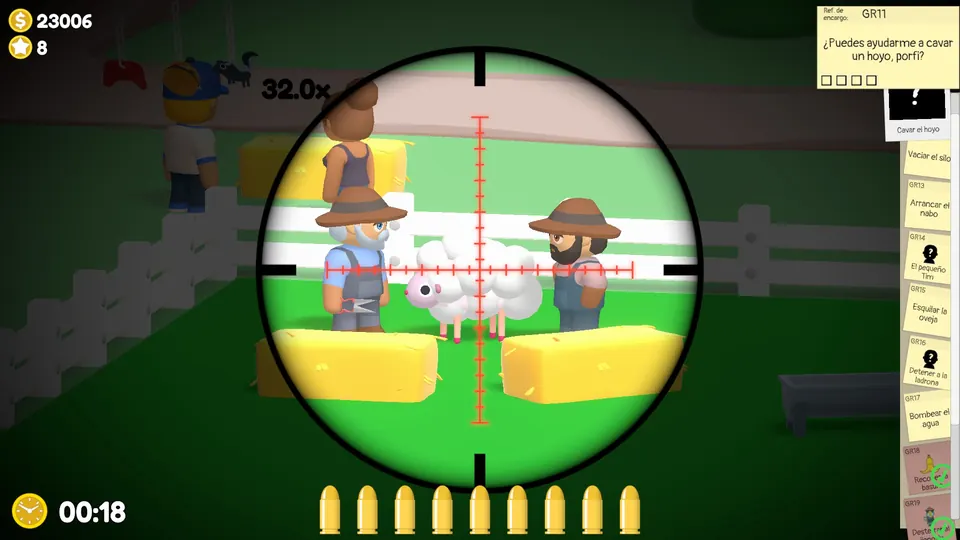
Shoot the three tufts of wool on the sheep. The woolly sheep has three possible spots.
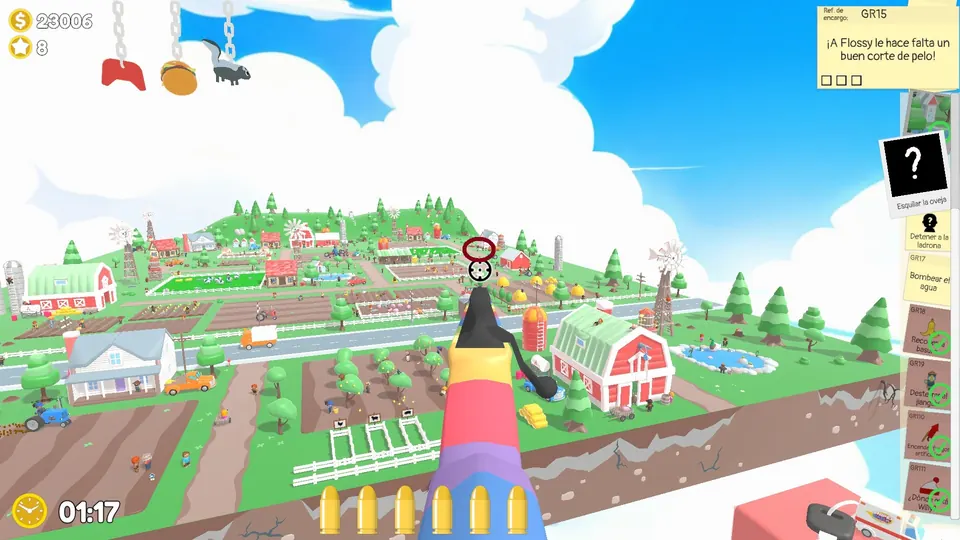
Open the silo
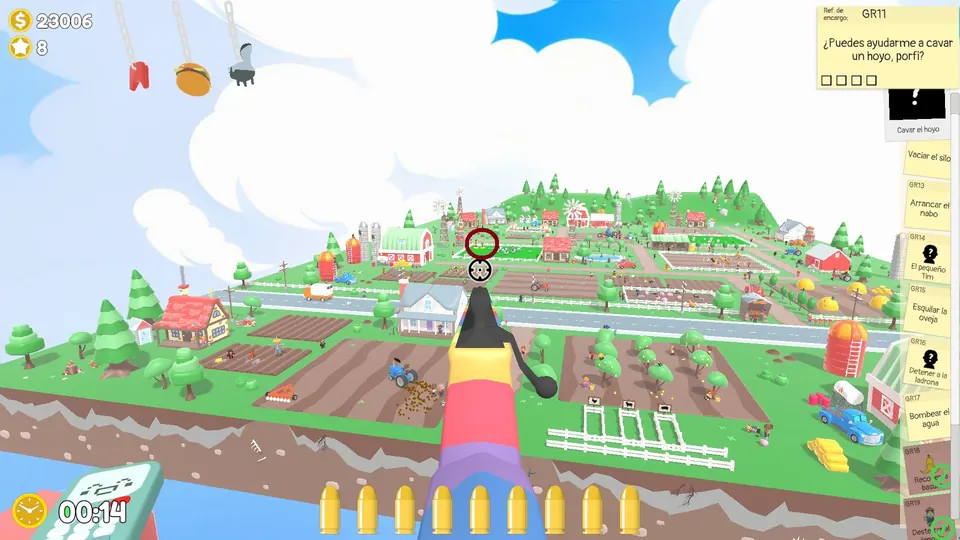
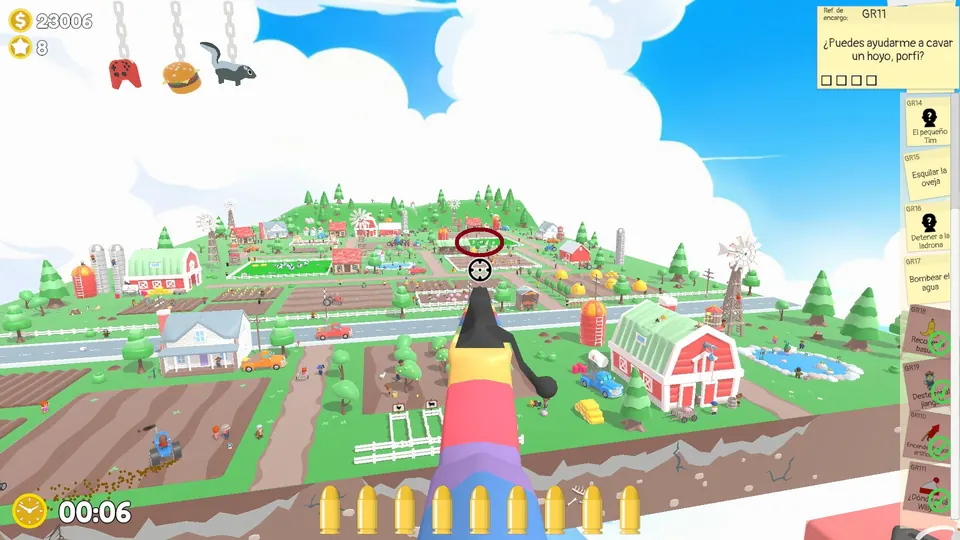
Shoot the hatch on the silo to open it. The silo has three possible spots.
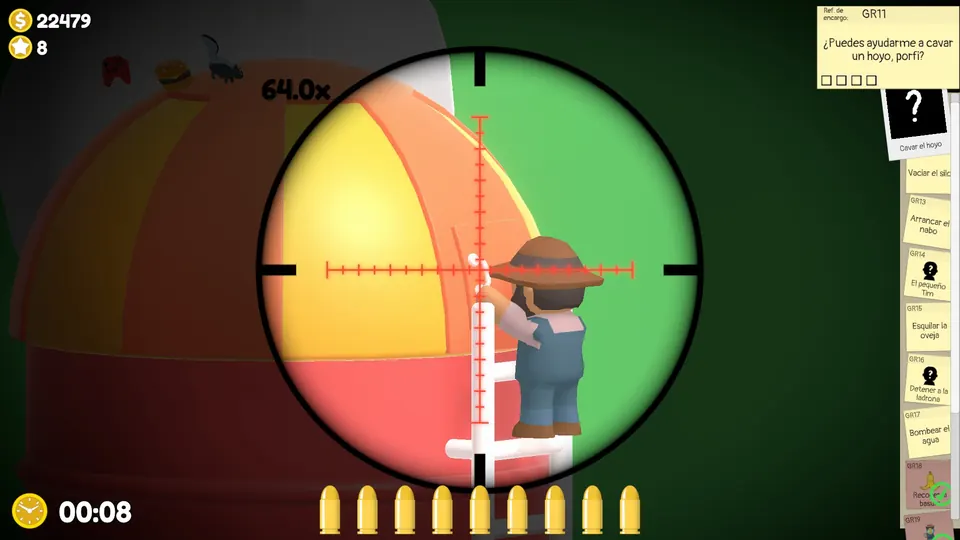
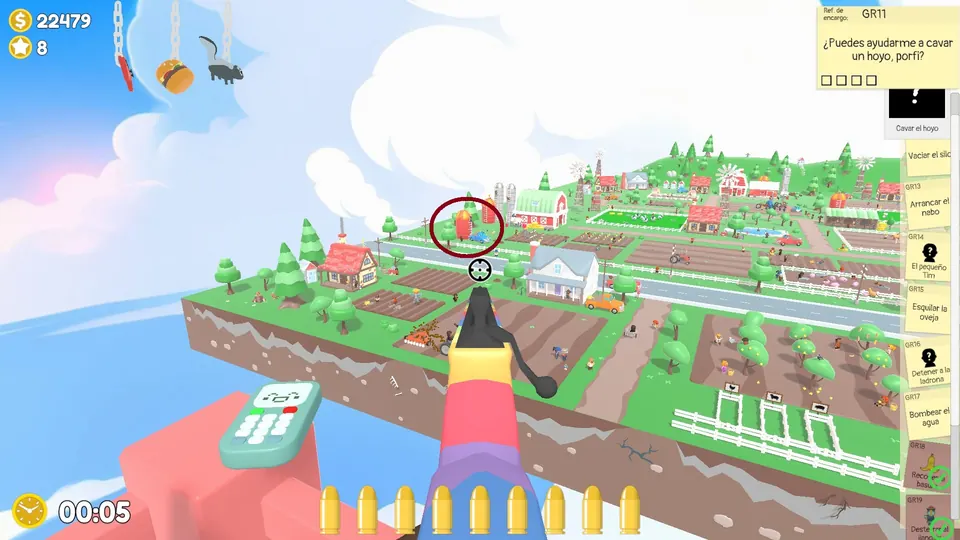
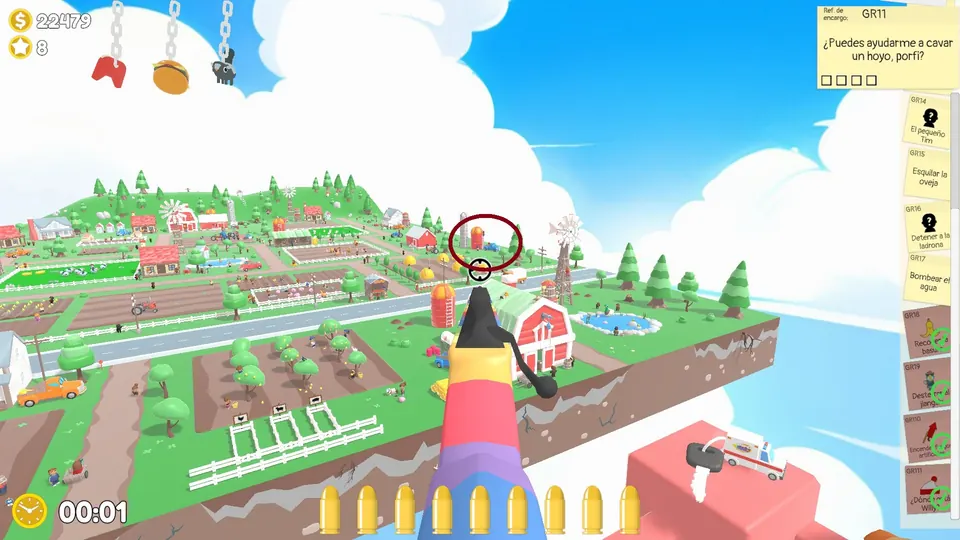
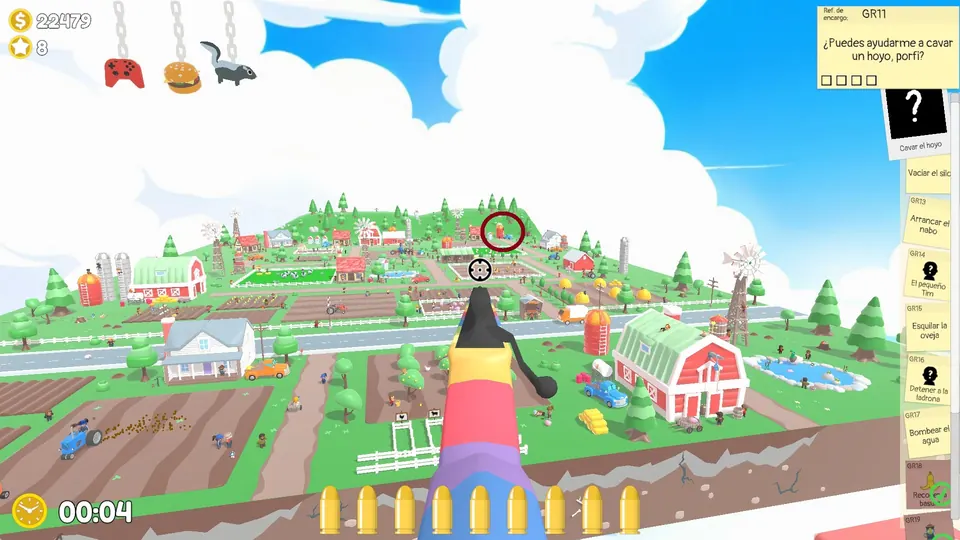
Phone objective: stop the runaway tractor
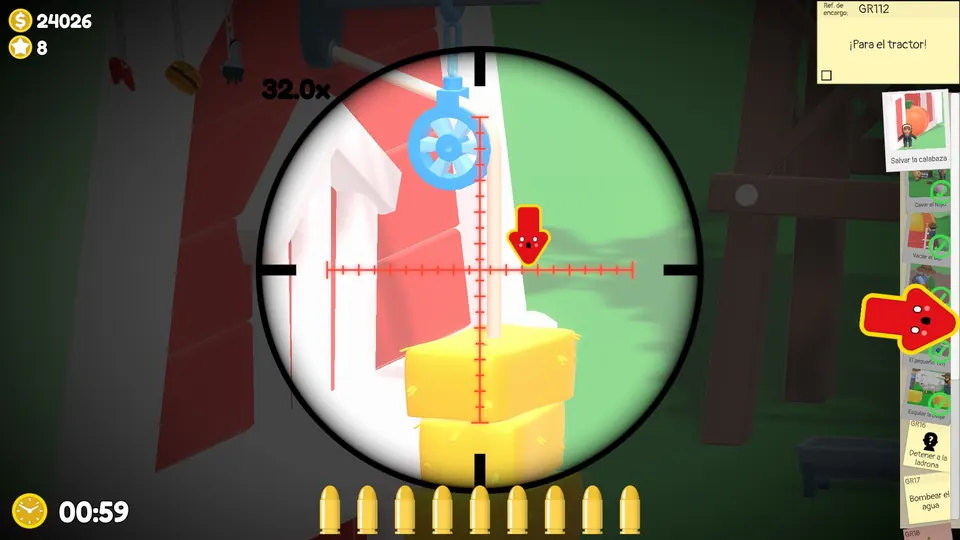
After you answer the phone, a tractor comes down the central road towards a pumpkin in the barn. Shoot the rope holding up the hay bale to stop it.
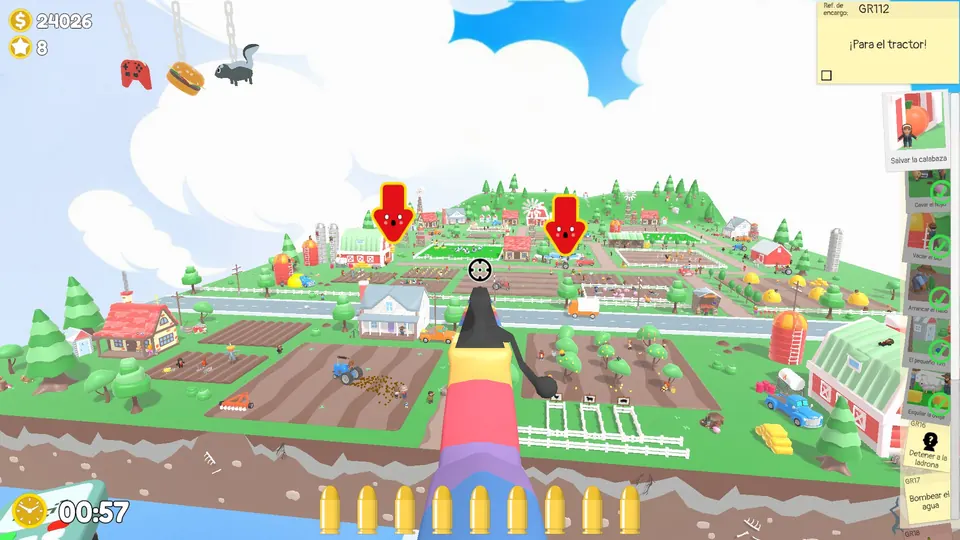
Find Tim in Funky Farm
On Day 1 at the farm, Tim is hiding in a portable toilet. The door of the right toilet wobbles; shoot it. Tim’s toilet has three possible spots.
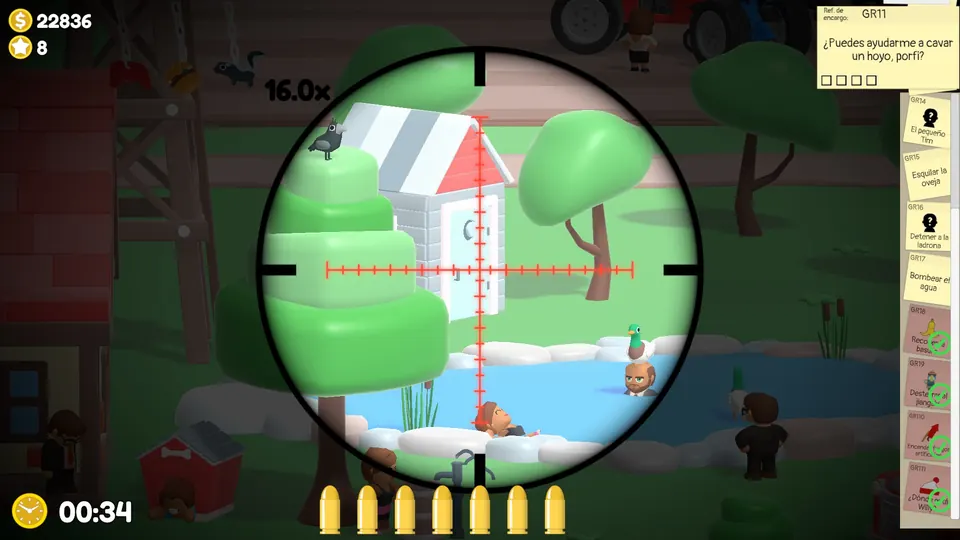
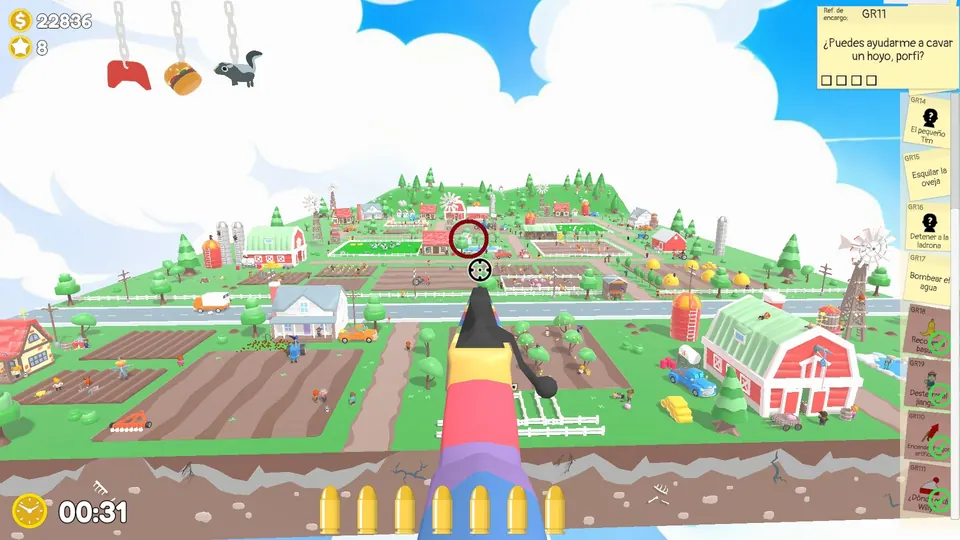
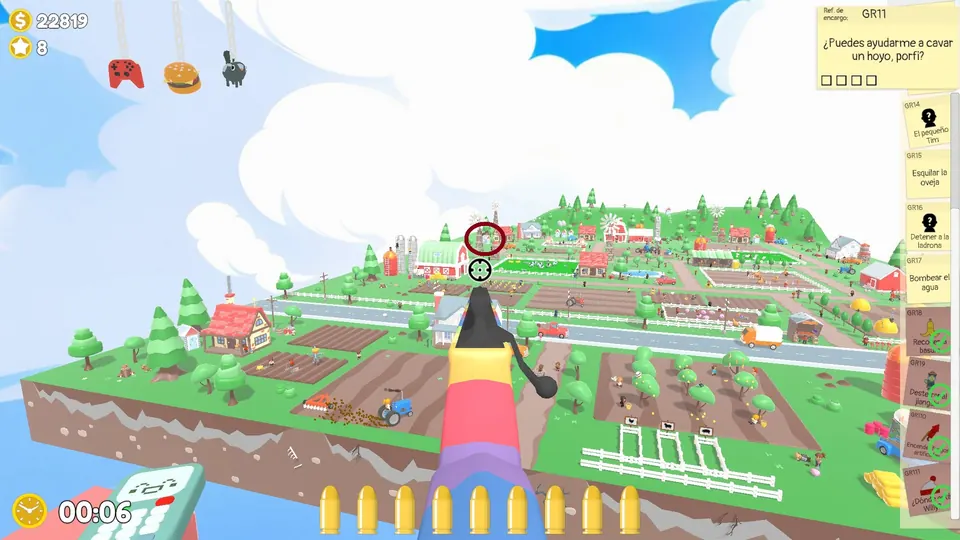
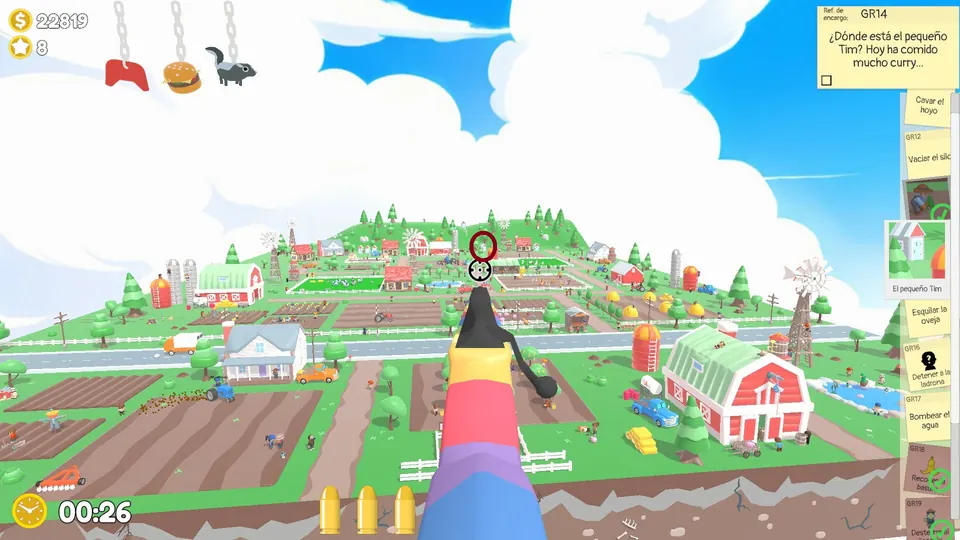
Funky Farm Day 2
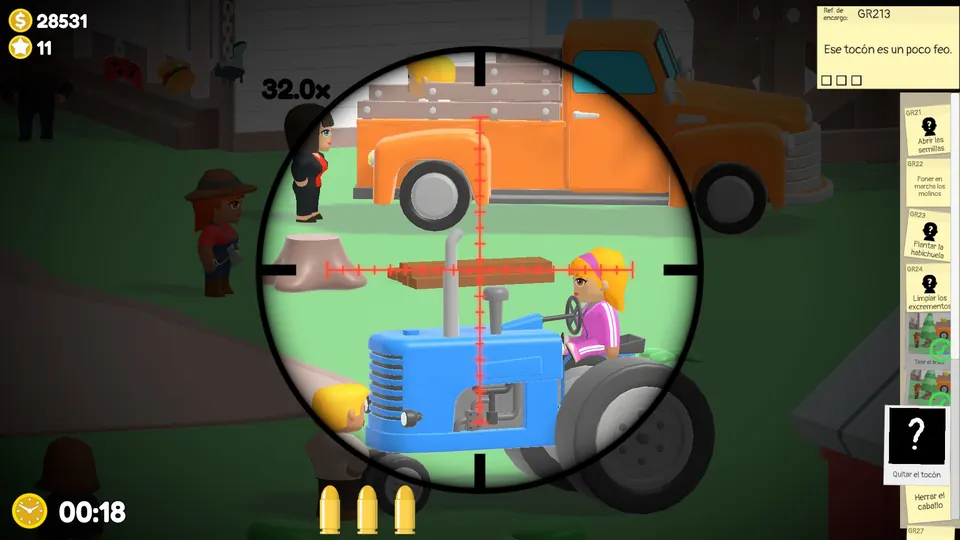
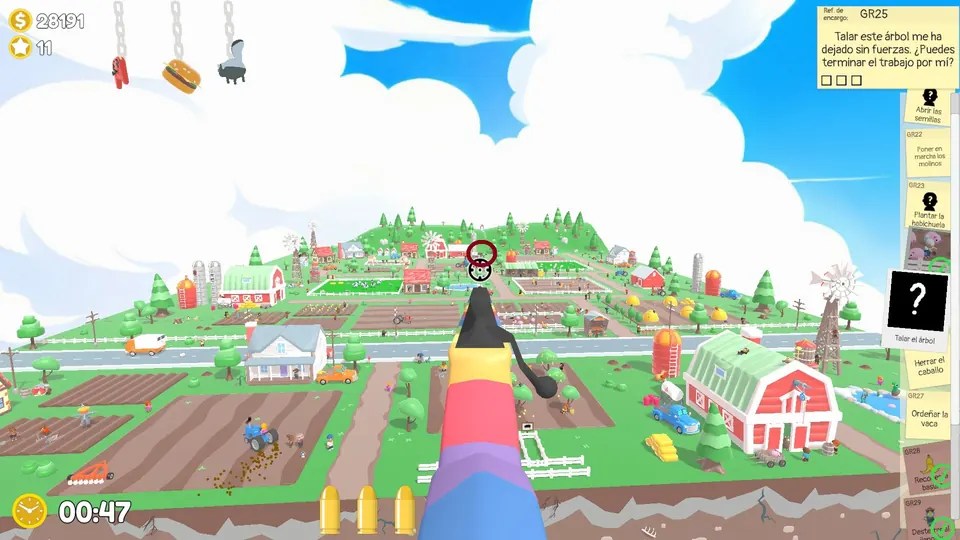
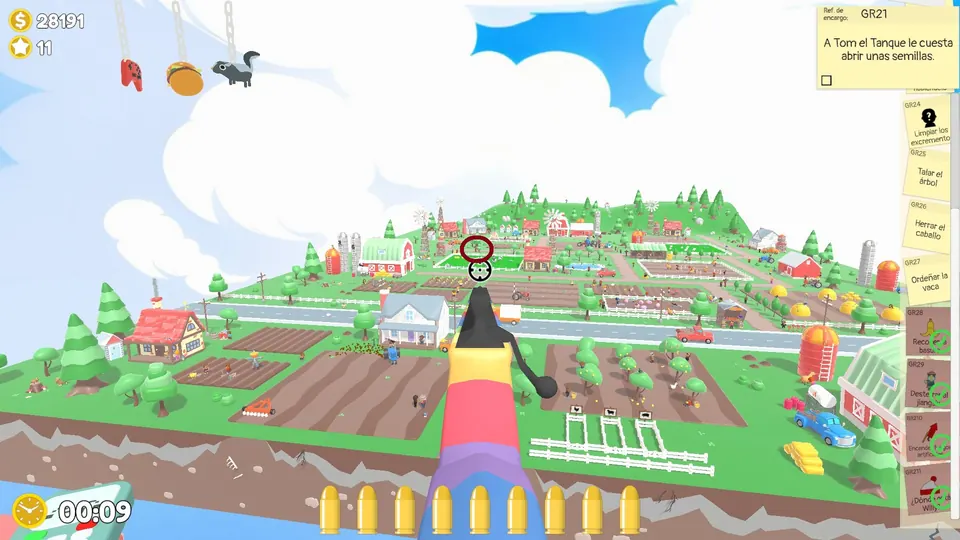
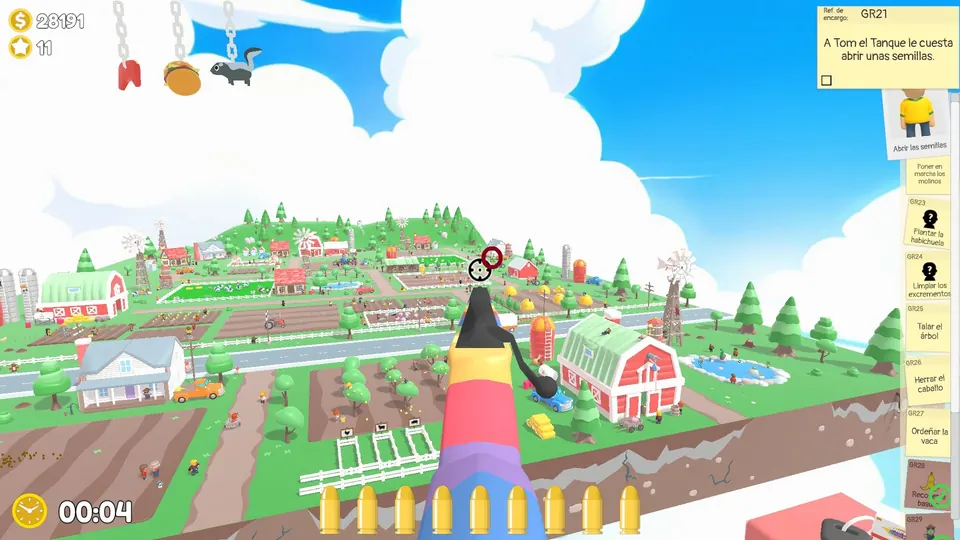
Cut down the tree
Shoot the tree three times to fell it, shoot it again to turn it into planks, then shoot the stump three more times to clear it. The tree has three possible spots.
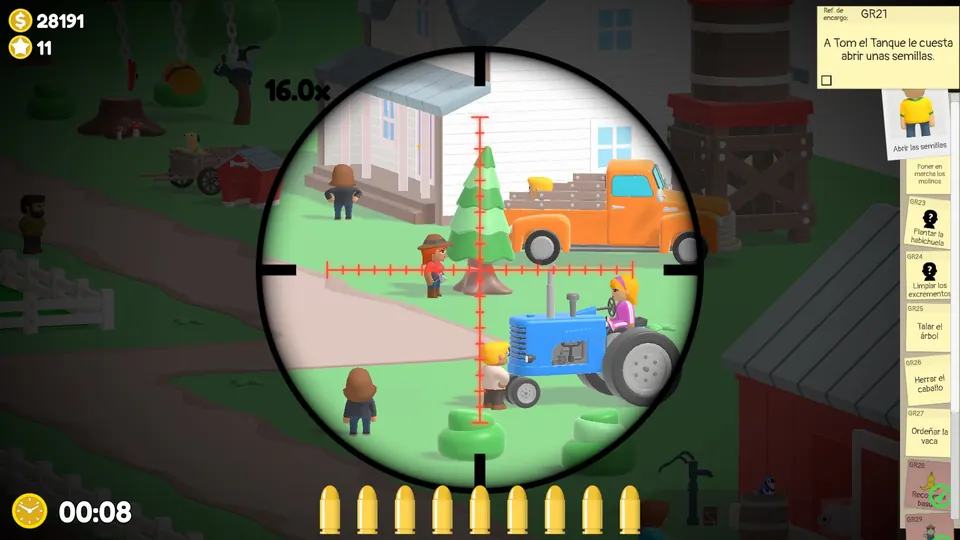
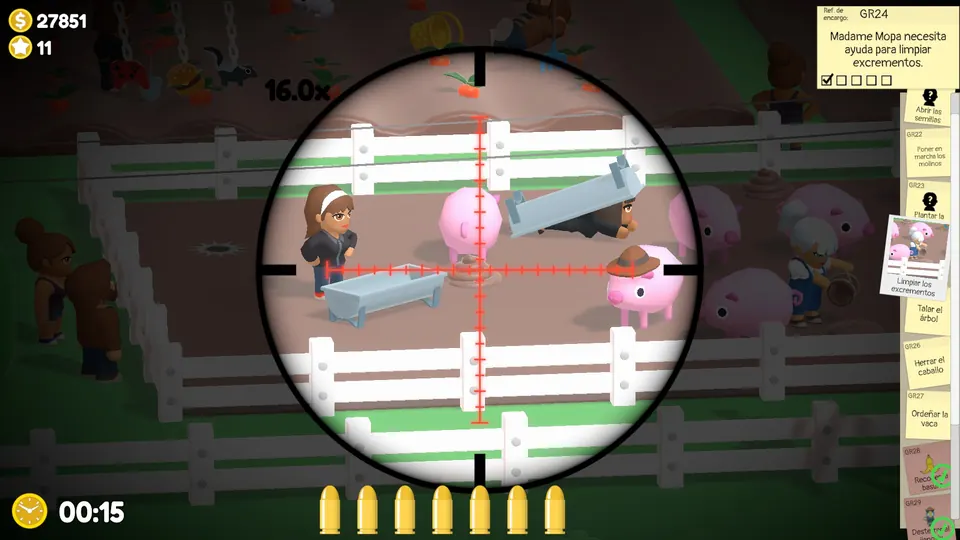
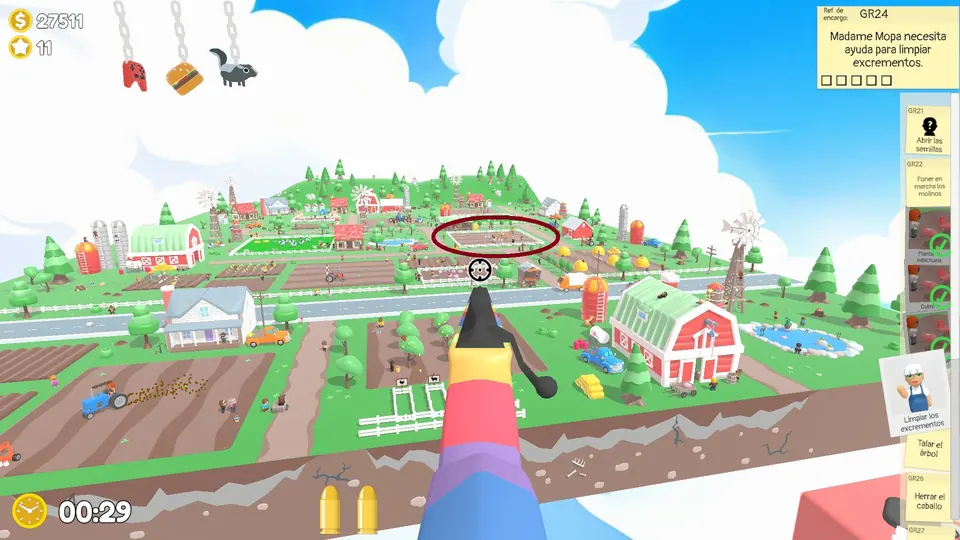
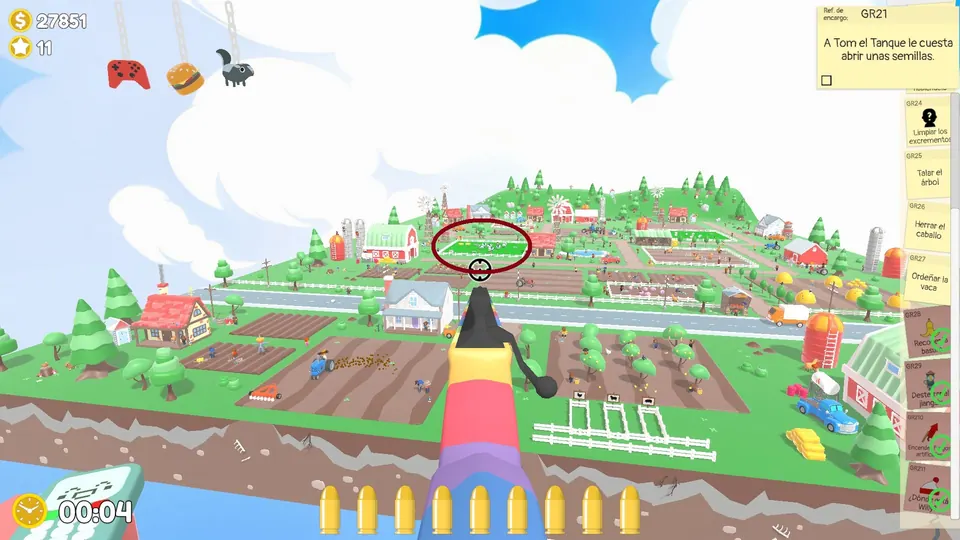
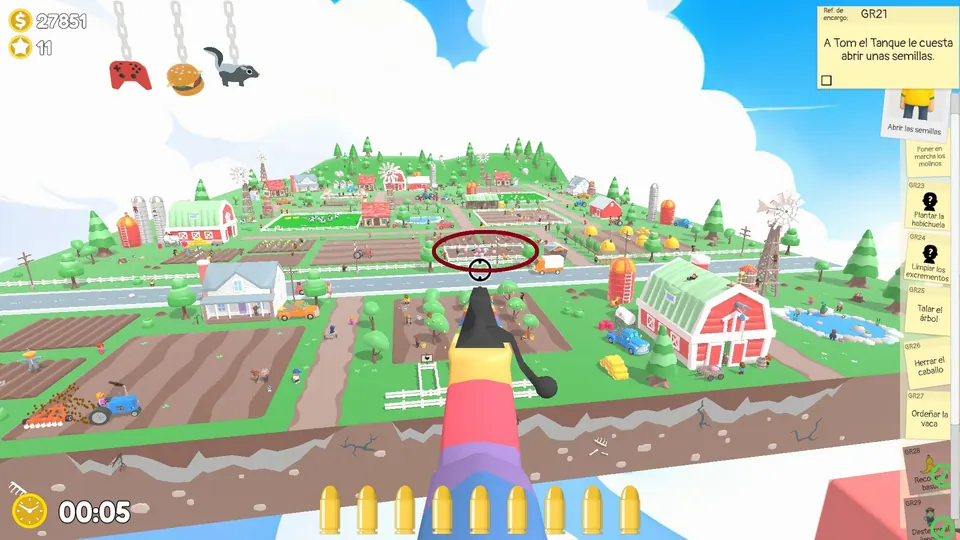
Clear the poop
Shoot the five bits of poop inside a fenced area. They always stay inside that fence. The poop pen has three possible spots.
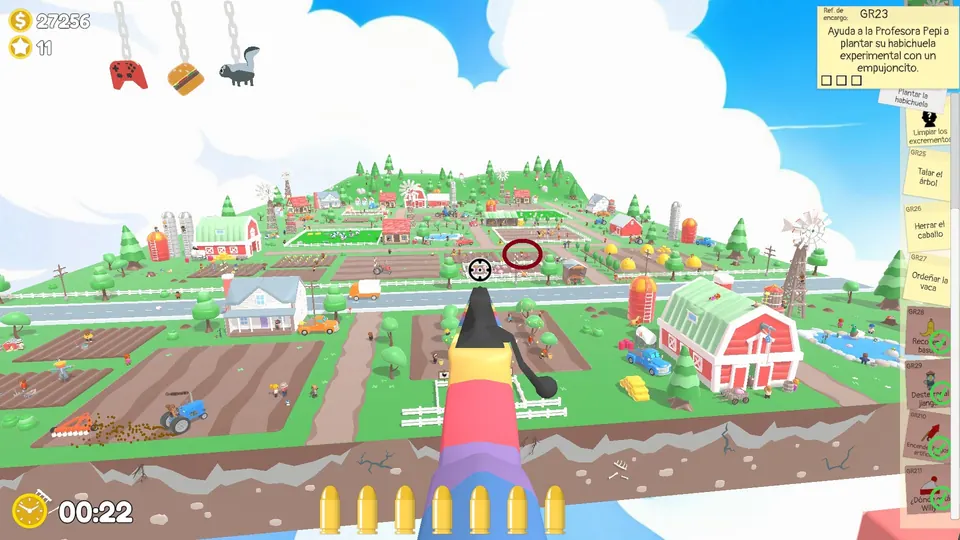
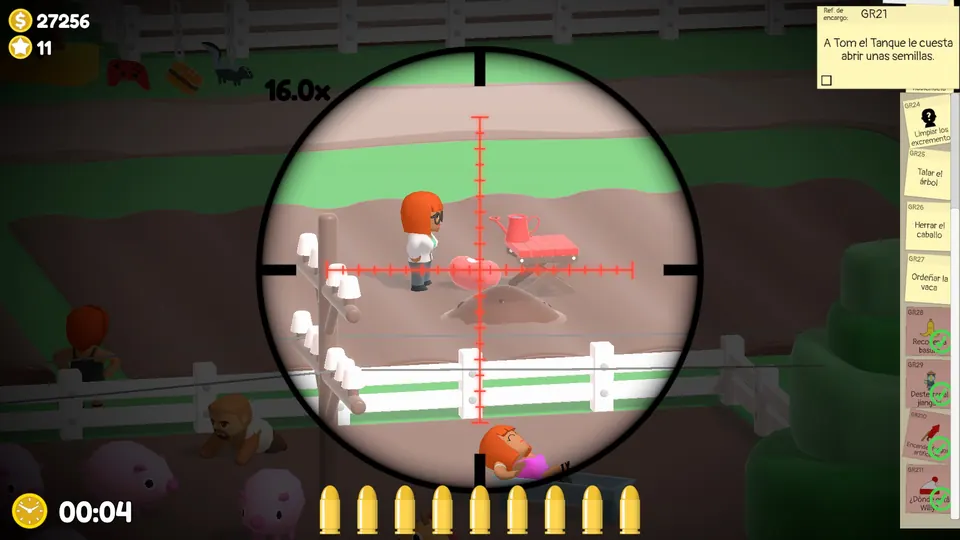
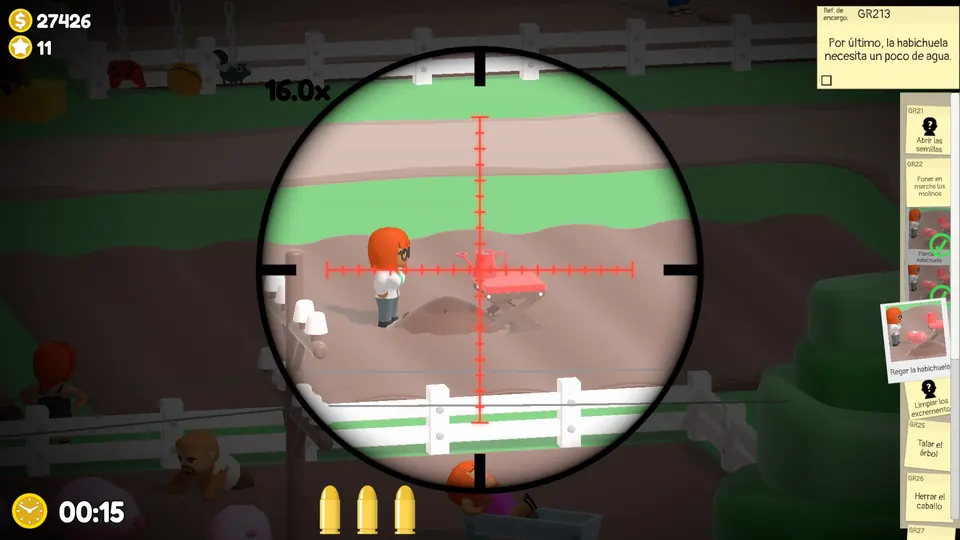
Plant the bean
The NPC planting a bean is always in the same place. Shoot the bean three times to plant it, shoot the pile of soil beside it three times to cover it, then shoot the watering can.
Fit the horseshoe
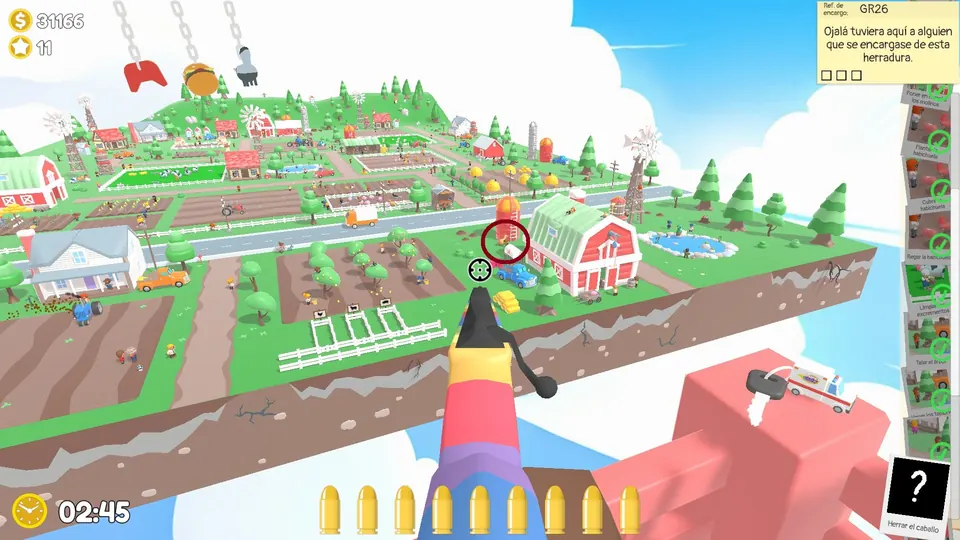
The horse missing a shoe is always at the bottom of the map, by the first barn. Shoot the three nails in its horseshoe.
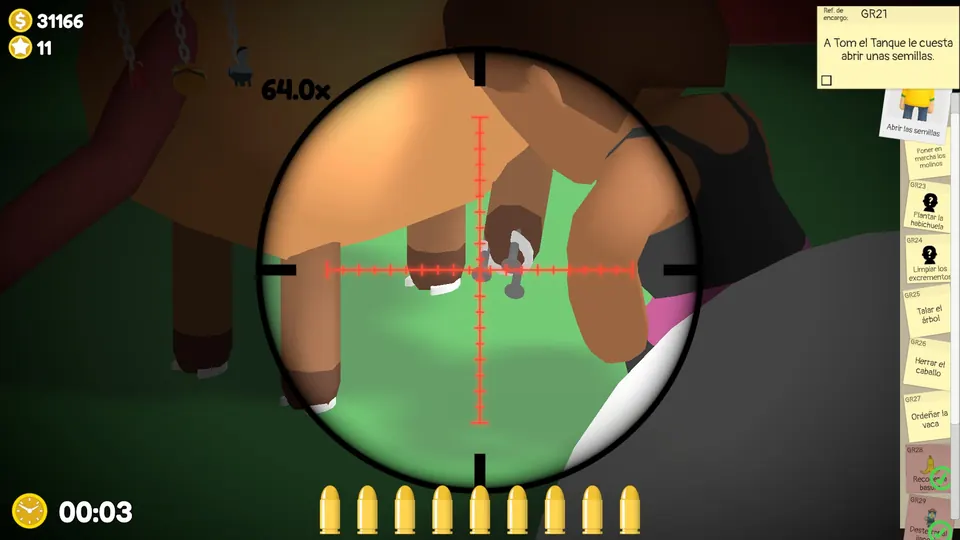
Milk the cow
Shoot the cow’s three udders. The cow has three possible spots.
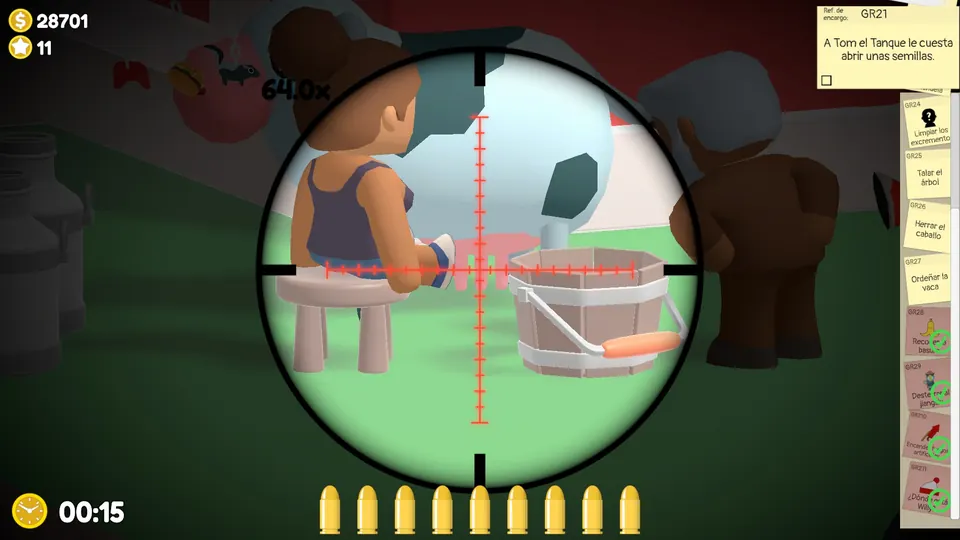
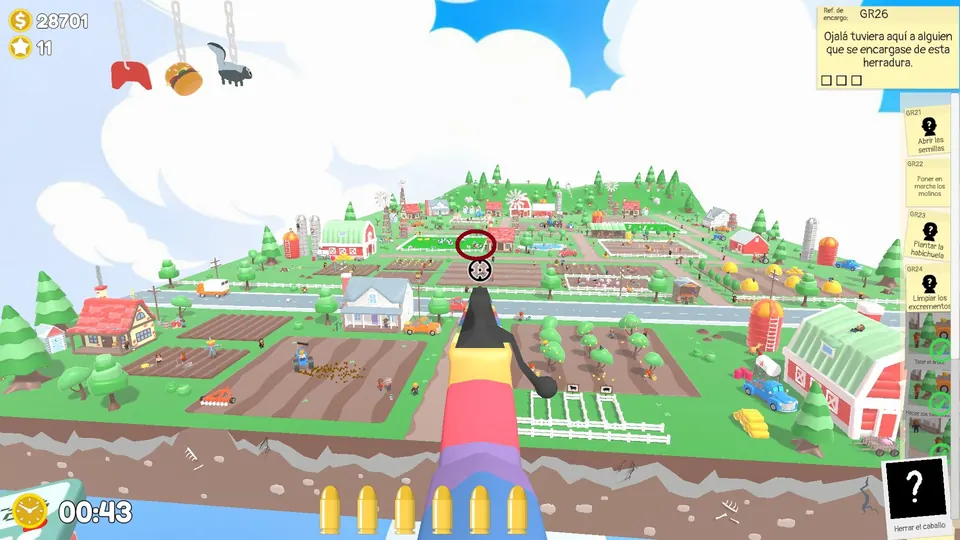
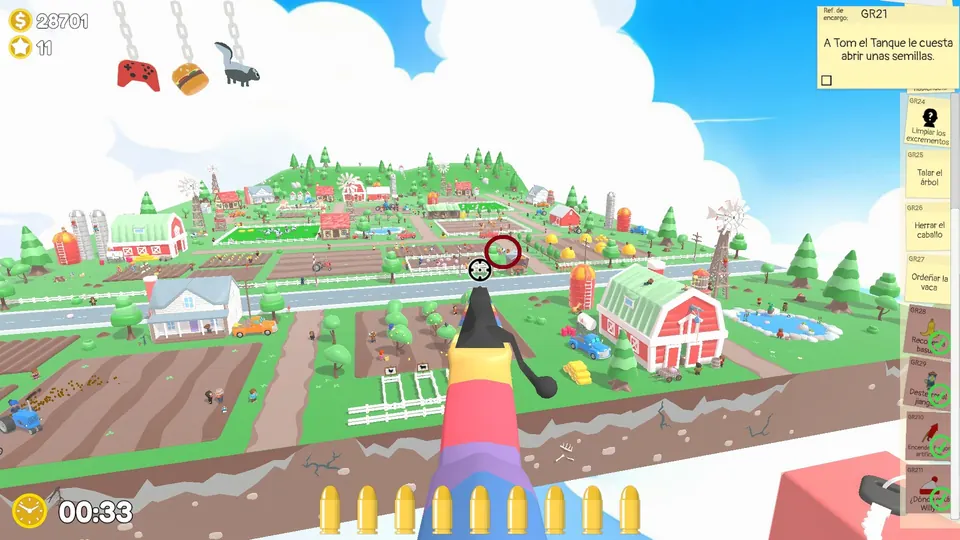
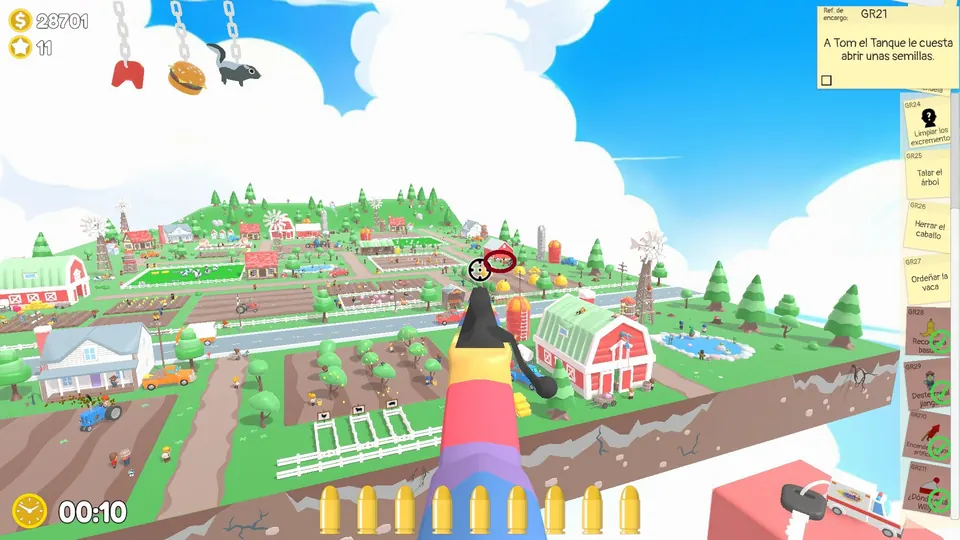
Turn the windmills
The five stuck windmills are always in the same places. Shoot the blades on each to get them turning and the water running.
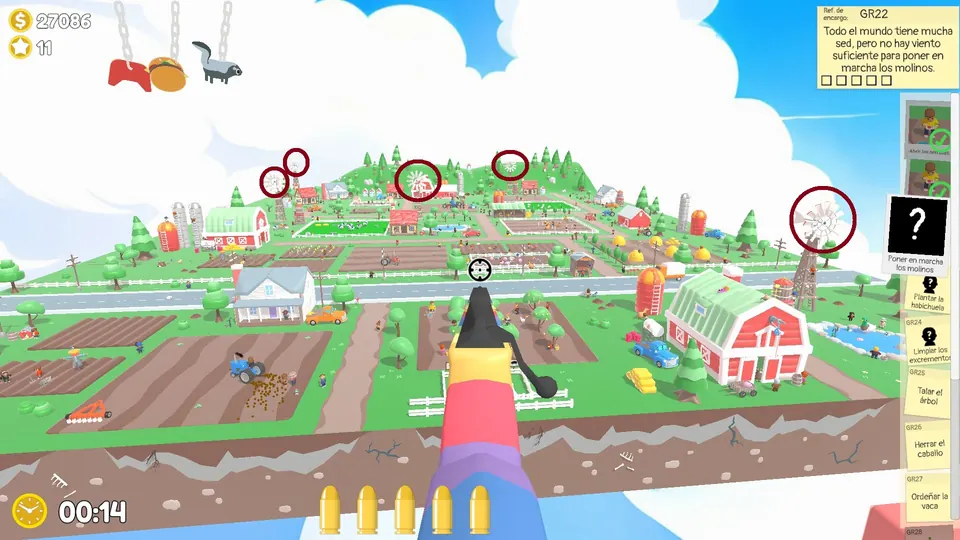
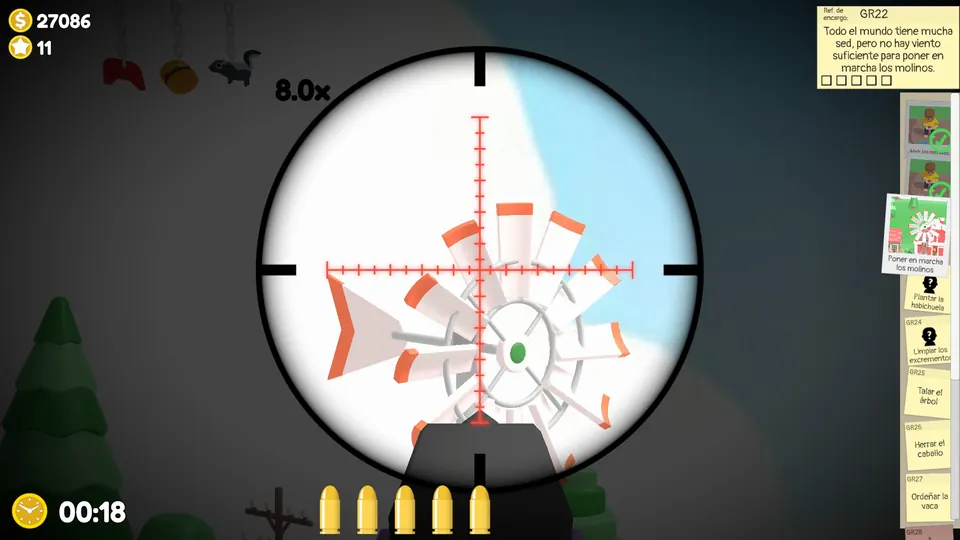
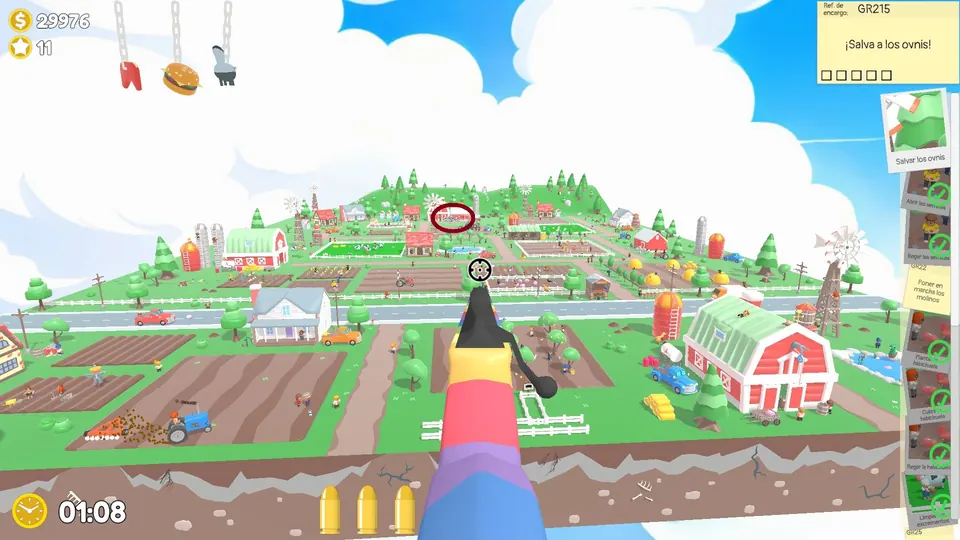
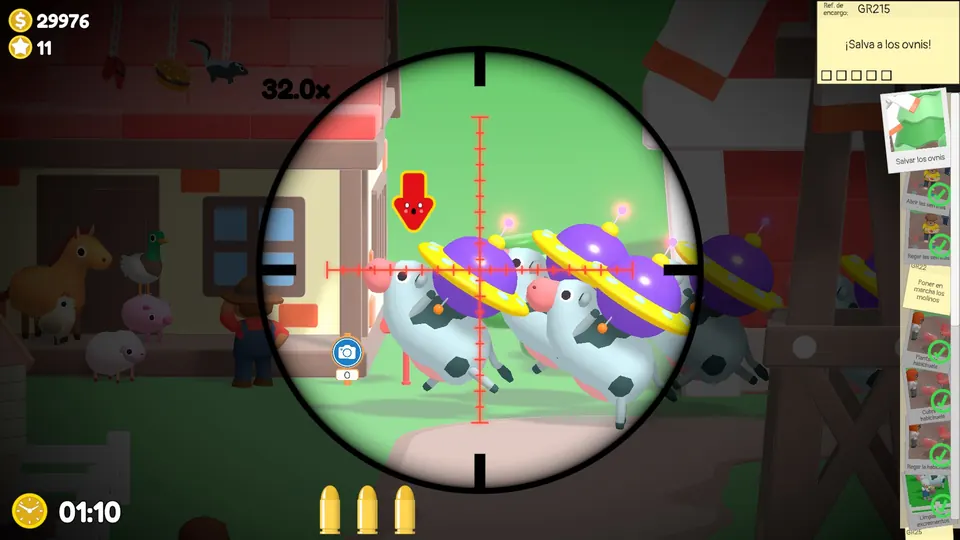
Phone objective: save the UFOs from the cows
After you answer the phone, five cows start stealing UFOs at the back of the map. Shoot the UFOs so the cows cannot take them.
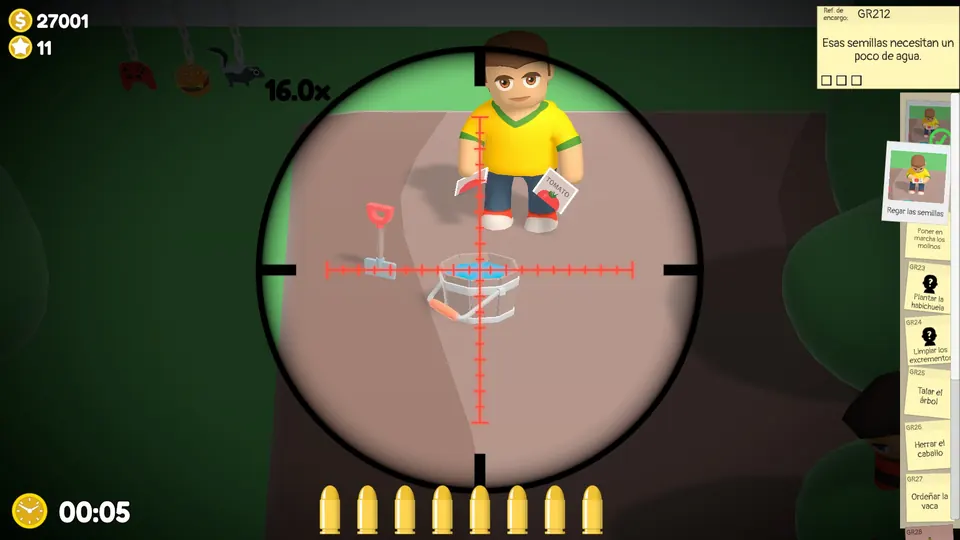
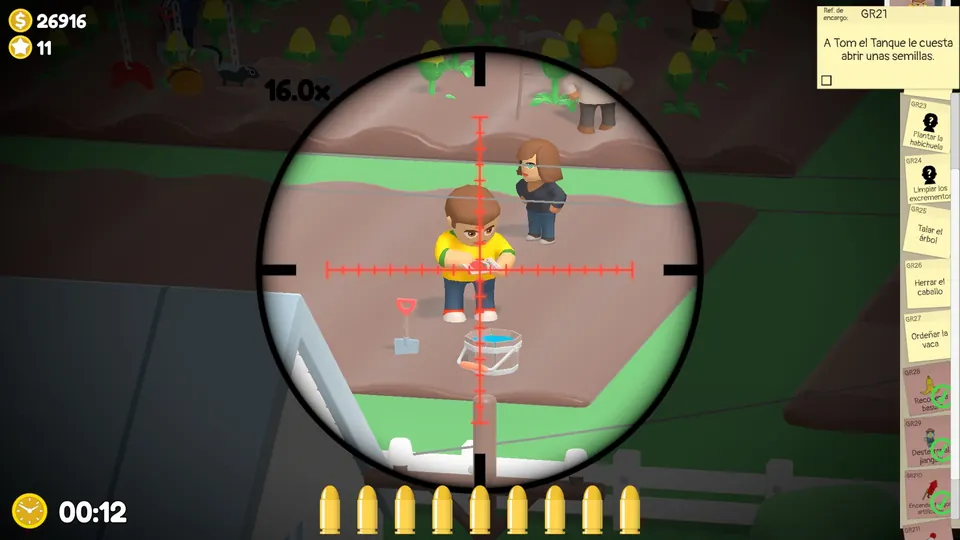
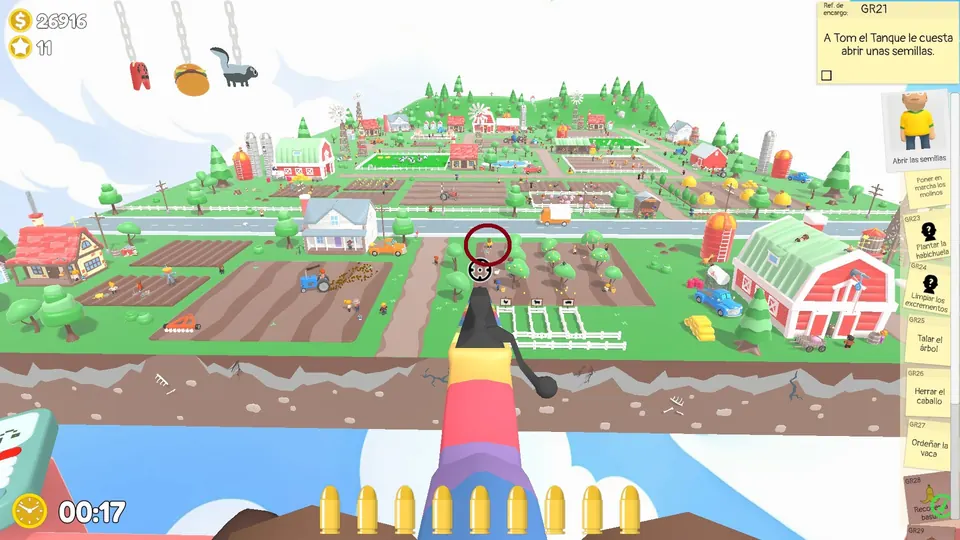
Plant the seeds
An NPC is trying to open a bag of seeds. Shoot the bag open, then shoot the water bucket in front of them three times. The seed NPC has three possible spots.
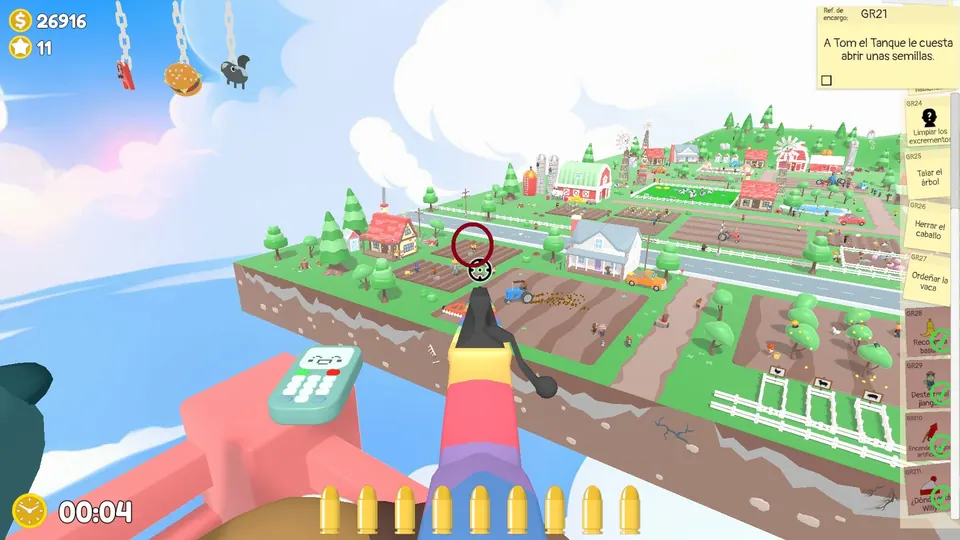
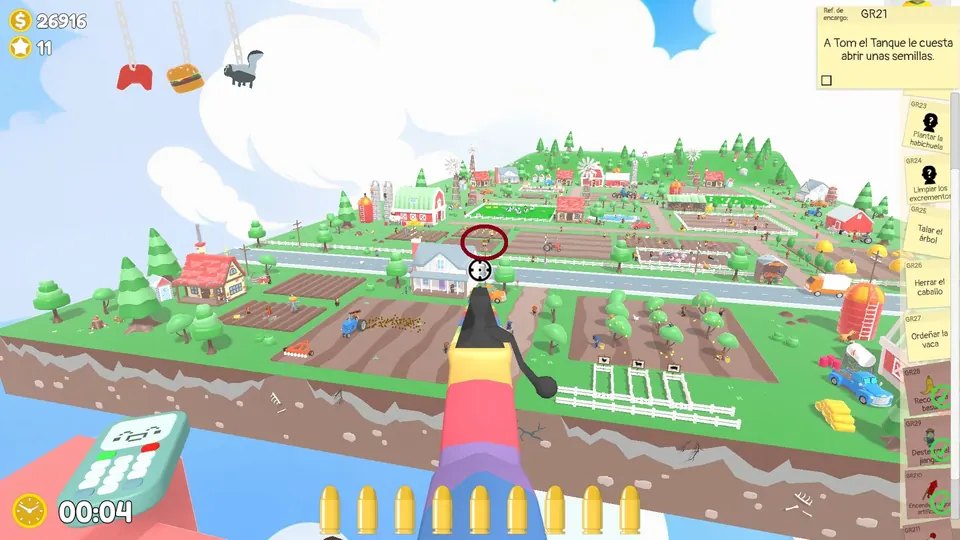
Funky Farm Day 3
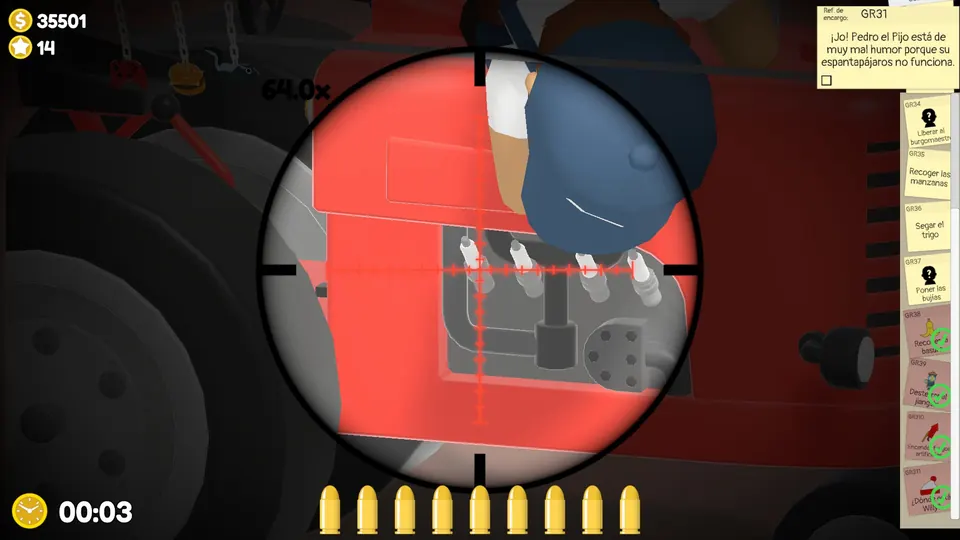
Fix the broken tractor
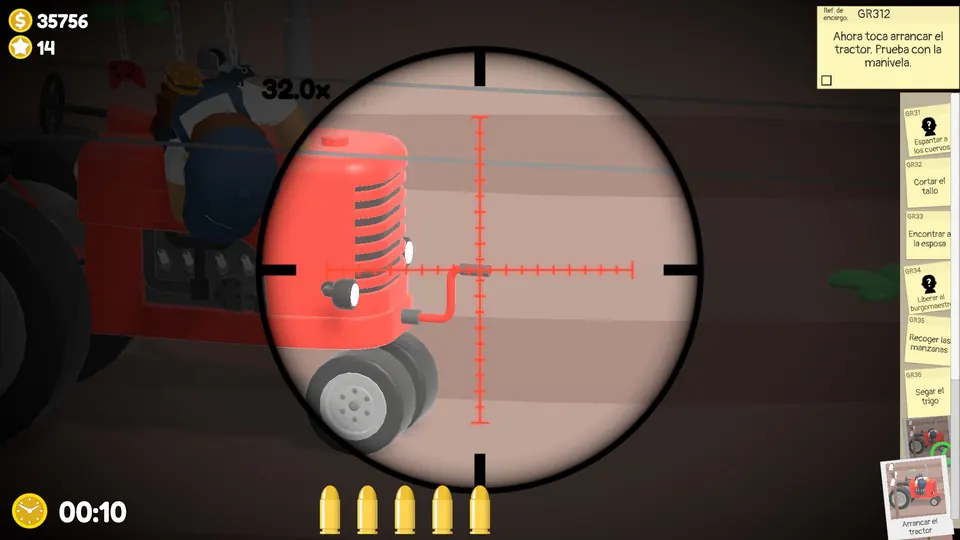
The broken tractor is always in the middle of the map. Shoot the spark plugs to fix it, then the crank at the front to start it.
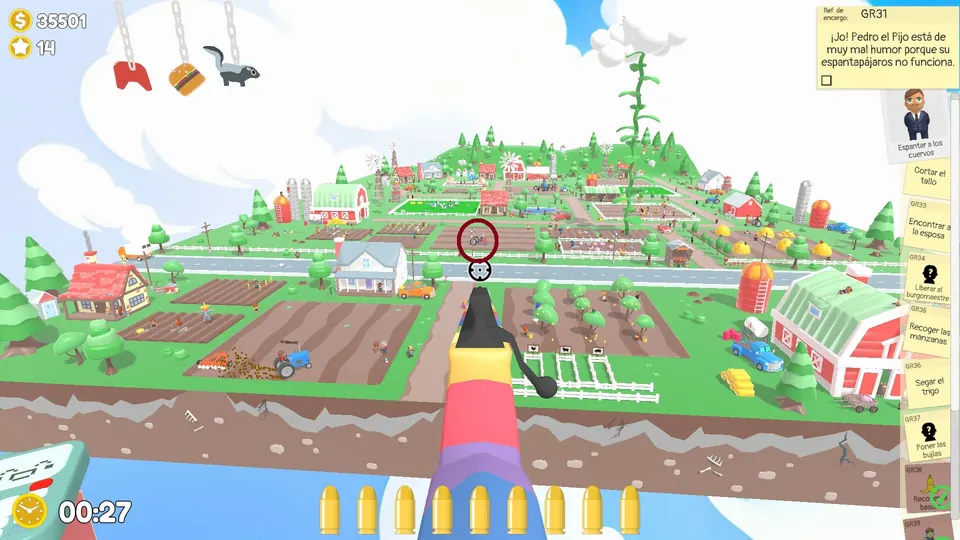
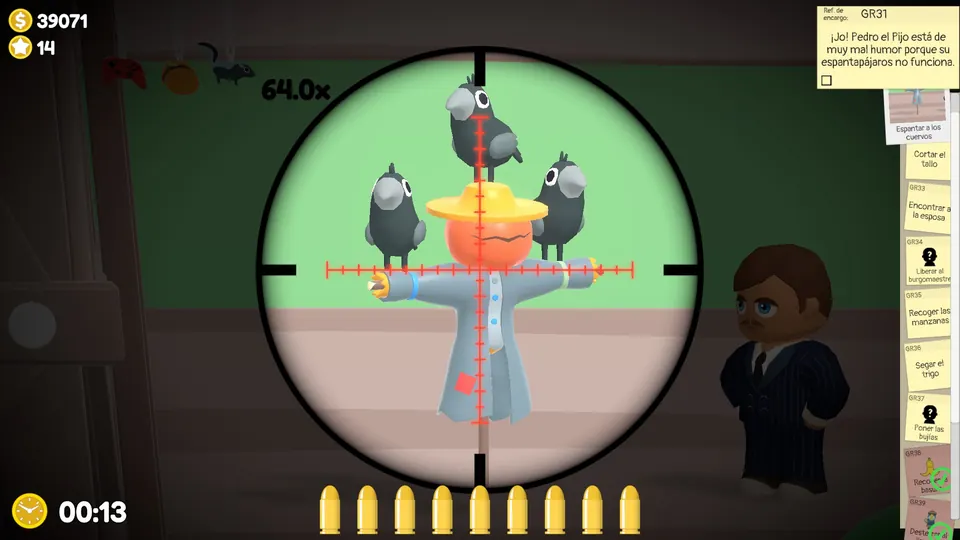
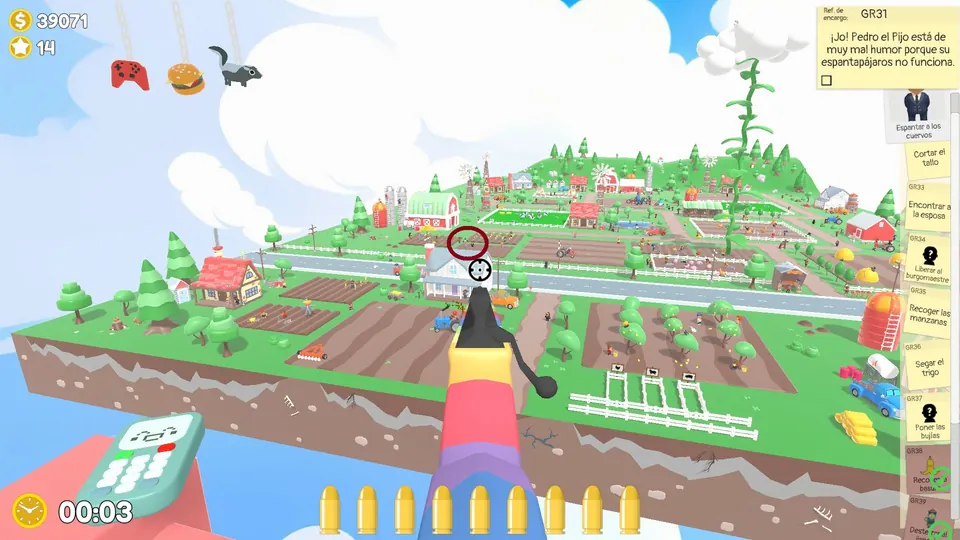
Shoot the scarecrow
Find the scarecrow with three crows on it and shoot the scarecrow. It has three possible spots.
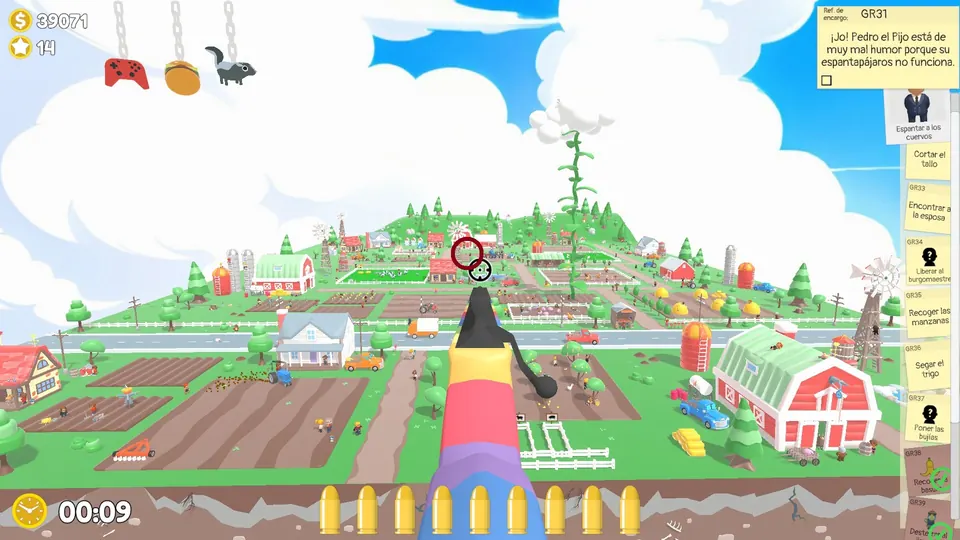
Find the NPC hiding in the hay cart
Shoot the hay cart to find the NPC hiding in it. The hay cart has three possible spots.
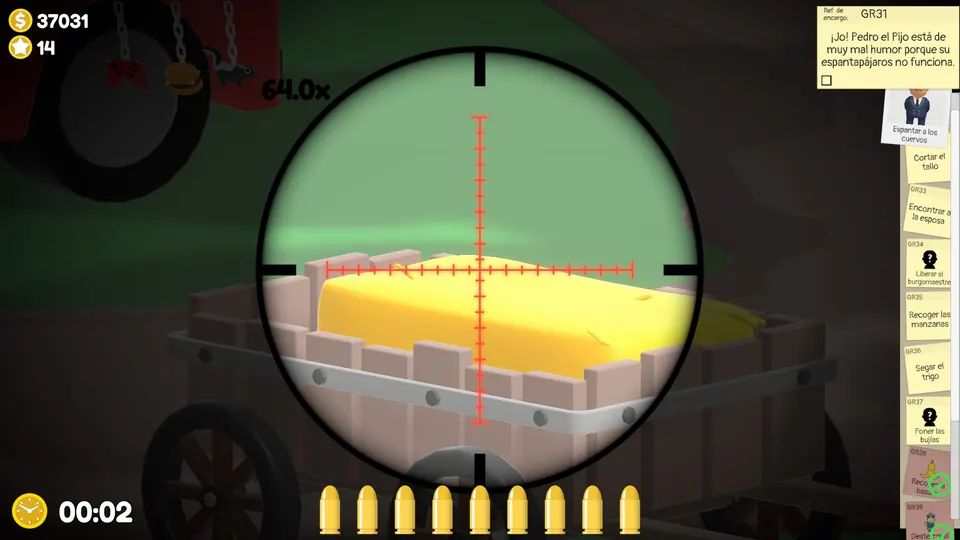
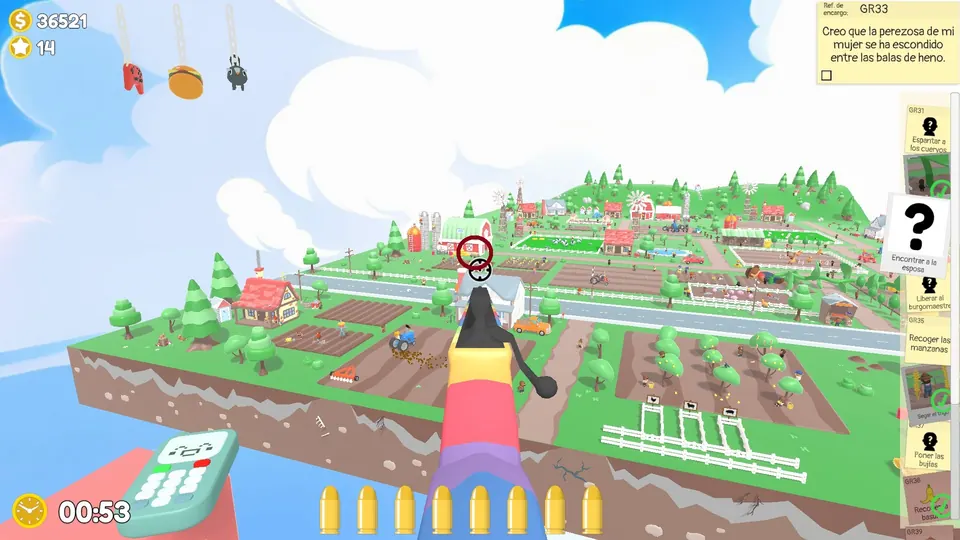
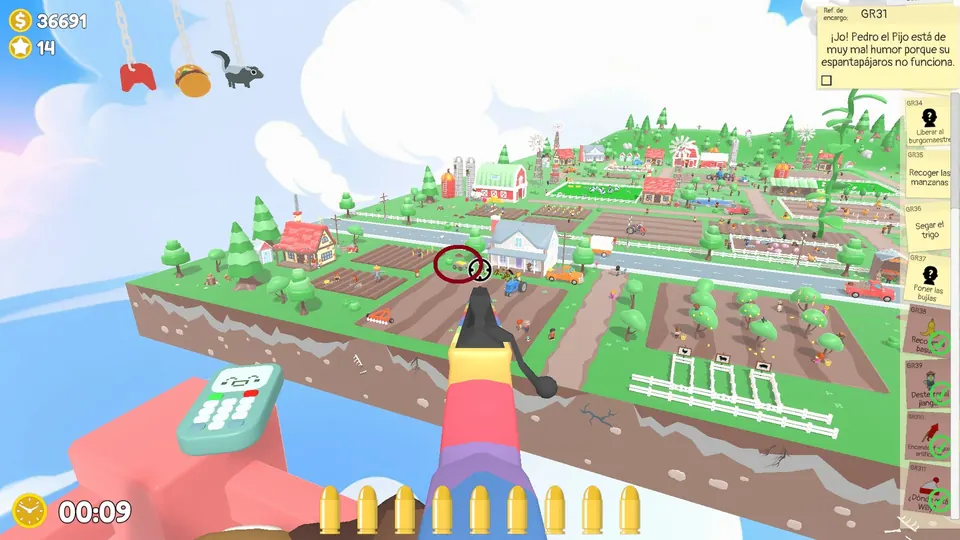
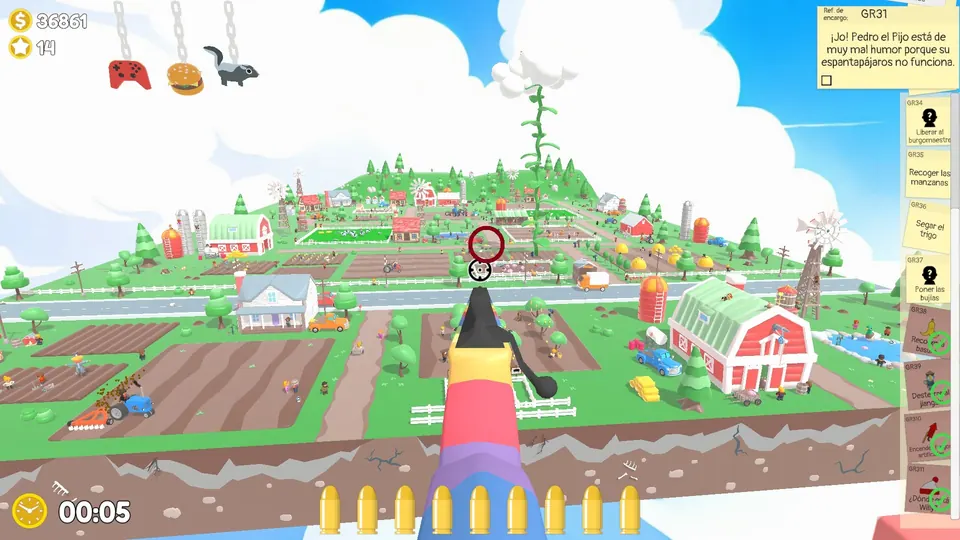
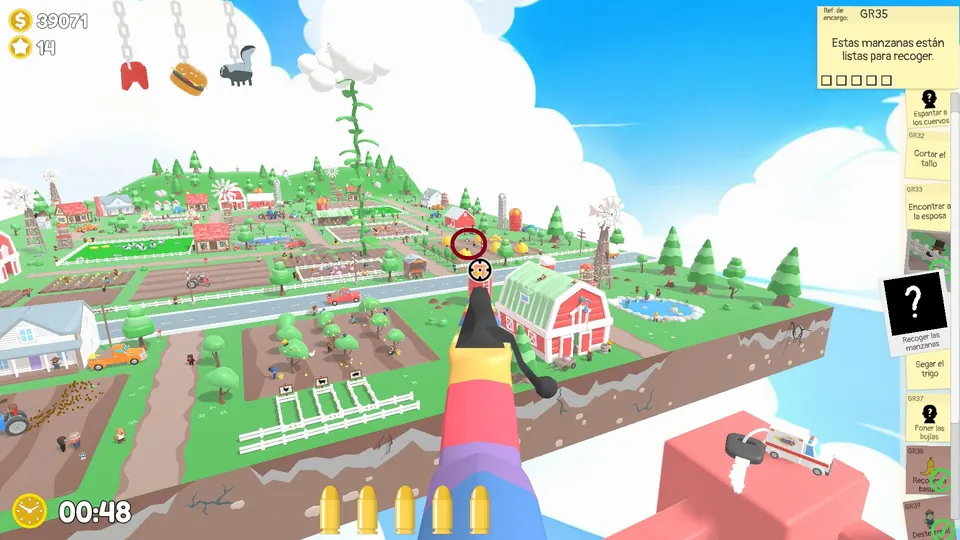
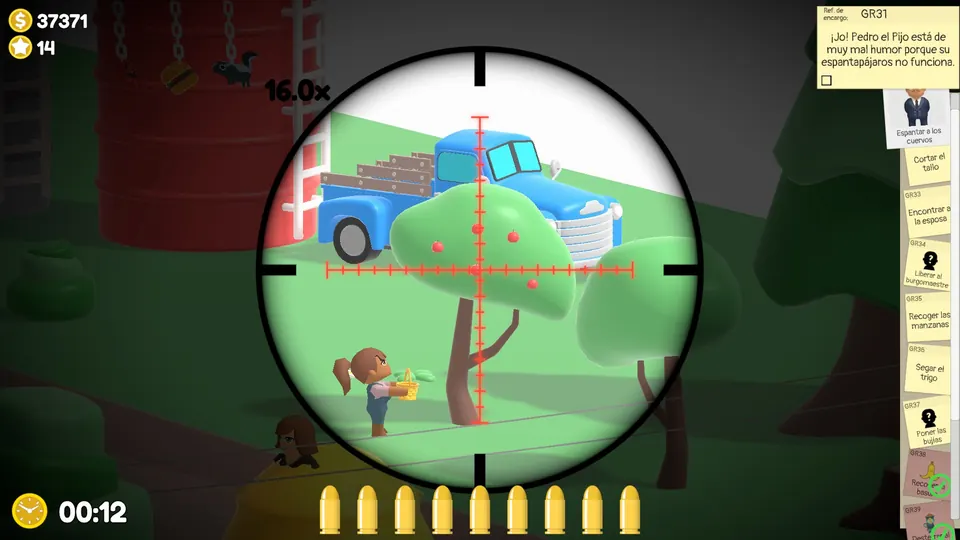
Pick the apples
Find the tree with five apples and shoot them all down. The apple tree has three possible spots.
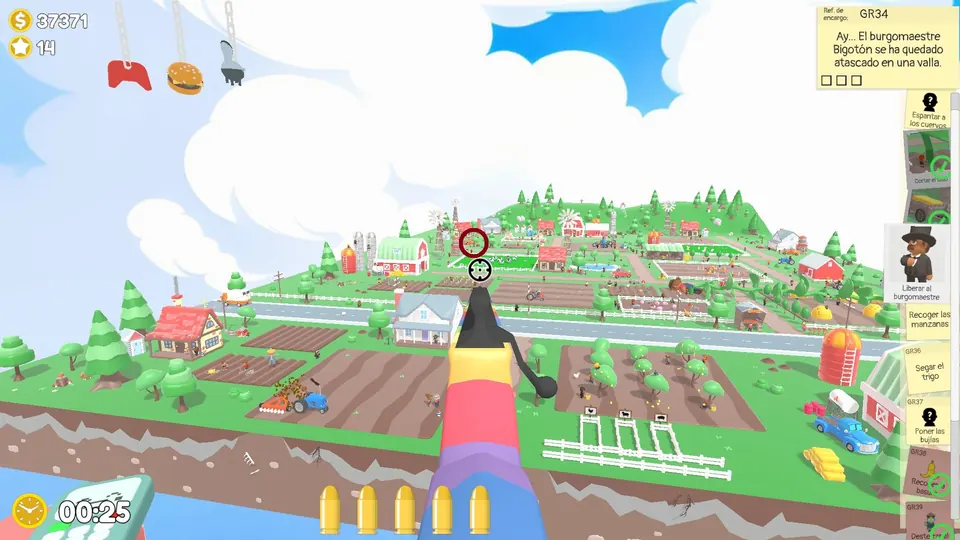
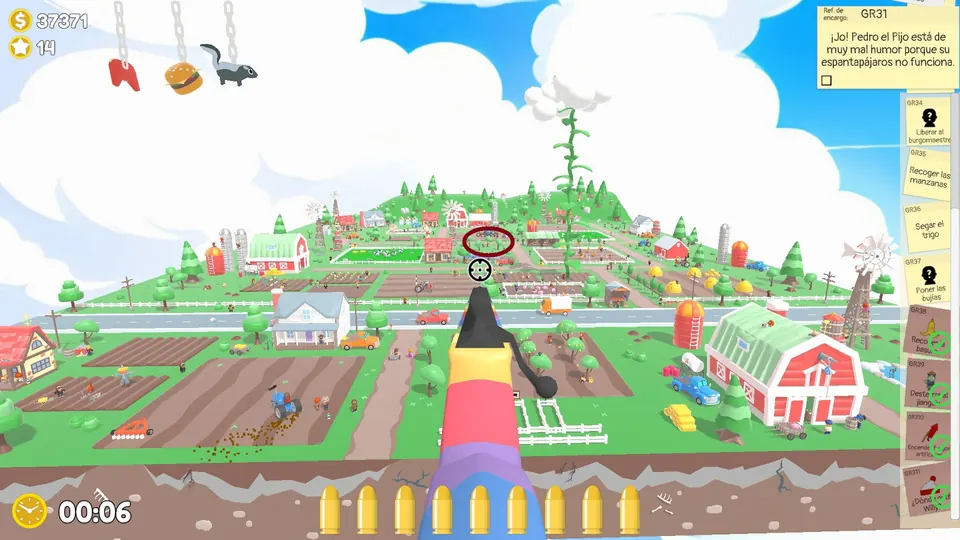
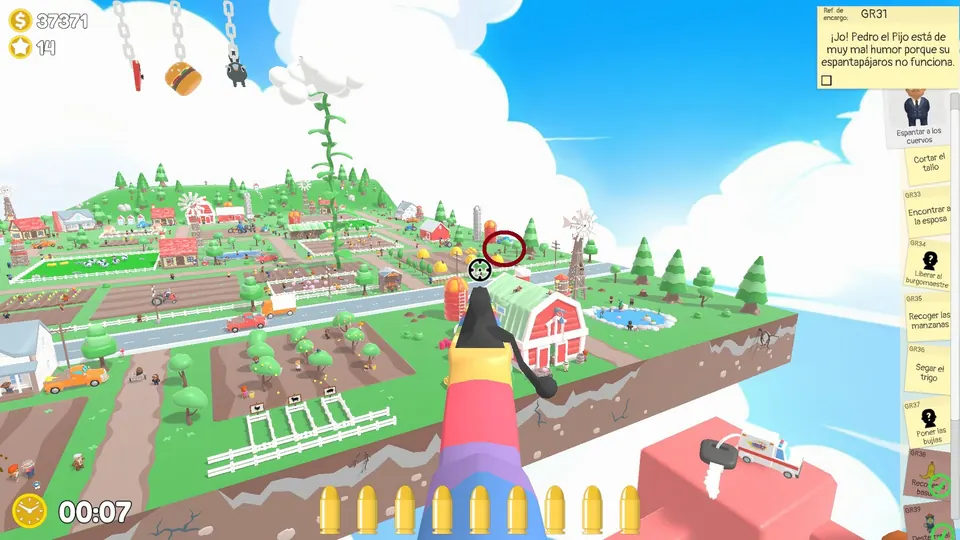
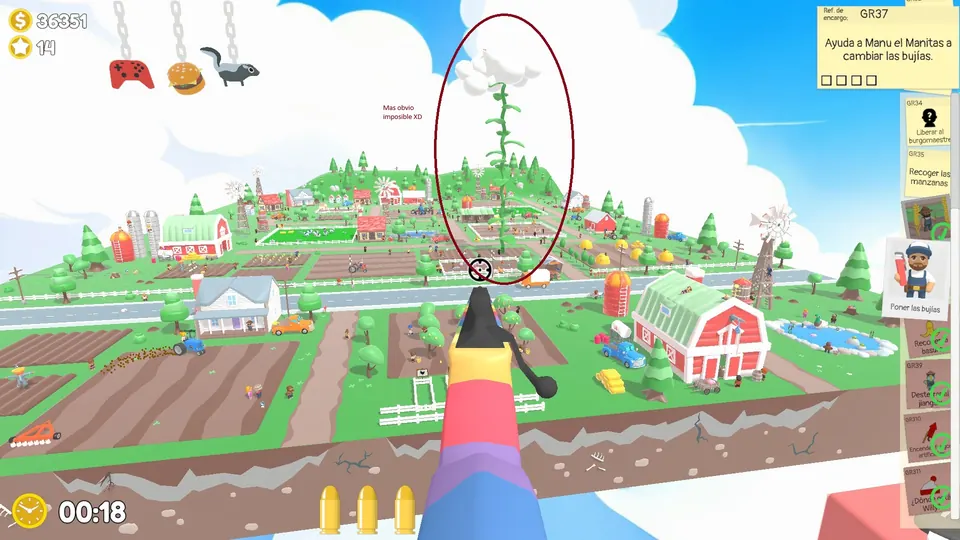
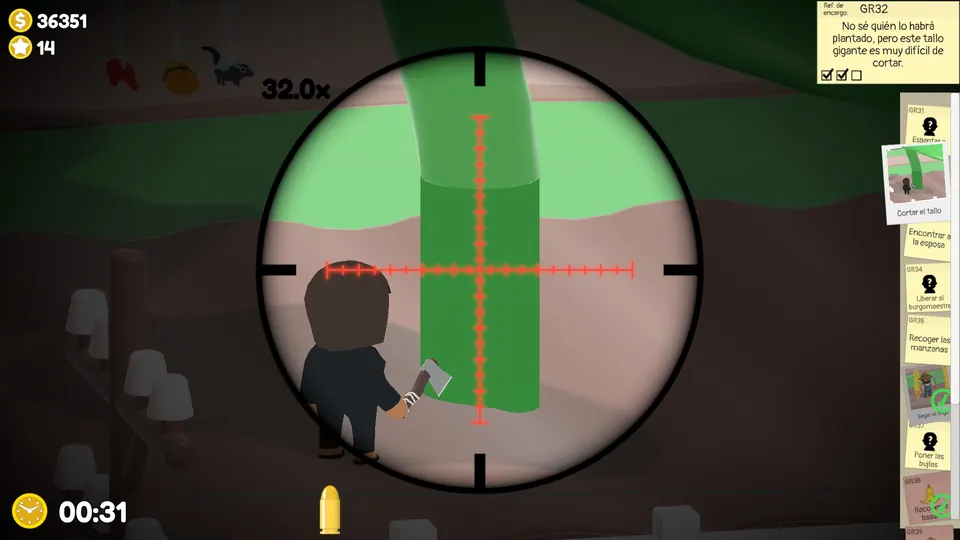
Cut the stalk
The stalk is always in the same place. Shoot the base of the stalk three times.
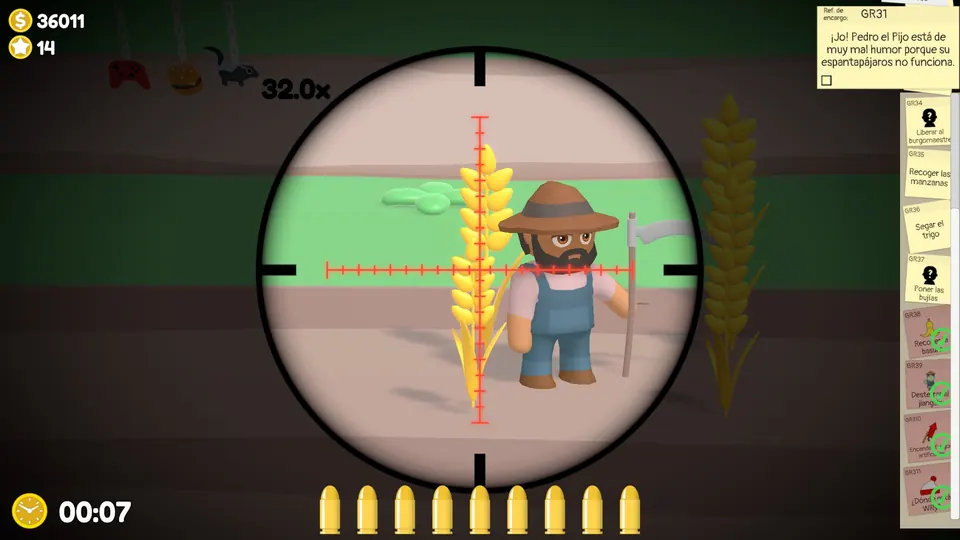
Harvest the wheat
Shoot the five wheat stalks. The wheat patch has three possible spots.
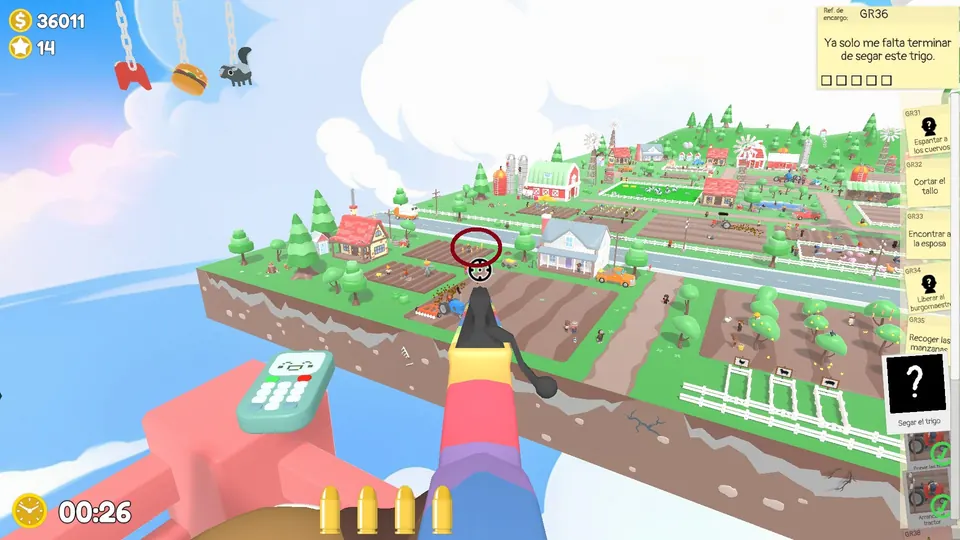
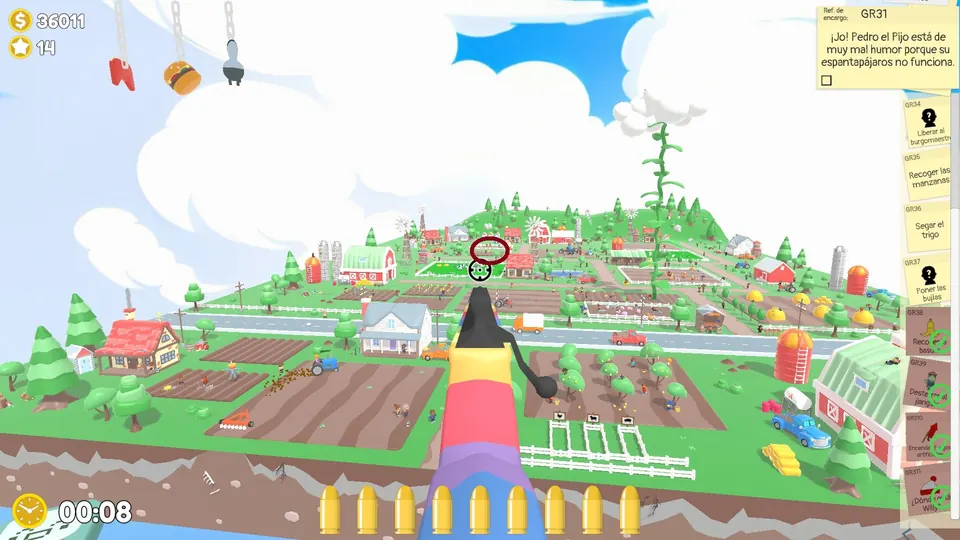
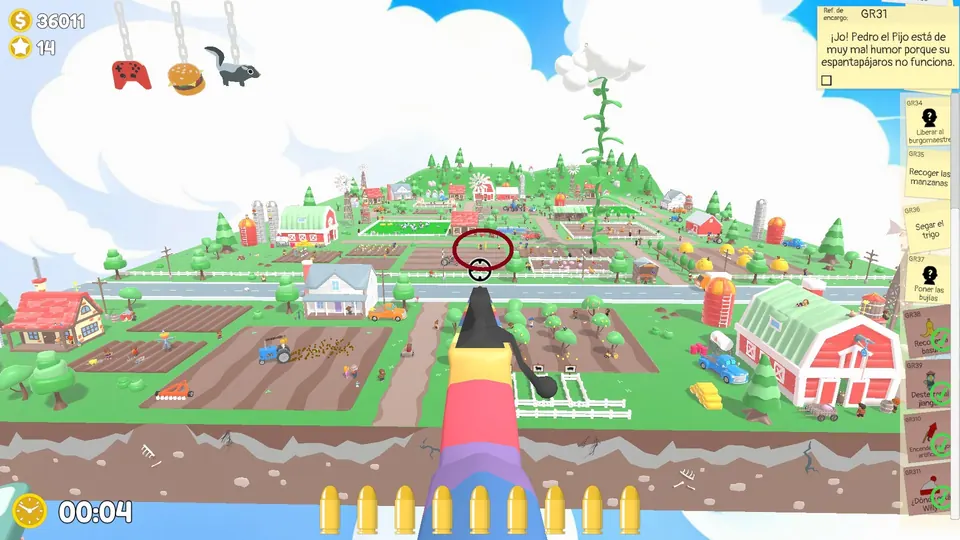
Free them from the fence
The NPC stuck in a fence is always in the same place. Shoot the fence three times.
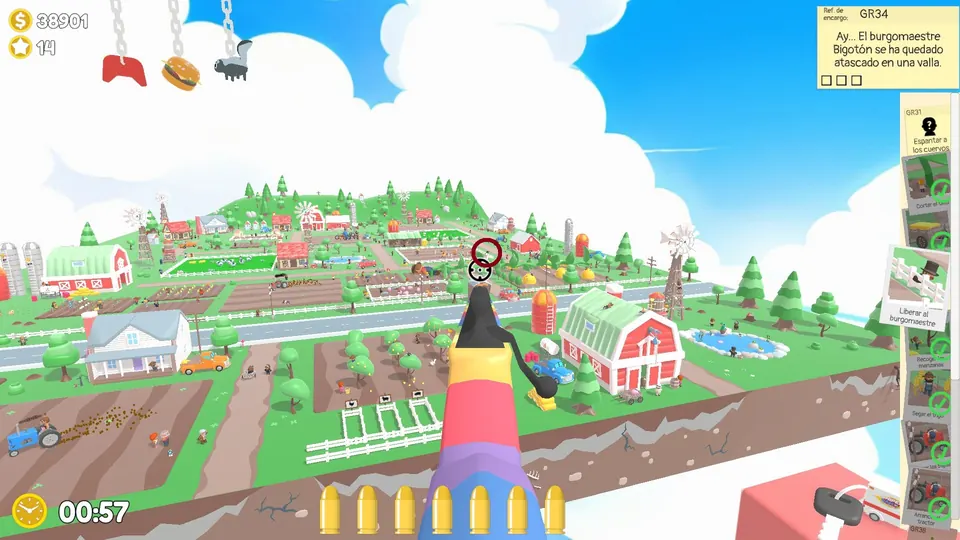
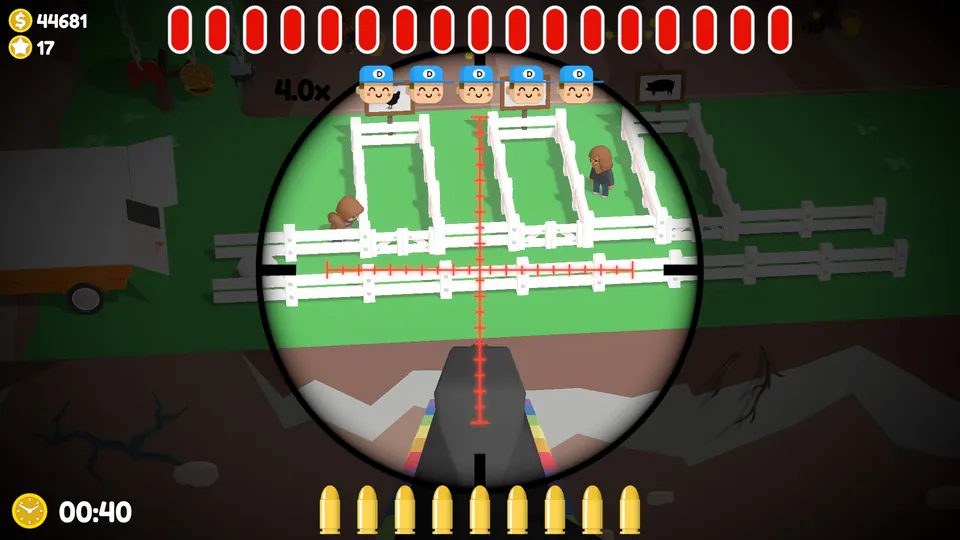
Funky Farm boss objective
Shoot the pen gates so each animal gets into its own pen: chickens on the left, sheep in the middle, pigs on the right. A gate only stays open for about two seconds after you hit it, so wait until the animal is right there before you fire.
Aces Airport bananas, fireworks, Willy and Jiangshi
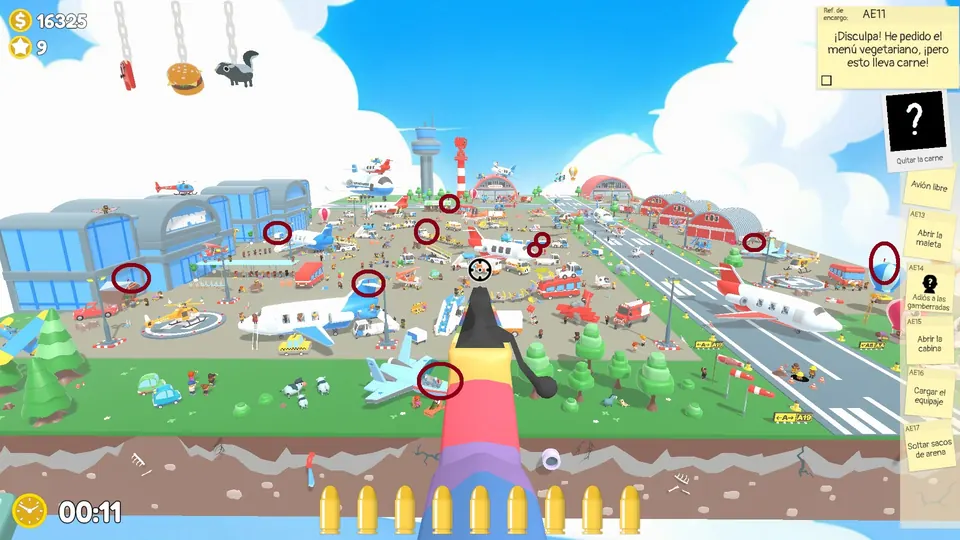
Aces Airport bananas (10)
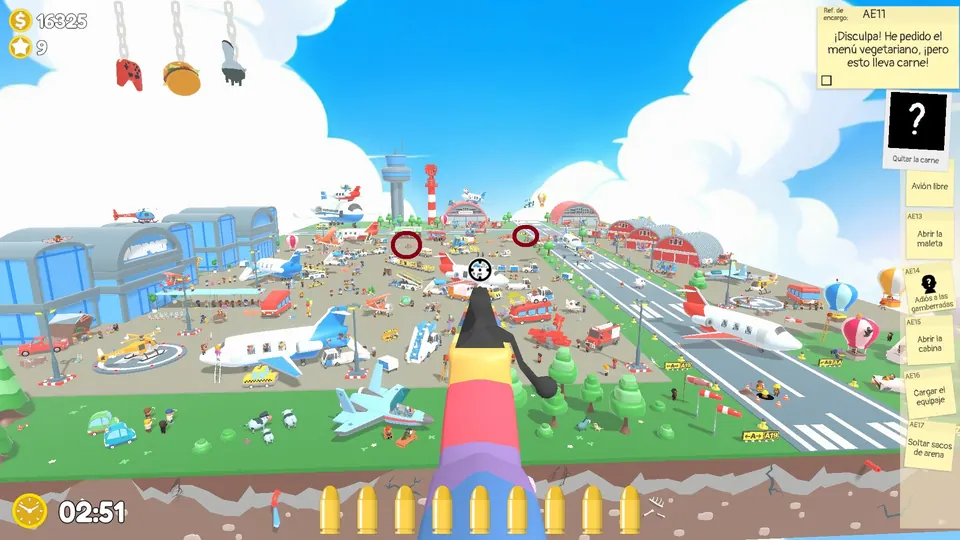
The airport bananas are circled on one overview of the airport.
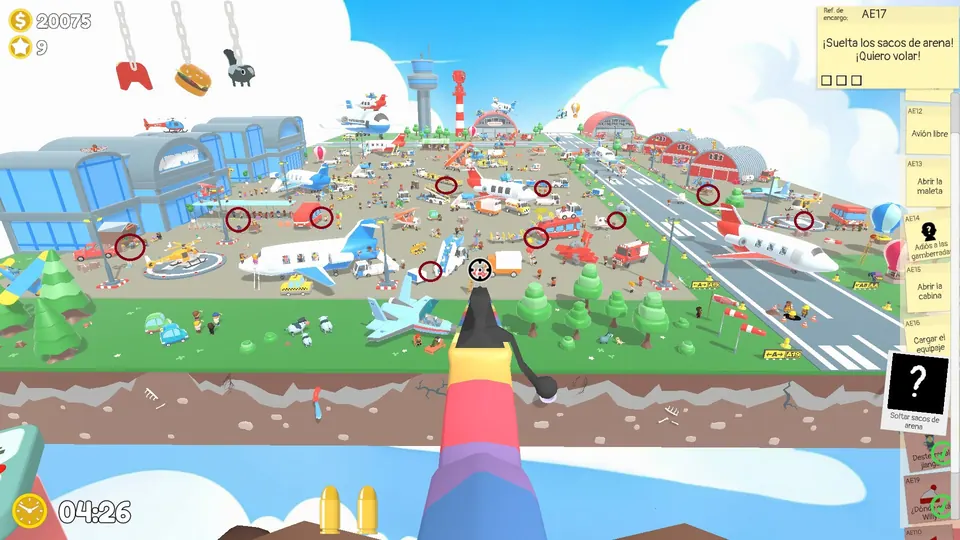
Aces Airport fireworks (10)
The airport fireworks are circled on one overview.
Aces Airport Willy and Jiangshi
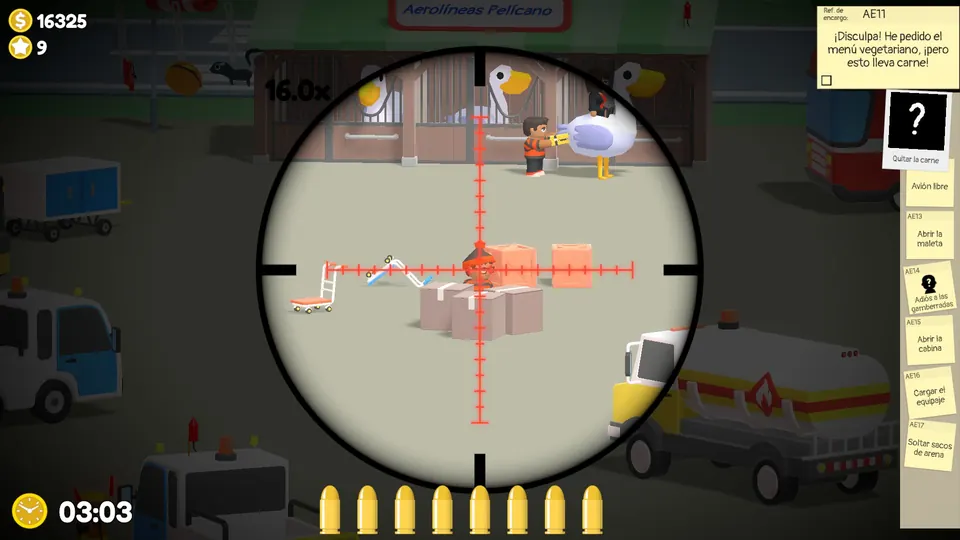
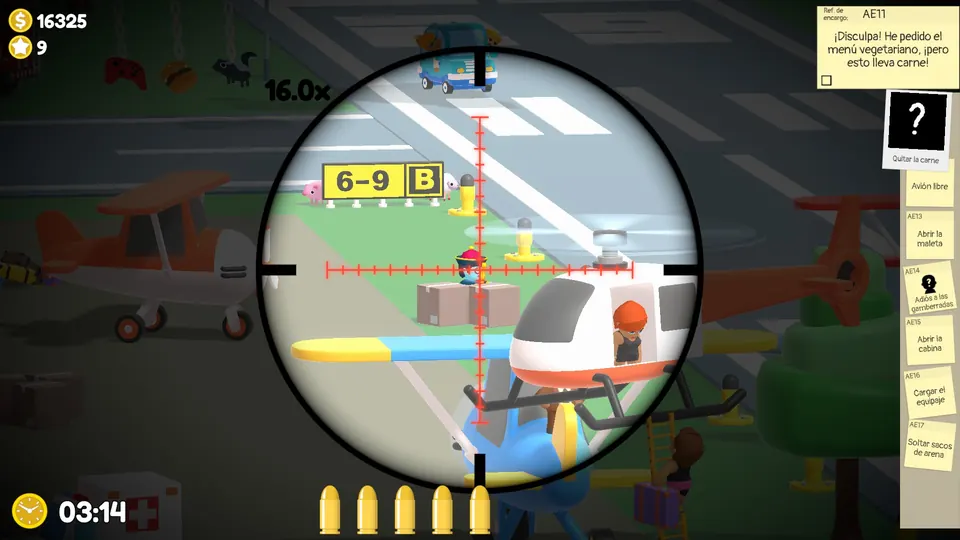
Both are hidden behind boxes at the back of the airport.
Willy is behind the boxes in front of the pelican cages.
The airport Jiangshi is in front of the yellow 6-9 sign beside the main runway.
Aces Airport Day 1
Open the cockpit
A plane with a stuck door is always in the same place. Shoot the yellow part of the plane to free the NPC.
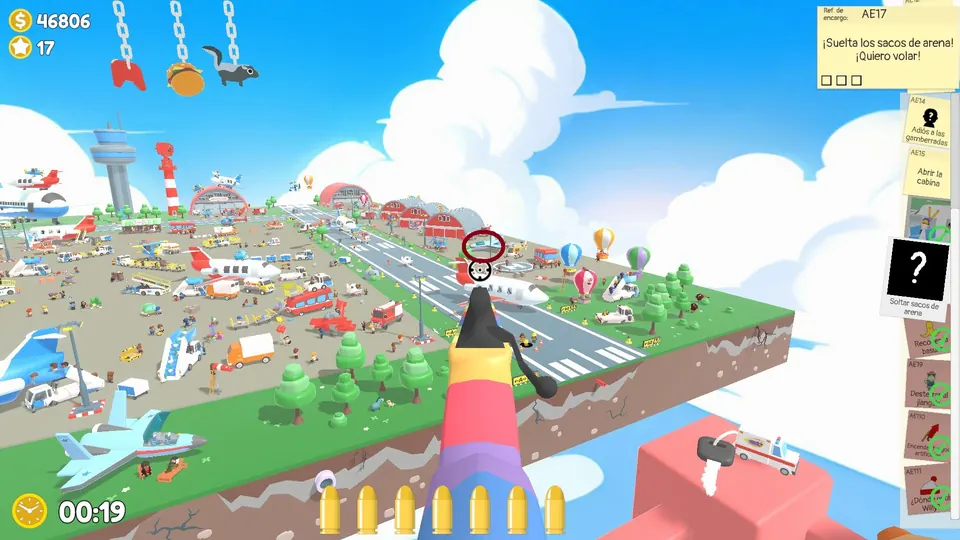
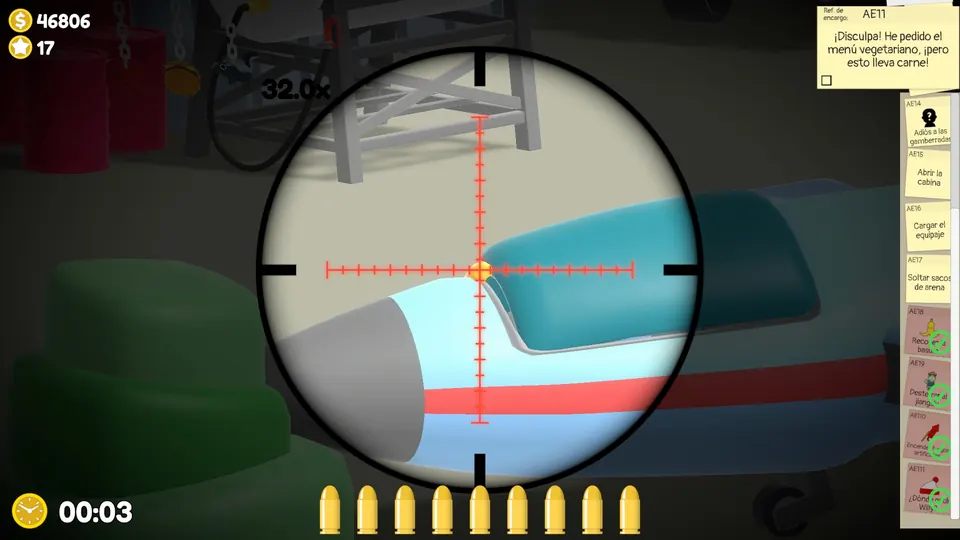
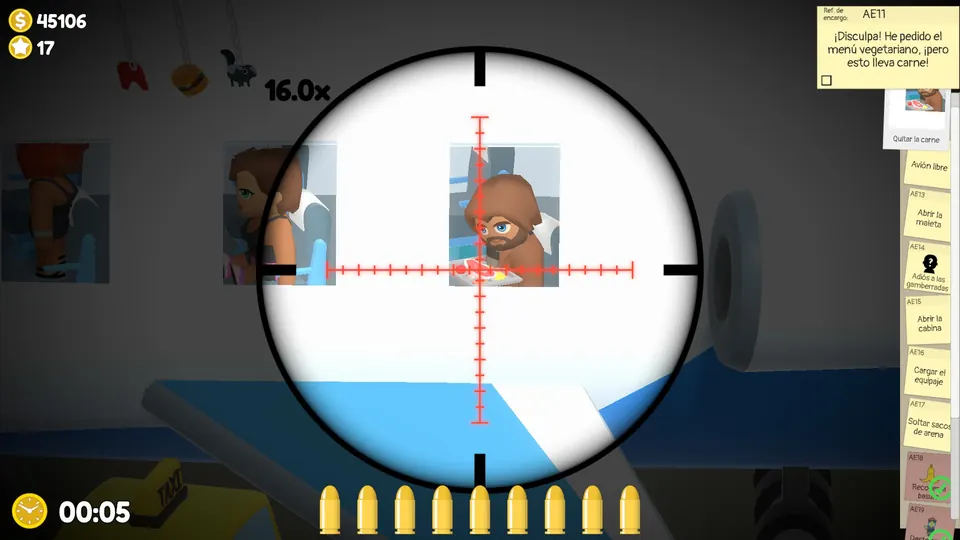
Take away the meat
The NPC with a plate of meat is always at the first plane at the bottom. Shoot the meat off the plate.
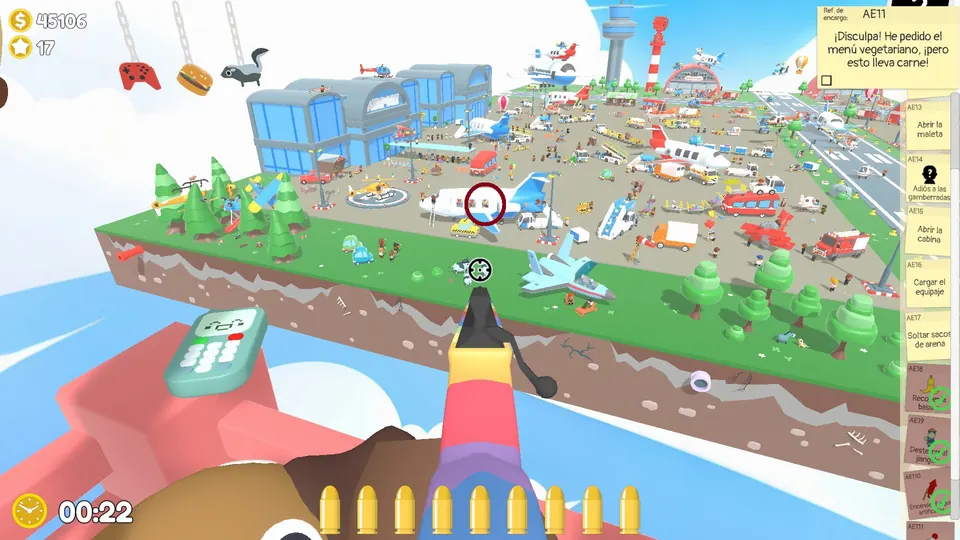
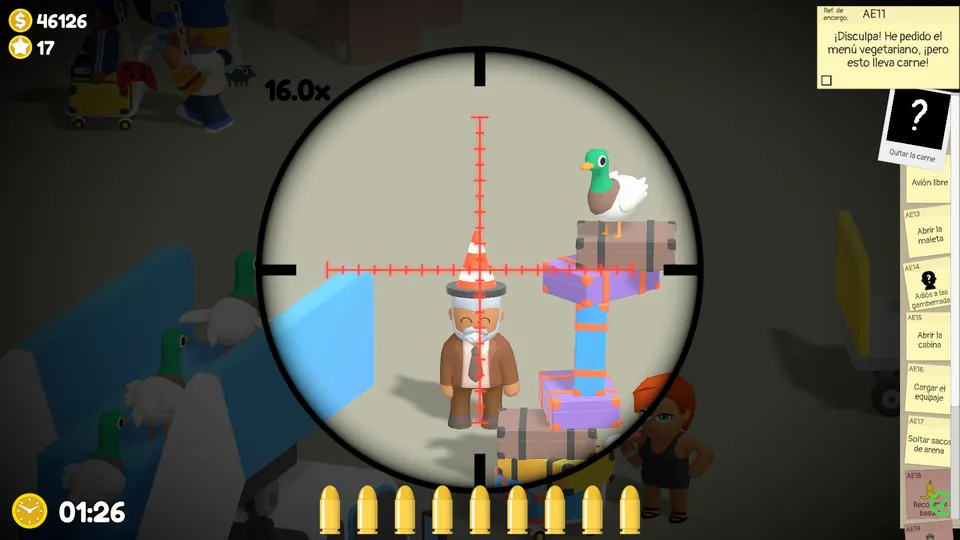
Remove the cones
Find the five NPCs with traffic cones on their heads and shoot the cones. The cone heads come in three possible layouts.
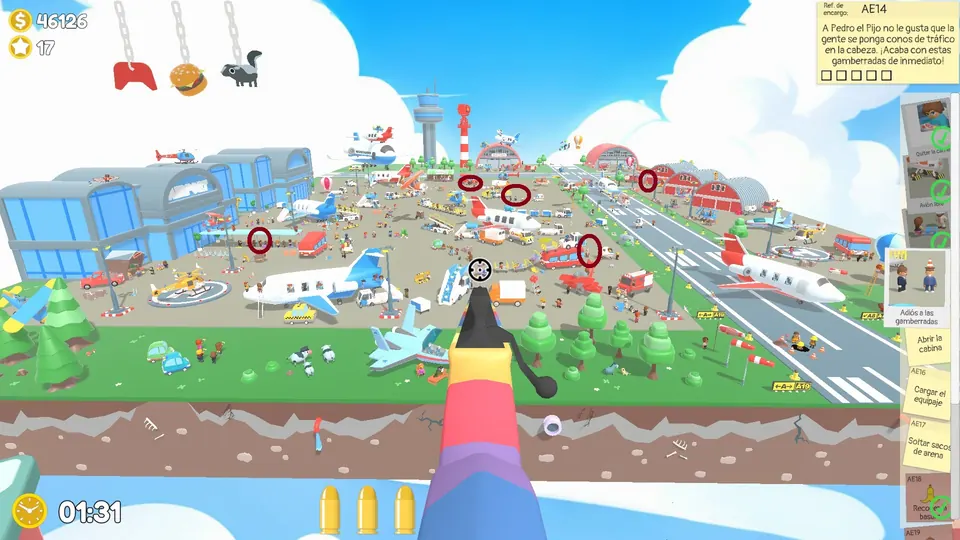
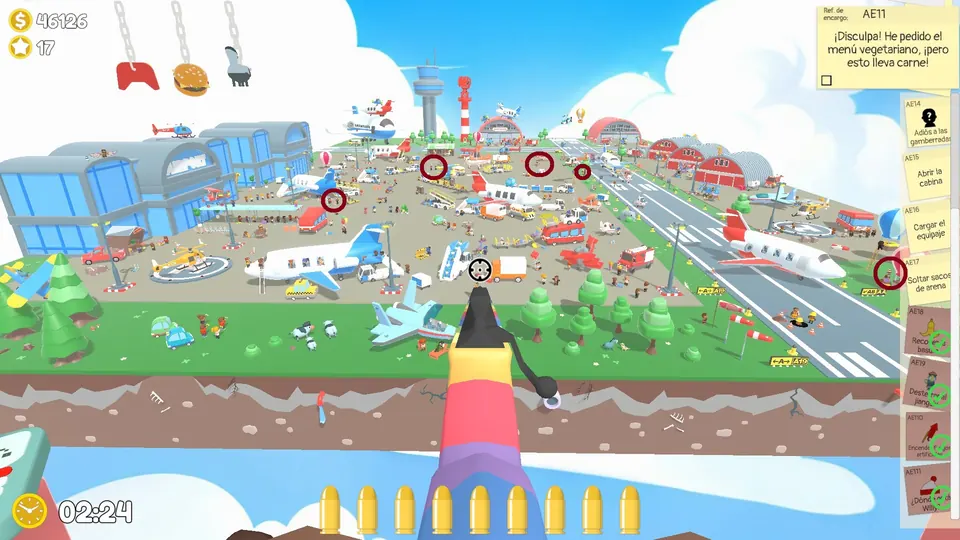
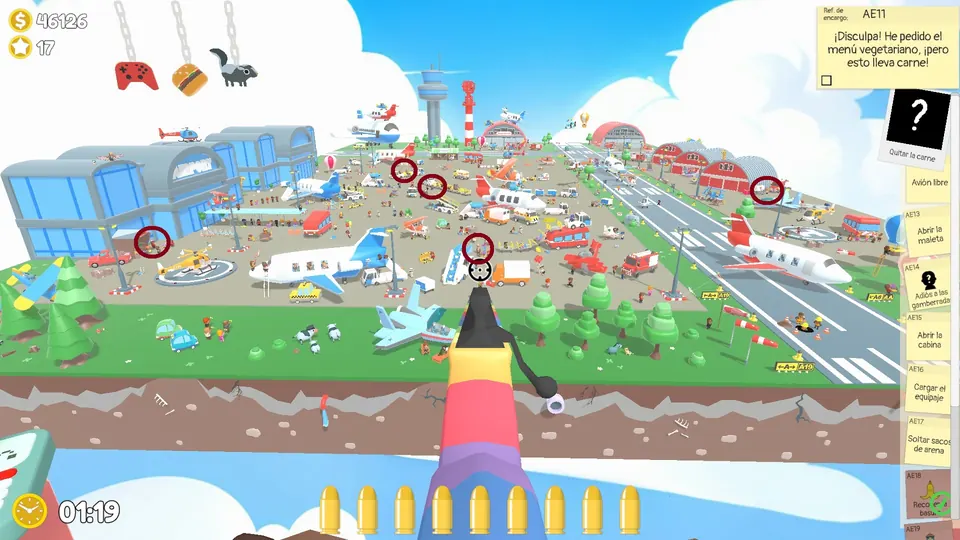
Free the luggage door
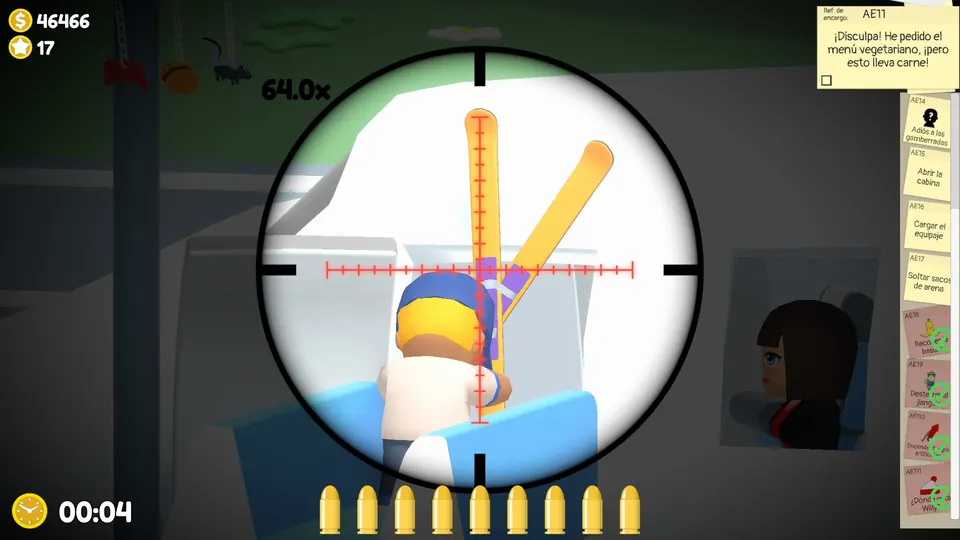
An NPC struggling to fit their luggage into the plane is always in the same place. Shoot the two parts of the skis to free the door.
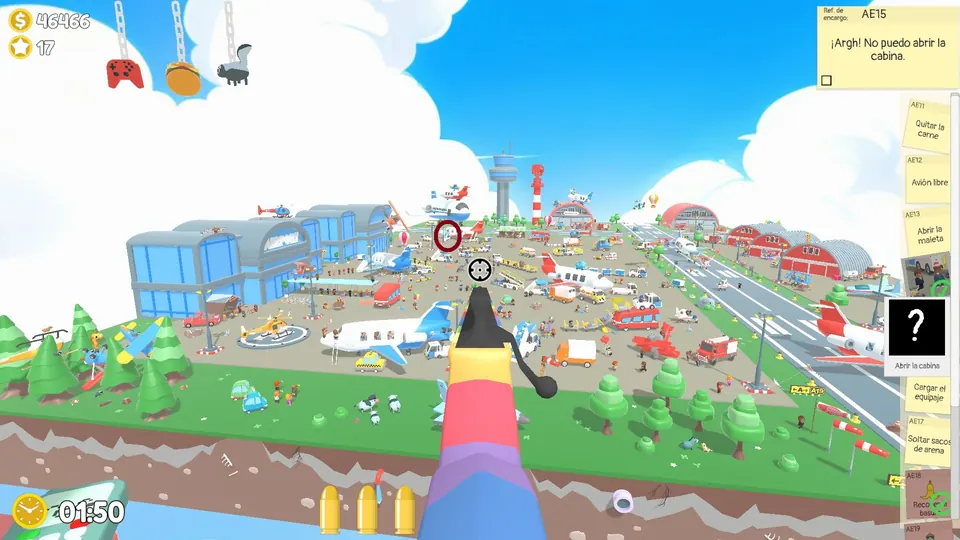
Open the suitcase (Day 1)
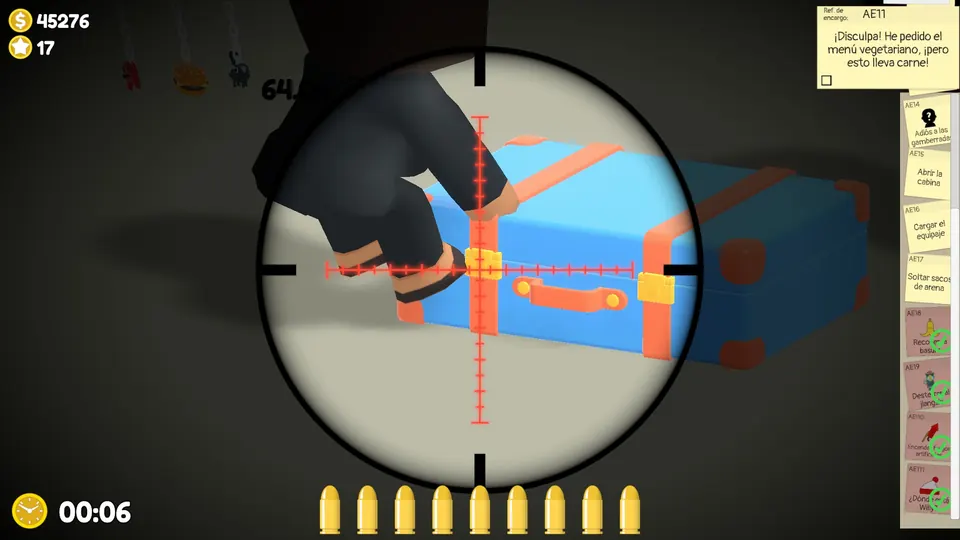
An NPC cannot open a suitcase. Shoot its two buckles. On Day 1 this suitcase NPC has three possible spots.
Free the plane
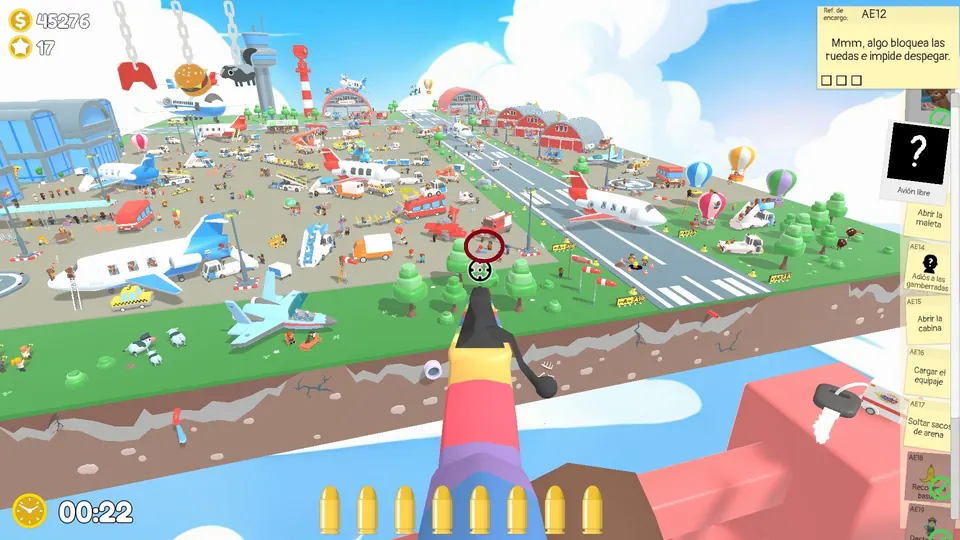
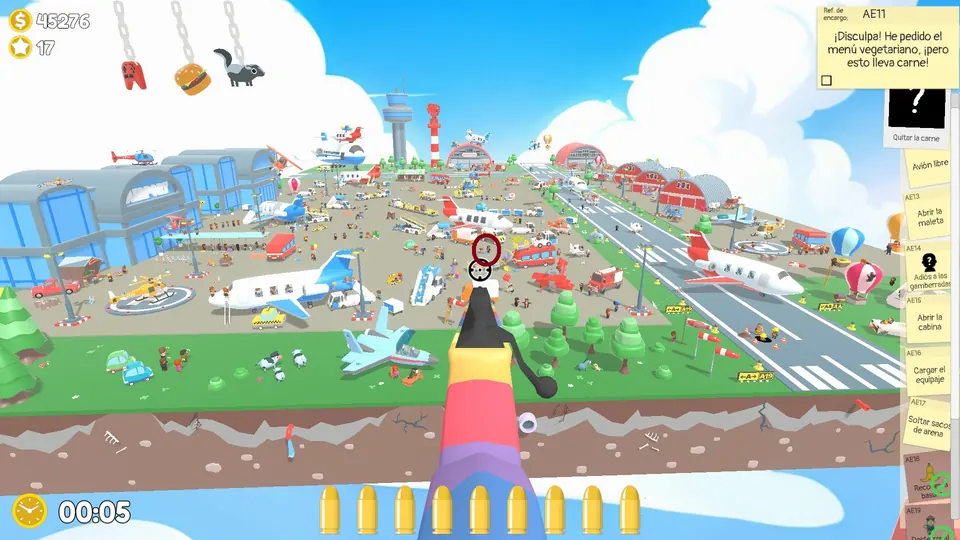
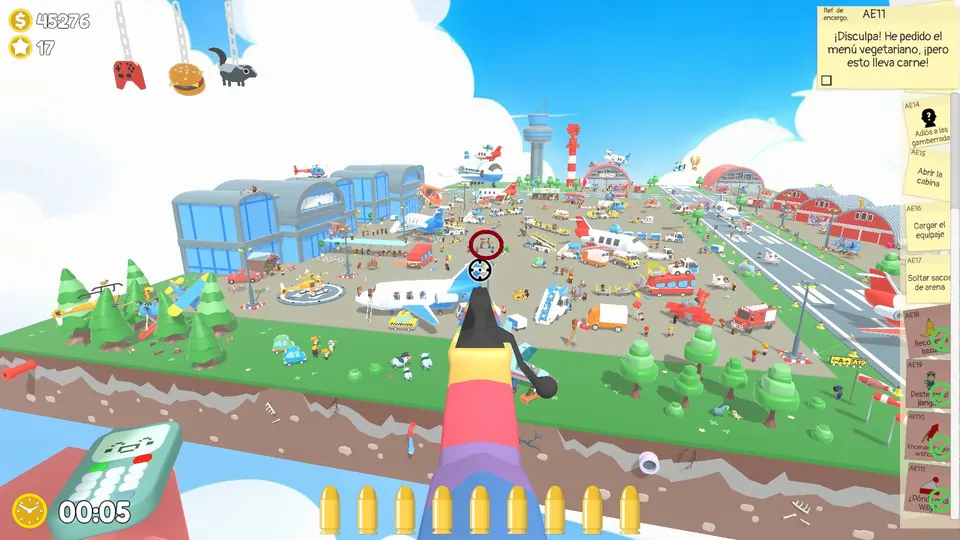
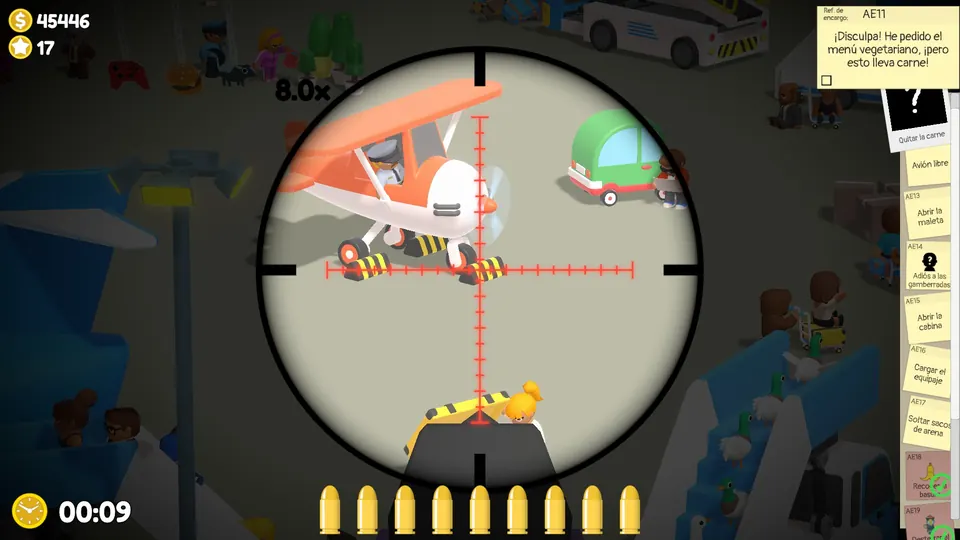
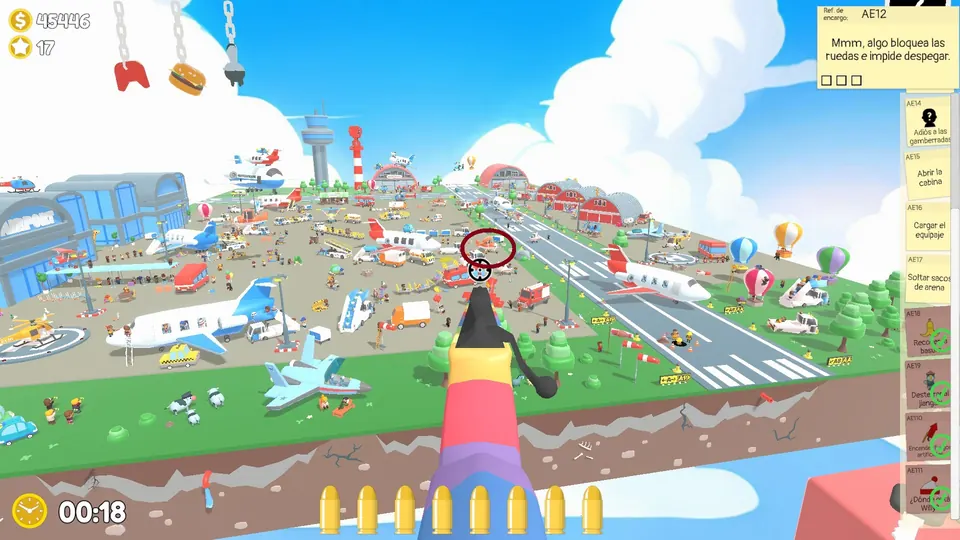
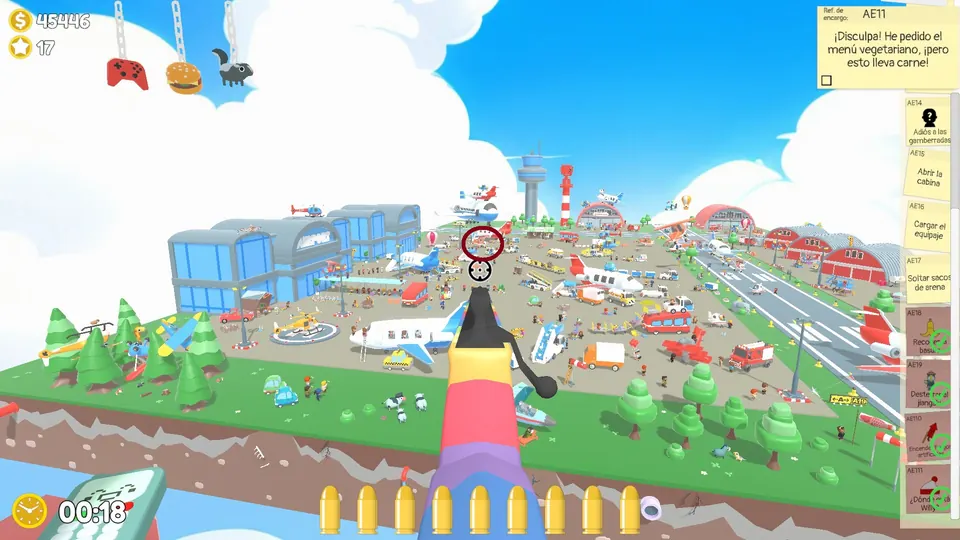
A small plane has chocks on its three wheels. Shoot all three chocks. The chocked plane has three possible spots.
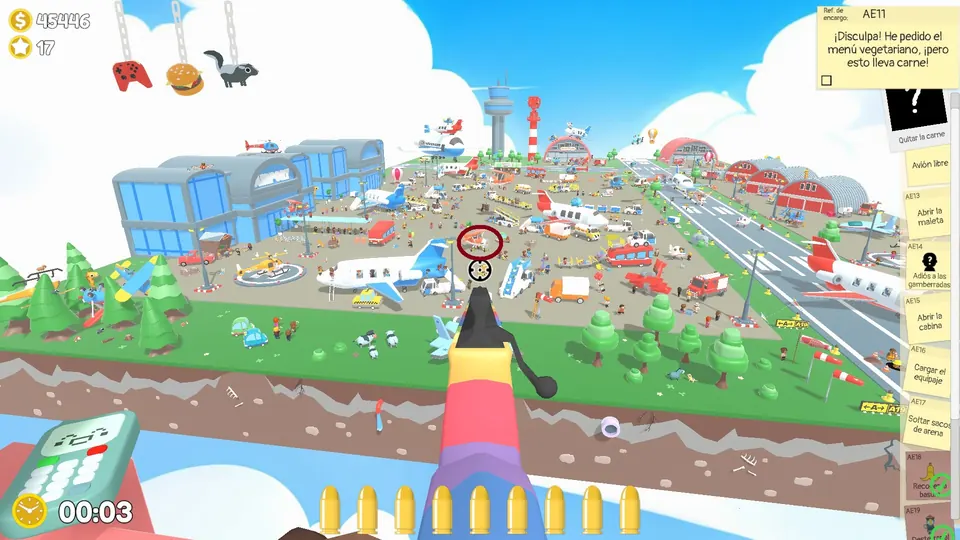
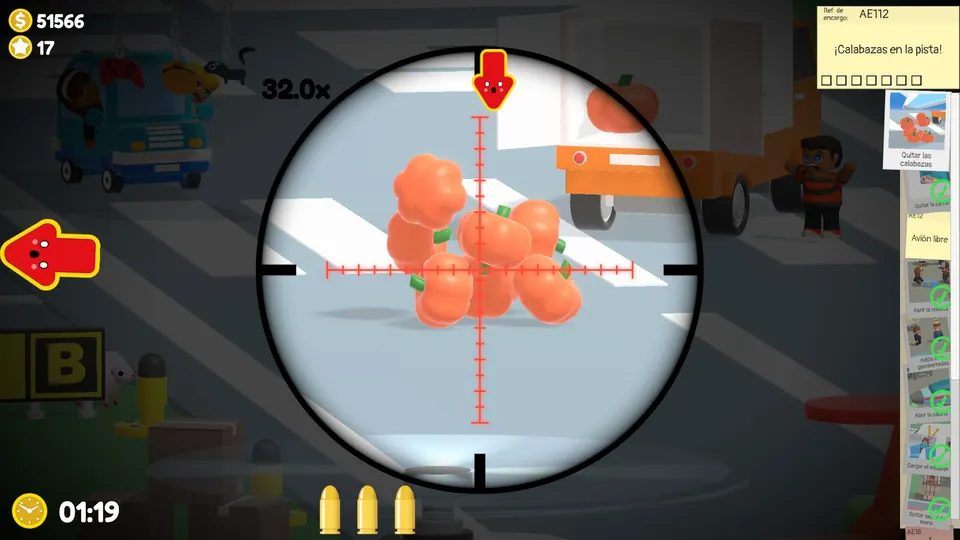
Phone objective: clear the pumpkins from the runway
After you answer the phone, pumpkins appear at the far end of the main runway. Shoot all of them before the small plane lands.
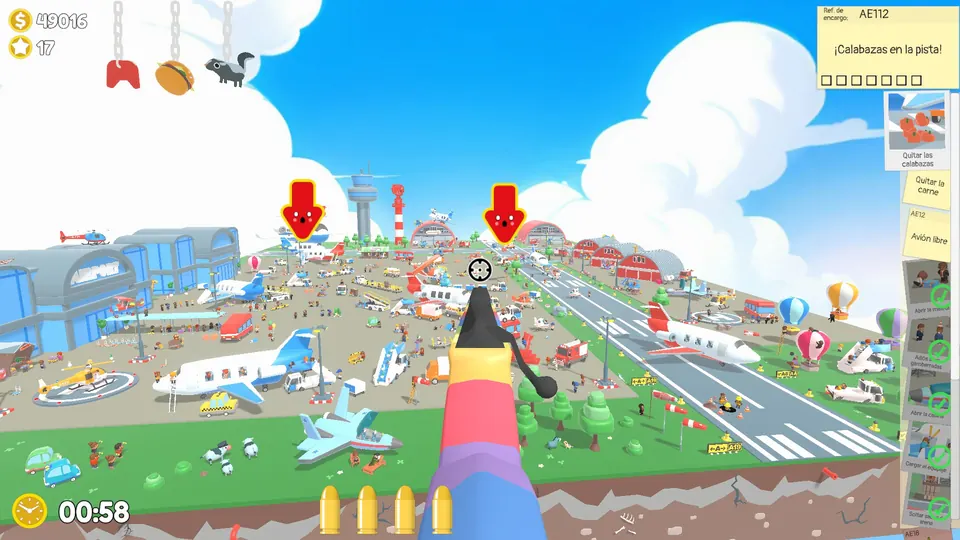
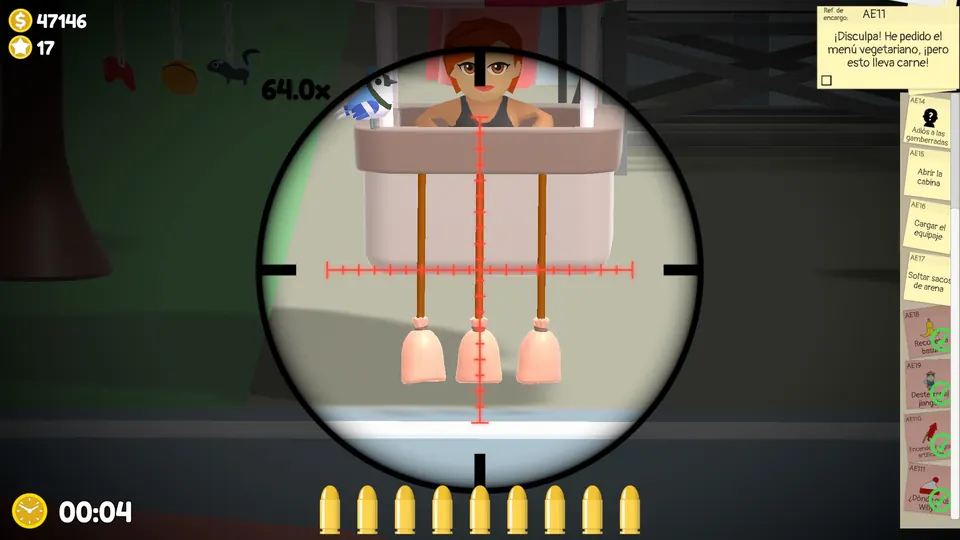
Drop the weight
Find the hot air balloon and shoot the three ropes holding its weight bags. The balloon has three possible spots.
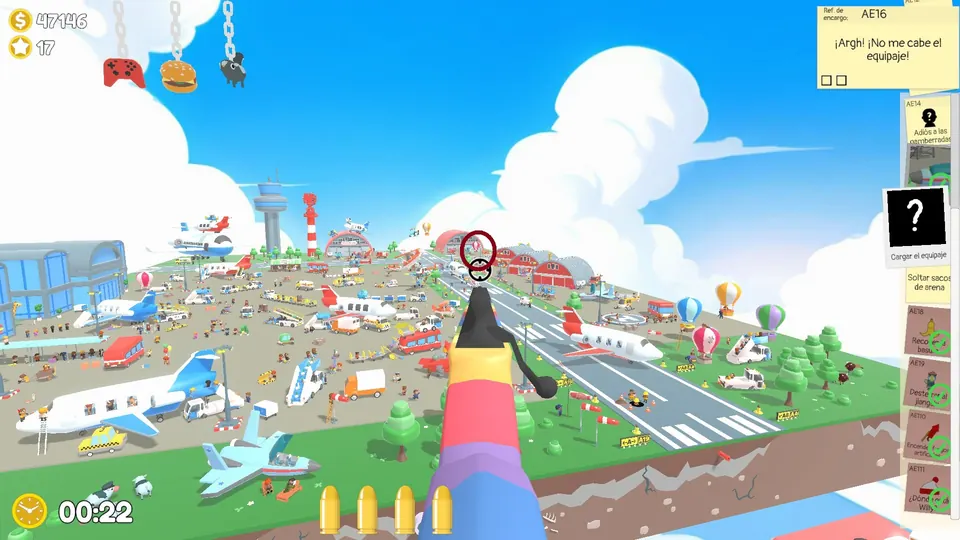
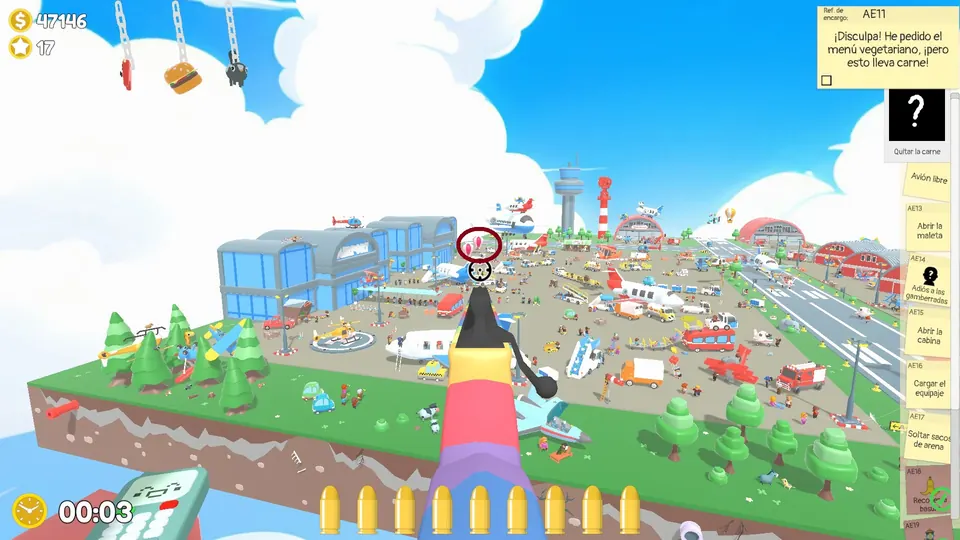
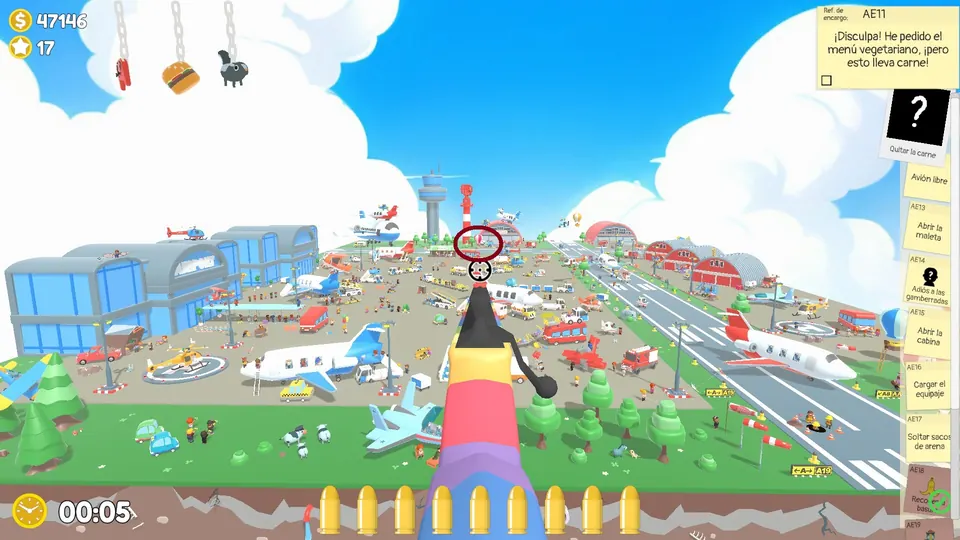
Aces Airport Day 2
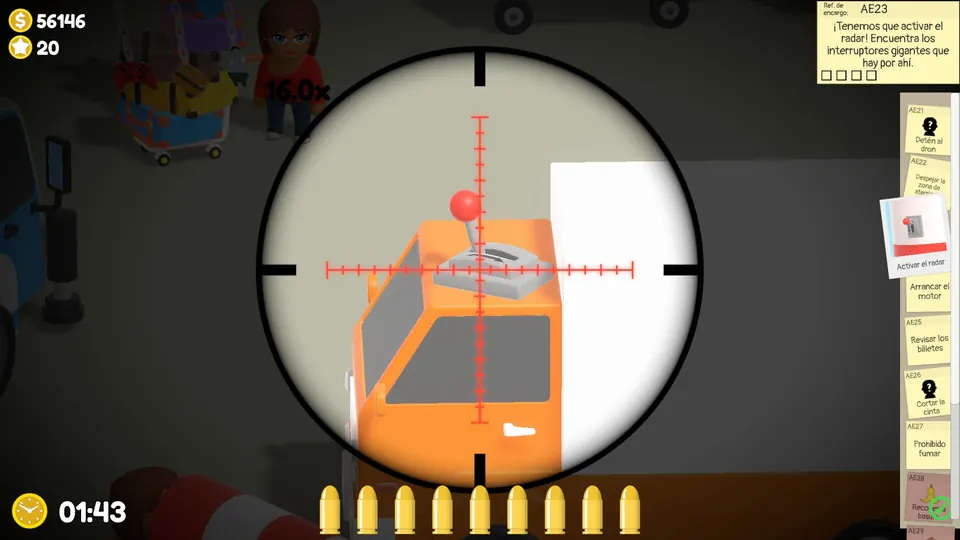
Switch on the antenna
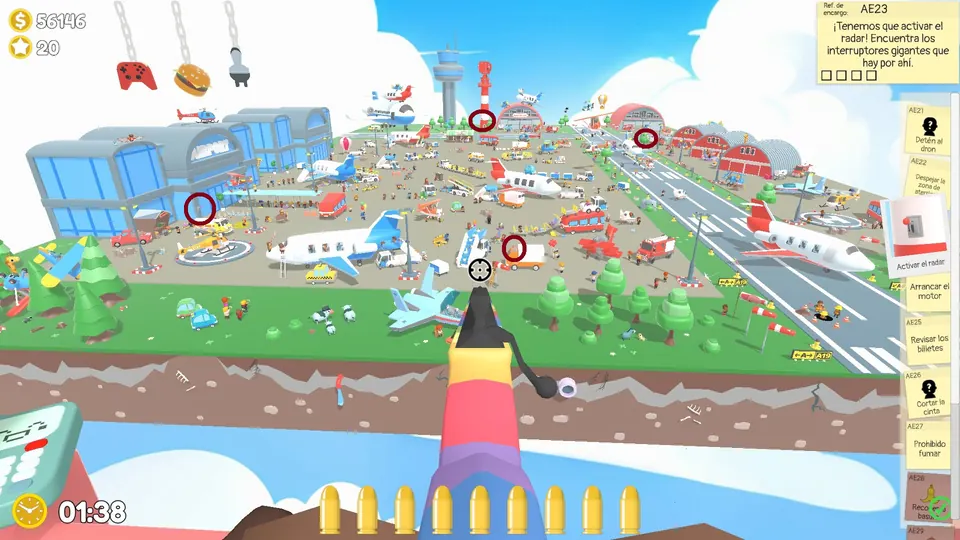
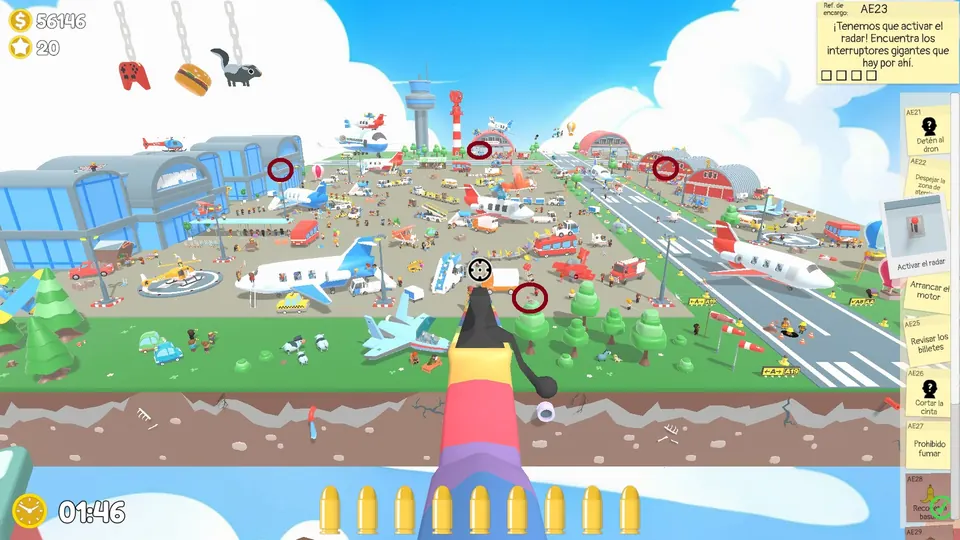
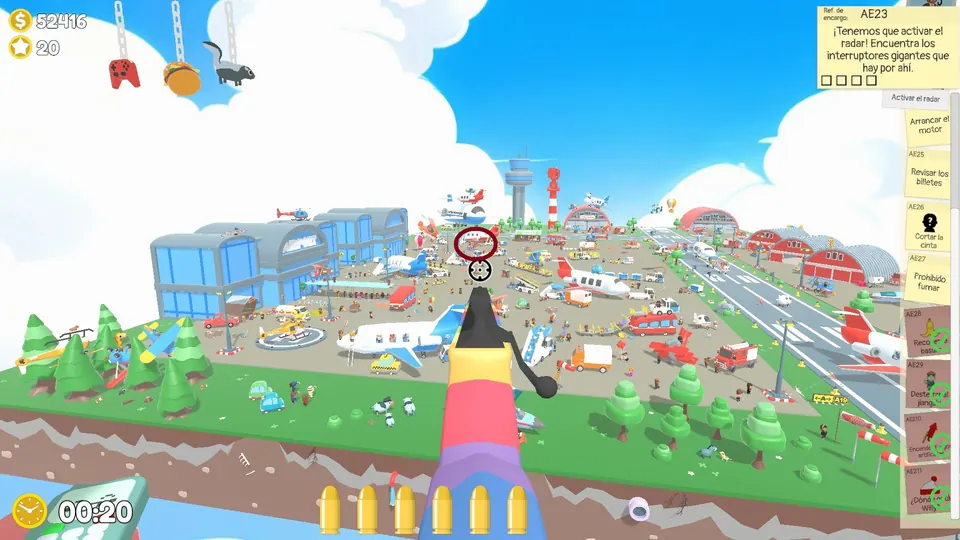
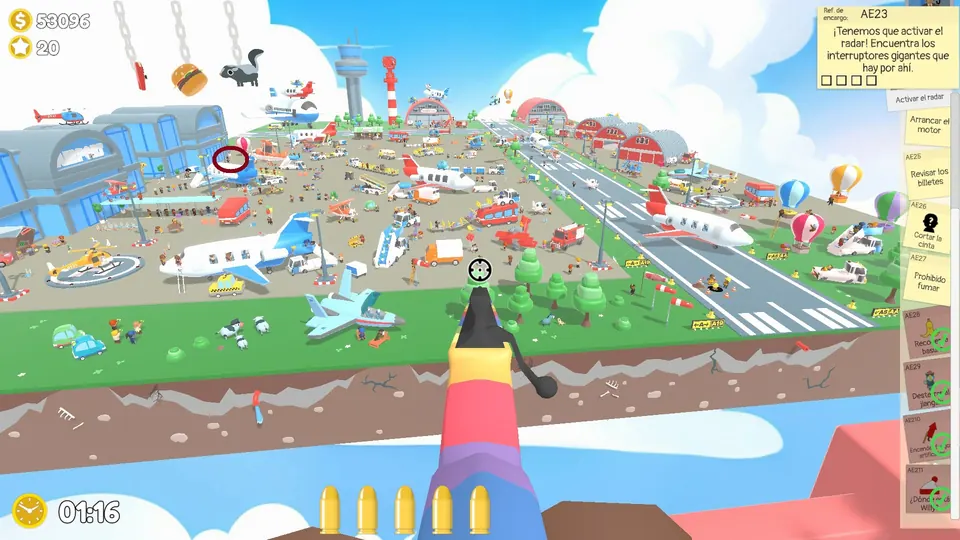
Find the antenna’s four switches and shoot them. The switches come in three possible layouts.
Put out the cigarette
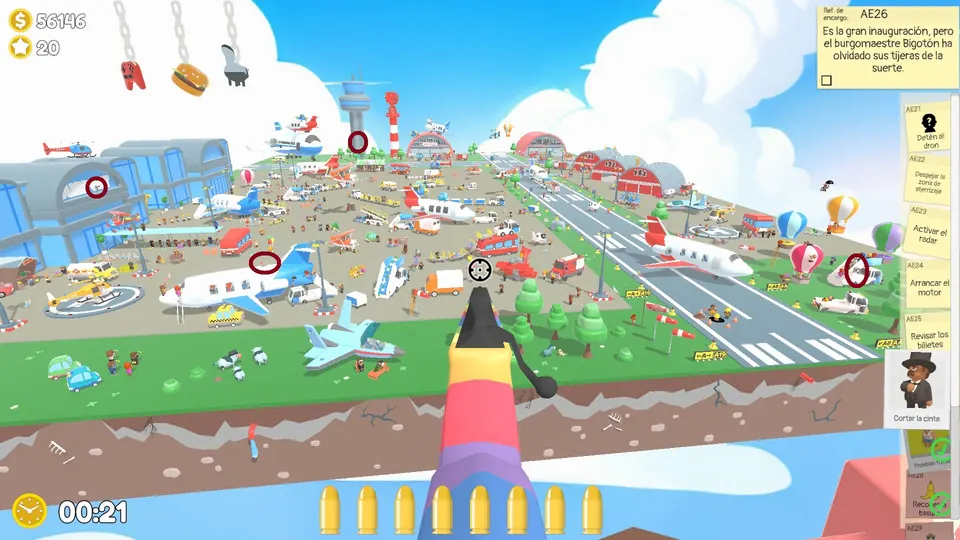
An NPC is smoking in a puddle of fuel. Shoot the cigarette. The smoker has three possible spots.
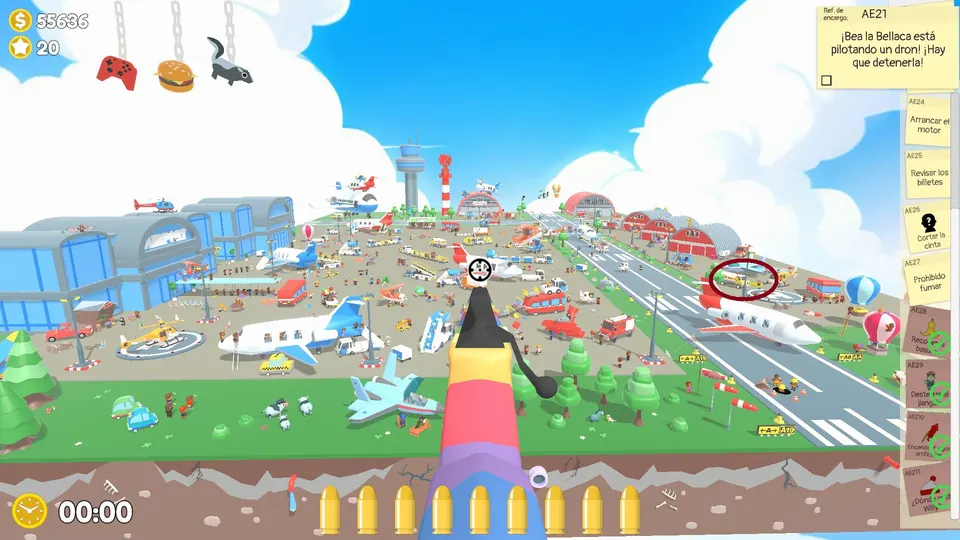
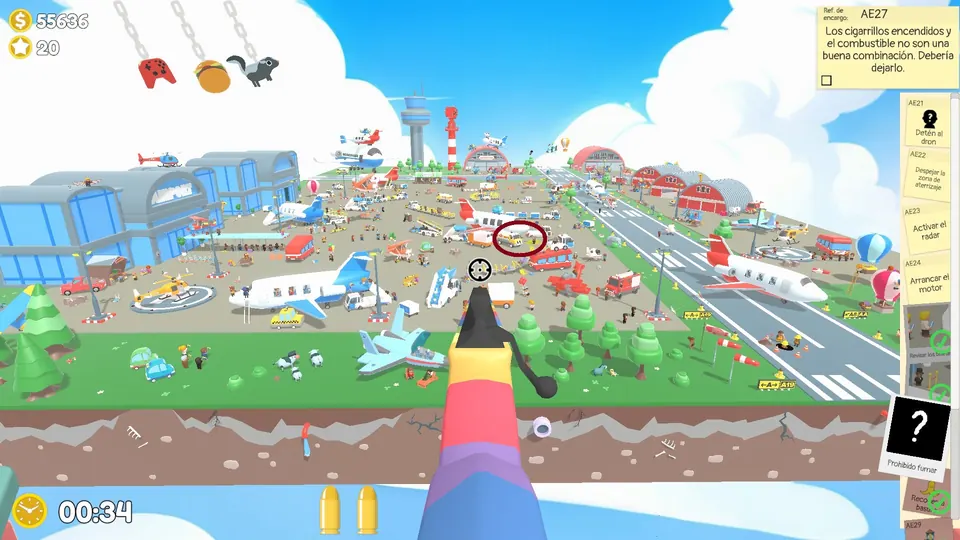
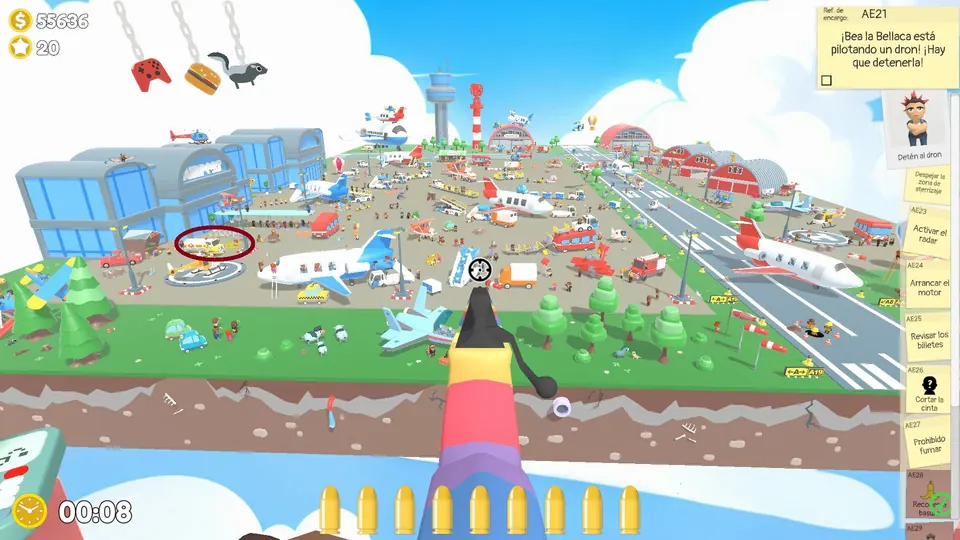
Destroy the drone
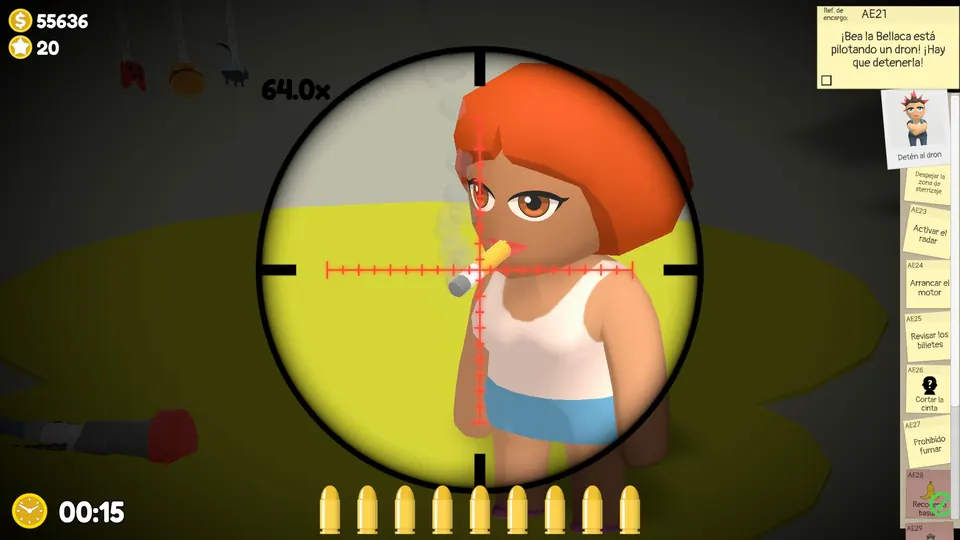
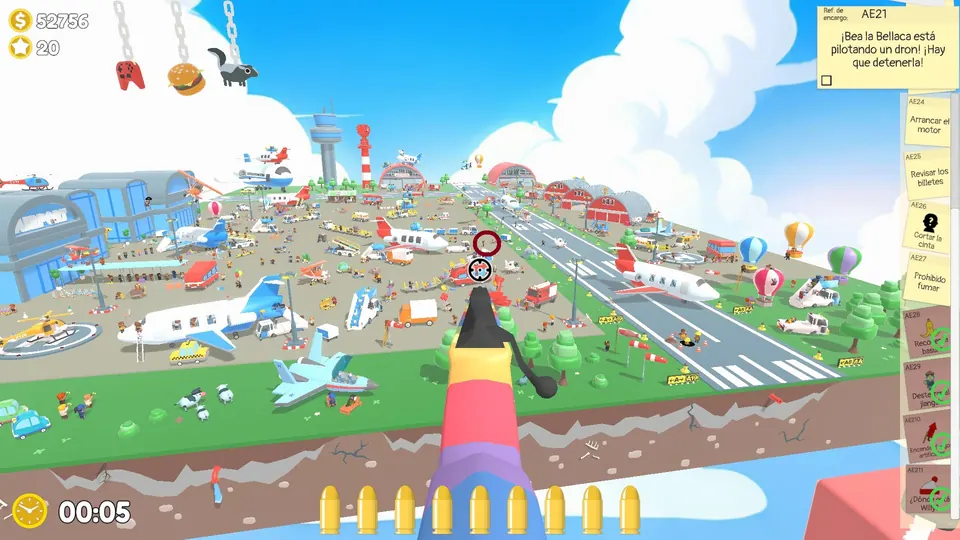
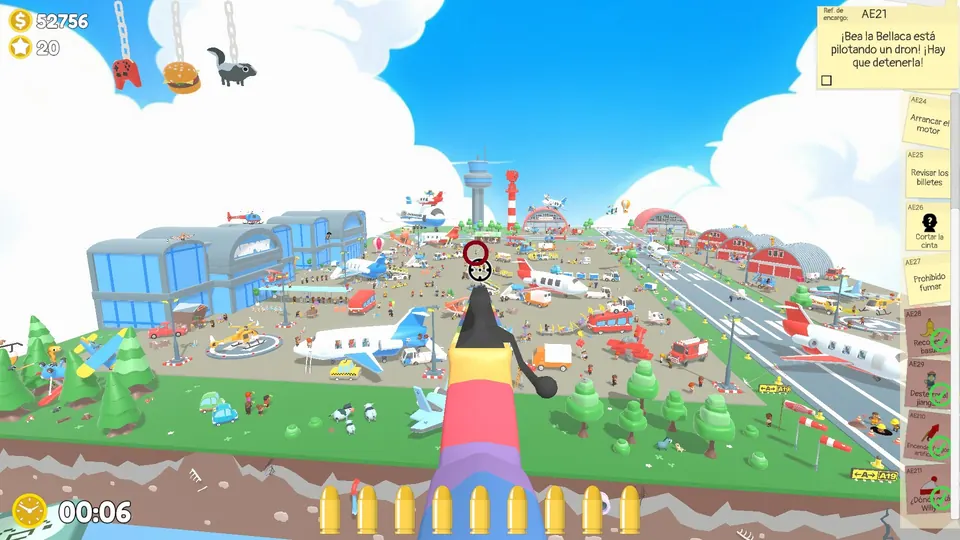
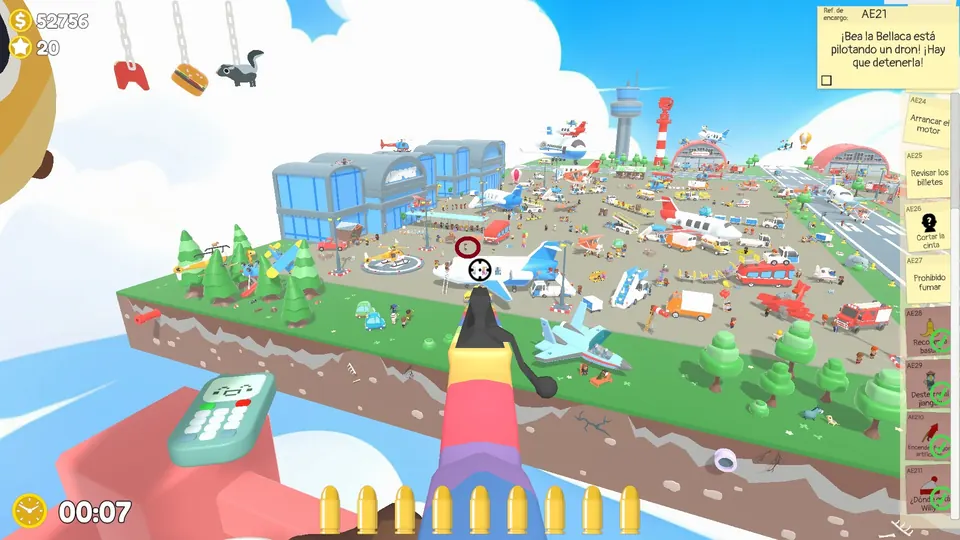
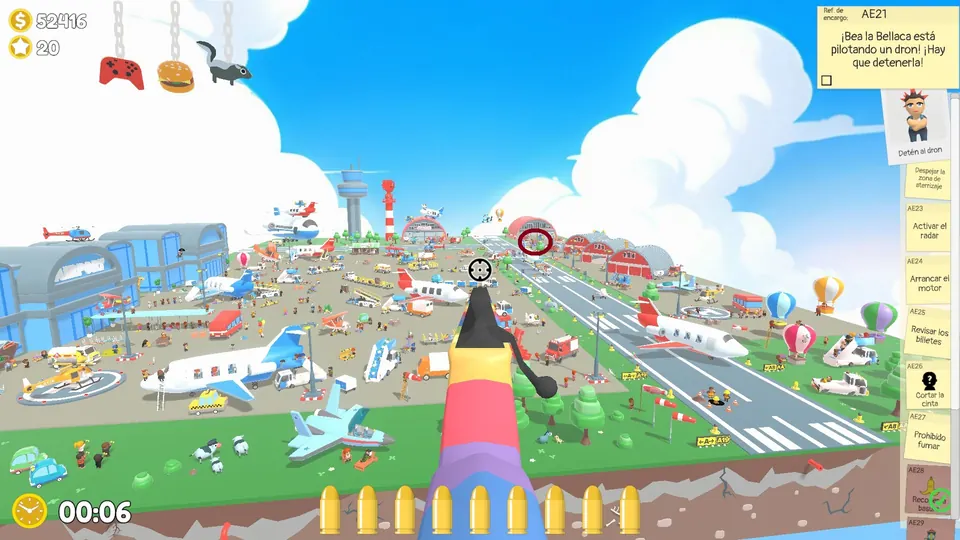
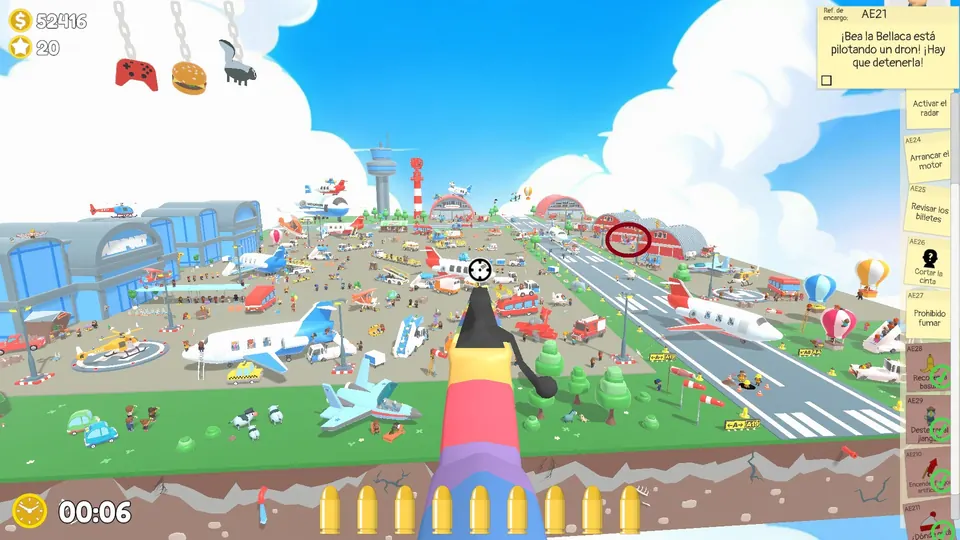
An NPC is flying a drone. Shoot the drone controller. The drone pilot has three possible spots.
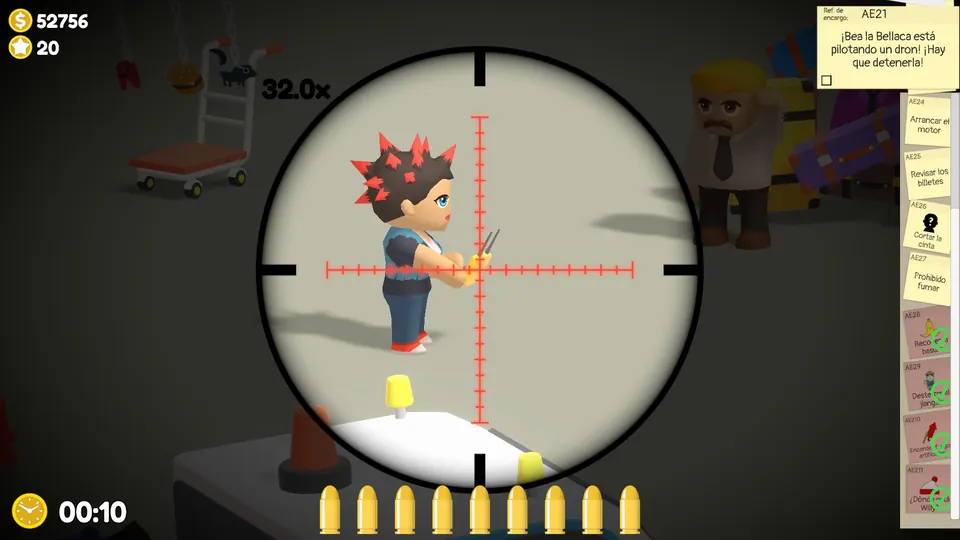
Start the plane
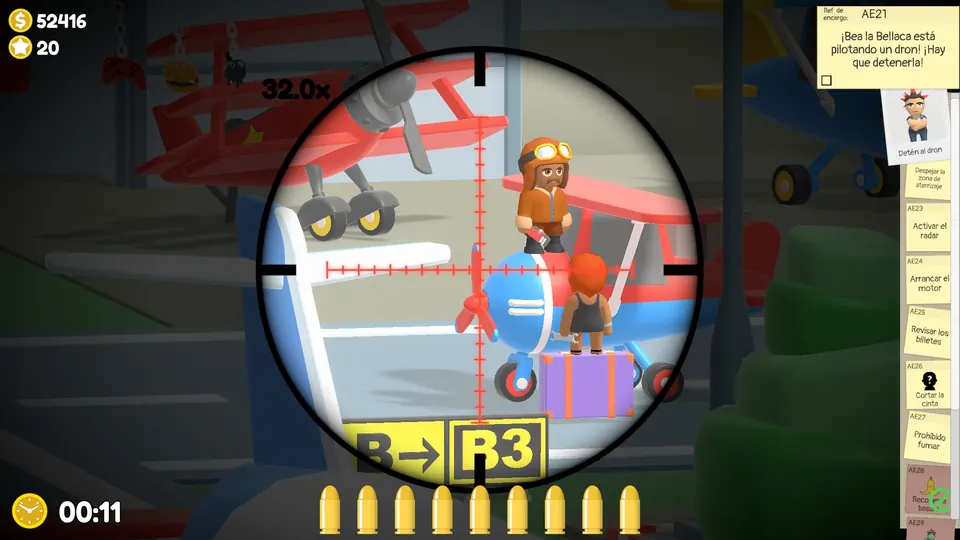
An NPC holding a spanner is standing on a small plane. Shoot the propeller to get it started. The propeller plane has three possible spots.
Cut the ribbon
The NPC with a ribbon in front of them is always on the right side of the airport. Shoot the ribbon to cut it.
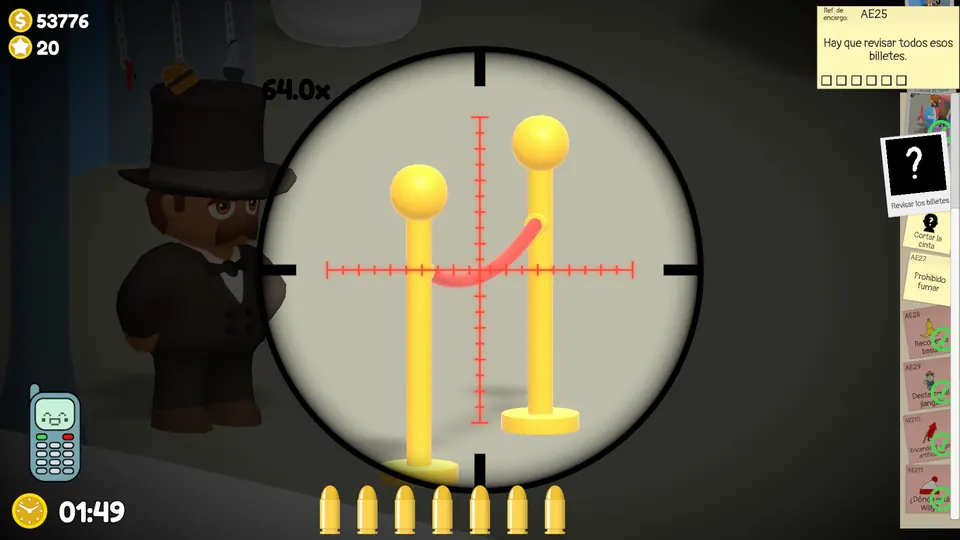
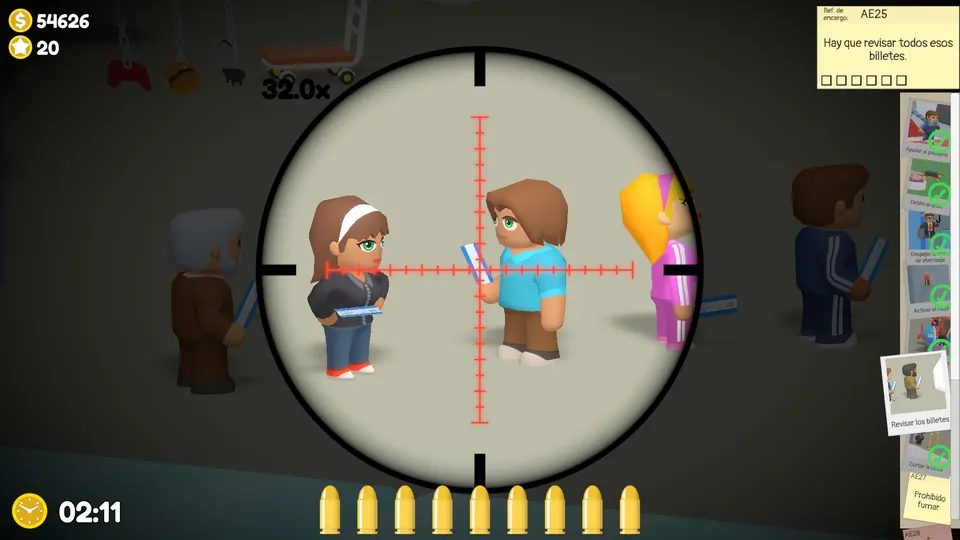
Take the tickets
A queue of NPCs holding boarding passes is always in the same place. Shoot each ticket so they can board.
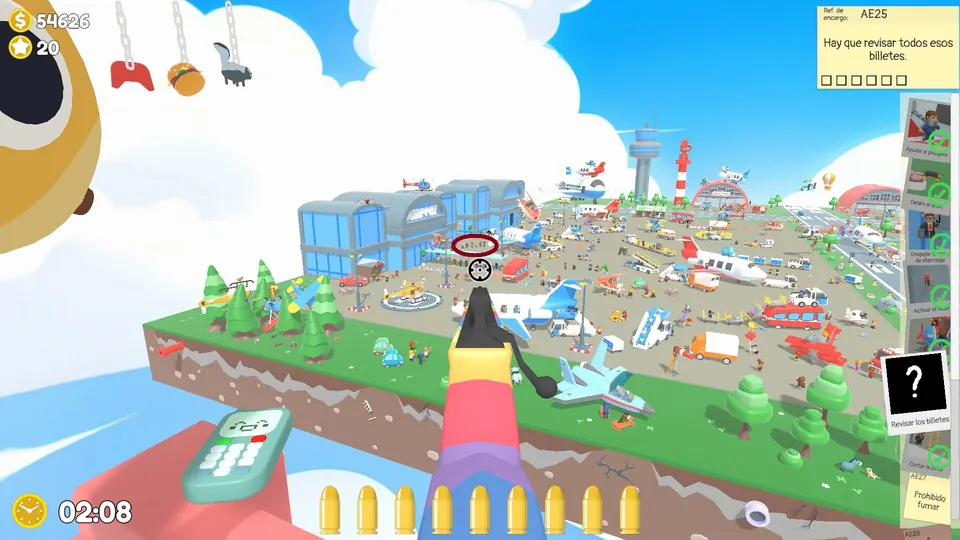
Phone objective: shoot the scarf
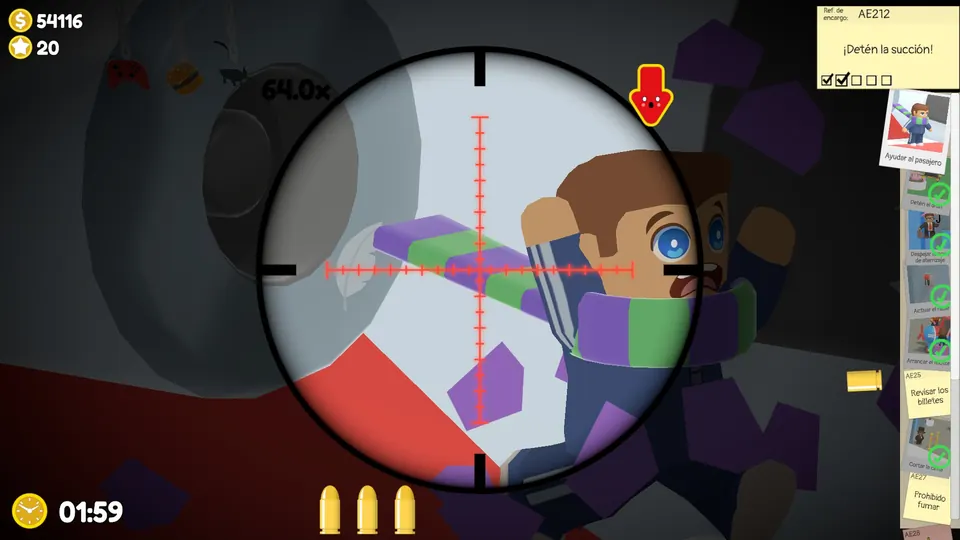
After you answer the phone, an NPC wearing a scarf appears on a plane’s wing. Shoot the scarf five times before the engine sucks them in.
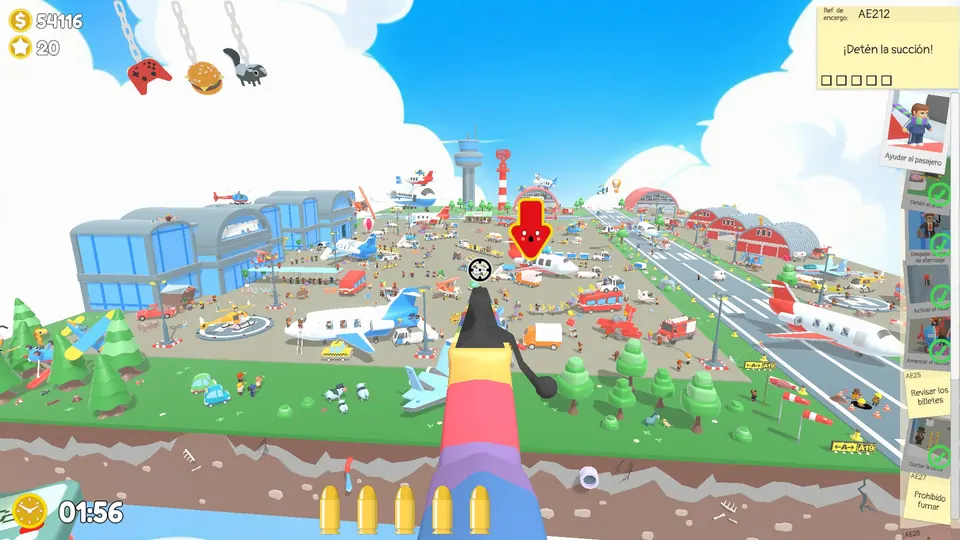
Clear the cacti for the umbrella NPC
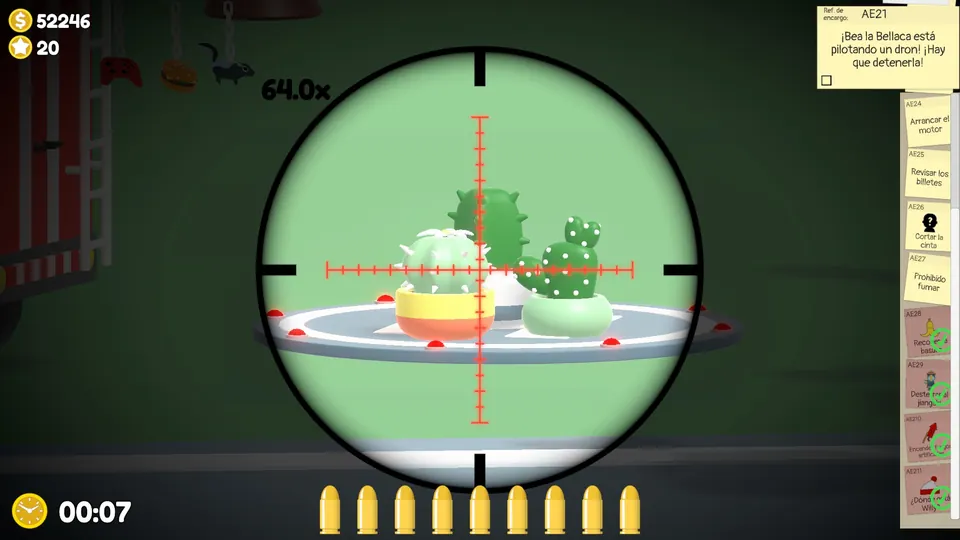
An NPC with an umbrella is floating down but cannot land. Shoot the three cacti below them. The umbrella NPC has three possible landing spots.
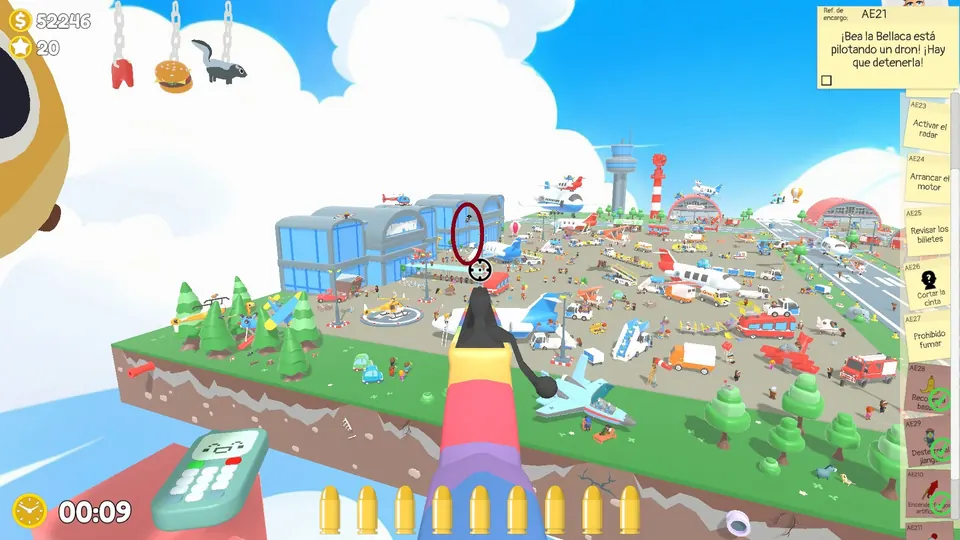
Aces Airport Day 3
Find the mechanic
Follow the trail from the oil stain to the mechanic. They are always in the hangar on the right; shoot its door.
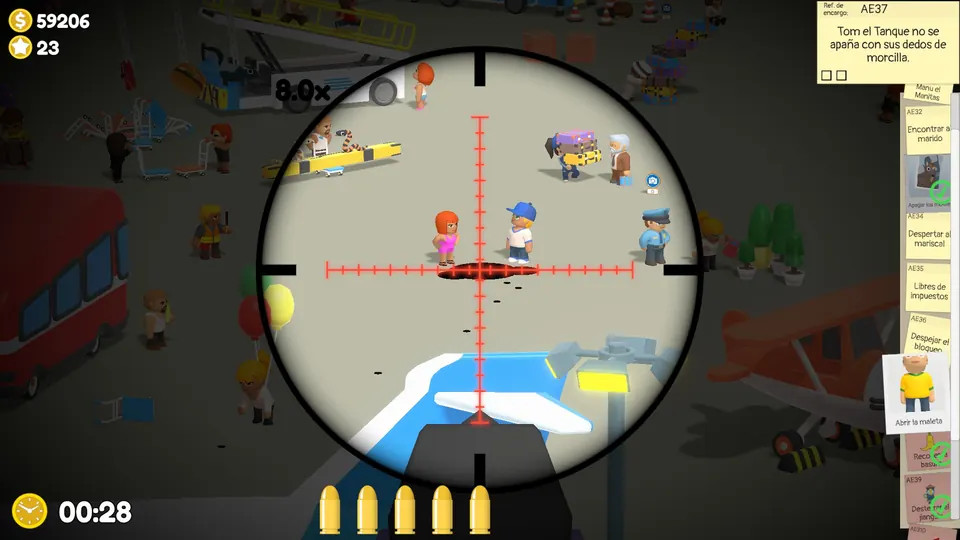
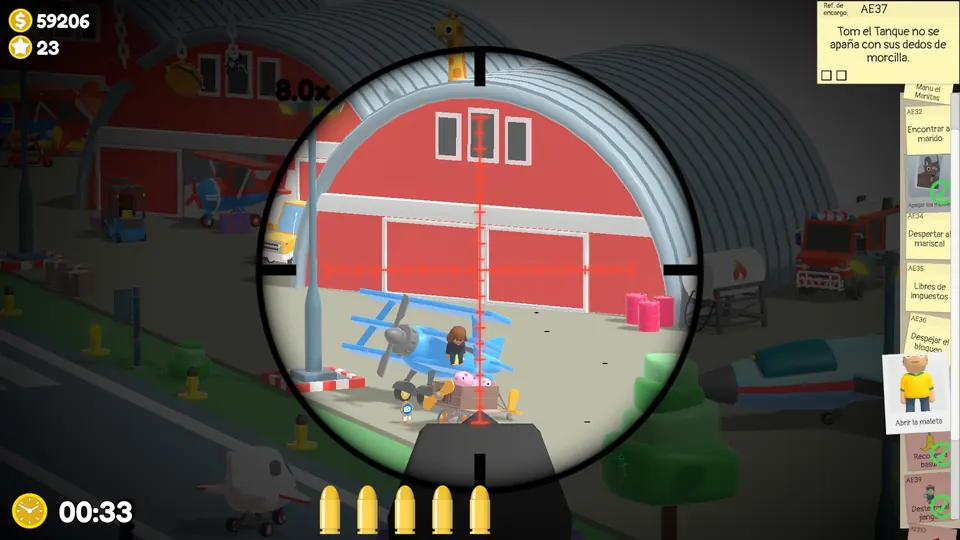
Destroy the shopping
An NPC is carrying five items. Shoot all five. The shopper has three possible spots.
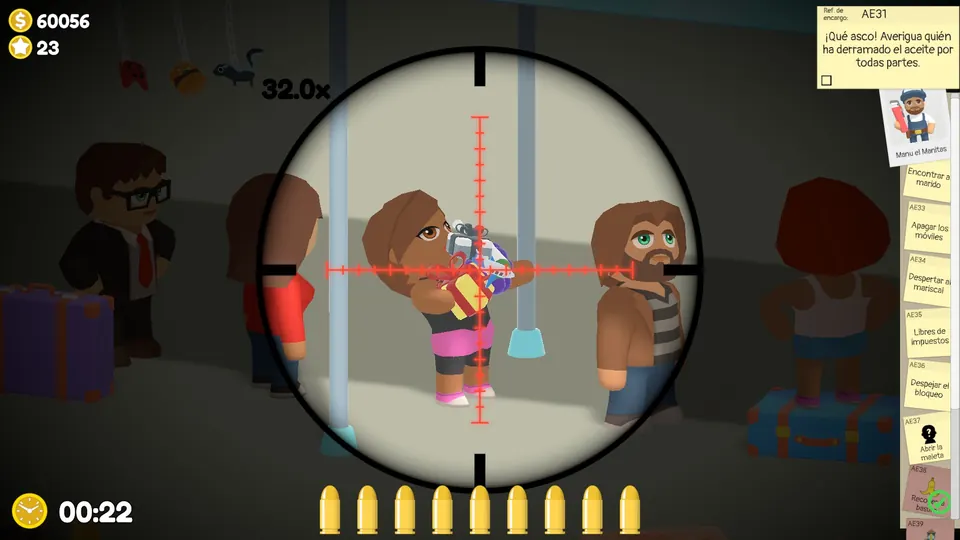
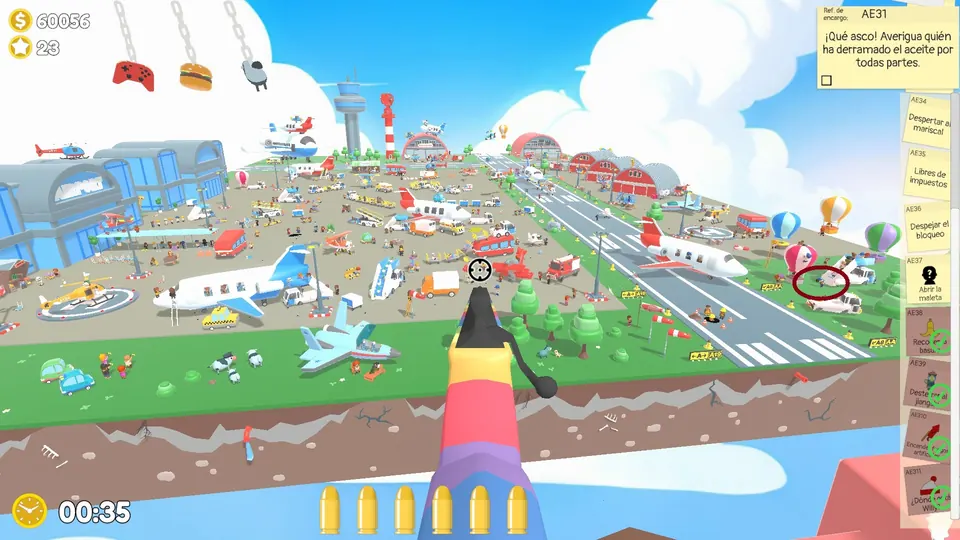
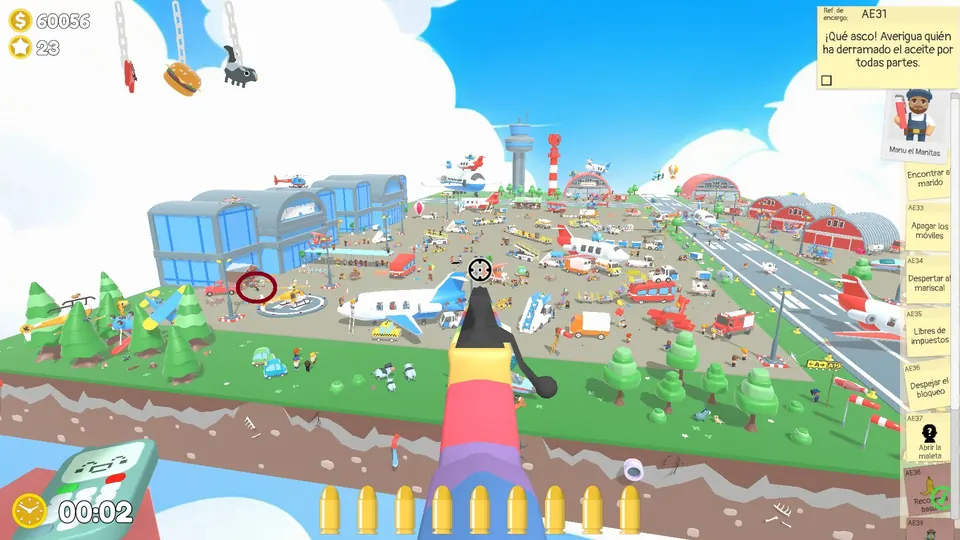
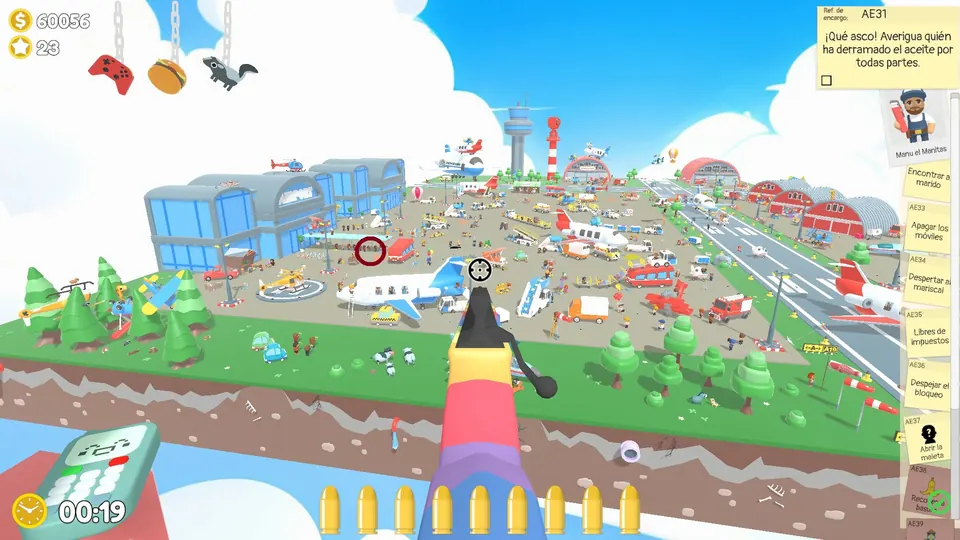
Find the NPC hiding in the luggage cart
An NPC is hiding in a luggage cart. Shoot the cart doors to get them out. The luggage cart has three possible spots.
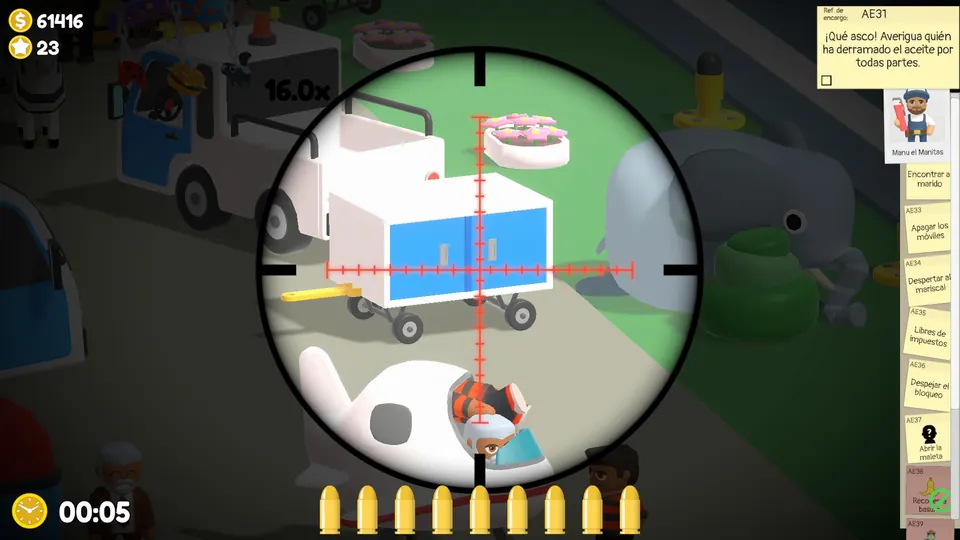
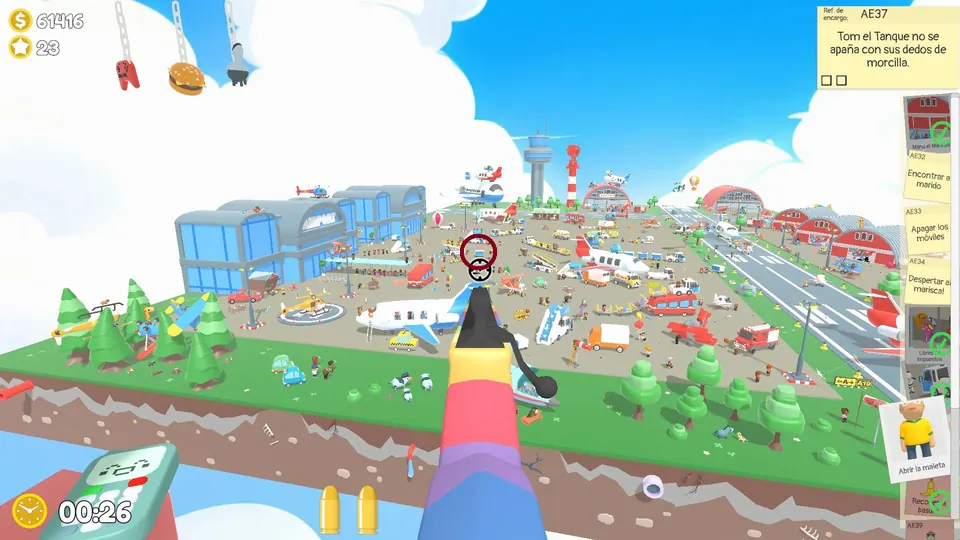
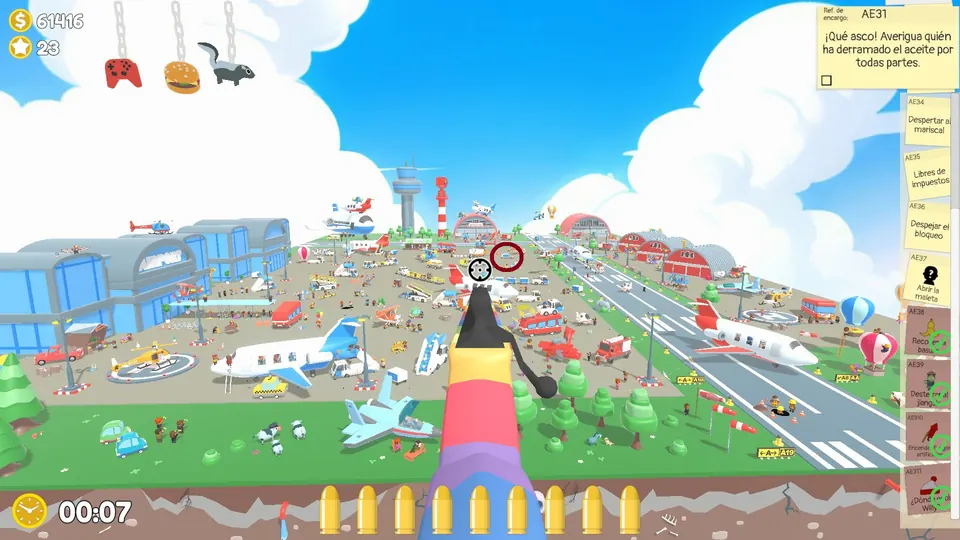
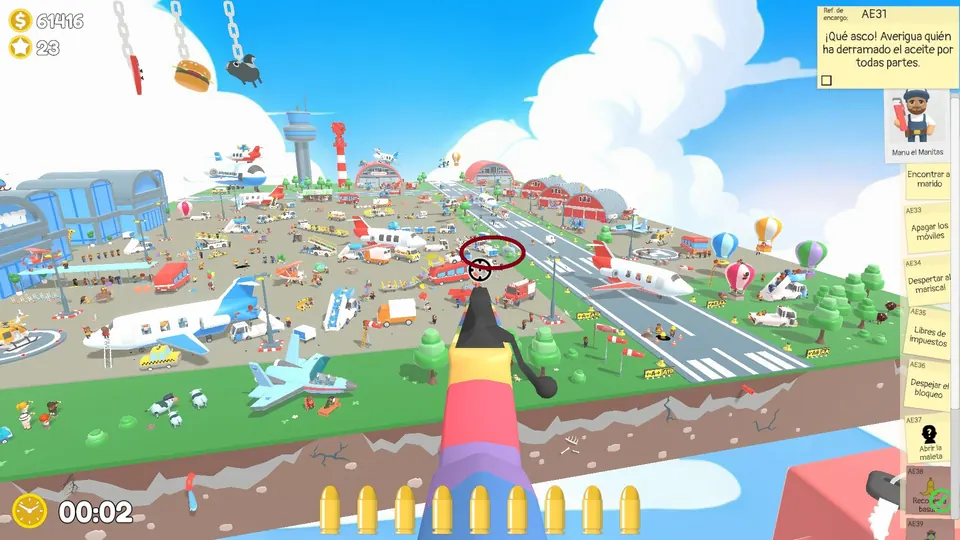
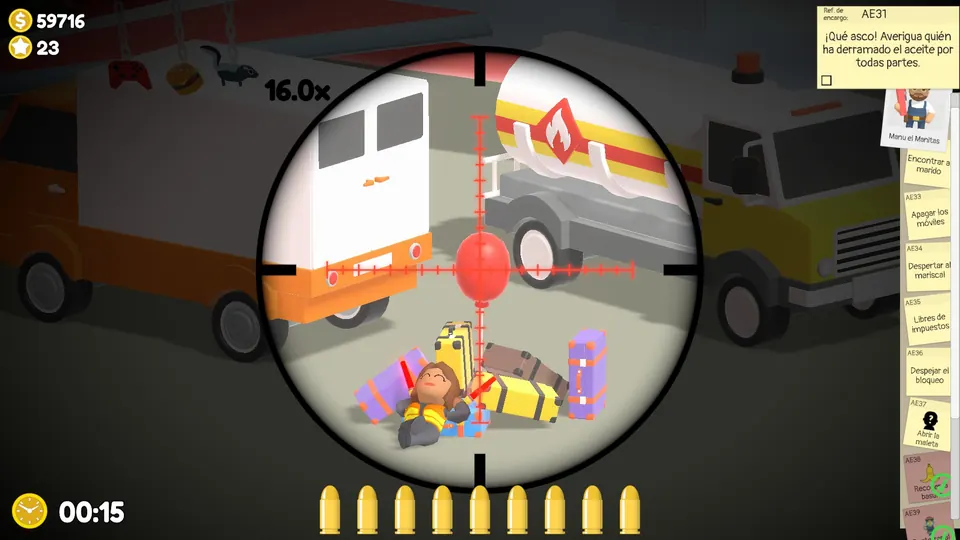
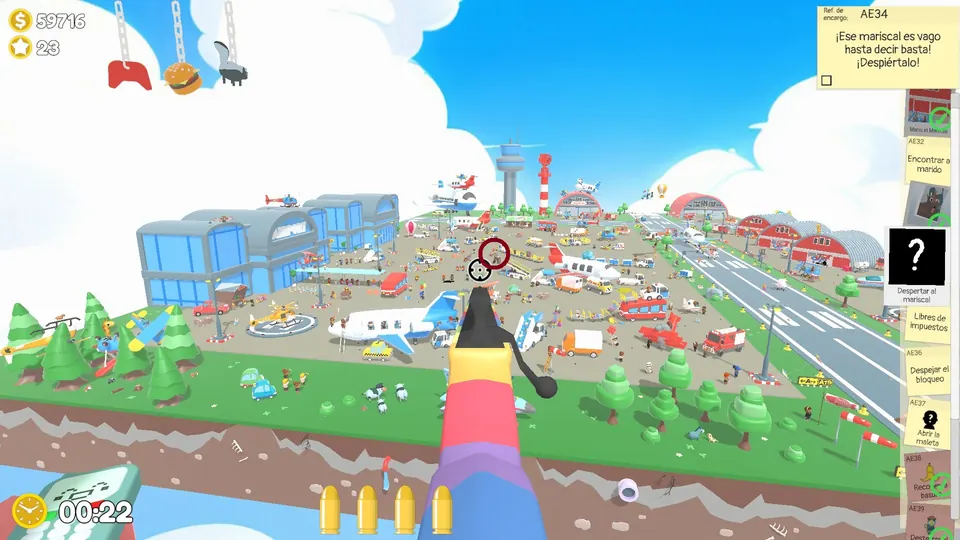
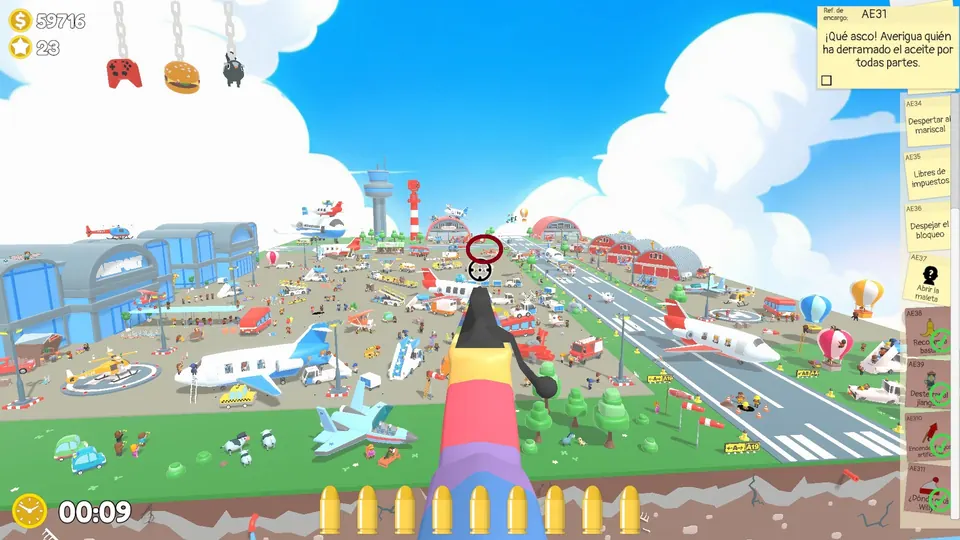
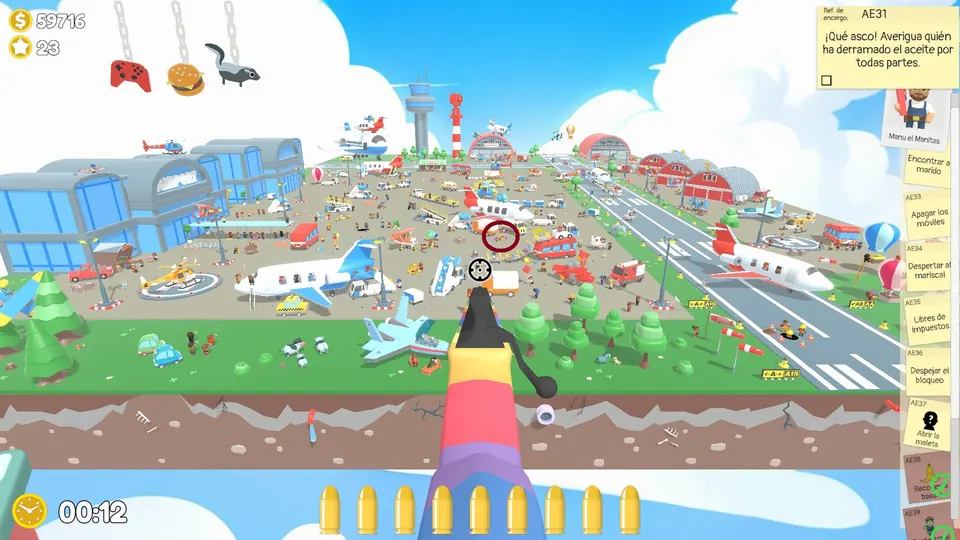
Wake the marshal
The marshal is the ground crew member with two light wands for guiding planes. Shoot the balloon above them to wake them up. The sleeping marshal has three possible spots.
Switch off the phones
A plane has passengers using phones in the windows. It is always in the same place. Shoot every phone so the plane can take off.
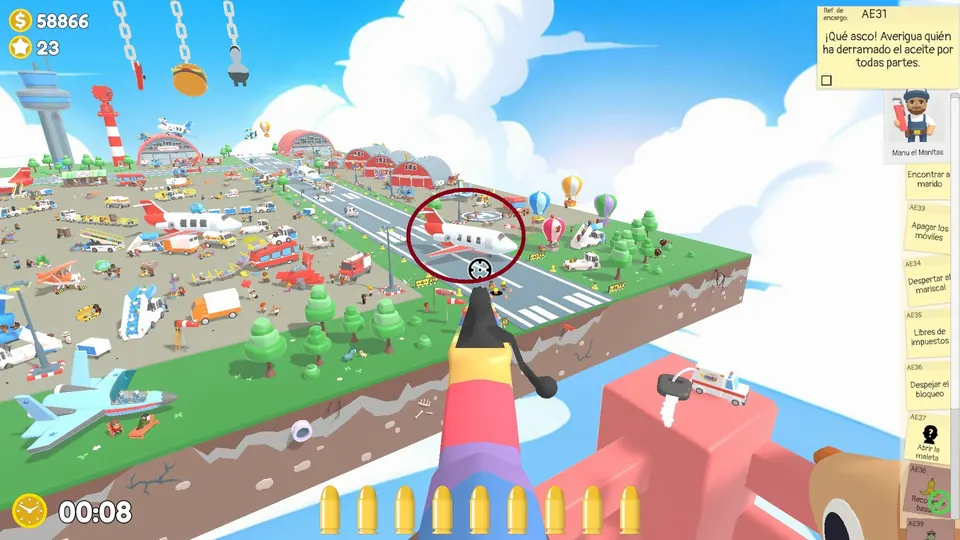
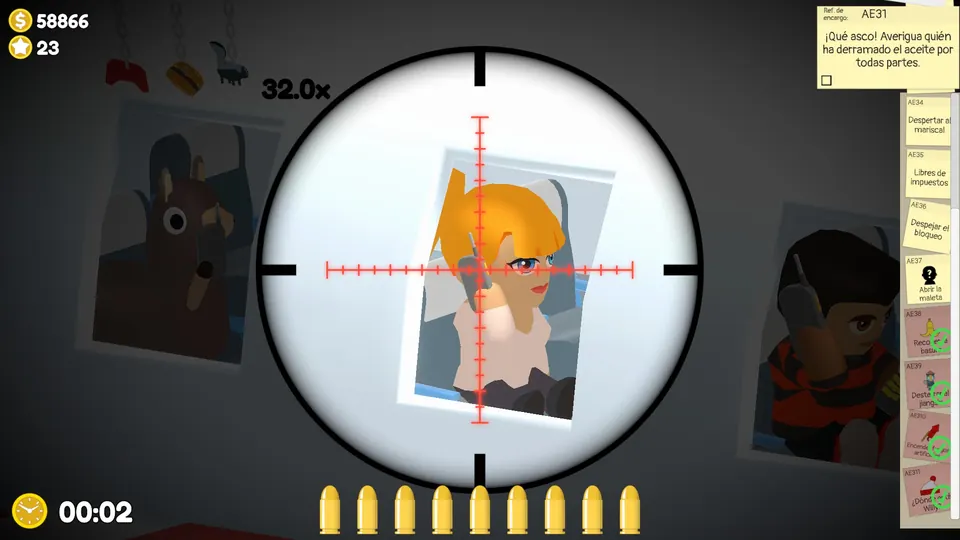
Open the suitcase (Day 3)
On Day 3 another NPC is stuck with a suitcase. Shoot both buckles again; this suitcase has three possible spots of its own.
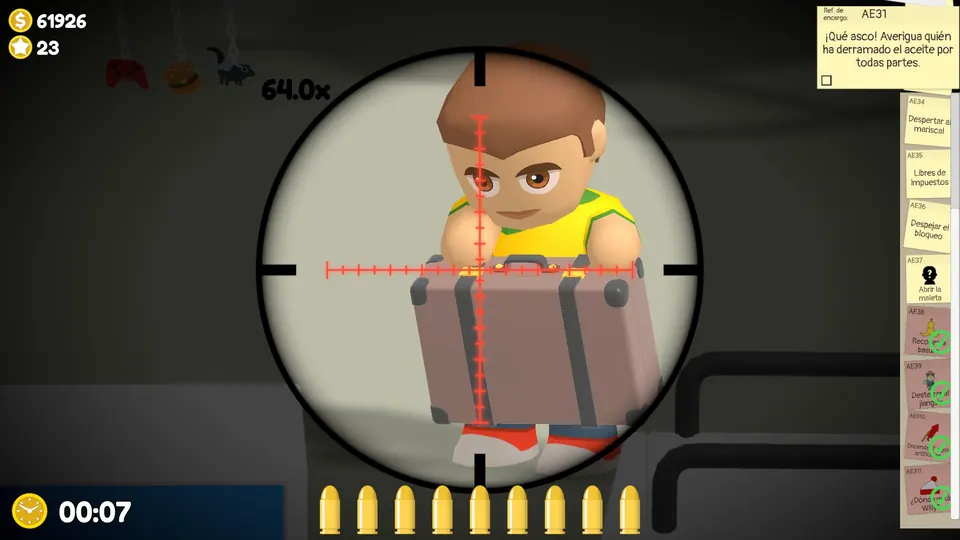
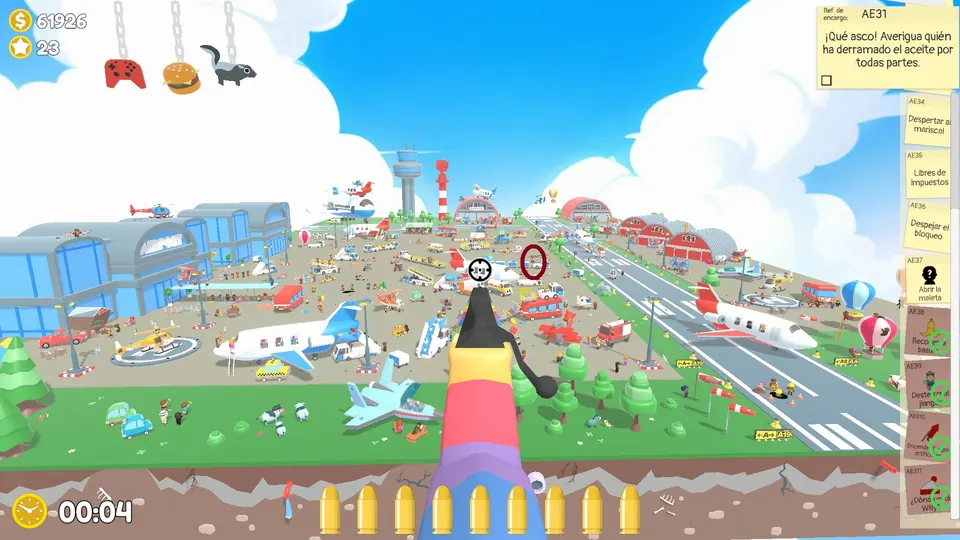
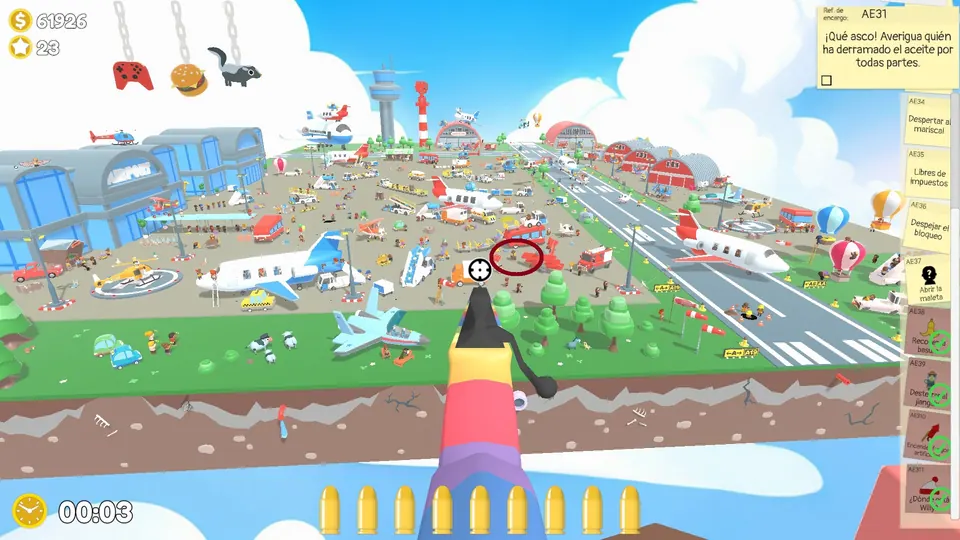
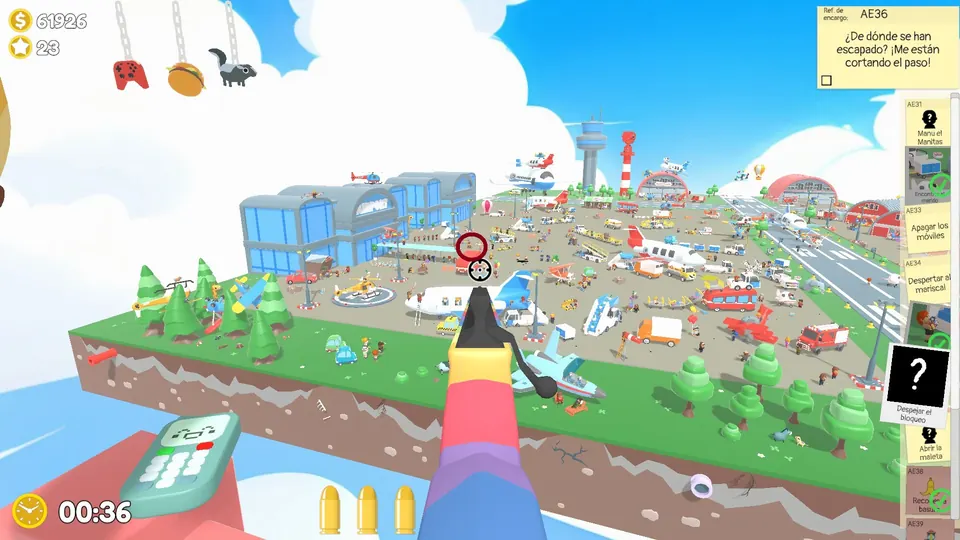
Move the zebras
Four zebras are blocking a vehicle. Shoot the vehicle’s horn to scare them off the road. The zebra vehicle has three possible spots.
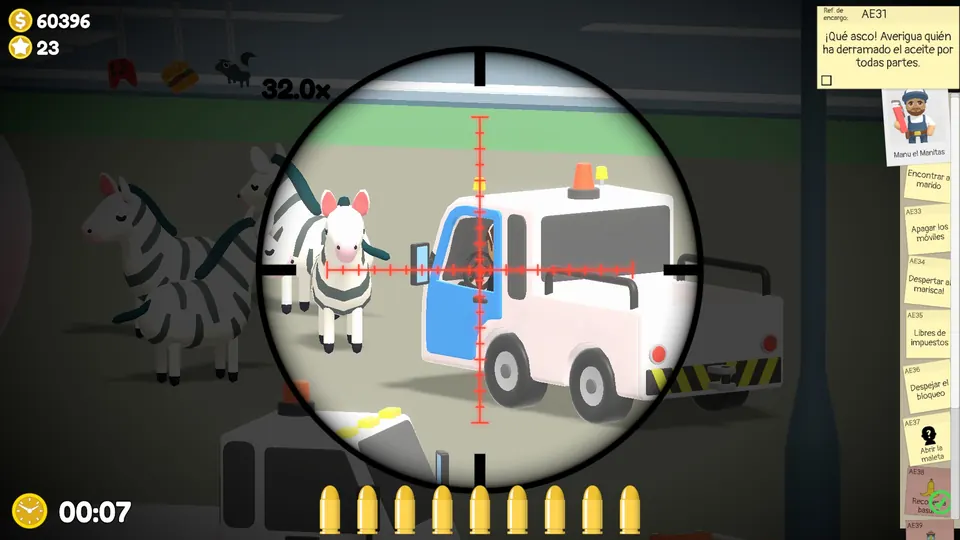
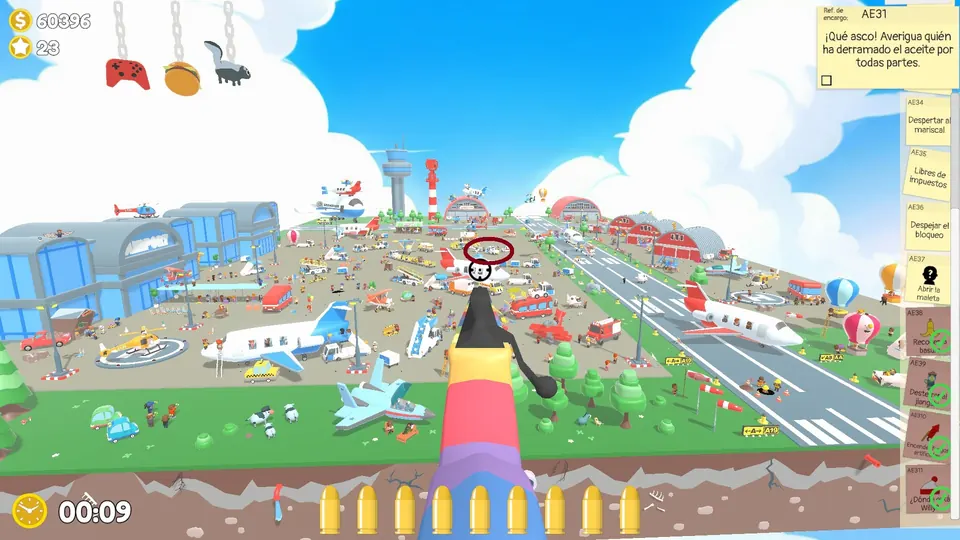
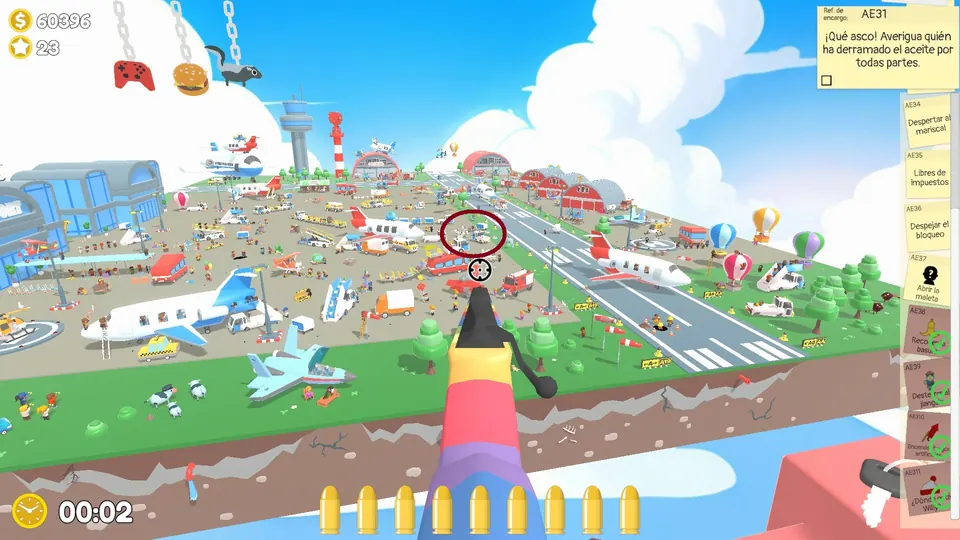
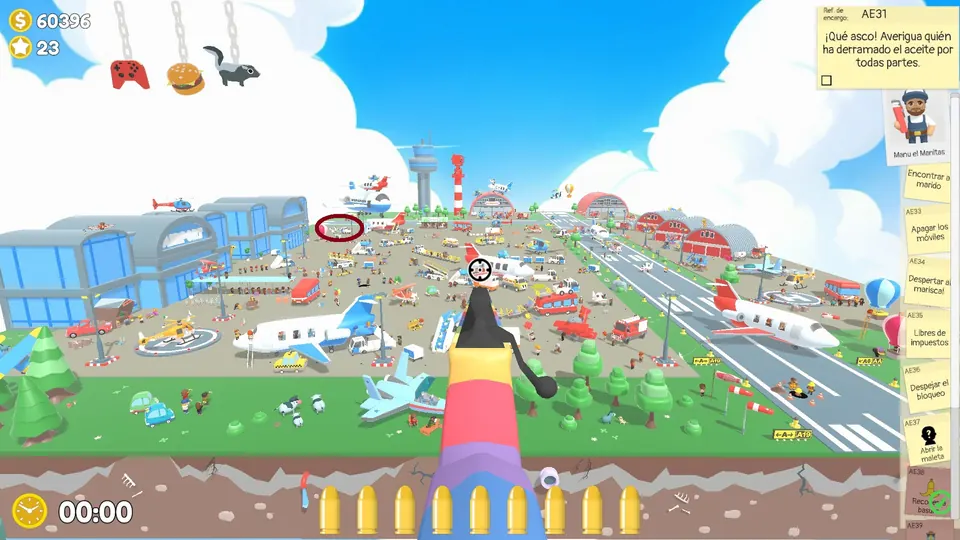
Aces Airport boss objective
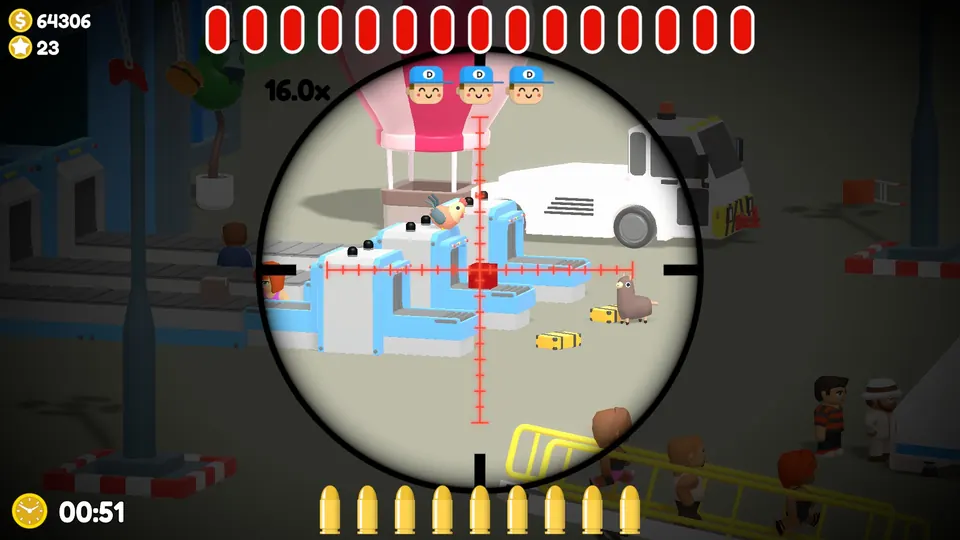
Shoot the suitcases carrying contraband. Wait at the end of the belts and only shoot a case once it has turned red. Do not fire at anything at the start of the belt. This boss starts when you complete Day 3.
Photos on every map
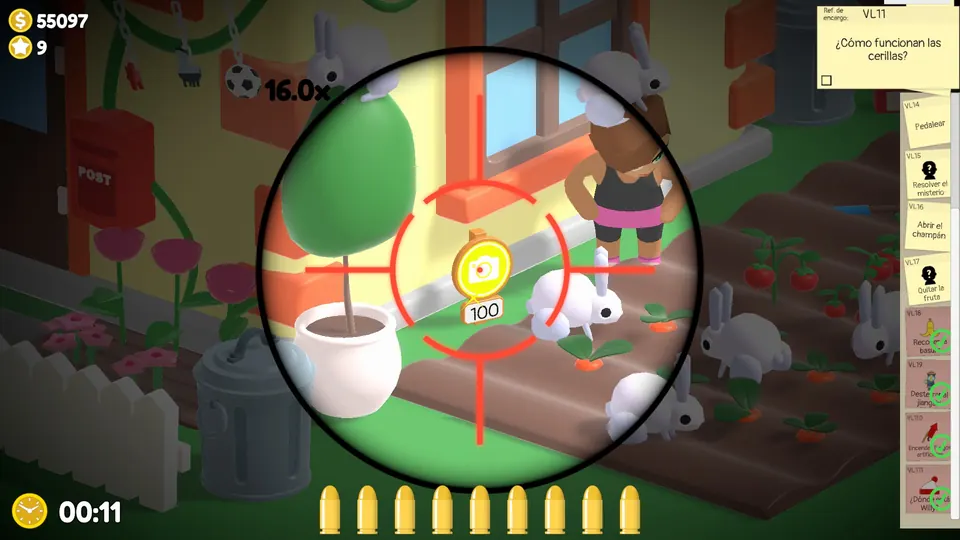
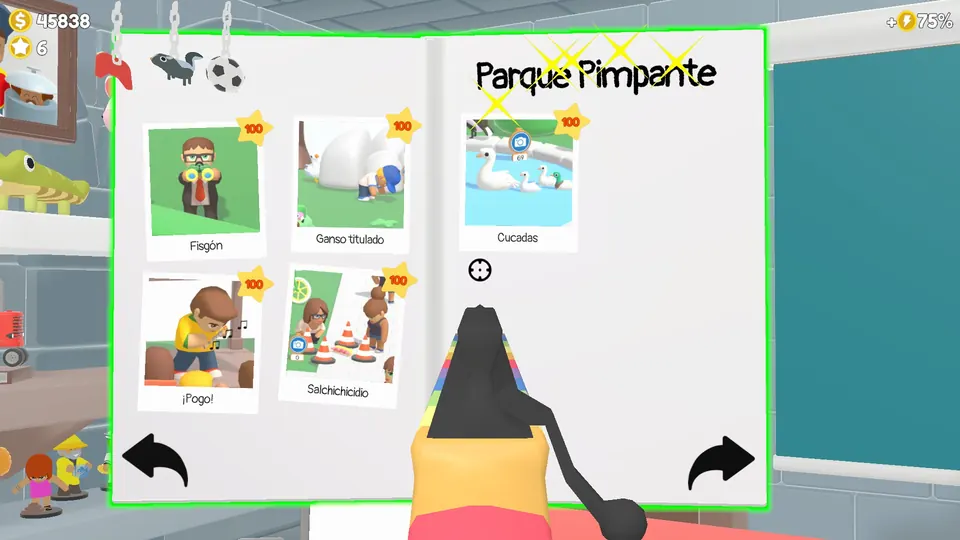
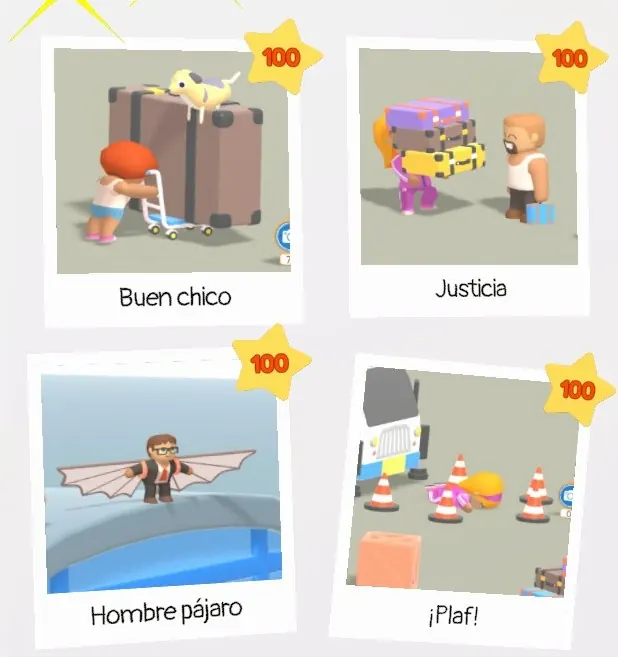
Some objectives ask for a photo of NPCs doing something silly. The camera goes on sale in the shop after you finish Perky Park, the first level. Film is limited, so buy extra rolls. A photo target is marked by a small camera sign with a number under it. The score depends on framing: the closer you get while keeping every target NPC in the shot, the higher it goes, up to 100.
The album pages below show every photo on every map at a score of 100, in the map order used on this page, so you can match the framing. They show the shot to aim for, not where on the map the scene happens.
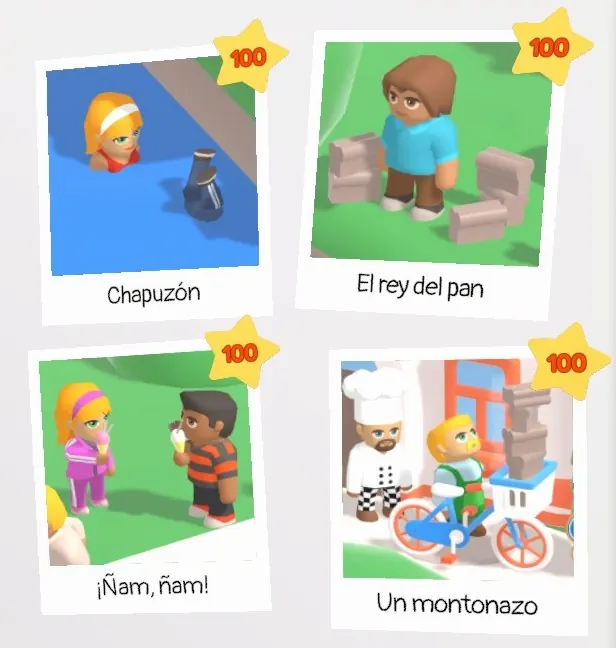
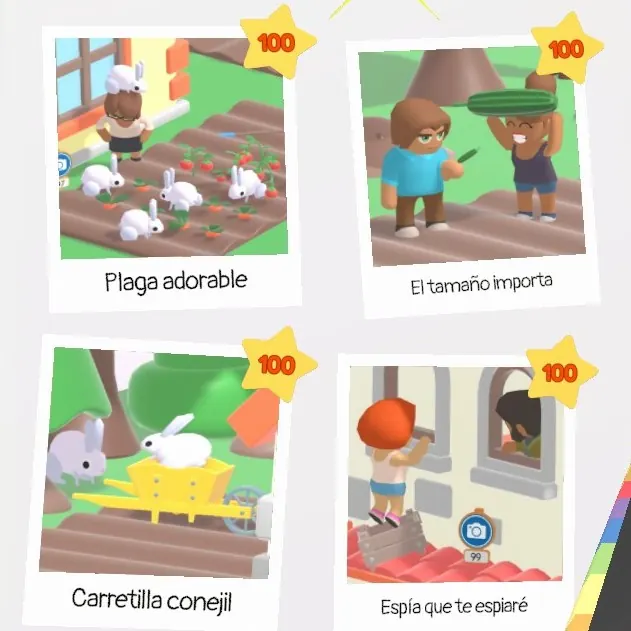
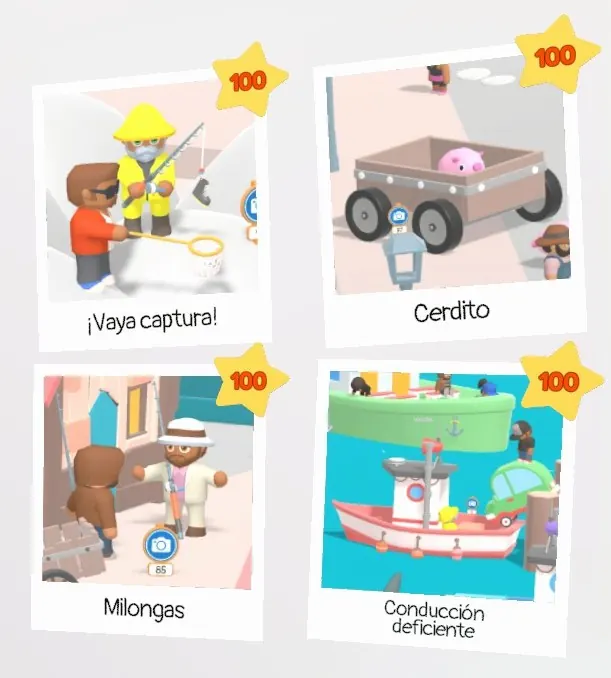

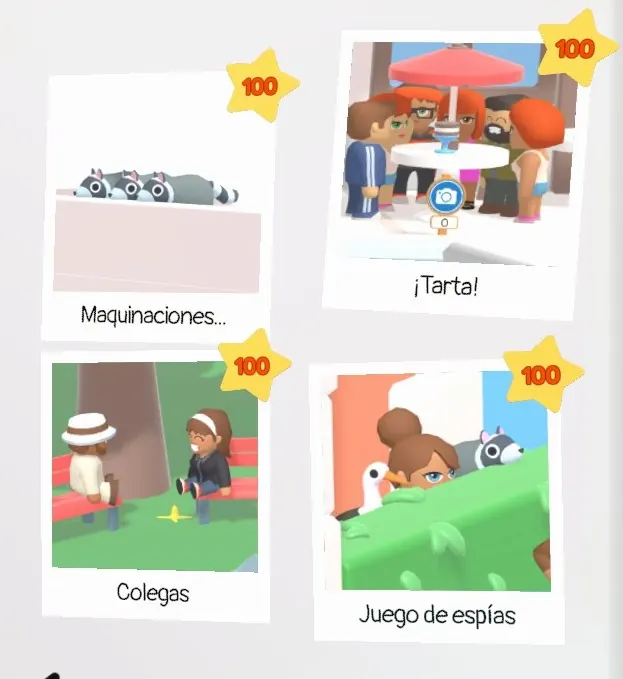
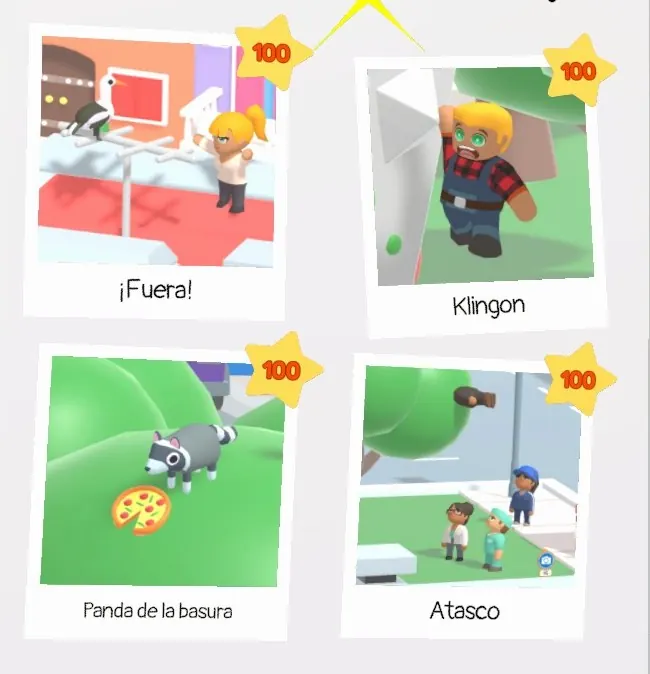
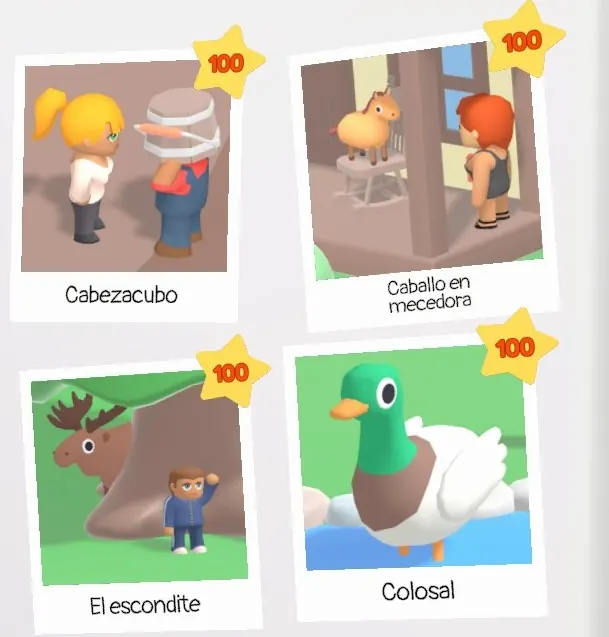
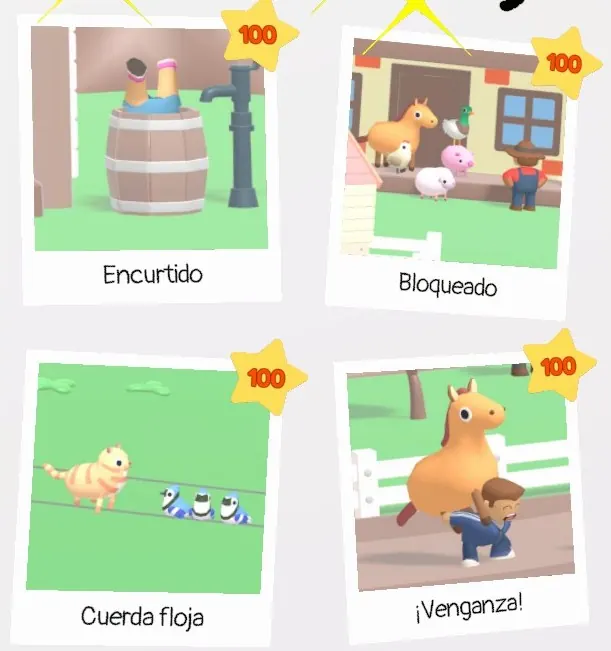
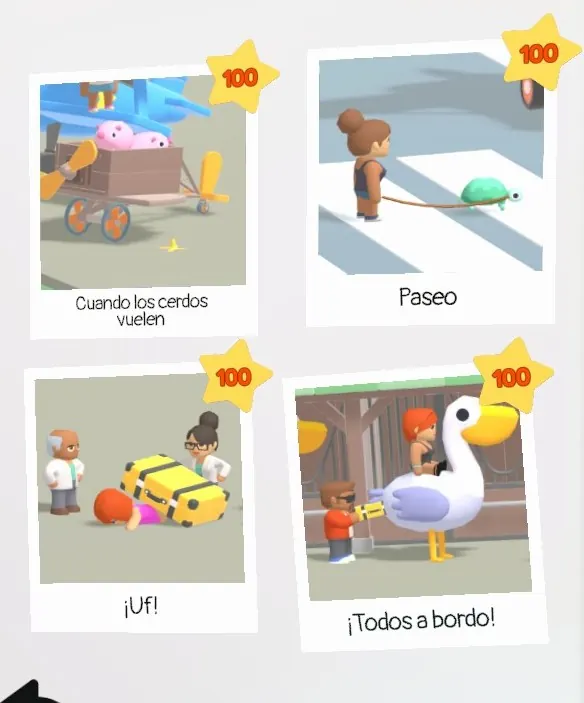
Office commissions
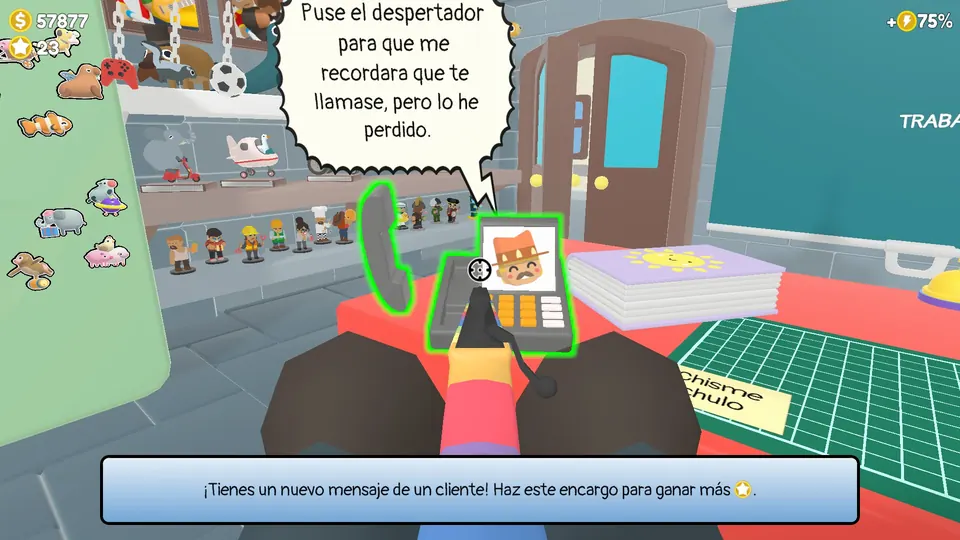
After you finish levels, clients start calling the office phone. There are three commissions, one per client. To take one, shoot the phone over that client’s picture, then shoot the door. Each run drops you on a random map: Vibrant Village, Happy Harbour, Central City, Funky Farm or Aces Airport.
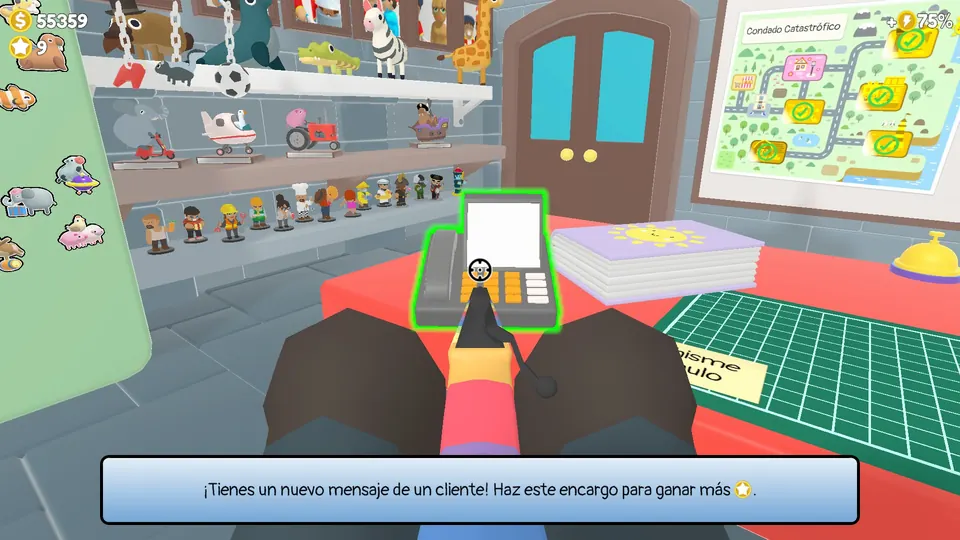
Gadget part commission
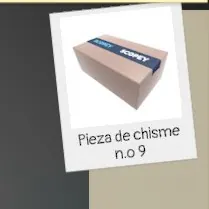
This client always wants the same kind of item: a numbered gadget part, pictured on the objective card as a cardboard box. The parts you find collect on the grid mat on your desk.
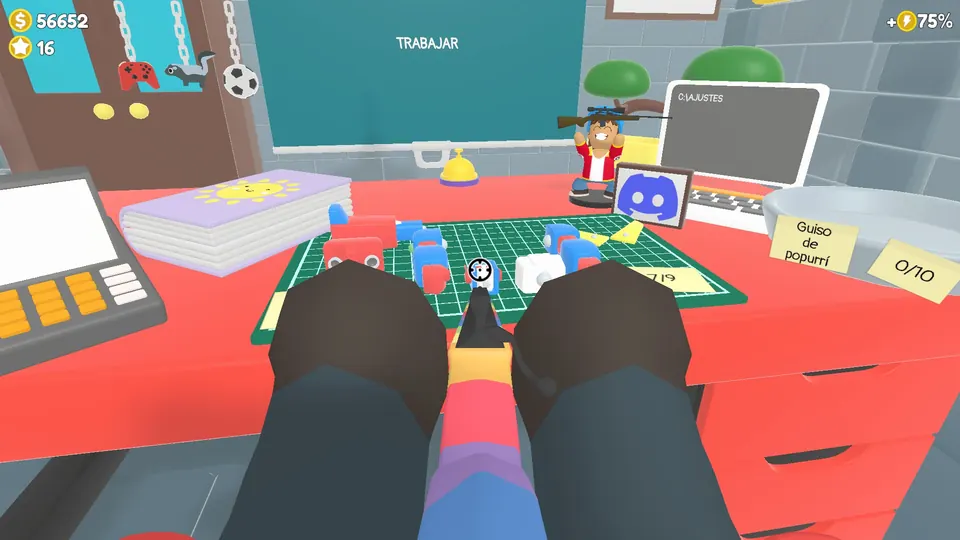
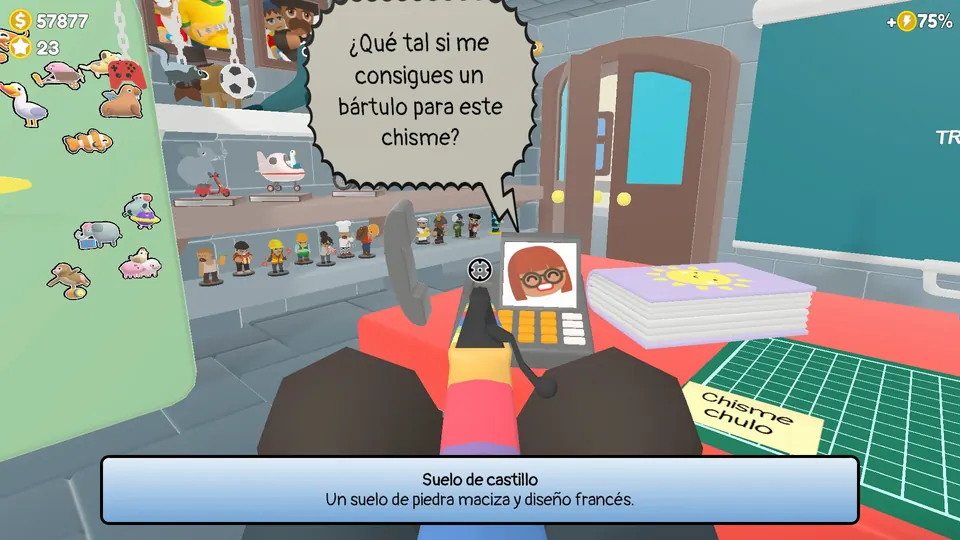
Lost items commission
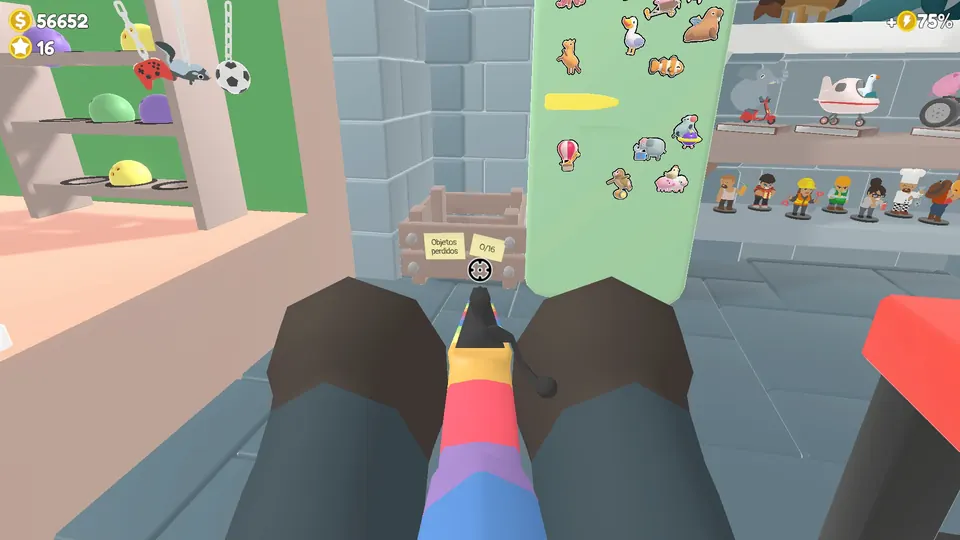
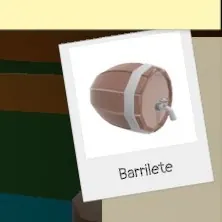
This client wants a different lost item every time. Finds go into the crate by the office wall, which counts up to 16.
Frying pan commission
This client wants frying pans, each with a different item on it. The pan on the desk counts up to 10.
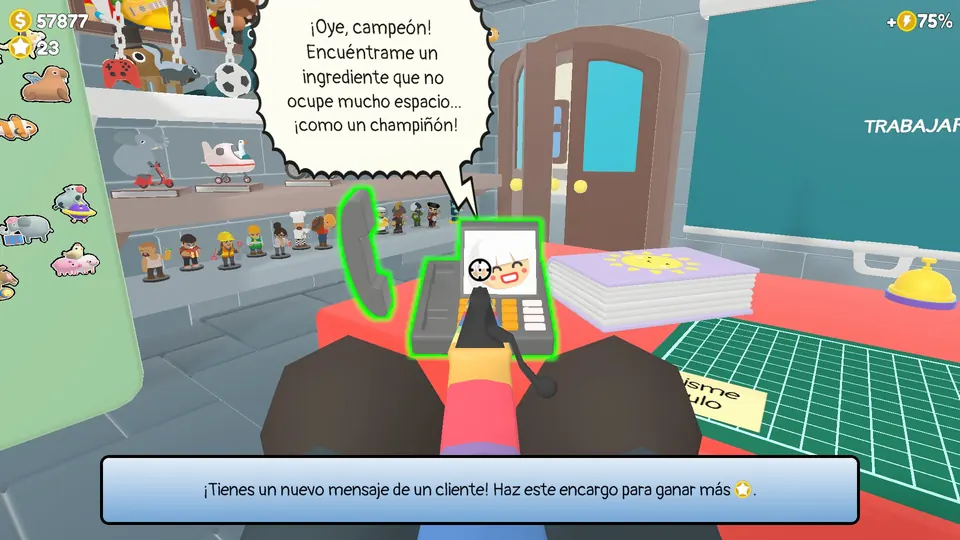
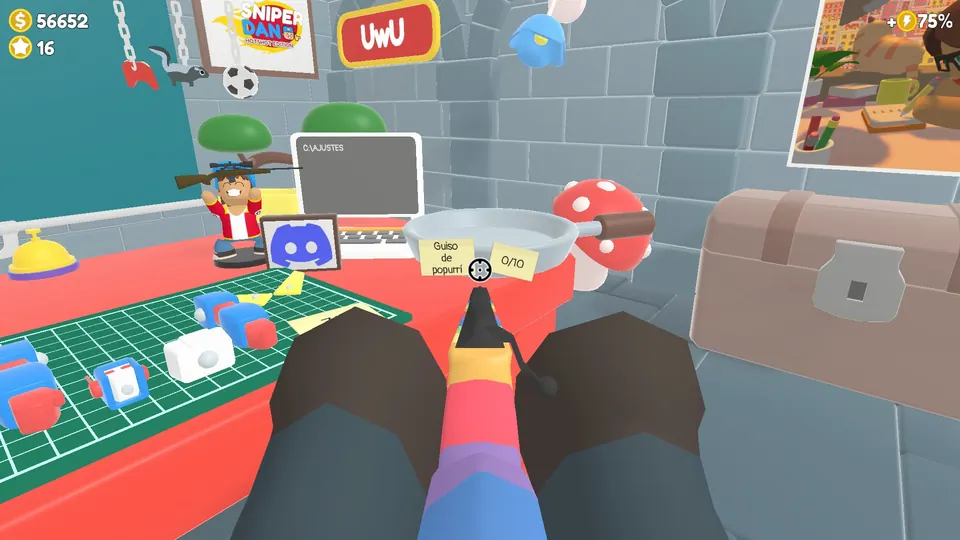
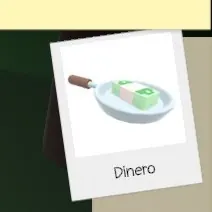
Where commission items spawn
The commission item does not always spawn in the same place, but on each map it keeps coming back to one spot, whichever commission you are doing:
| Map | Spot |
|---|---|
| Vibrant Village | The first house on the right, by the crops |
| Happy Harbour | The first pier on the left |
| Central City | The bench on the far right edge of the map |
| Funky Farm | The blue pickup by the first barn, bottom middle of the map |
| Aces Airport | By the hot air balloon on the right of the map |
The screenshots below show an item waiting in each of those spots, one per map.
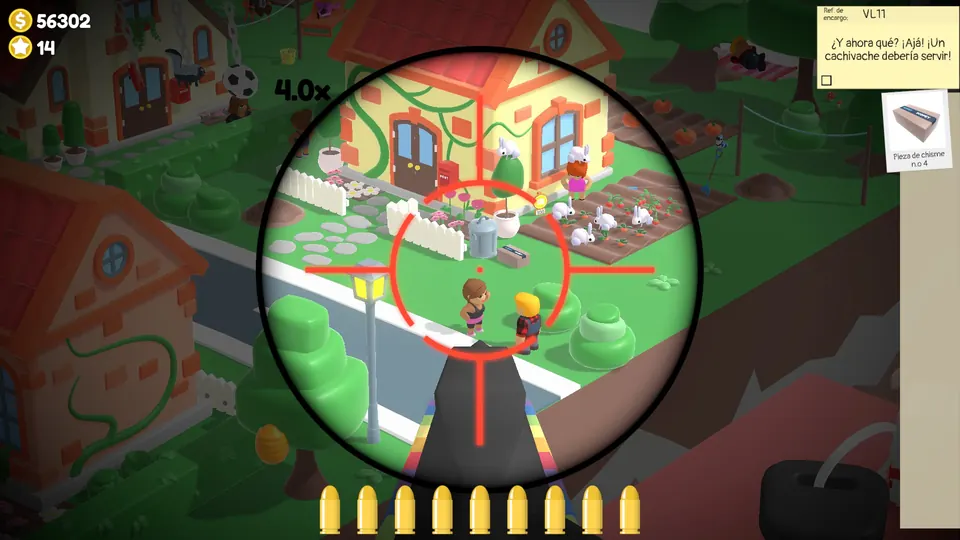
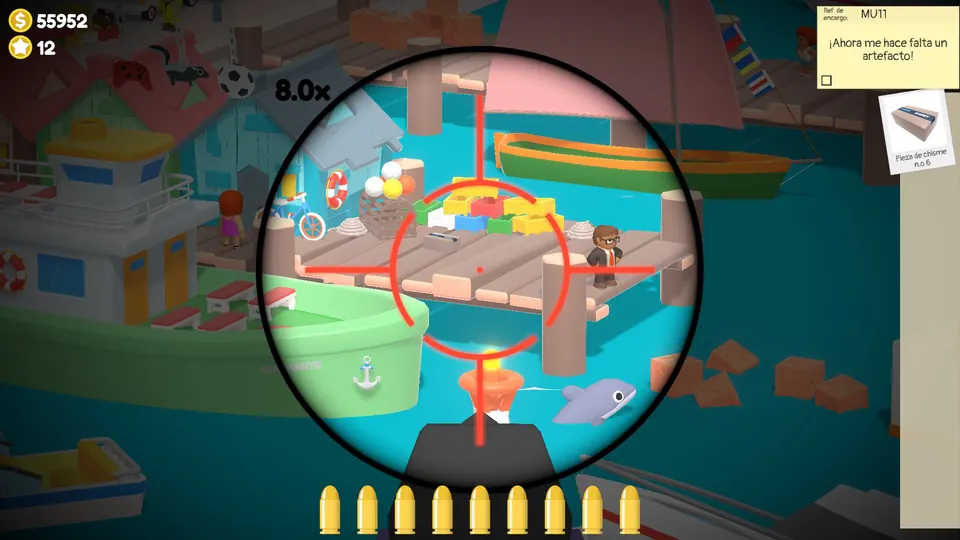
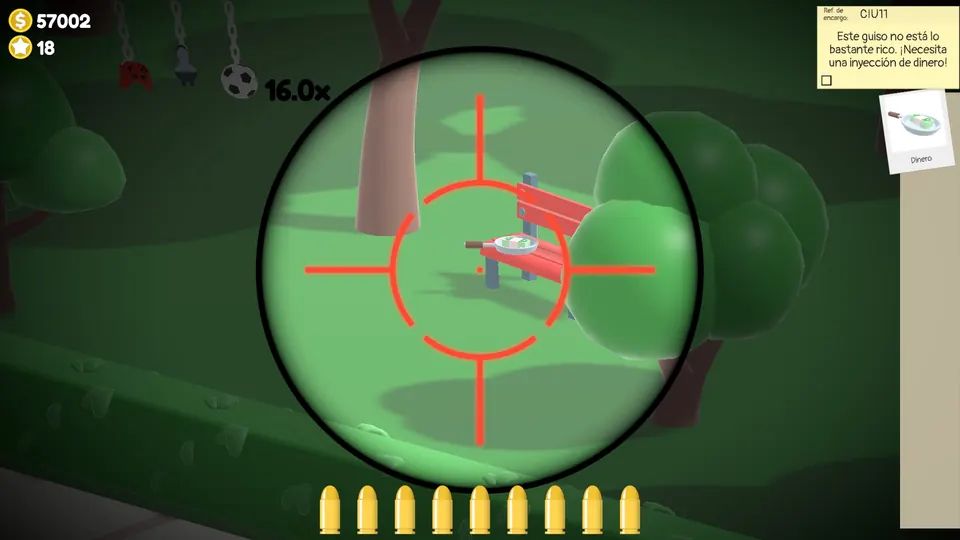
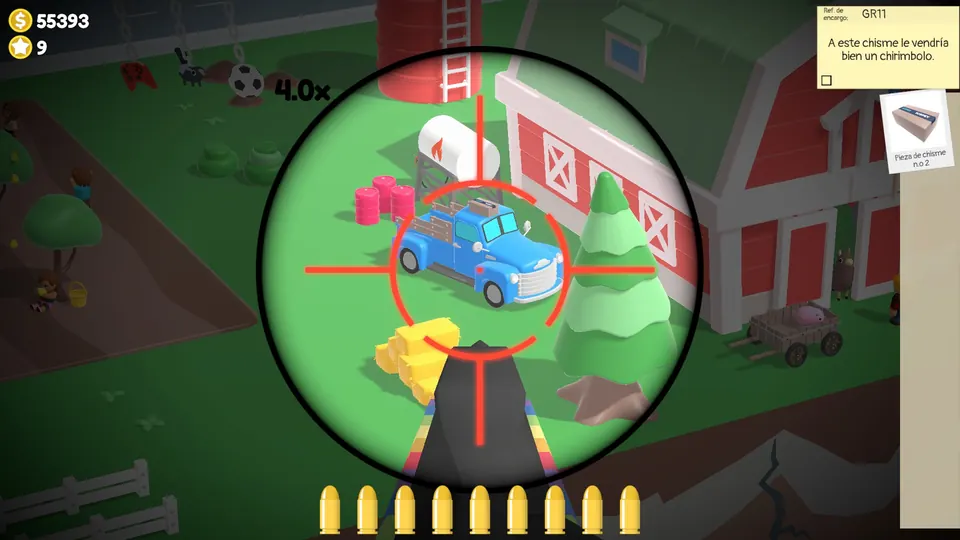
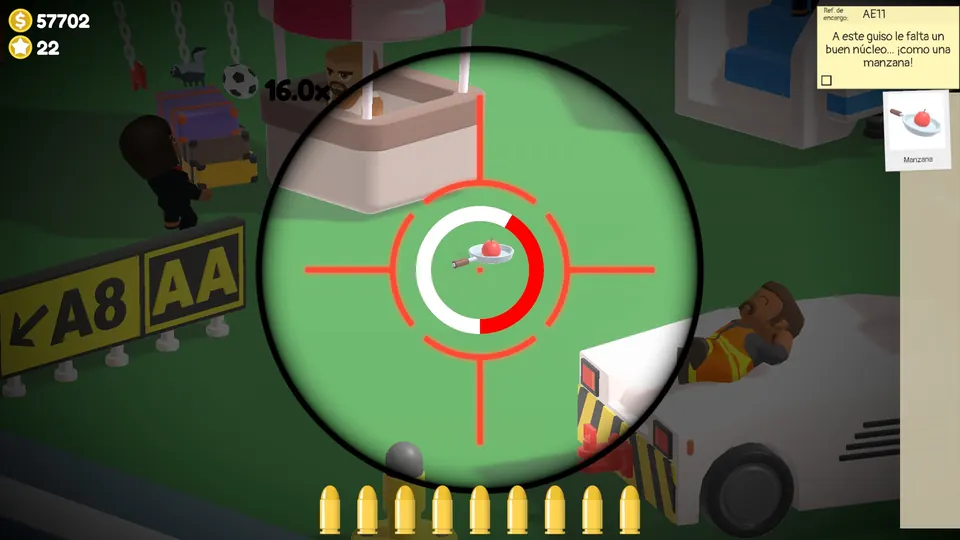
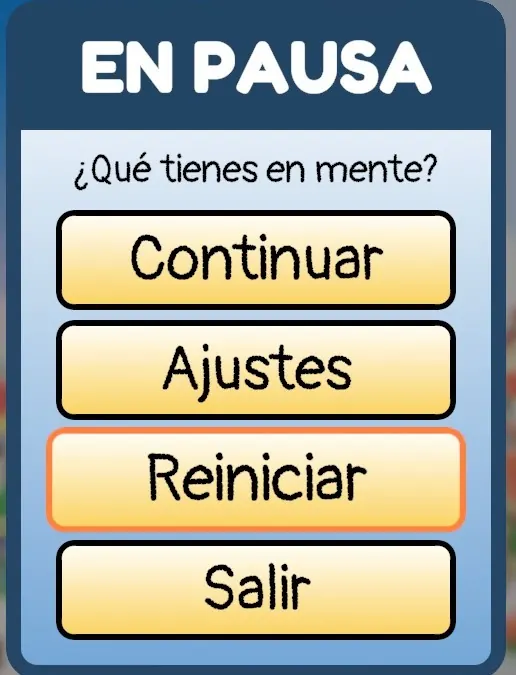
Rather than searching the whole map, check that spot. If the item is somewhere else this time, restart the level until it appears there. Restart is the third option on the pause menu. Repeat this for each of the three commissions.
Bonus levels
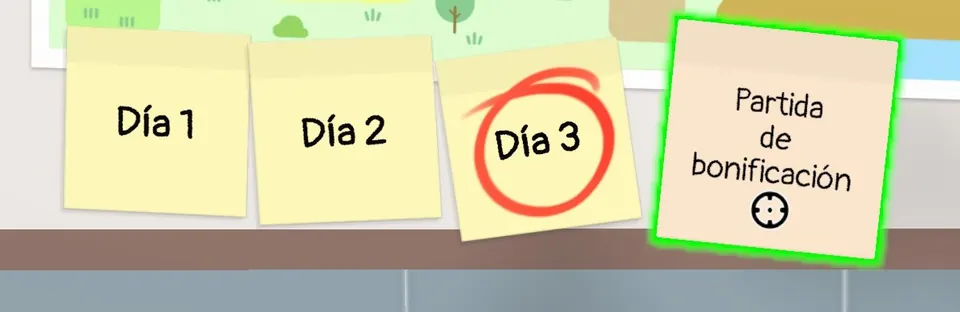
Finishing every Day 2 objective on a map starts that map’s bonus level straight away. There are five, one for each map except Perky Park, and each gives you 30 seconds to hit every target. If you fail, you can replay it any time from the bonus level card in the office.
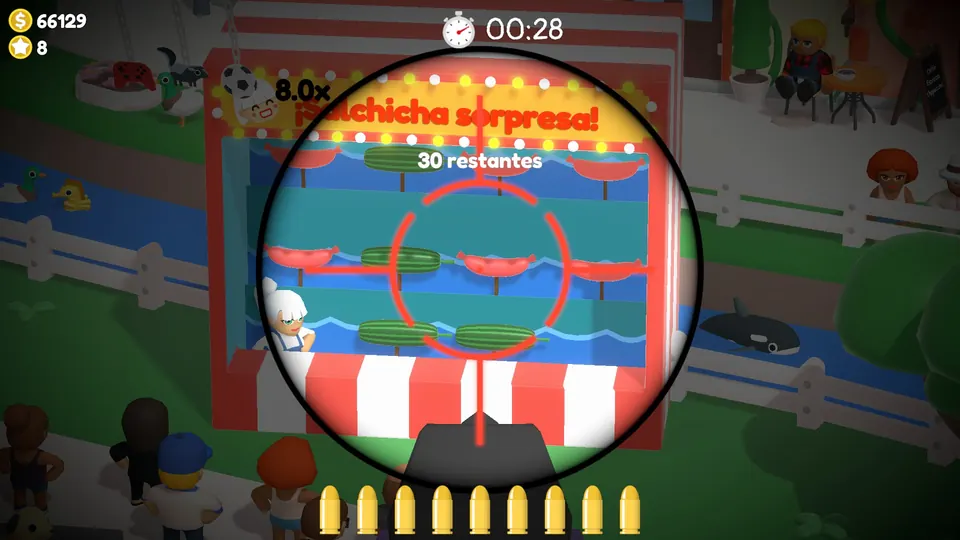
Vibrant Village bonus level
Hit 30 sausages in 30 seconds and leave the striped marrows alone.
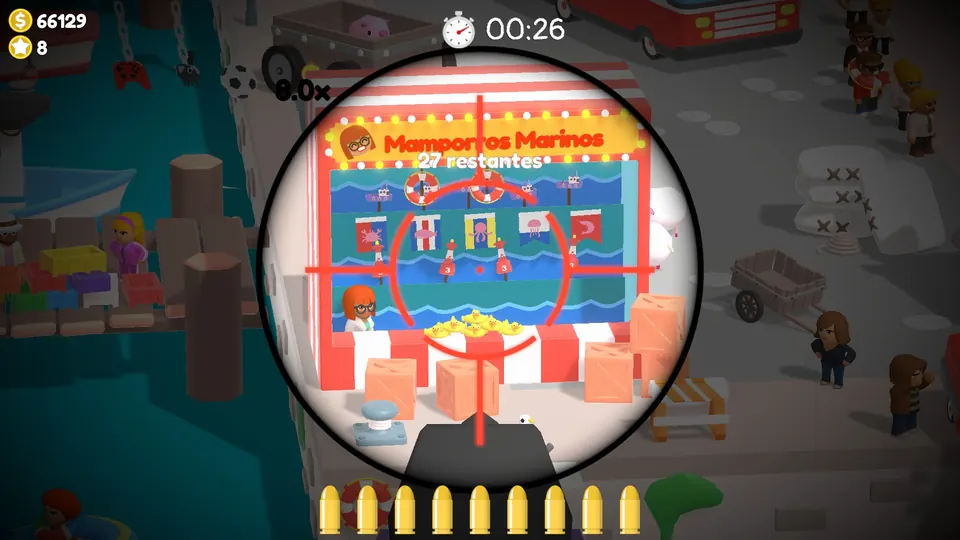
Happy Harbour bonus level
Hit 27 targets in 30 seconds. That count includes the ducks along the bottom.
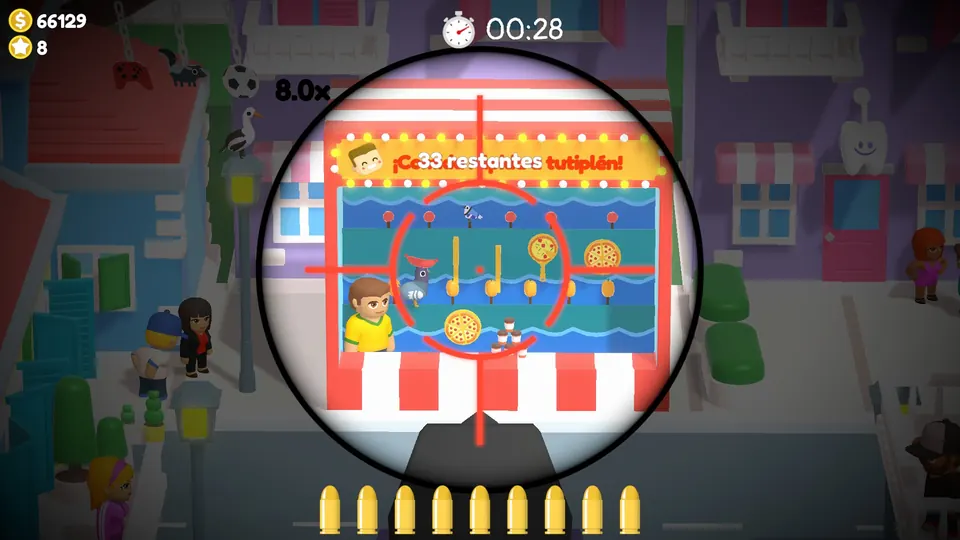
Central City bonus level
Hit 33 targets in 30 seconds, including the coffees along the bottom and the sausage above the bird. Do not shoot the blue bird in the top row.
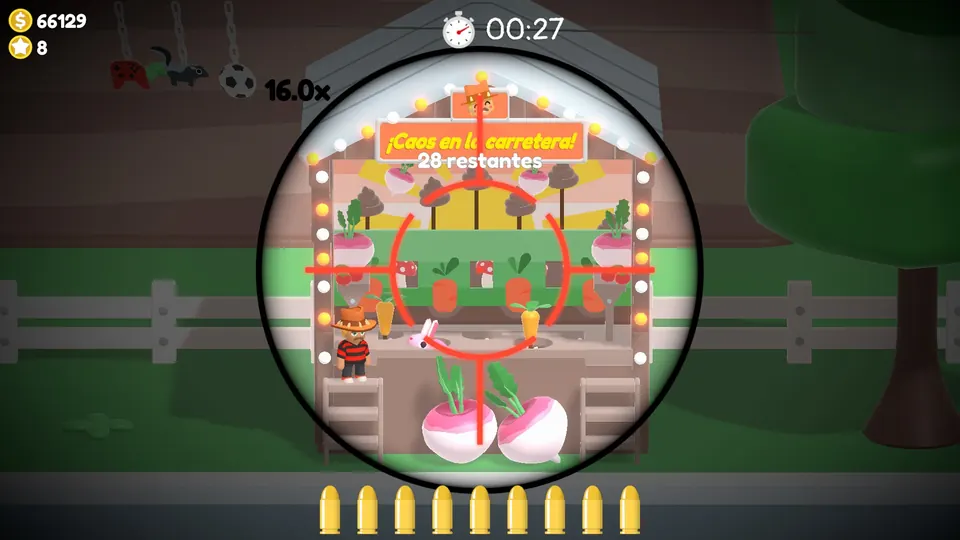
Funky Farm bonus level
Hit 28 targets in 30 seconds, including the big radishes and the tomatoes on either side.
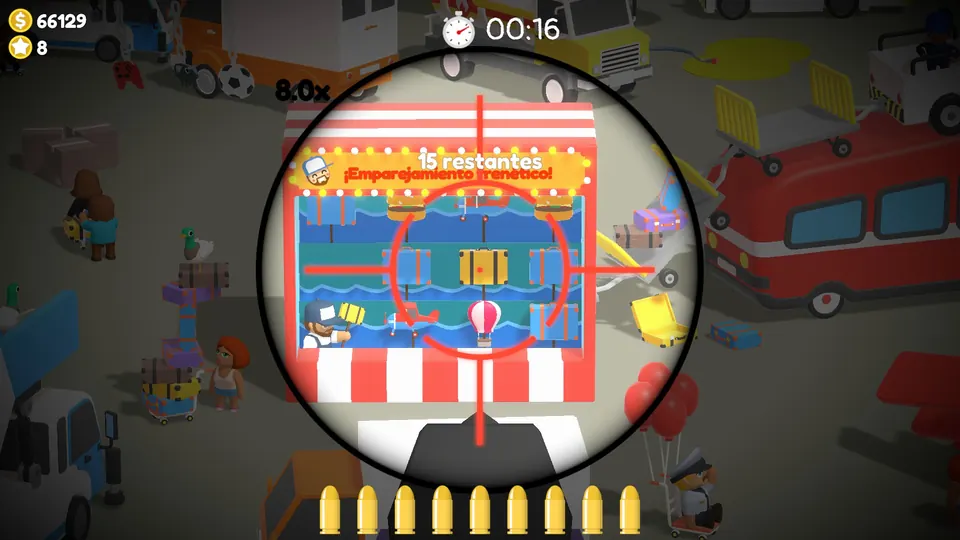
Aces Airport bonus level
Hit 15 targets in 30 seconds, but only the one the NPC in the corner is pointing at each time.
Achievements that need extra work
Preloved Sausage, Lost Brick, Unloved Pizza Slice and Appreciated Apple (shop)
The Magic Market is the in-game shop. Preloved Sausage pops after you have bought 20 items there.
Lost Brick needs every gun upgrade in the shop. Unloved Pizza Slice needs 10 reputation stars, which buy the pizza on your right in the shop, beside the gun upgrades. Appreciated Apple needs 13 different prizes from the gachapon machine on the left side of the shop.
Wooden Spoon, Rank Sock and Stale Y-Fronts (modes and speedrun)
Time Attack and Ammo Hunt are extra modes you buy in the Magic Market. Complete five locations in Time Attack for Wooden Spoon and five in Ammo Hunt for Rank Sock. For Stale Y-Fronts, finish Perky Park in under 30 seconds. You need a fully upgraded gun to manage that time.
Forgotten Hot Dog and Clean Aubergine (tennis and air hockey)
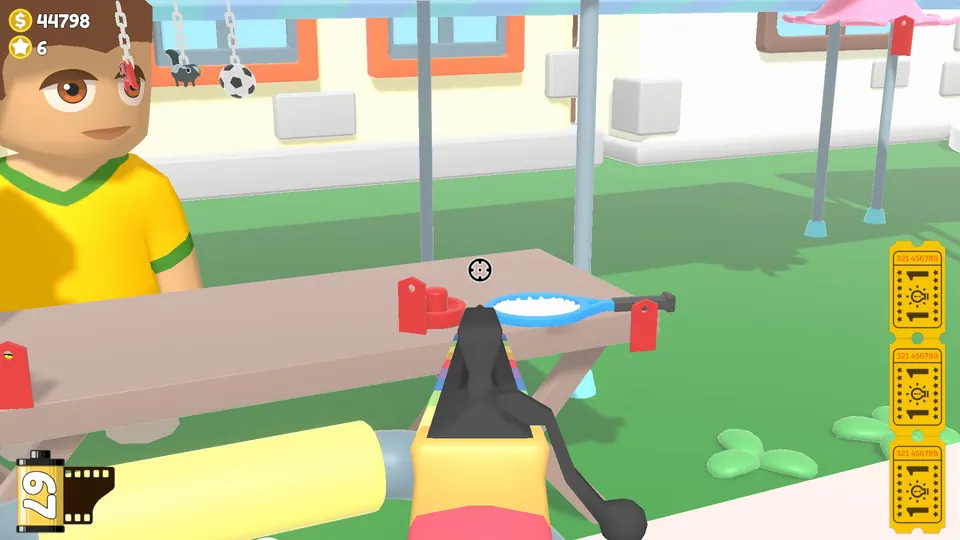
Forgotten Hot Dog is for winning a tennis match while missing no more than three times. Clean Aubergine asks for the same in air hockey: a win with three misses or fewer. A tennis racket and an air hockey paddle sit on a table in the shop area.
Unknown Bone (bowling)
Unknown Bone needs bowling, which has to be unlocked first.

Unlock the bowling minigame
Keep finishing missions and a bowling ball priced at 10 stars will eventually appear on the table on the left of the shop. Buy it there.
Back in the office, turn round and shoot the wall behind your desk. The bowling lane is behind it.

How to bowl a strike
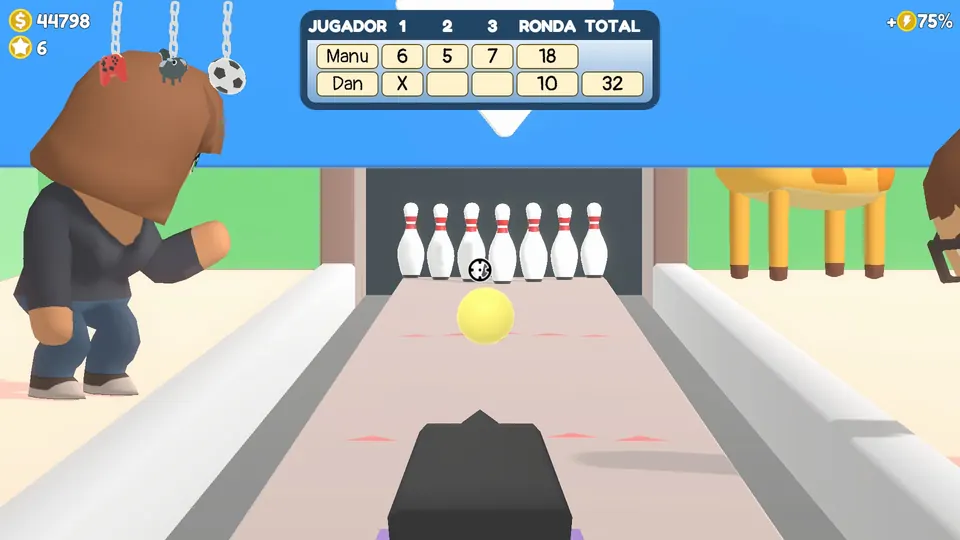
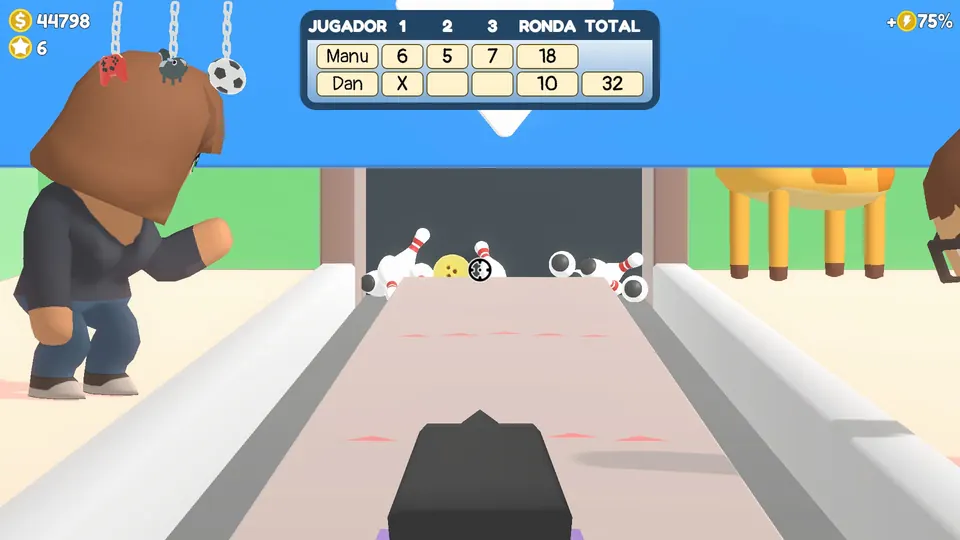
At the start of each throw, put your crosshair right in the middle of the left finger hole on the ball.
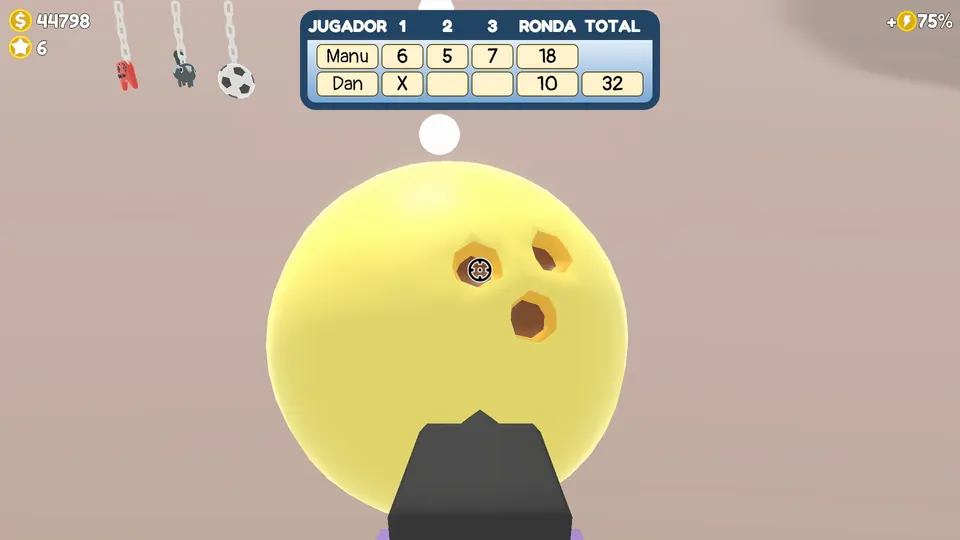
As soon as you fire, move your sight to the pin just left of the centre pin.
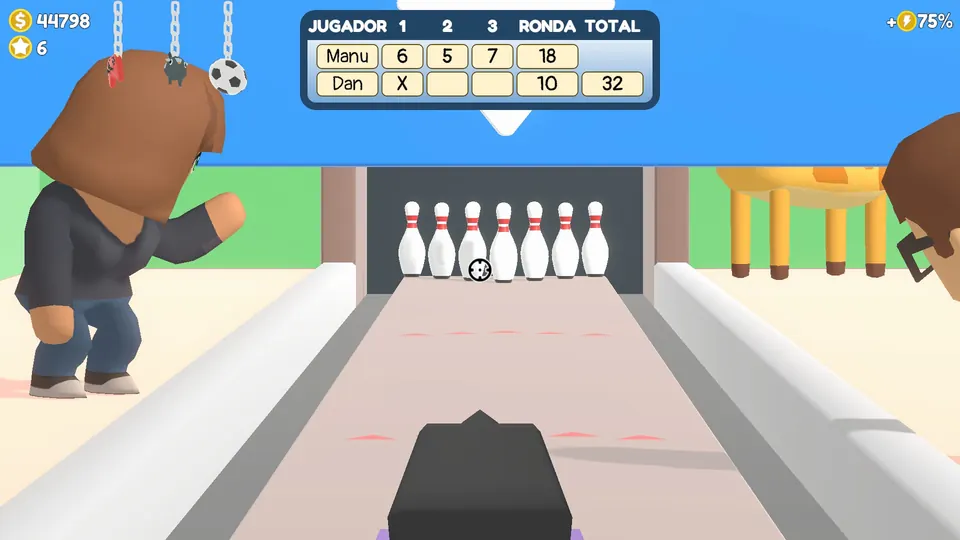
Wait until the ball has almost reached the pins, then shoot. That nudges it onto the right line for a strike. The five strikes do not have to come in a row.