Scavland: Key Trader Locations and Gear Tips
Use the trader route below to unlock the repair blueprints, ammunition, medicine, and crafting supplies that matter most. Reputation is separate for every trader, so the practical goal is to invest in the few shops whose stock supports your build.
Start with the gunsmith and armor seller in the starting city, then visit the northwestern gunsmith for advanced weapon repairs. The northeastern medic is worth rank 2, while the armorer farther east has the medium-armor repair blueprint at rank 3. When inventory space is tight, prioritize medicine, repair materials, weapon oil, glue, attachments, and rare experimental repair kits.
These notes were compiled during Scavland’s September 2026 early-access period. The equipment advice was flagged as less reliable after the patch 7.0 rebalance on September 16, so treat exact balance judgments as provisional.
Trader Quick Reference
| Destination | Route | Key stock | Required rank |
|---|---|---|---|
| Starting city gunsmith | In the starting city | Basic weapon-repair blueprint; rifle ammunition and a compact rifle | No rank for the blueprint; rank 2 for the ammunition and rifle |
| Starting city butcher | In the starting city | Food and expanding ammunition | Rank 2 for the ammunition |
| Starting city armor seller | In the starting city | Basic armor-repair blueprint | Not stated |
| Burned city | Follow the road northwest | Crafting resources | Not stated |
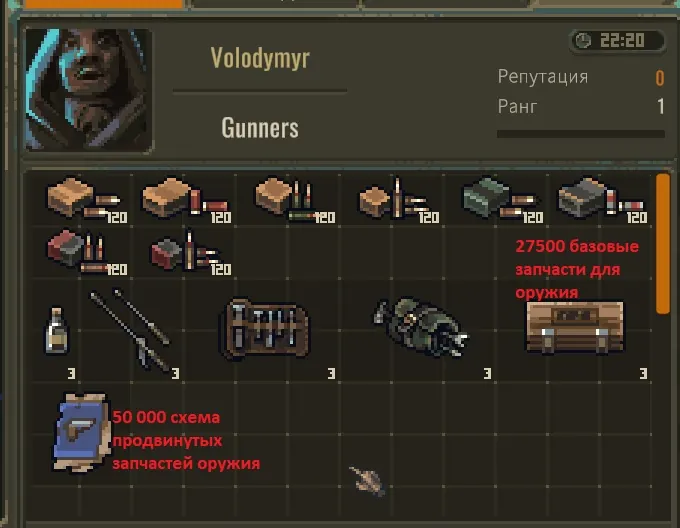
| Northwest gunsmith | Continue west from the burned city | Armor-piercing ammunition, basic repair kits, and the advanced weapon-repair blueprint | Not stated |
| Local security settlement | Continue to the northwest corner | General trader with good buying prices | Not stated |
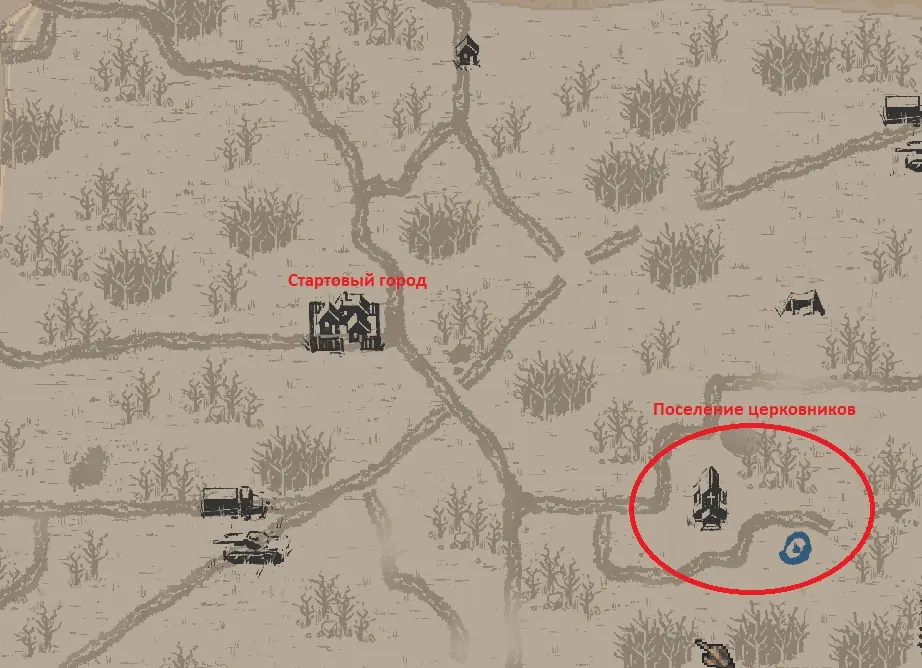
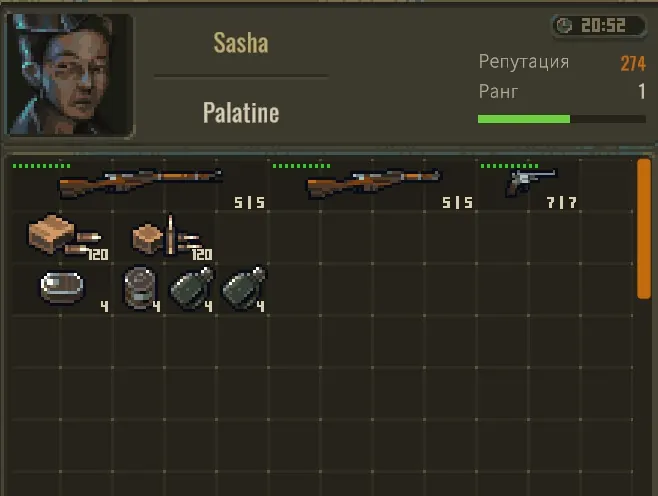
| Church settlement | Travel southeast from the starting city | Bolt-action rifles | No rank required |
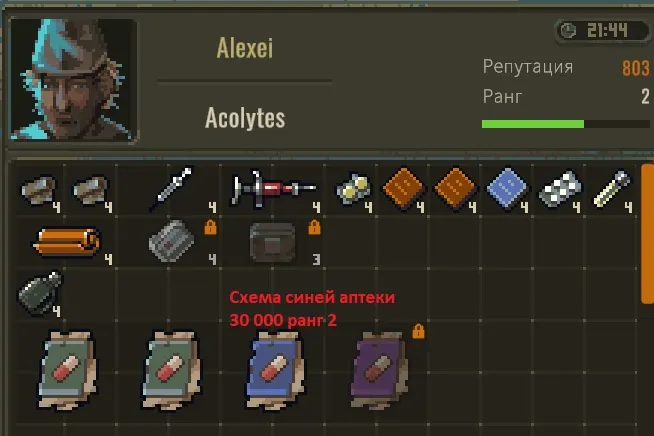
| Northeast medic | Travel northeast from the starting city | Advanced medicine blueprints and the blue medical-kit blueprint | Rank 2 for the blue medical-kit blueprint |
| Mechanics’ settlement | Continue east from the medic | Crafting materials for advanced weapon-repair kits | Not stated |
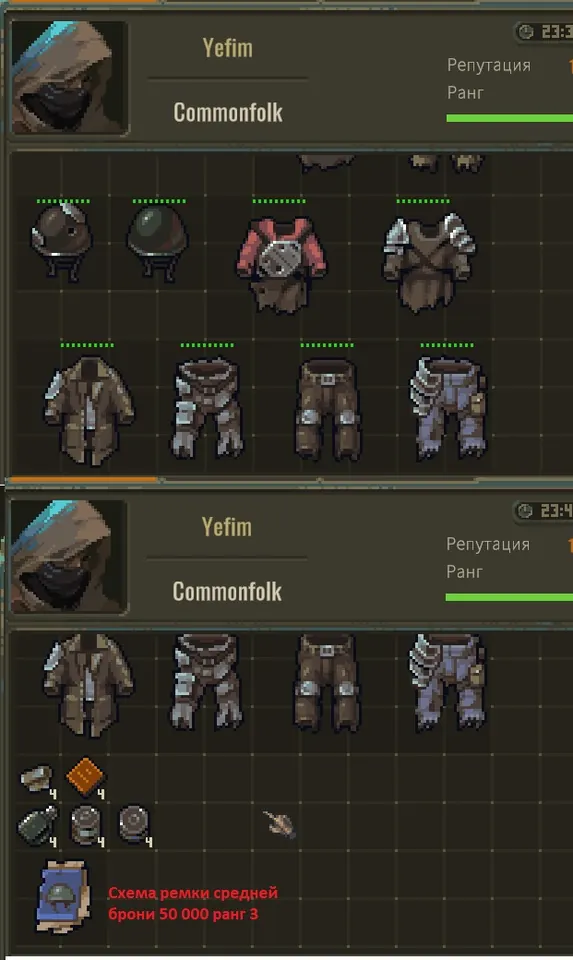
| Far-east armor seller | Continue east from the mechanics’ settlement | Medium armor and its repair blueprint | Rank 3 for the blueprint |
Trader Reputation Ranks
Rank 2 requires 500 reputation with a trader, and rank 3 requires 1,000. Progress does not carry between traders. Harder or more distant jobs generally pay more reputation, which makes a trader with difficult jobs faster to level than one who only offers simple errands.
Starting City Traders
The starting city has four useful shops, including a general crafting-material seller. The gunsmith offers easy or medium jobs that are often far away, so reputation can be slow. The butcher only gives the easiest jobs, with small reputation gains.
Northwest Trader Route
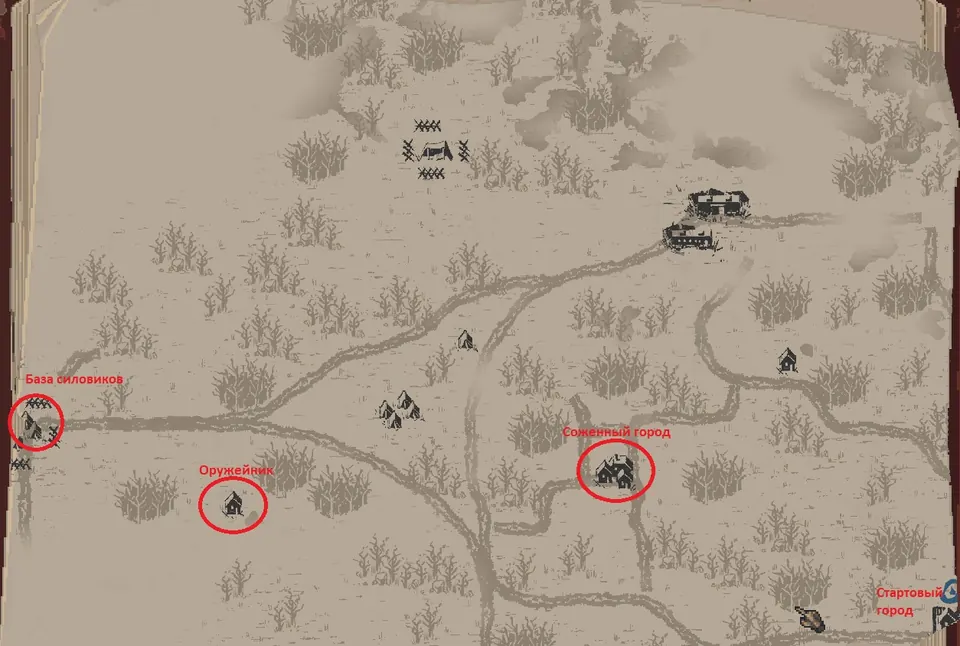
Three points of interest sit northwest of the starting city. Follow the road toward the burned city, then continue west to the gunsmith and the local security settlement near the corner of the map.
Burned City
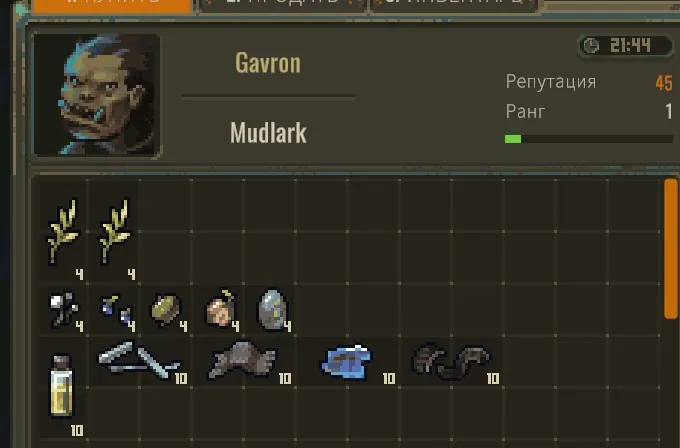
The diplomat in the burned city provides a way to repair relations after killing friendly characters.
Northwest Gunsmith
The map places this gunsmith west of the burned city. Make it the main northwest maintenance stop once you need more than the starting city’s basic repair access.
Local Security Settlement
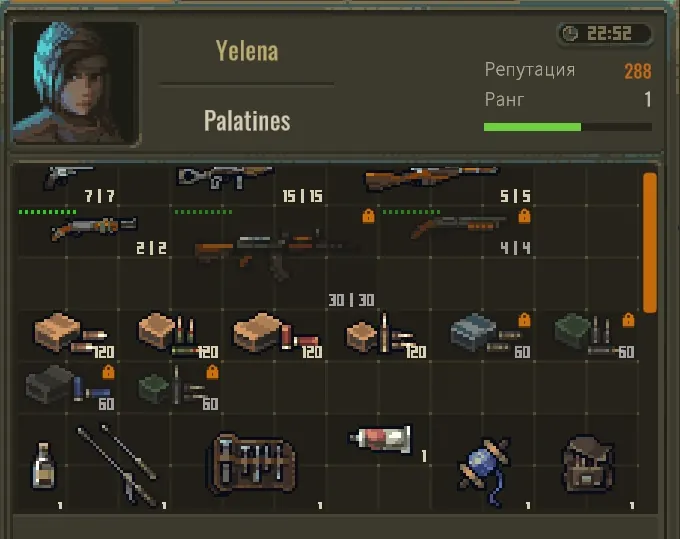
Several large bandit and gunner bases sit near the local security settlement. Its trader will not take clothing or monster parts. Reputation is hard to raise, and the shop has no standout stock beyond its favorable buying prices.
Southeast Church Settlement
The map places the church settlement southeast of the starting city, making it a direct early trip when you want the bolt-action rifles listed in the quick-reference table.
Northeast Medic
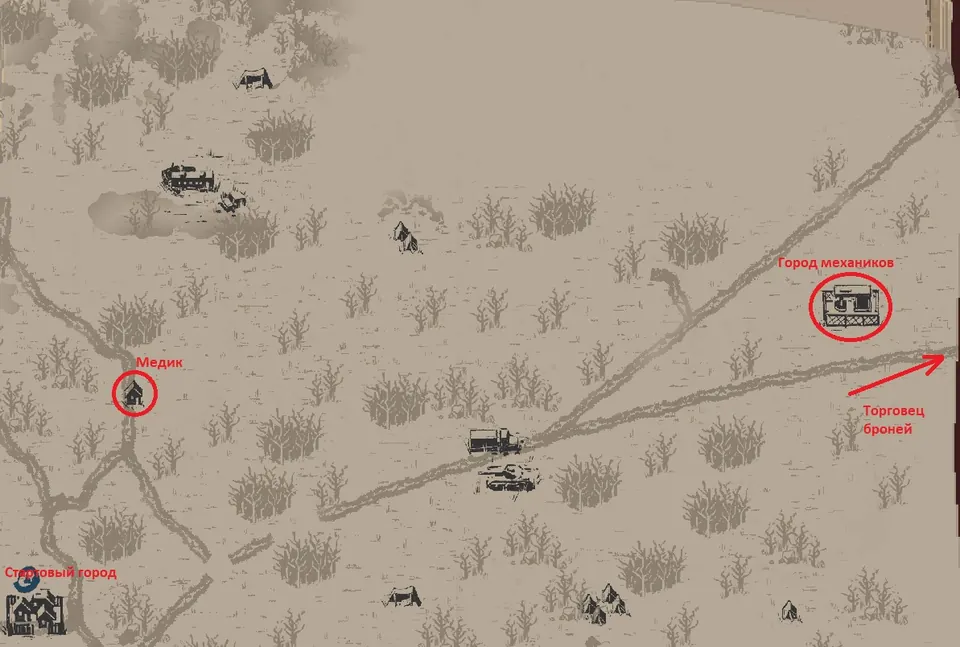
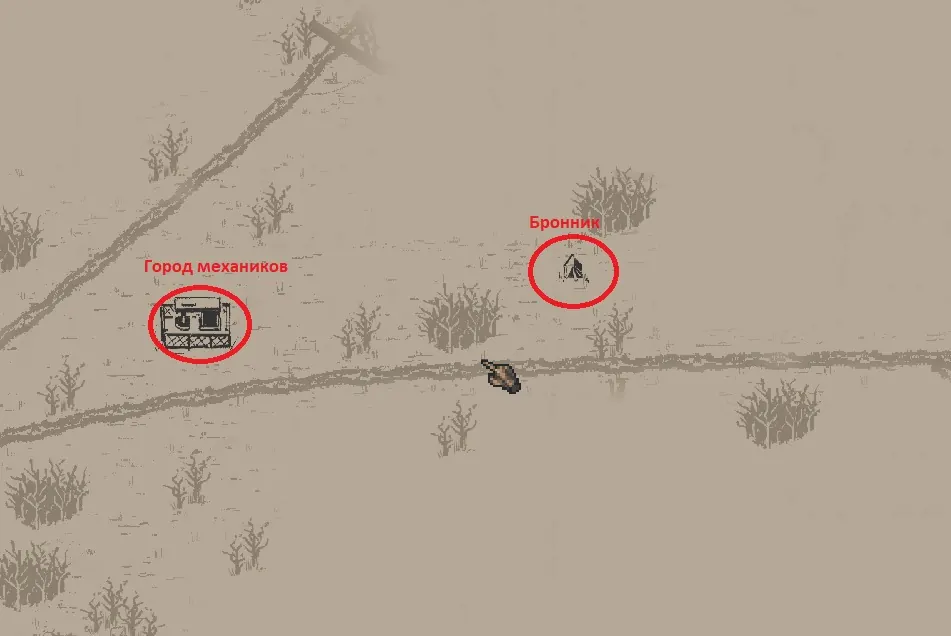
Head northeast from the starting city to reach the medic. The overview map also shows the road continuing toward the mechanics and far-east armor seller. The blue medical kit uses easy-to-find ingredients, but reputation takes time because the medic’s available jobs are simple.
Mechanics Settlement
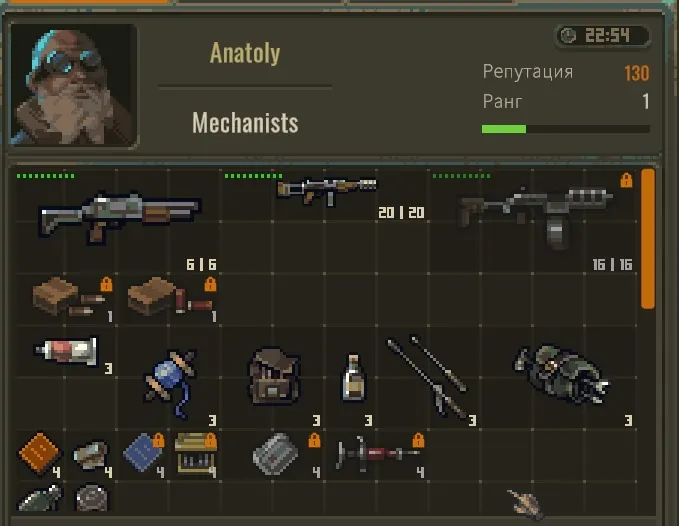
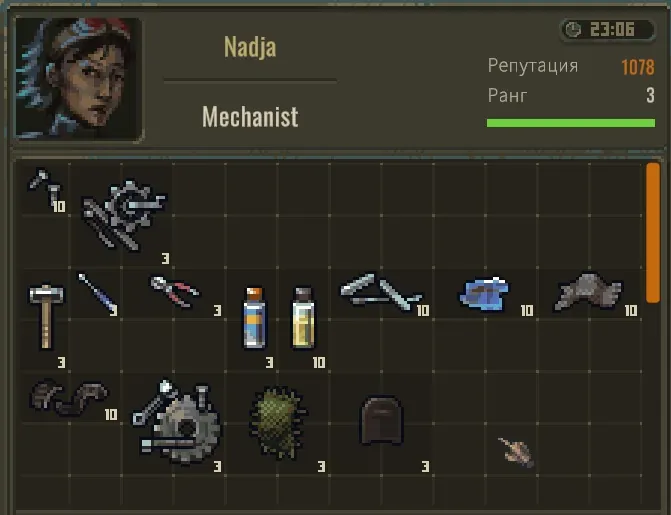
Continue east to the mechanics’ settlement, which has two traders. The first has no especially important stock, so the second is the useful stop.
Far-East Armor Seller
Continue east from the mechanics’ settlement to find the armor seller. The trader offers difficult jobs with strong reputation rewards, so reaching rank 3 is relatively straightforward.
Best Loot to Carry
Containers in settlements and other points of interest often hold medicine, ammunition, and food. They appear to refill after roughly one in-game day, possibly a little sooner, so checking a settlement’s containers can help a new or cash-poor character recover.
| Priority | Loot | Reason to keep it |
|---|---|---|
| High | Medicine | Takes little space, stacks to 4, sells for a reasonable amount, and can be upgraded; morphine and yellow medical kits can be turned into blue kits |
| High | Chemical waste | Used in large quantities for medical crafting |
| Medium | Plastic | Also feeds medical crafting, but is less important than chemical waste |
| High | Mechanical and advanced mechanical components | Stack to 3, have decent value, and are used in basic and advanced repair kits |
| High | Most repair kits | Can be spent during a run to free a slot, upgraded into a higher tier, or sold; the easy-to-craft cleaning kit is the exception |
| High | Weapon oil and glue | Compact supplies used for routine equipment repair |
| High | Weapon modifications, sights, and magazines | Check compatibility and value, then swap to a better attachment during the run when possible |
| Conditional | Ammunition | Keep it early in the game or when it fits your current weapon; small mixed stacks across several calibers have poor overall value |
| Very high | Experimental weapon and heavy-armor repair kits | Extremely rare, cannot be crafted, and should not be spent casually |
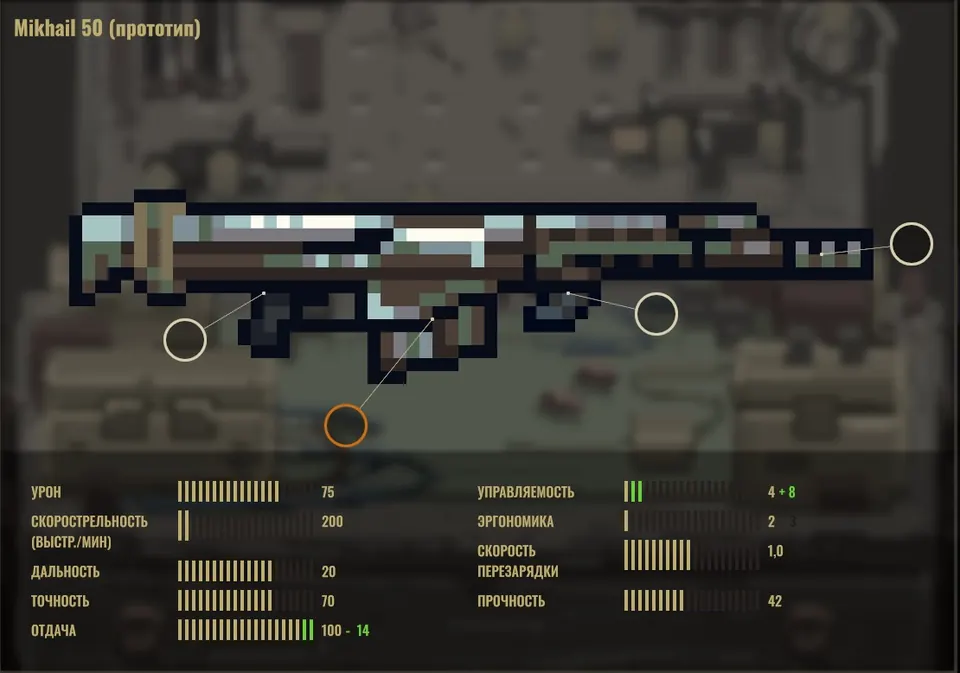
Special ammunition for the large experimental rifle is rare and is not sold by traders. Keep it only if you are prepared to maintain the weapon that uses it.
Bunkers
Bunkers are randomly placed dungeon areas with rats, bandits, gunners, and a large amount of loot. They did not refresh over time during the September 2026 build, so treat each cleared bunker as a one-time haul unless a later patch changes that behavior.
When entering, wait through the opening fight if it is already underway. The human enemies and rats may spend several minutes fighting each other across the bunker. The corridor-and-room layout then makes the remaining human enemies easier to clear in smaller groups.
Equipment Rules
Basic and advanced weapons lost 1% durability per 10 shots in the documented build. This made rapid-fire weapons expensive to maintain, especially the lower-damage submachine guns that needed attention after most fights.
You have one main weapon slot and one reserve slot. Any weapon three inventory cells long or shorter fits in the reserve slot. Removing the stock from certain weapons can shorten them enough to replace a pistol in that slot.
Pump-action shotguns and bolt-action rifles need a separate chambering animation after each shot. Rolling immediately after firing interrupts that flow and forces another, slower-feeling chambering action. Leave extra space in close combat when using either type.
There are two 4x sight styles. The sniper version reaches slightly farther and adds 1 range compared with the side-mounted version. A third compact optic offers less zoom.
Weapon Reference
The localized weapon names are omitted here so the guide does not assign unofficial English names. Use the description, magazine sizes, and visible shape to match each entry to the item in your inventory.
Starting Pistol
The starting pistol can appear with an integrated suppressor. It accepts 8- and 12-round magazines plus an unusual documented 80-round option.
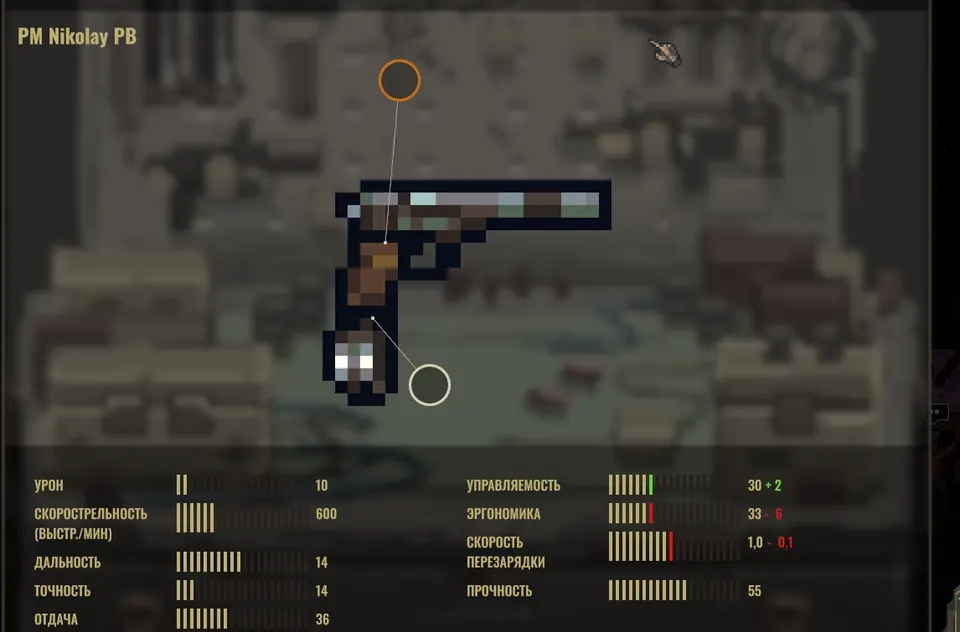
Improvised Submachine Gun
The improvised submachine gun has very low durability and may need repairs after only a few magazines. Integrated and separate suppressors are available, along with 15-, 20-, 30-, and 60-round magazines.
Long Bolt-Action Rifle
The long bolt-action rifle hits hard and reaches far, but reload and bolt cycling are slow. A heavily shortened version fits in the reserve slot.
Pump-Action Shotgun
The pump-action shotgun works as an early reserve weapon. Its close-range role combines poorly with the chambering delay after a shot or roll.
Improvised Semi-Automatic Shotgun
The improvised semi-automatic shotgun is a strong early close-range choice. It uses 4-, 8-, or 16-round magazines, and removing the stock lets it fit in the reserve slot.
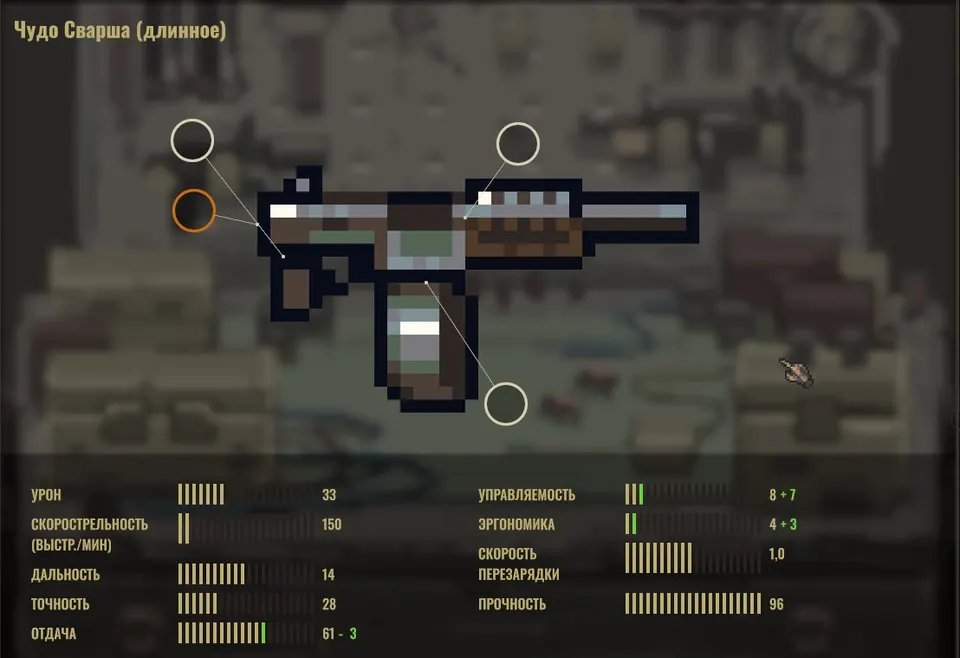
Helical-Magazine Submachine Gun
The submachine gun with helical or vertical-magazine variants uses 24- or 48-round helical magazines and a 30-round vertical magazine. Rapid wear limits its value.
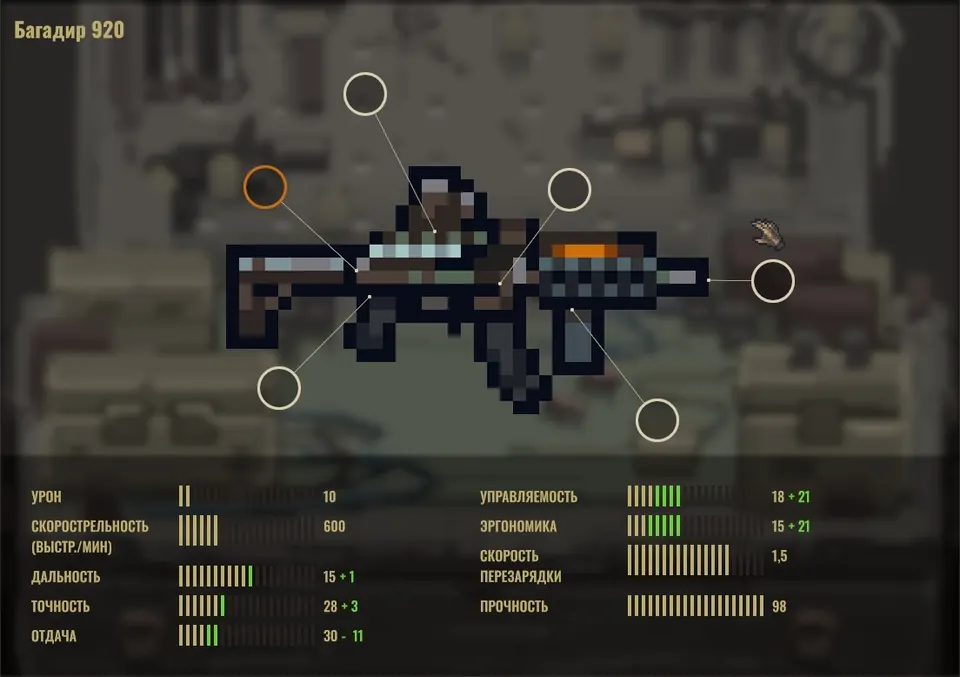
Short AK-Style Rifle
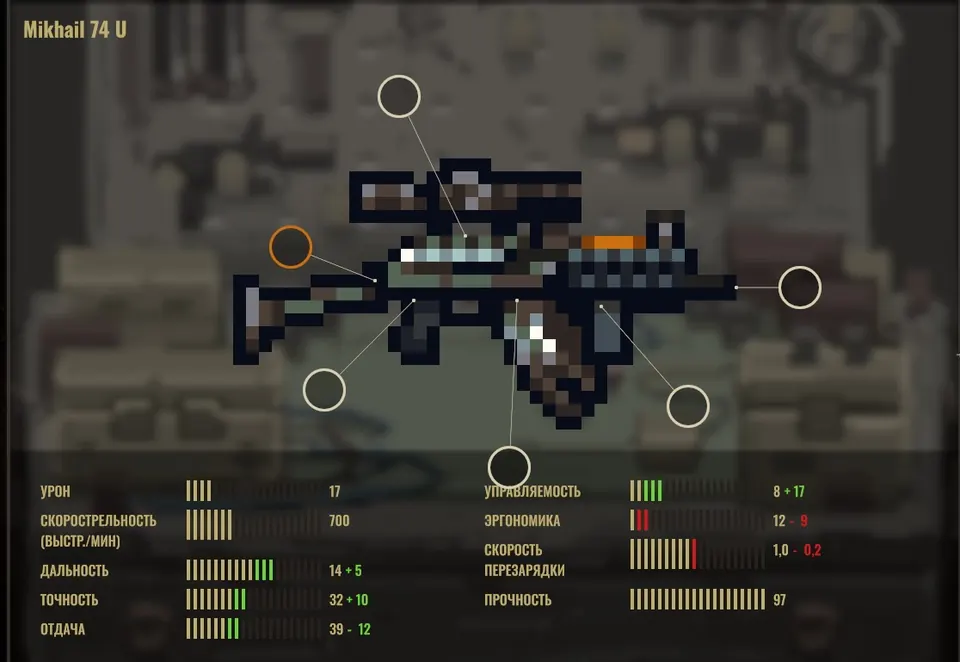
The short AK-style rifle has a folding stock, accepts optics and many attachments, and uses 10-, 30-, or 75-round magazines. Fold the stock to fit it in the reserve slot. It uses basic repairs, so restoring a damaged example is practical early on.
Full-Size AK-Style Rifle
The full-size AK-style rifle is a good main-slot weapon once attachments are fitted. Traders lock it behind rank 3, but damaged examples are common enough that restoring one is usually faster than buying one. It uses 10-, 30-, or 75-round magazines.
M4
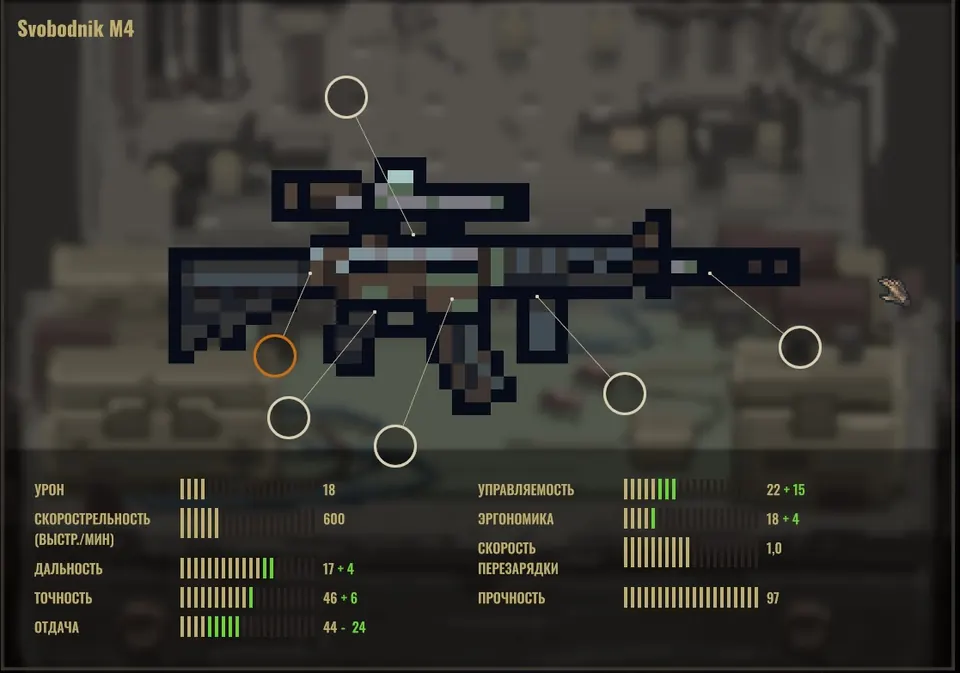
The M4 is more accurate than the full-size AK-style rifle and is a stronger main-slot choice when accuracy matters. Gunner enemies drop it, and it uses 10-, 20-, 30-, or 100-round magazines.
Integrated-Suppressor Rifle
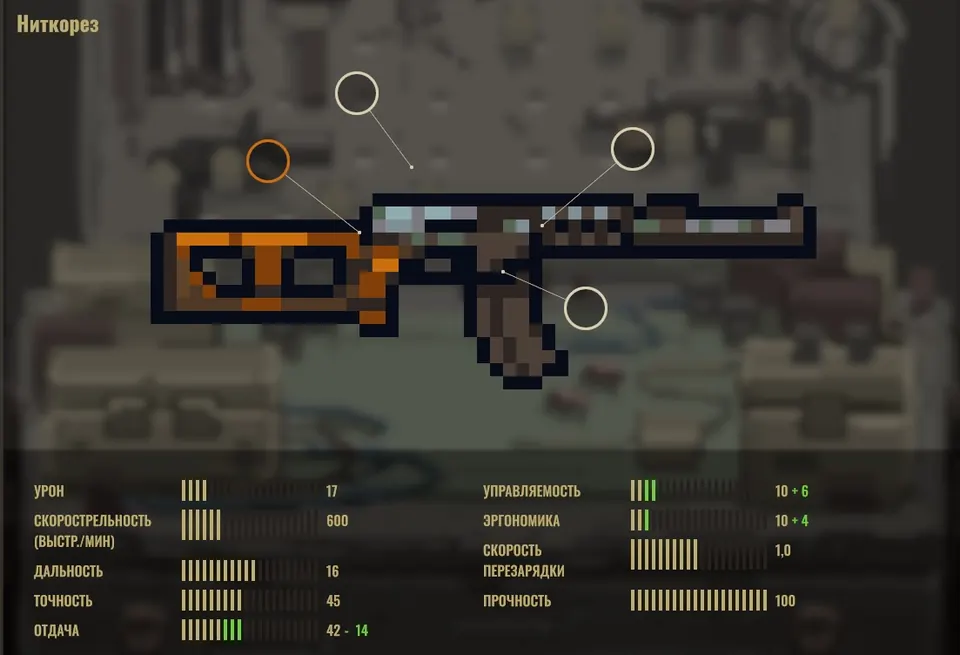
The rifle with an integrated suppressor has similar general statistics to the M4 and uses 10- or 20-round magazines. Fewer attachments were documented for it.
Fully Automatic Shotgun
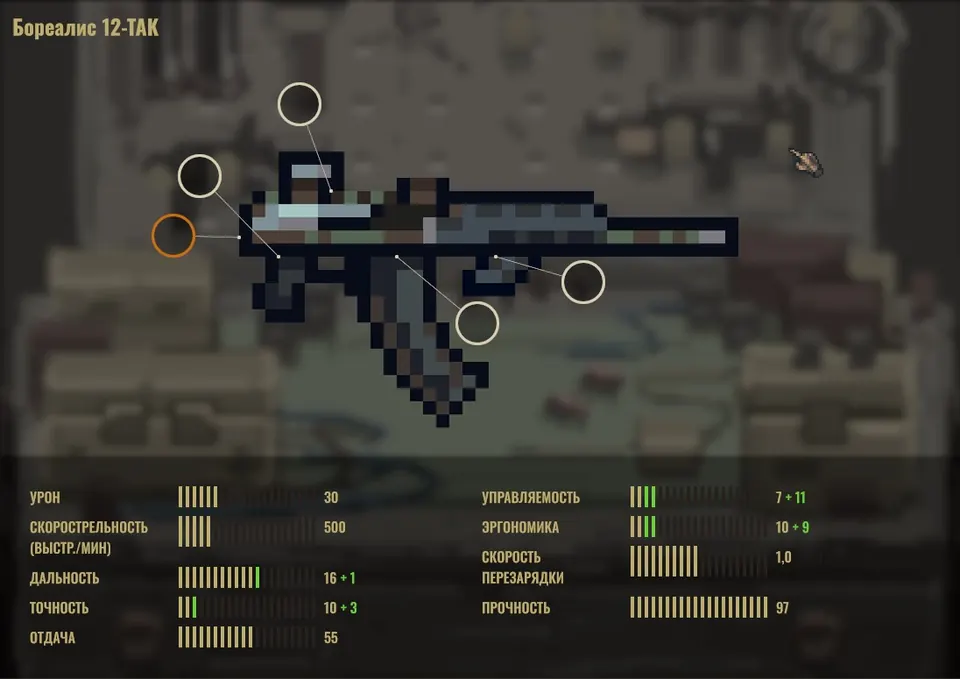
The fully automatic shotgun can empty its magazine in about one second. It uses 5- or 10-round magazines, and removing the stock lets it fit in the reserve slot.
Experimental Weapons
Durability matters as much as damage when deciding whether to use an experimental weapon.
Experimental Marksman Rifle
The high-damage experimental marksman rifle supports many modifications and uses 10- or 20-round magazines.
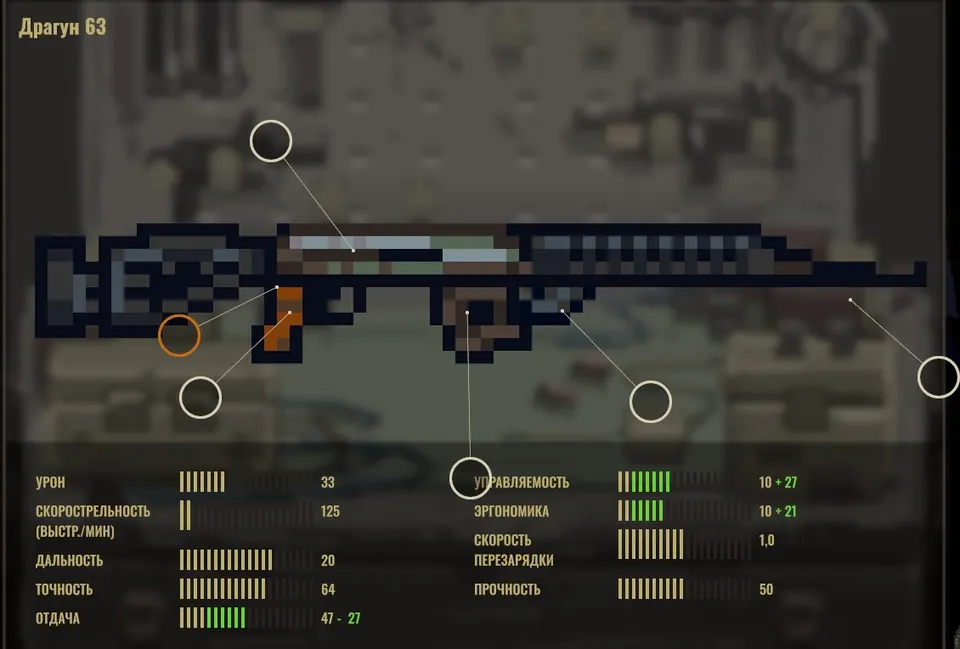
Large Experimental Rifle
The large experimental rifle deals damage comparable to about 2.5 large-caliber rounds per shot and uses 5- or 10-round magazines.