Draco and the Seven Scales: 100% Achievements
To 100% Draco and the Seven Scales, you need five collection achievements on top of the story ones: every sea chart, every fish, every Siren Boon, every bird and every ship cannon. Clearing all of them, plus the story achievements, unlocks Legendary Captain. Story achievements unlock on their own when you finish the game, so this page skips them. Most ship cannons also come with the story, so the only cannon covered here is the side-quest one that is easy to miss.
The short version: earn money by fishing first, because the sea charts cost a lot of coins. Catch every fish at spots A to L to open spot M and the King of the Sea, and the fisherman rewards a full collection with a bonus bird. Leave the Siren combs until you have every weapon, since some of them need late-game gear. Pick up the birds as the story allows, and do the Blacksmith side quest so you do not sail past the extra ship cannon.
Spoiler warning: the bird and ship cannon sections mention a few story characters and the post-game.
All achievements in this guide
| Achievement | What it asks | Main hurdle |
|---|---|---|
| Master Navigator | Collect all of the sea charts | Money |
| Master Angler | Land one of each fish | Finding all 13 fishing spots |
| Siren Melody | Earn all of the Siren Boons | All 14 Siren combs, then the Siren Queen’s upgrades |
| Flock Around | Collect all of the birds | Several birds need side quests or the post-game |
| Terror of the Seas | Collect all of the ship cannons | One cannon sits behind a side quest |
| Legendary Captain | Unlock every other achievement | Everything above, plus the story achievements |
Master Navigator: all sea chart locations
Getting the sea charts involves no fighting and no puzzles. The only hurdle is that they take a lot of coins. If you are short on money, do the fishing section first, because fishing is the quickest way to build up coins.
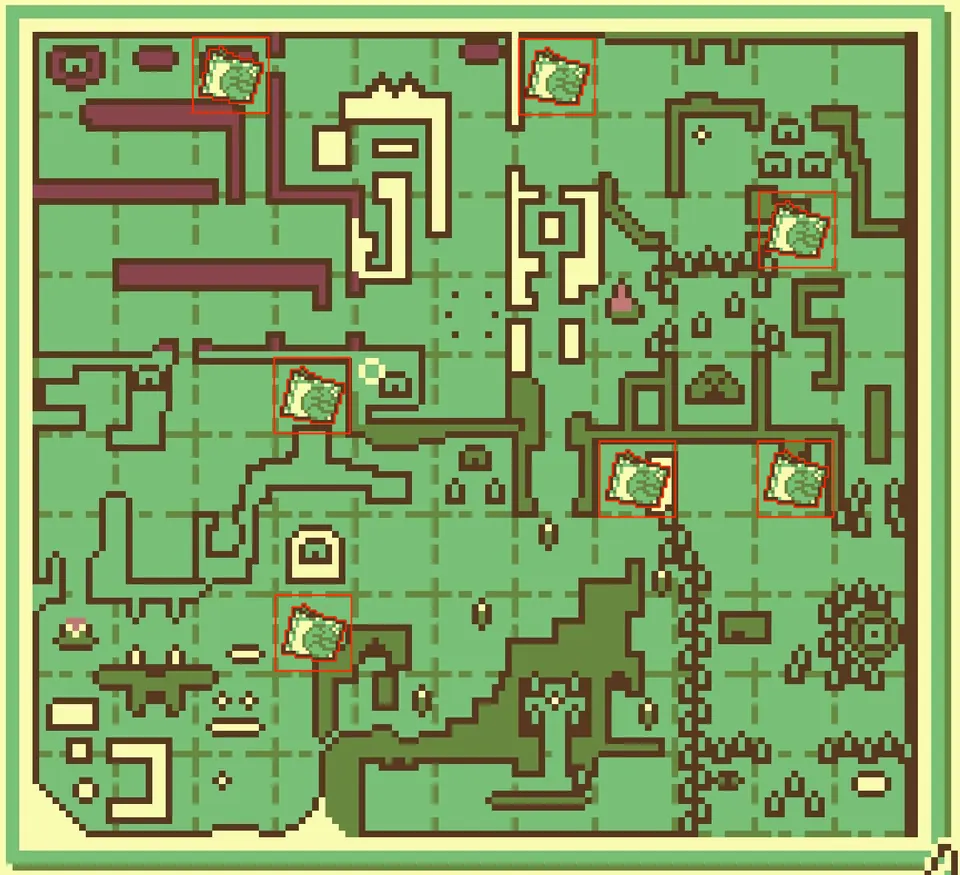
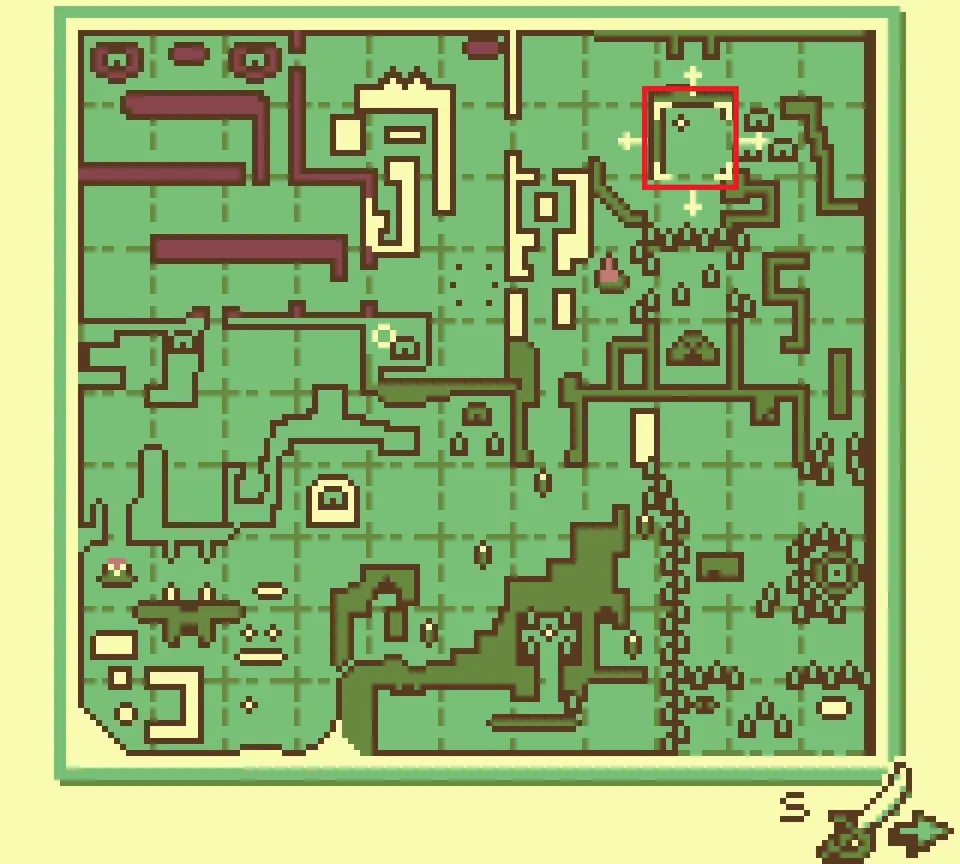
There are seven sea charts, and the map below marks where each one is.
Master Angler: all fishing locations
The game will sell you fishing hints. Once you hold 7 scales, the fisherman at the hideout charges 75 coins for the locations of every fishing spot. The spots below are the free alternative.
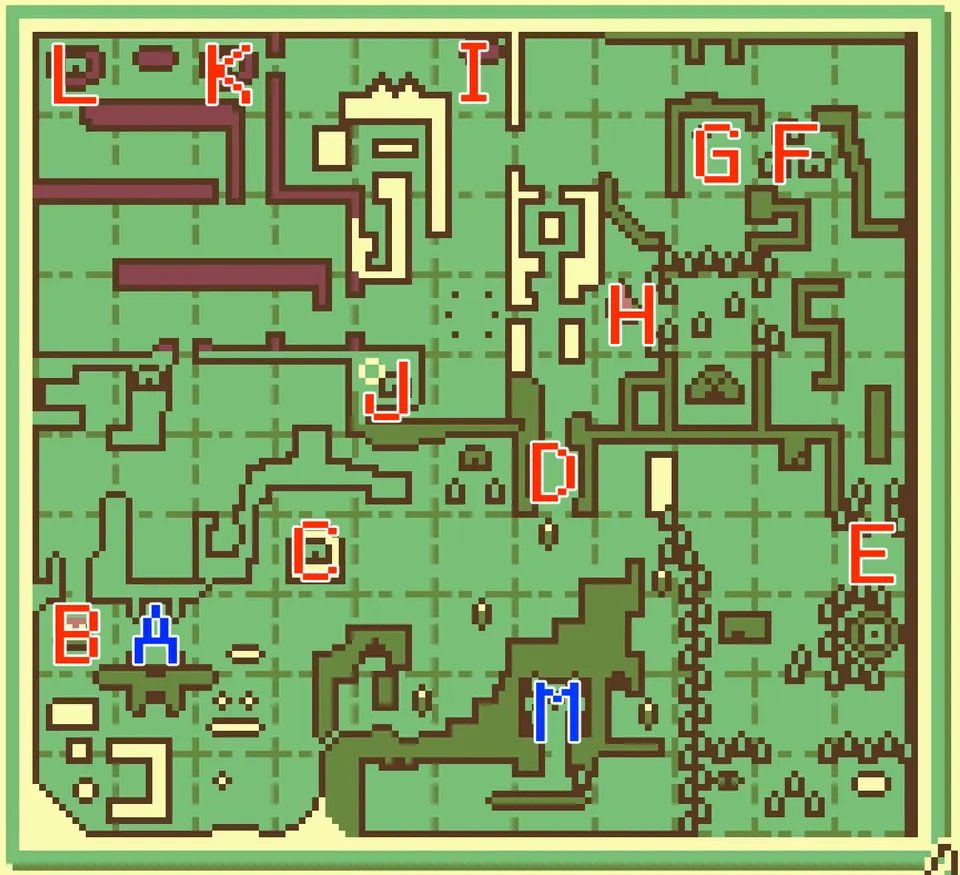
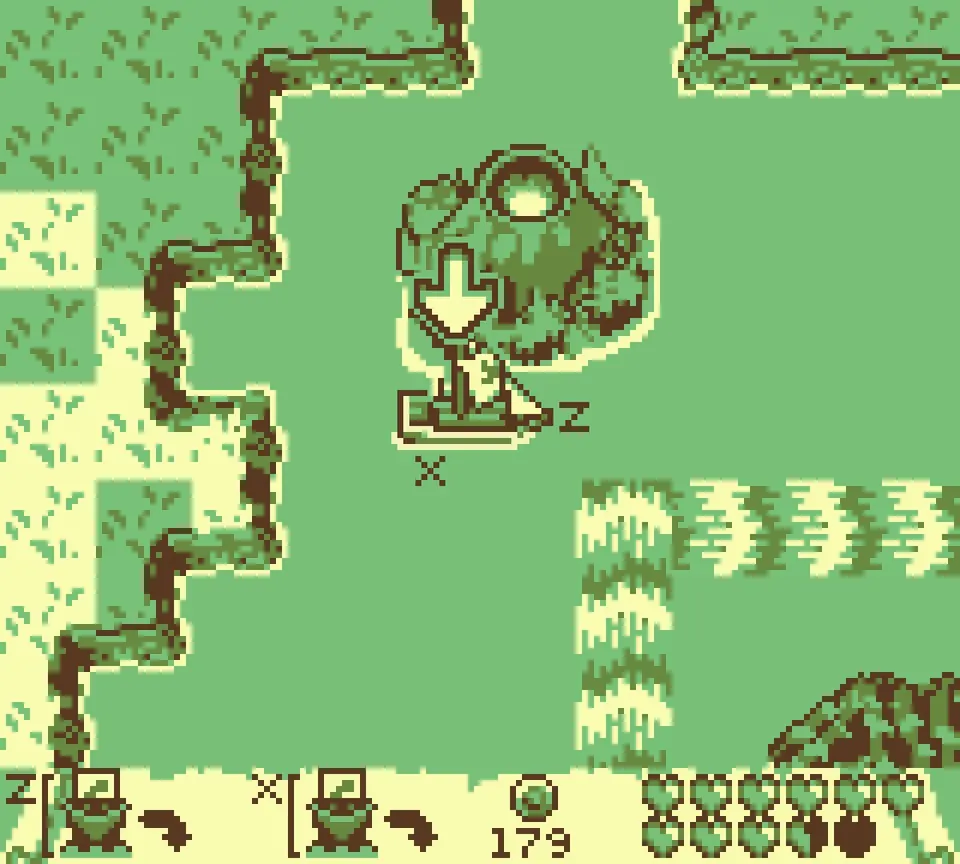
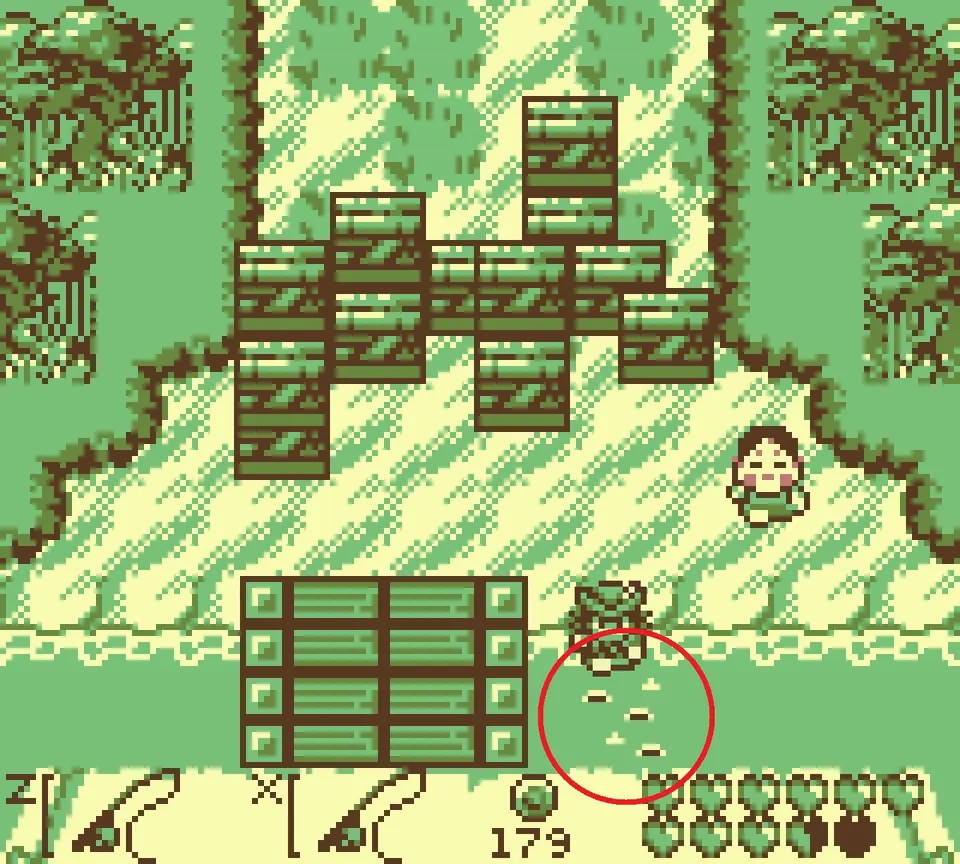
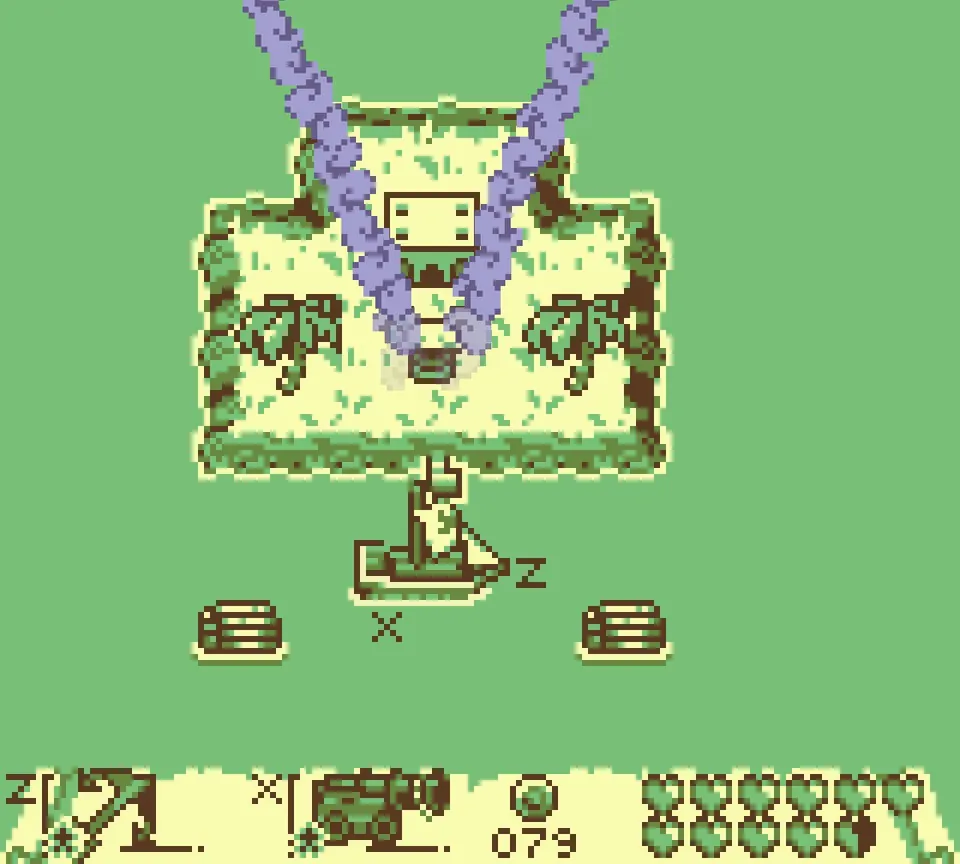
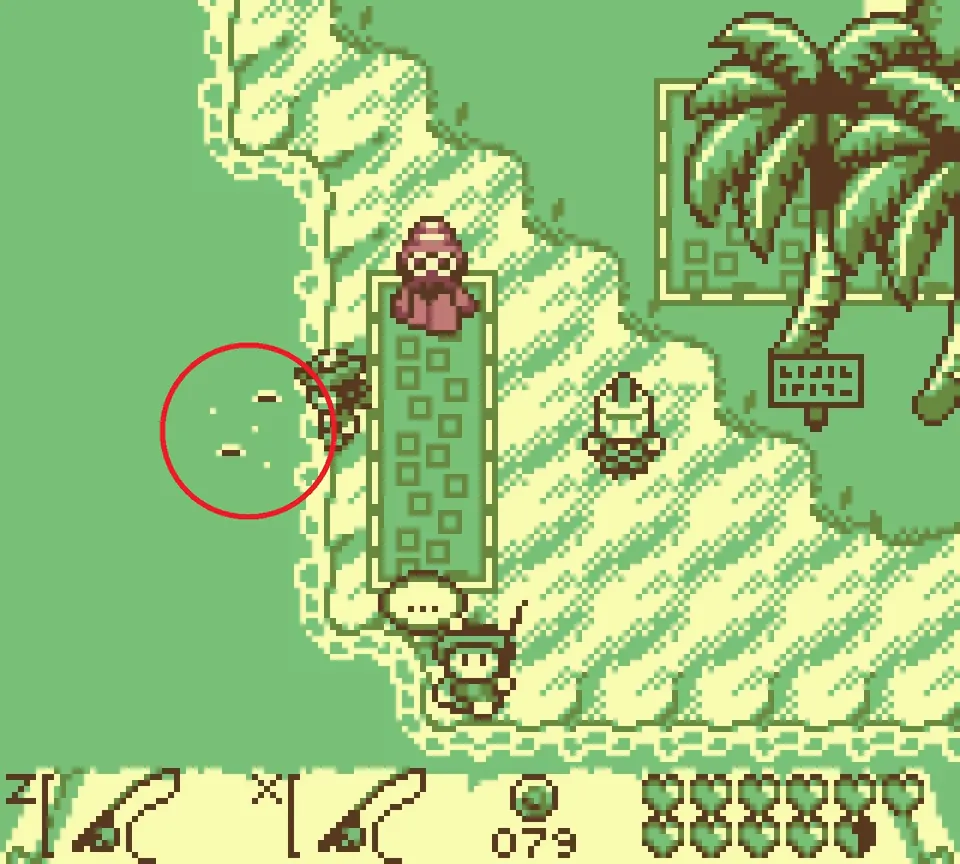
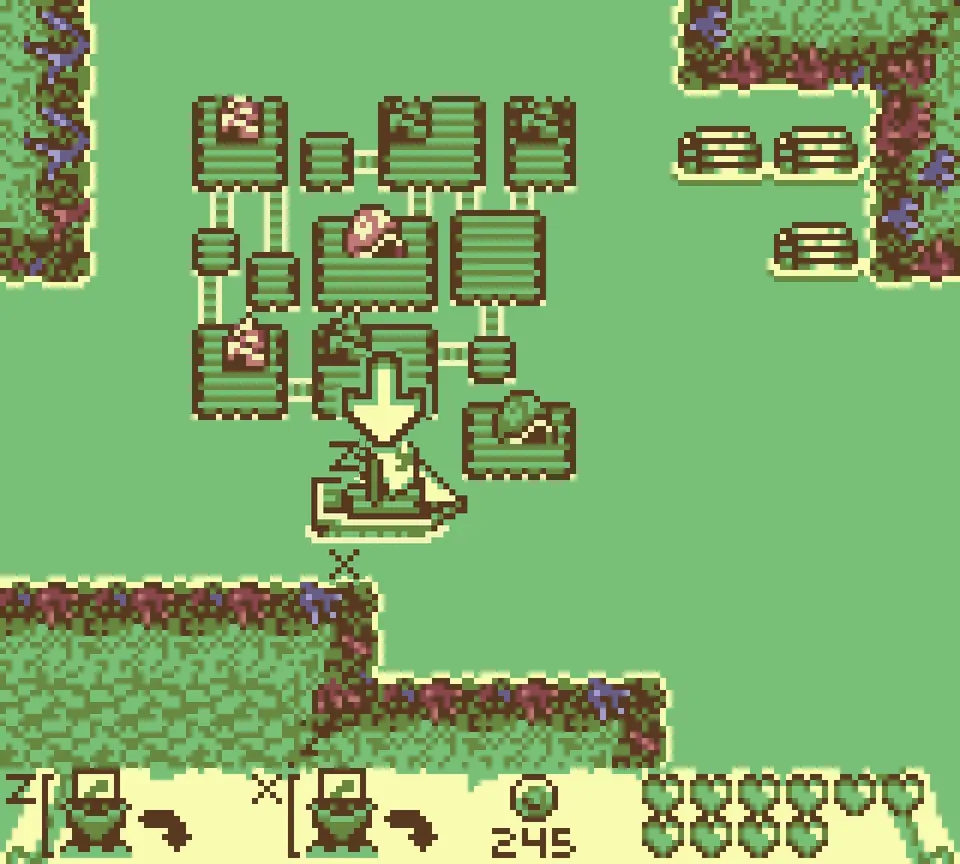
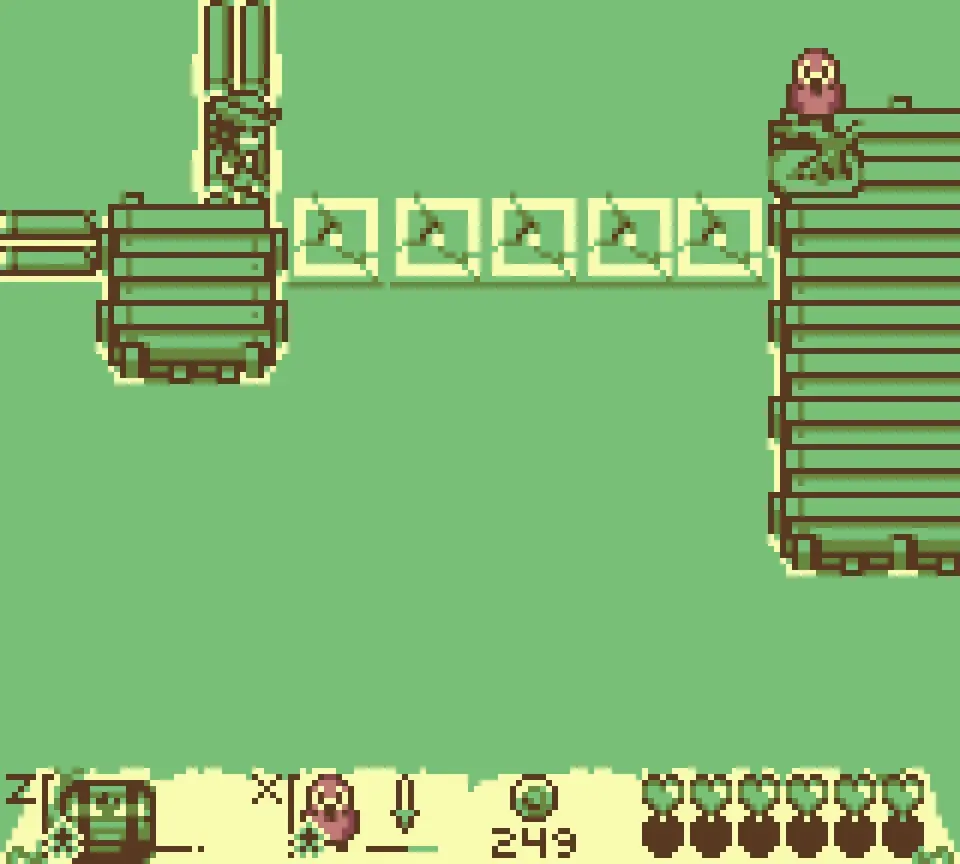
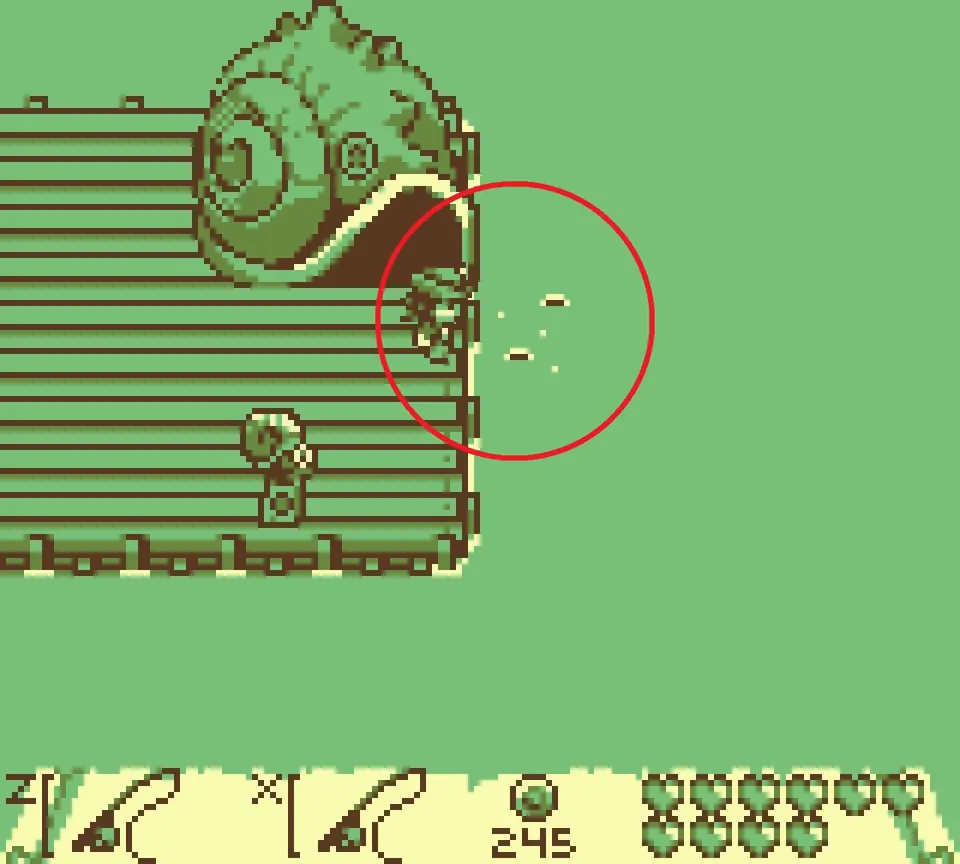
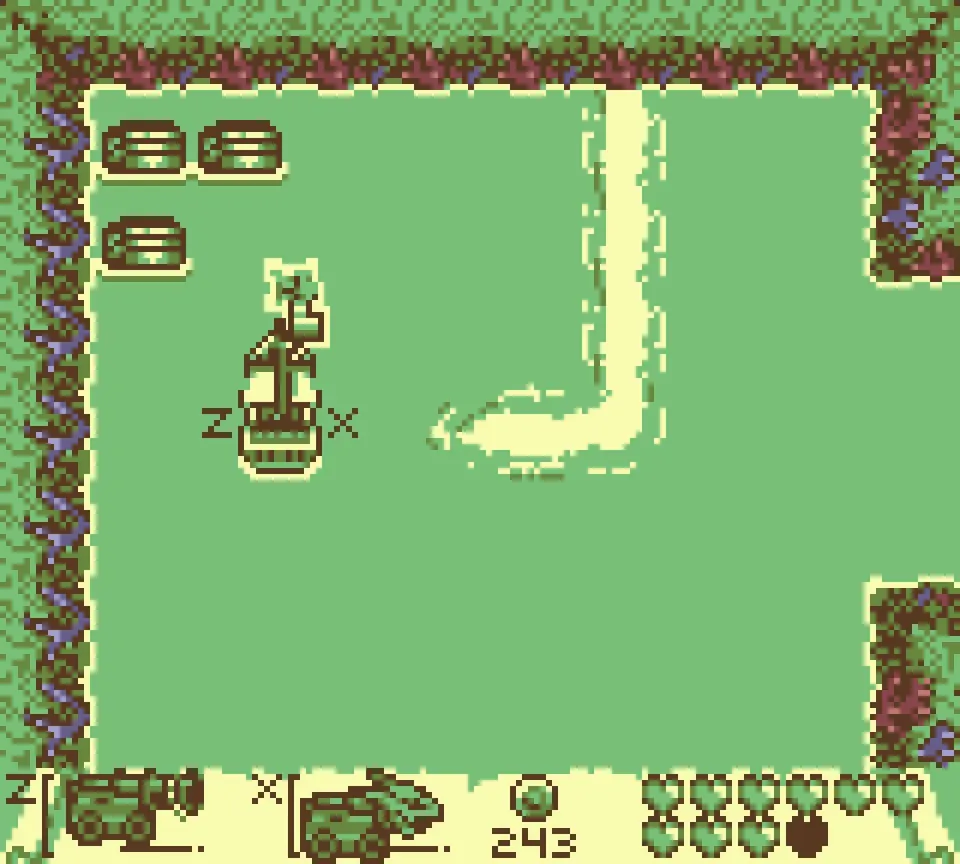
The map shows all fishing spots lettered A to M. In most of the screenshots below, the first picture shows where to park the boat (the arrow) and the second circles the ripples where the fish bite.
Fishing spot A
Land on the island inside the cave and speak to the man in the top-left corner. He runs the fishing tutorial and gives you the rod, and nothing else can be fished until you have it.
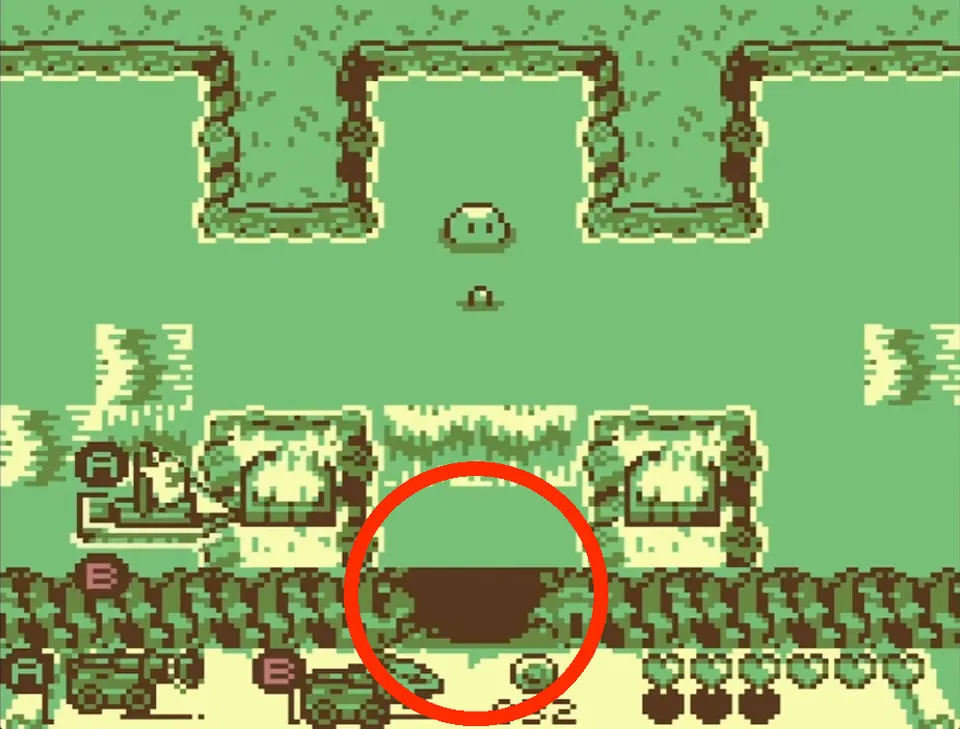
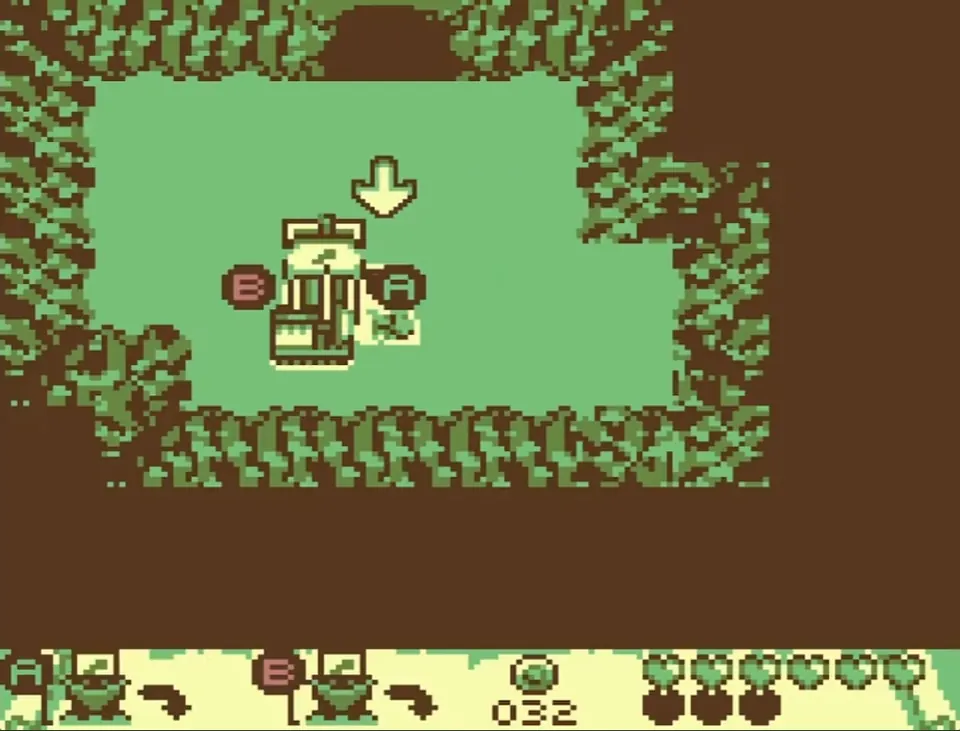
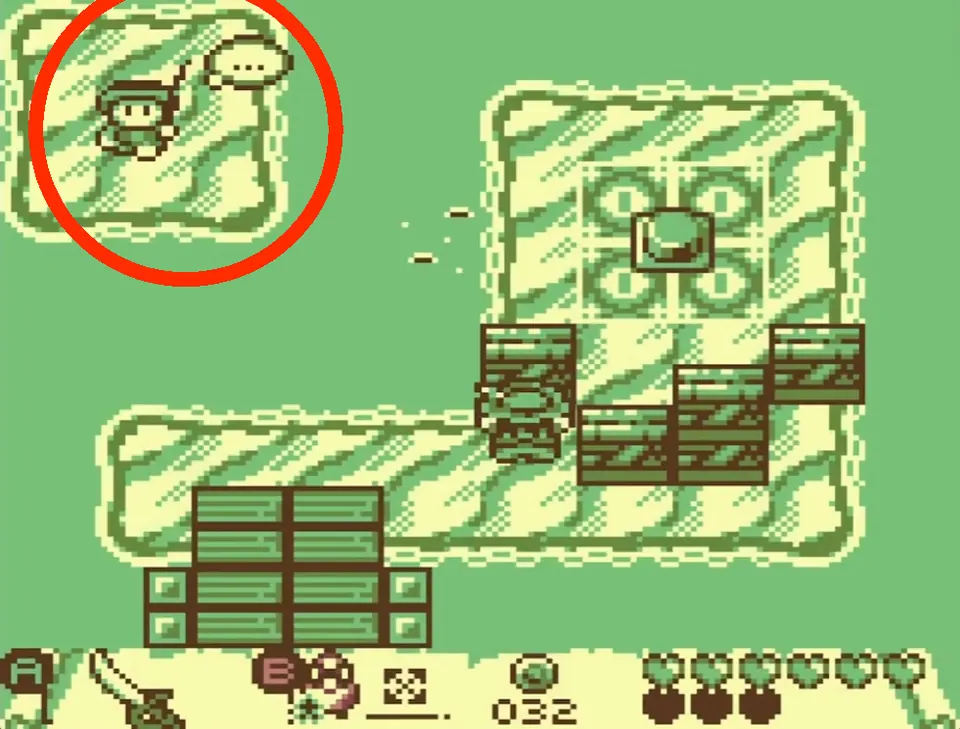
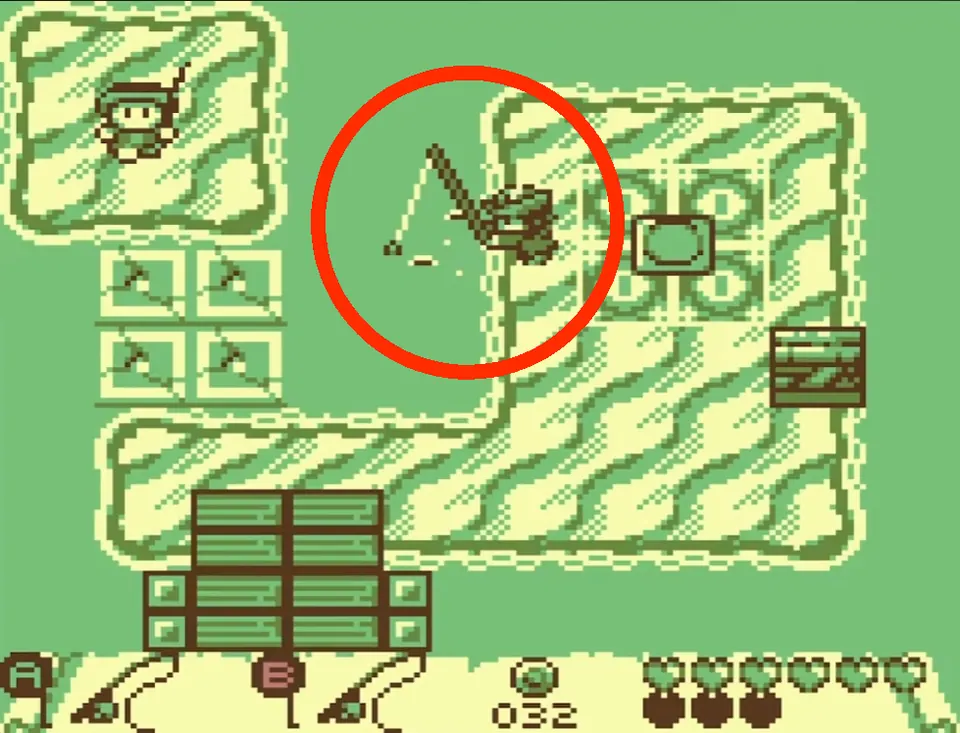
Once the fishing tutorial is done, there is a second fishing spot right next to it, so cast there before you leave.
Fishing spot B
Fishing spot B: dock at the arrow and fish the circled ripples below the stacked crates.
Fishing spot C
Fishing spot C is right beside the fisherman at the hideout.
Fishing spot D
Fishing spot D: dock at the arrow and fish the circled ripples beside the pier steps.
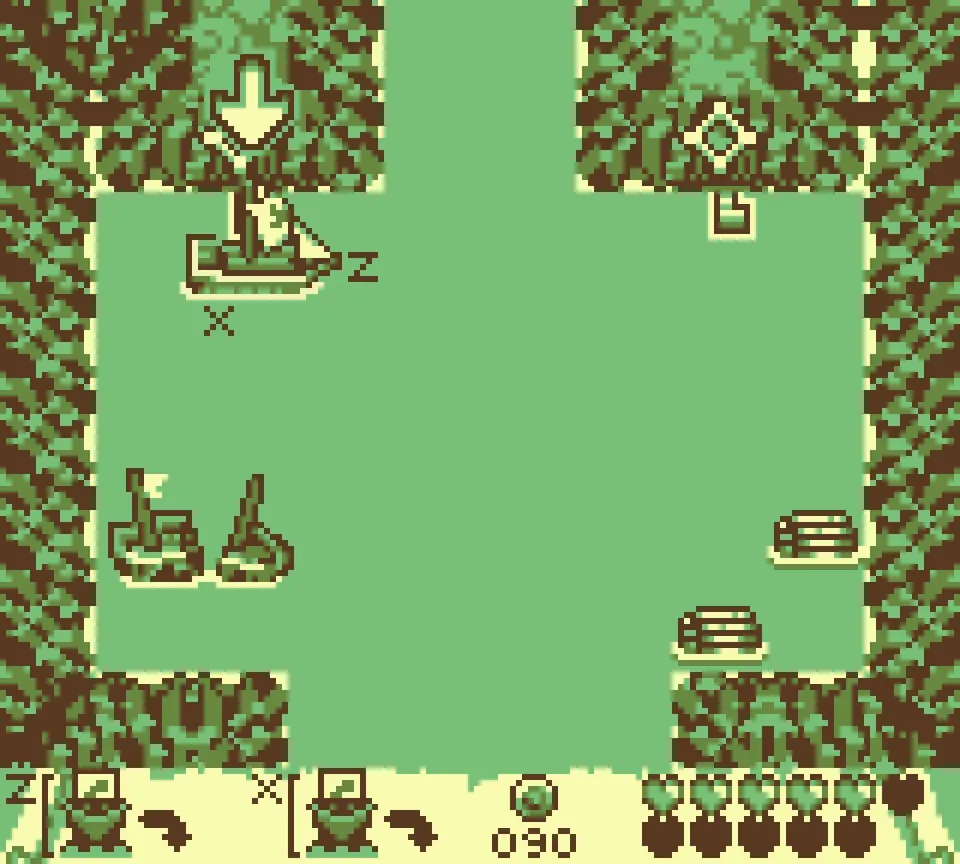
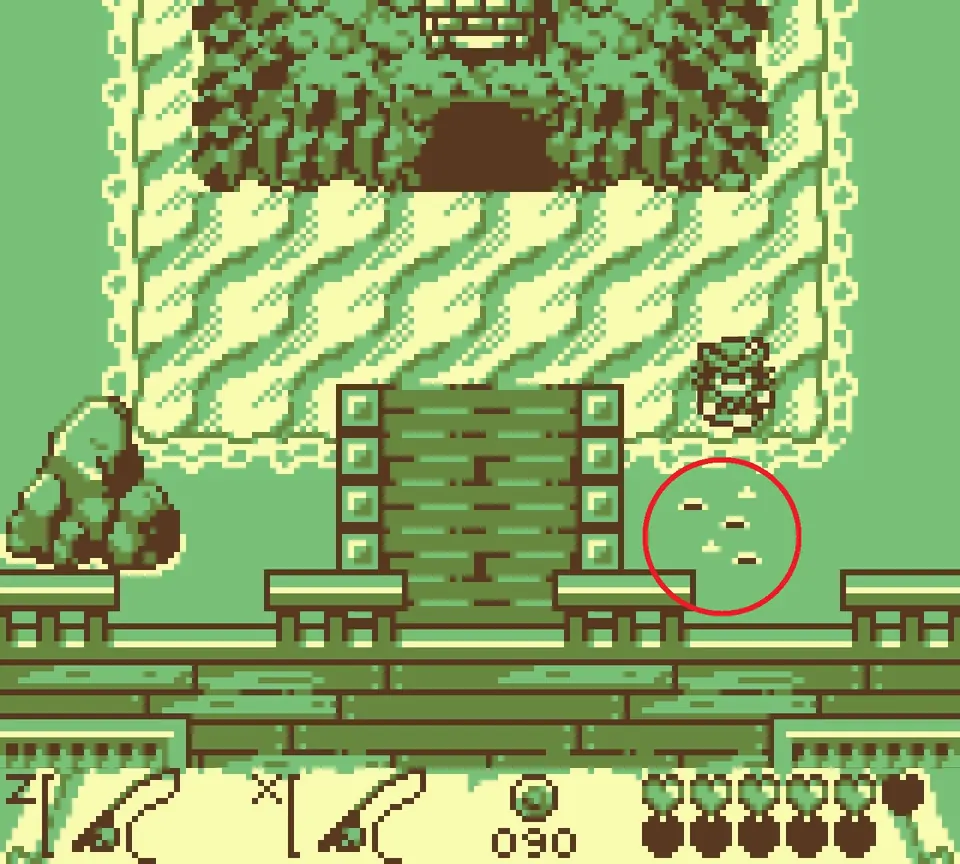
Fishing spot E
Fishing spot E: dock at the arrow and fish the circled ripples at the forest edge.
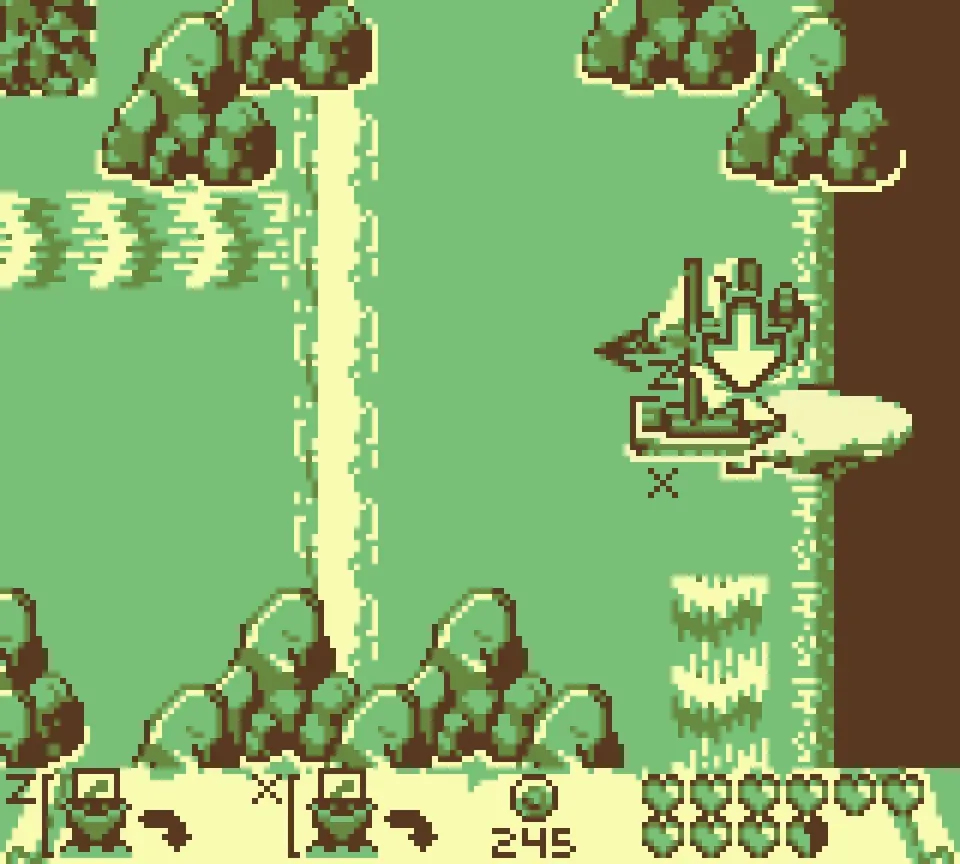
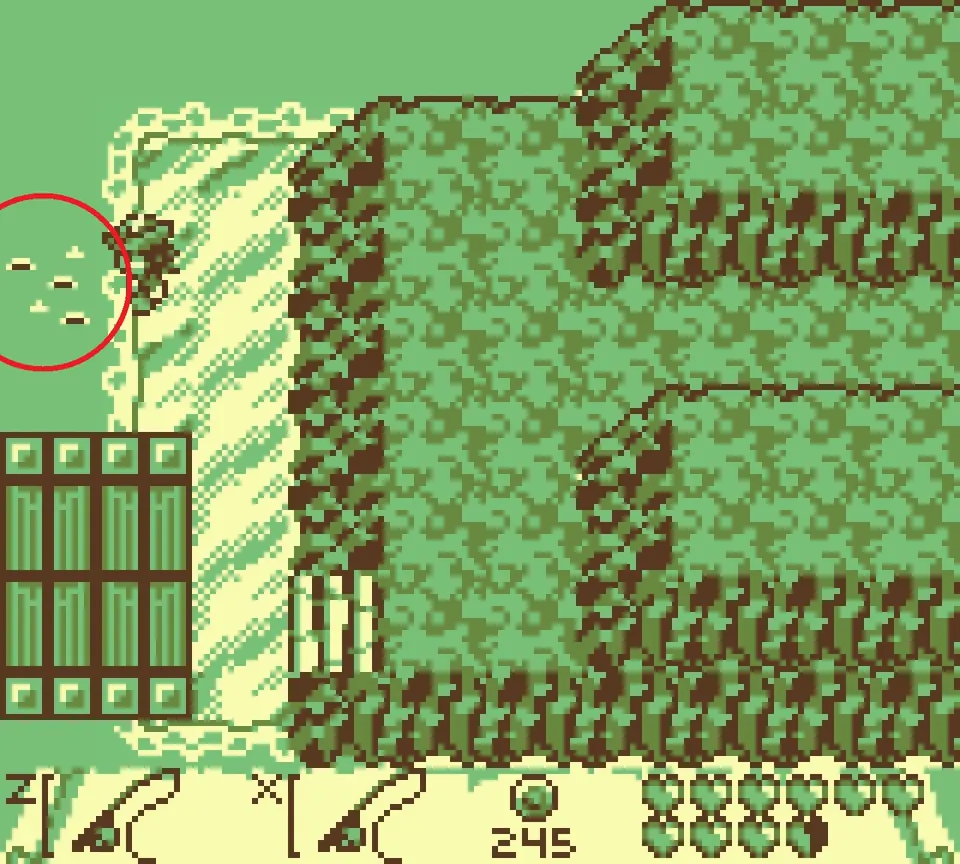
Fishing spot F
Command your bird to open the hidden path, then cross over to the far side to reach the water.
Fishing spot G
Fishing spot G: dock where shown and fish the circled ripples at the top of the grassy channel.
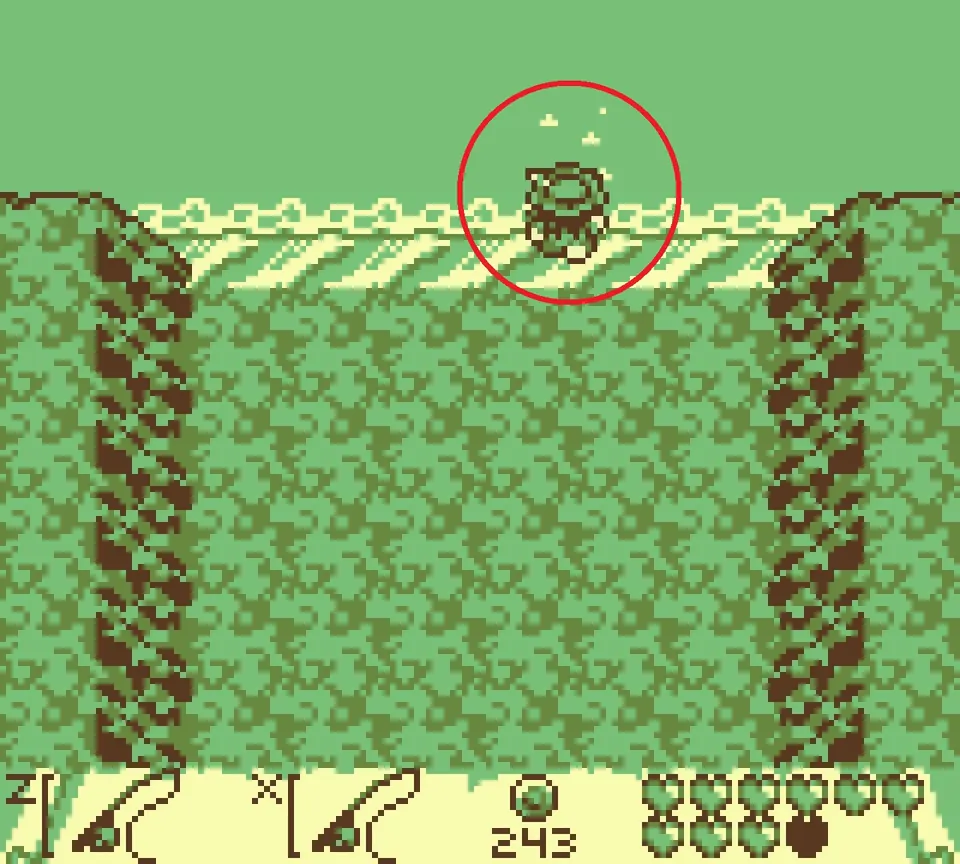
Fishing spot H
Walk down the hidden path in the middle of the cliff to reach the water.
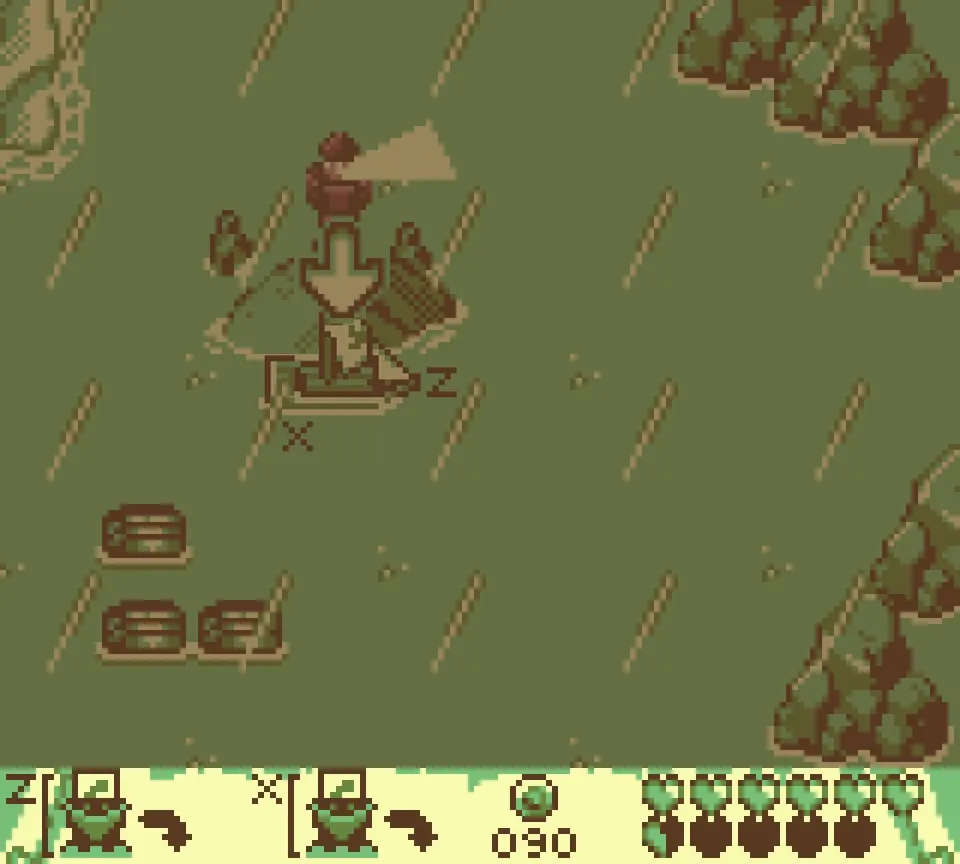
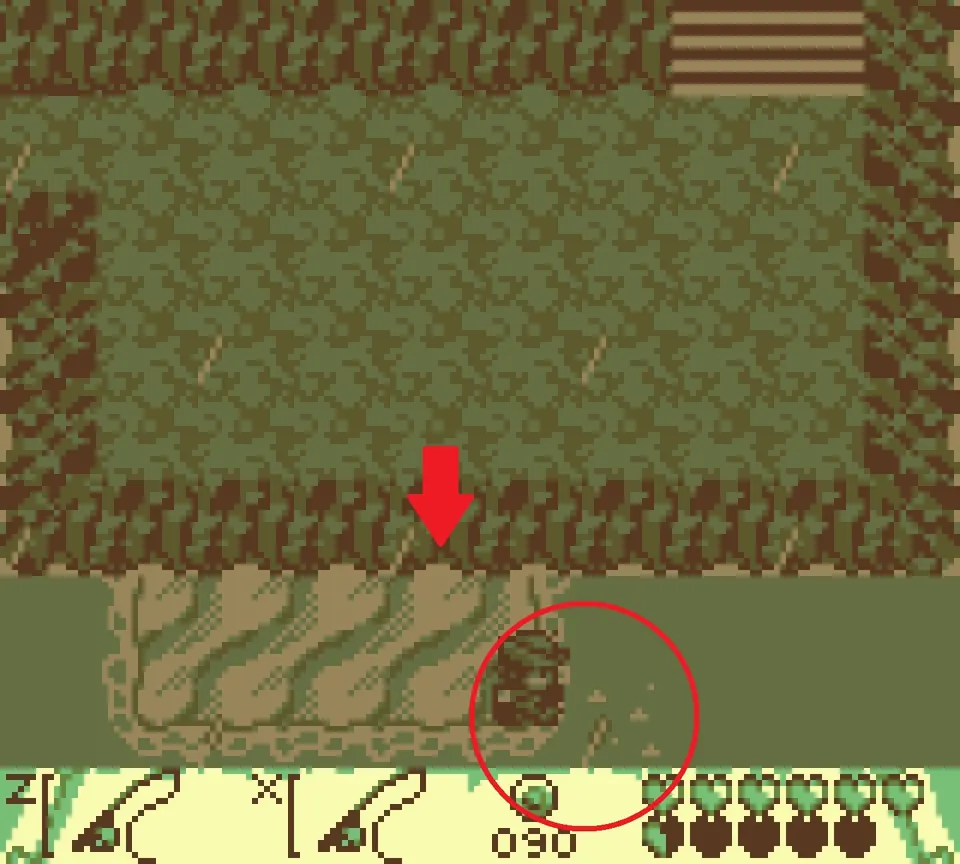
Fishing spot I
Fishing spot I: dock at the arrow and fish the circled ripples below the ledge.
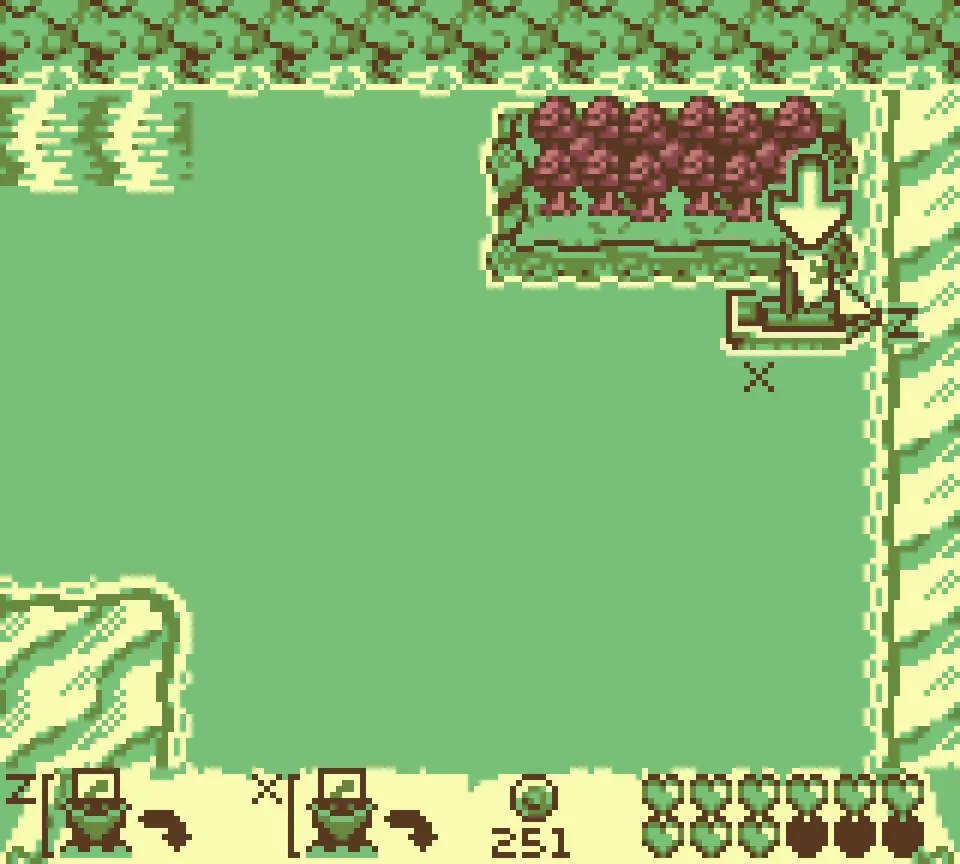
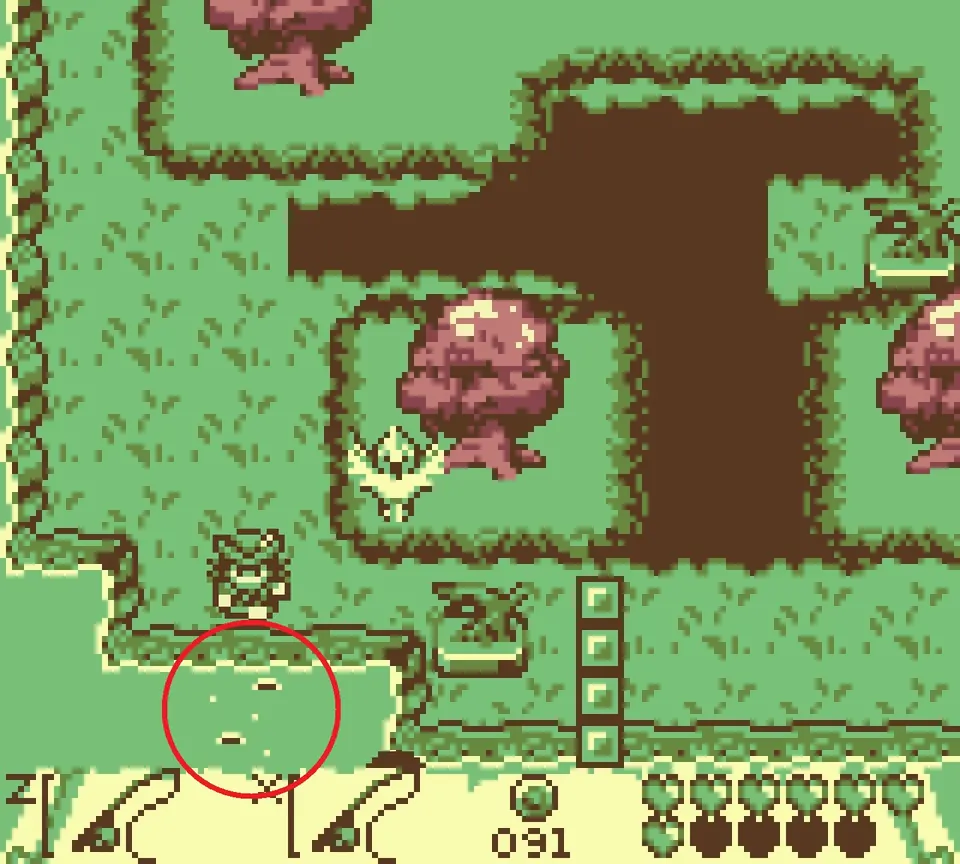
Fishing spot J
You need your bird to open the hidden path before you can reach this water.
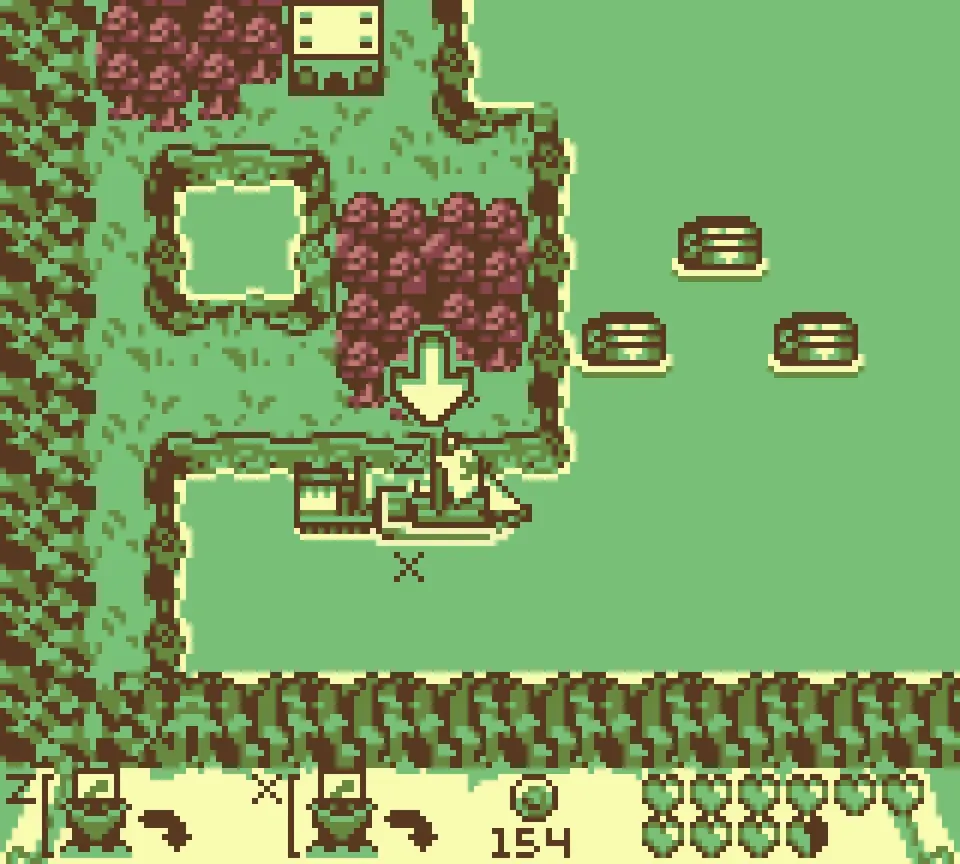
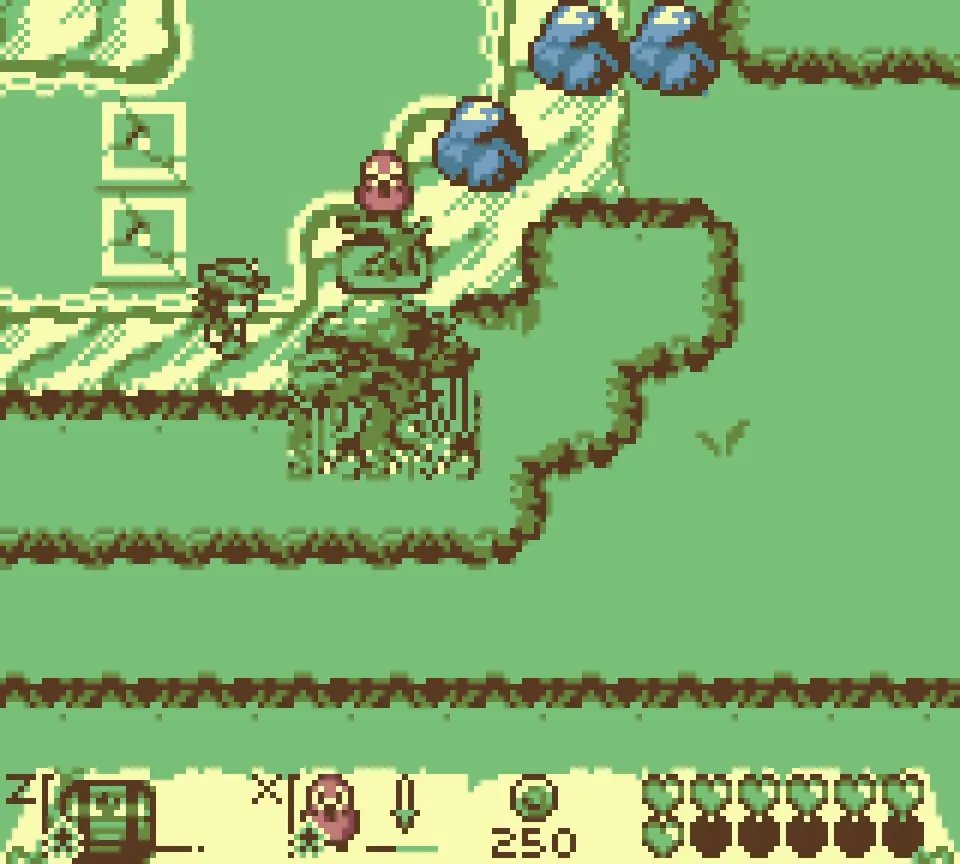
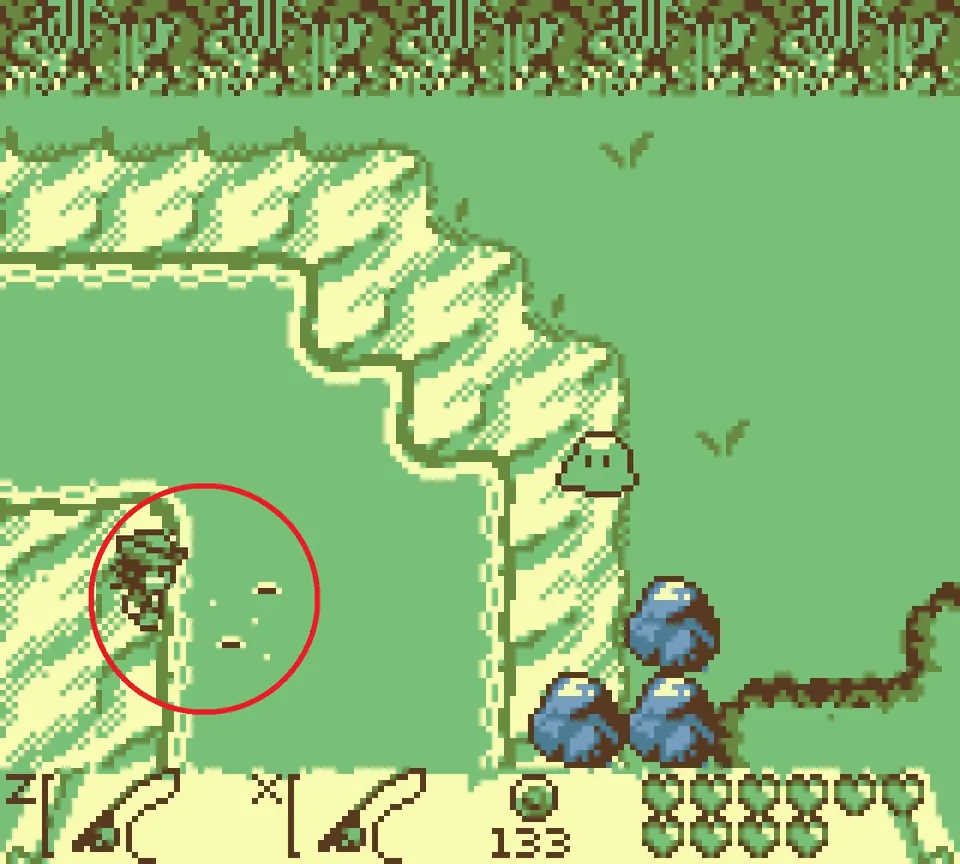
Fishing spot K
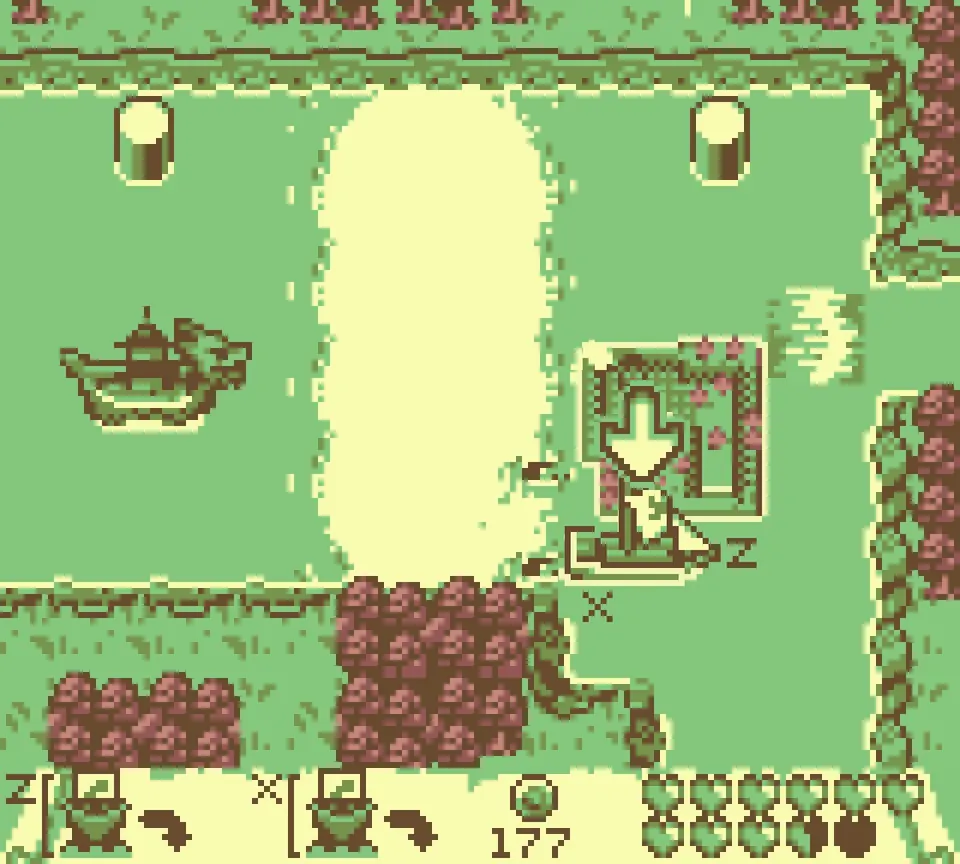
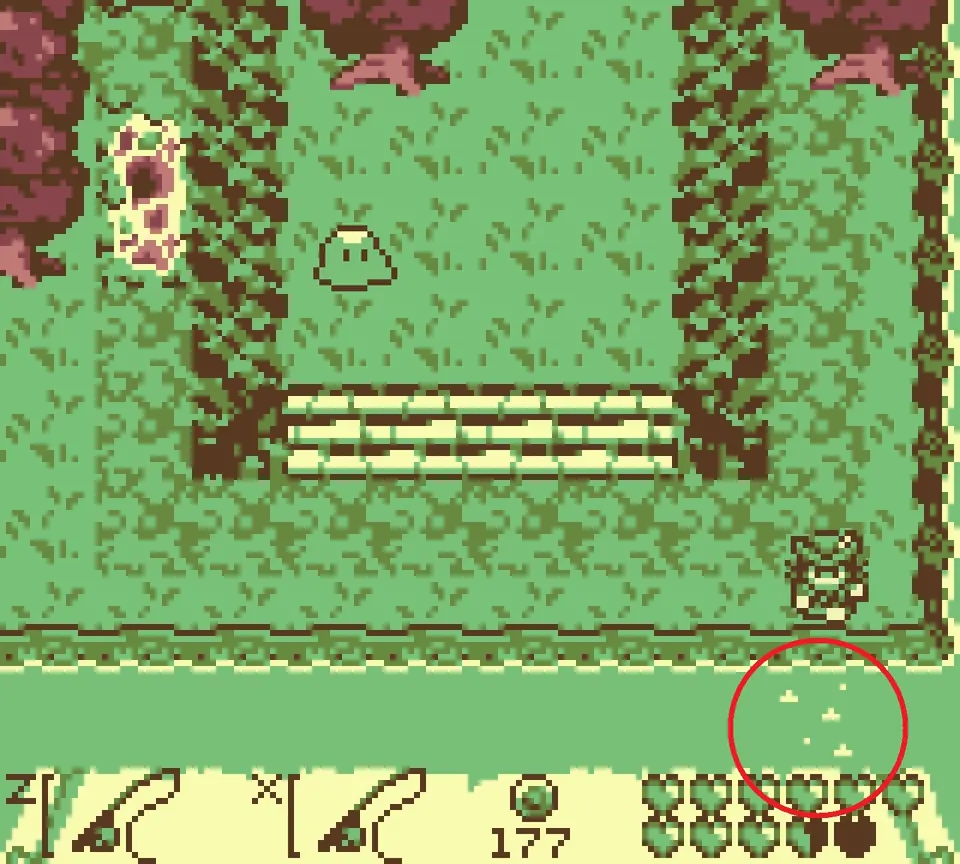
Fishing spot K: dock at the arrow and fish the circled ripples in the corner of the walled garden.
Fishing spot L
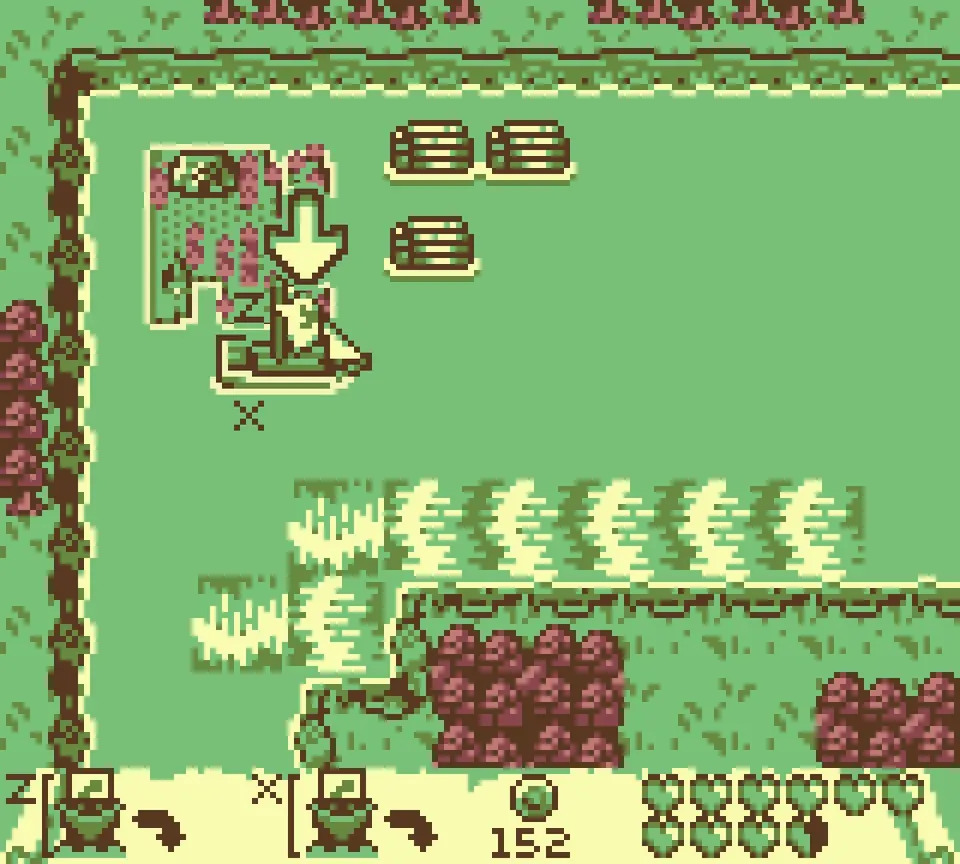
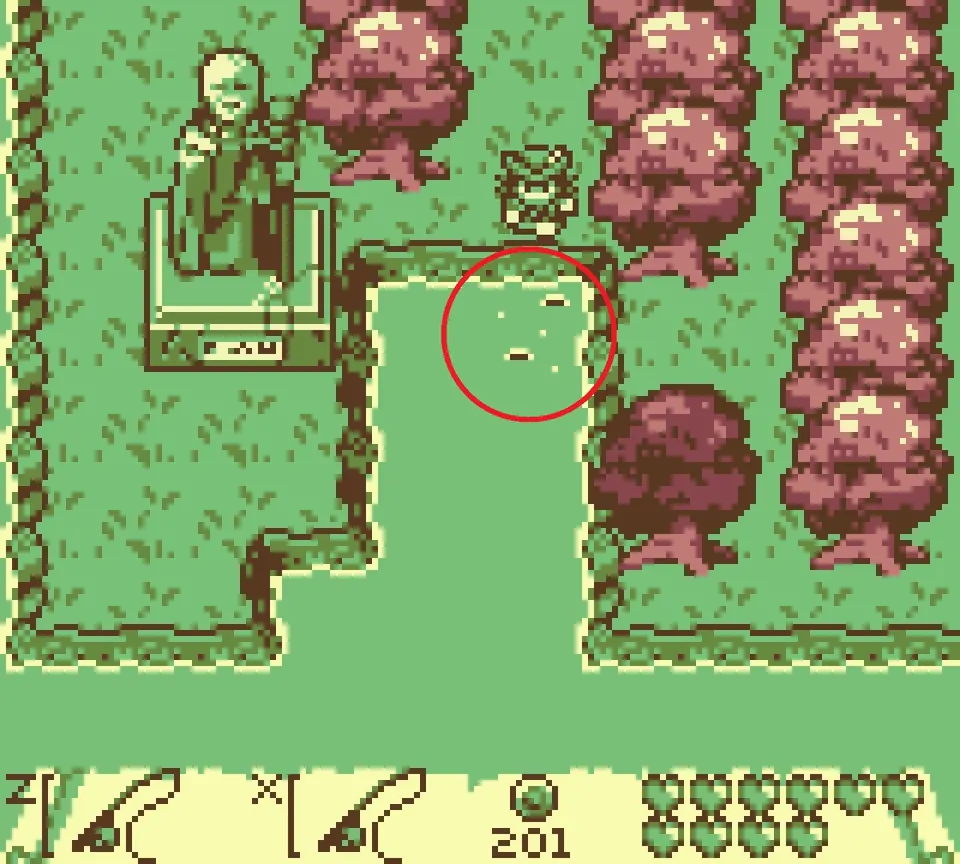
Fishing spot L: dock at the arrow and fish the circled ripples next to the statue.
Fishing spot M and the King of the Sea
Once every other fish is in your collection, spot M opens and you can take on the King of the Sea.
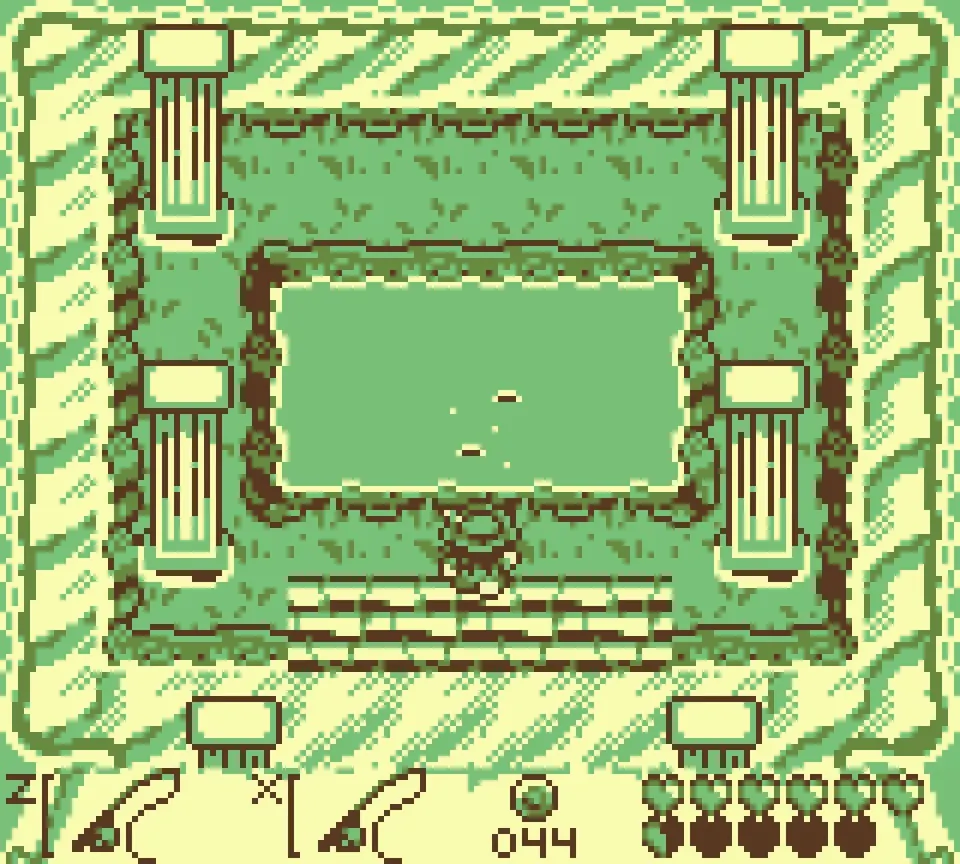
Siren Melody: Siren combs and the Siren Queen
Some Siren combs need weapons you only get late in the game, so collecting them is easiest once you have every weapon. Siren Melody unlocks once you have handed all 14 combs to the Siren Queen and she has upgraded all of your weapons and ship equipment.
How to get to the Siren Palace
The game gives clear hints for finding the palace. It sits beyond Shipwreck Passage, the maze to the right of the lighthouse.
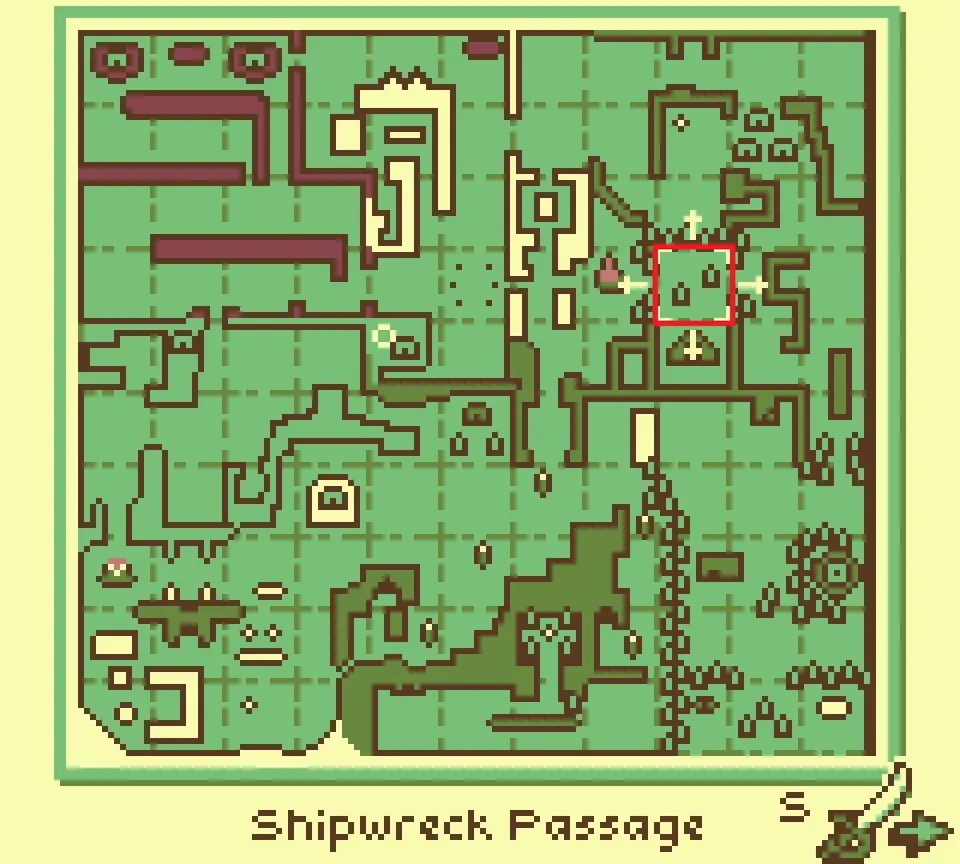
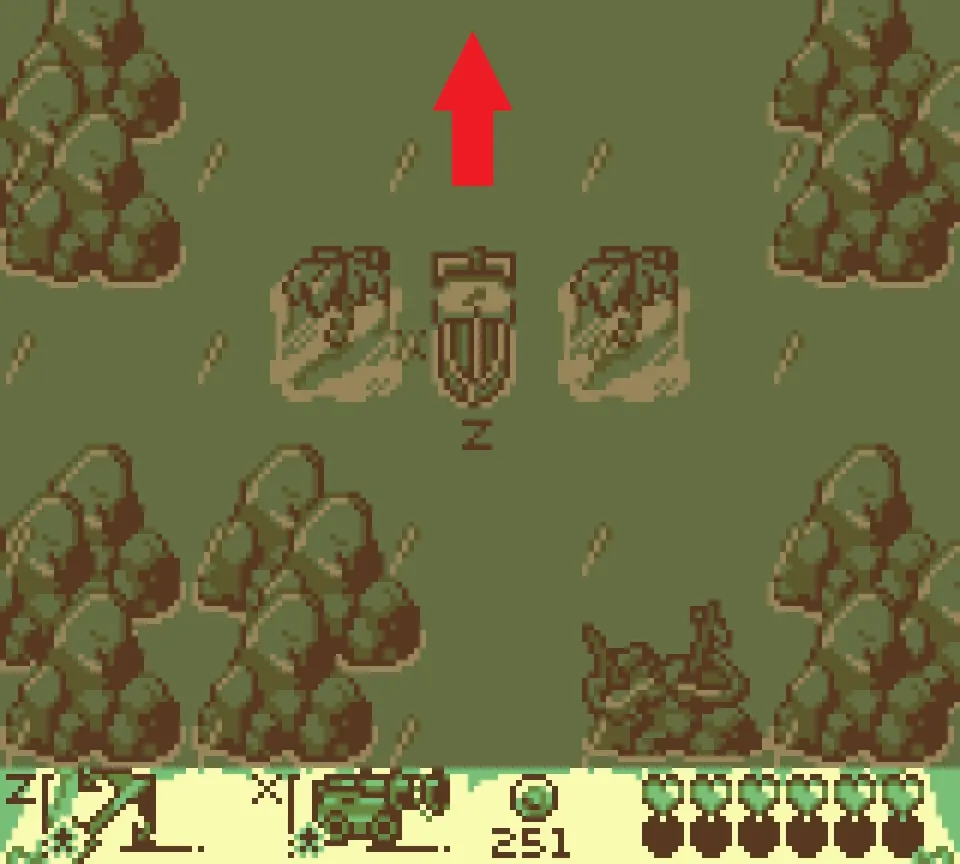
Work through the maze until you reach the spot with two palm trees, then turn and go up.
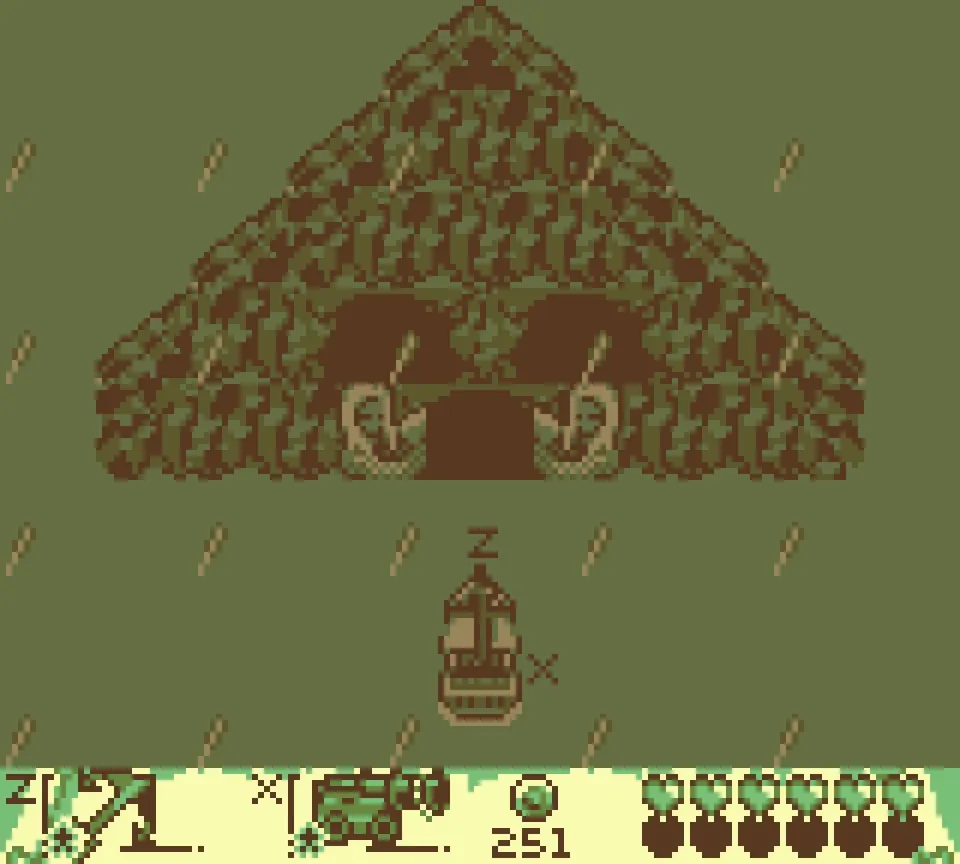
That brings you to the Siren Palace.
The game also sells comb hints here. With 7 scales, a Siren in the palace charges 75 coins for the location of every comb. The list below saves you the coins.
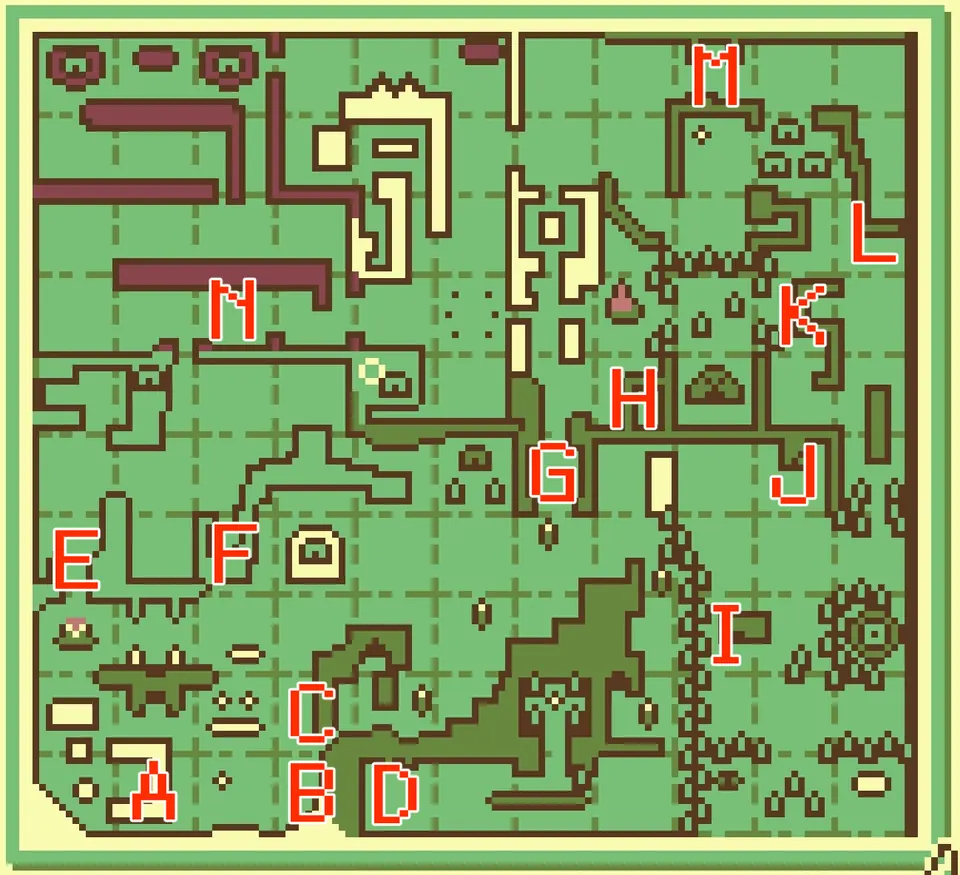
All Siren comb locations
The map shows all comb locations lettered A to N.
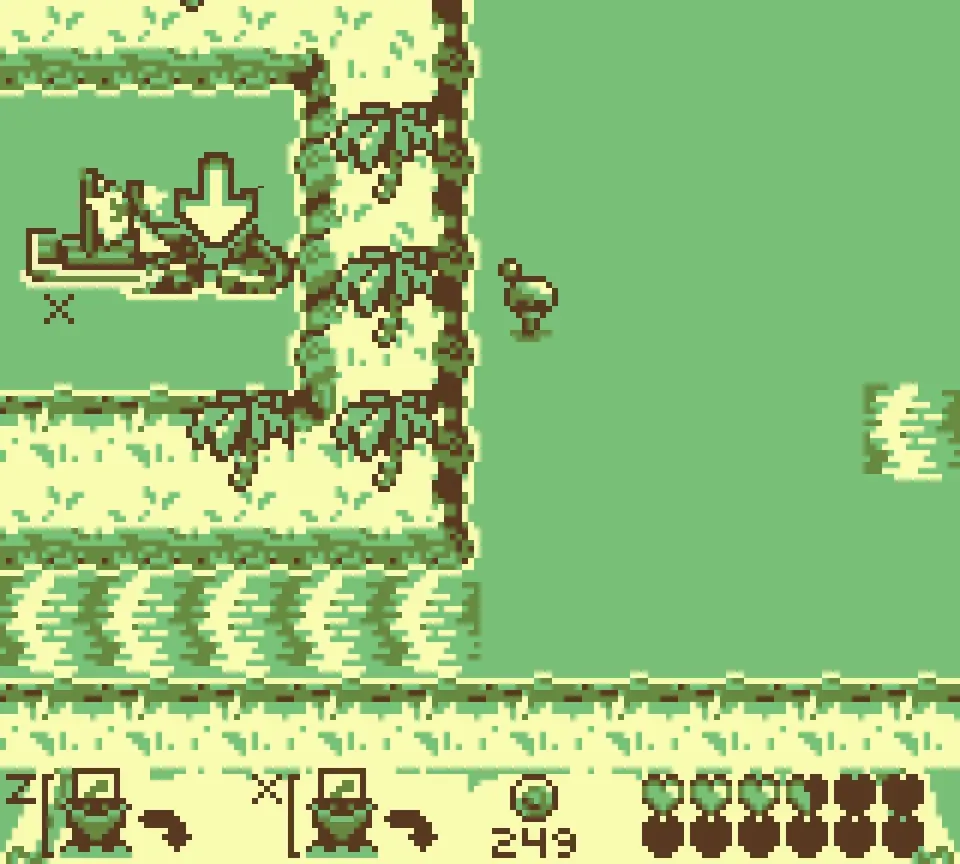
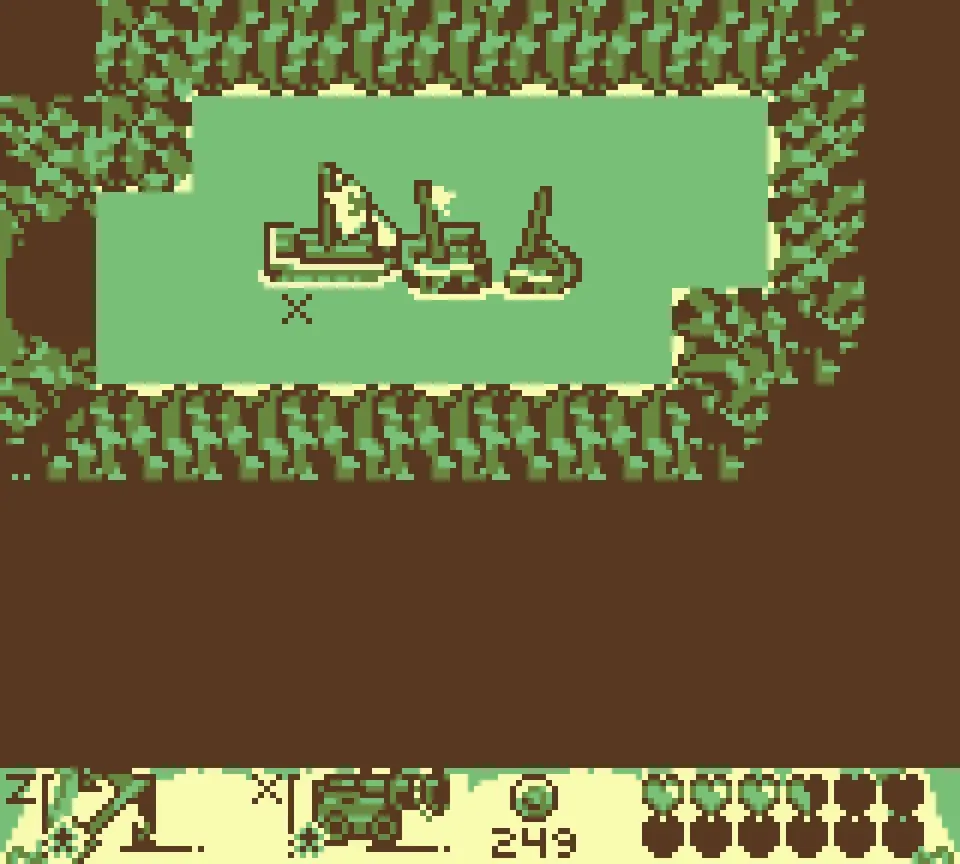
Siren comb A
Siren comb A is hidden in a wrecked ship, at the spot the arrow points to.
Siren comb B
Siren comb B: dock in the cave pool shown.
Siren comb C
Siren comb C: dock at the arrow beside the bushy cliff.
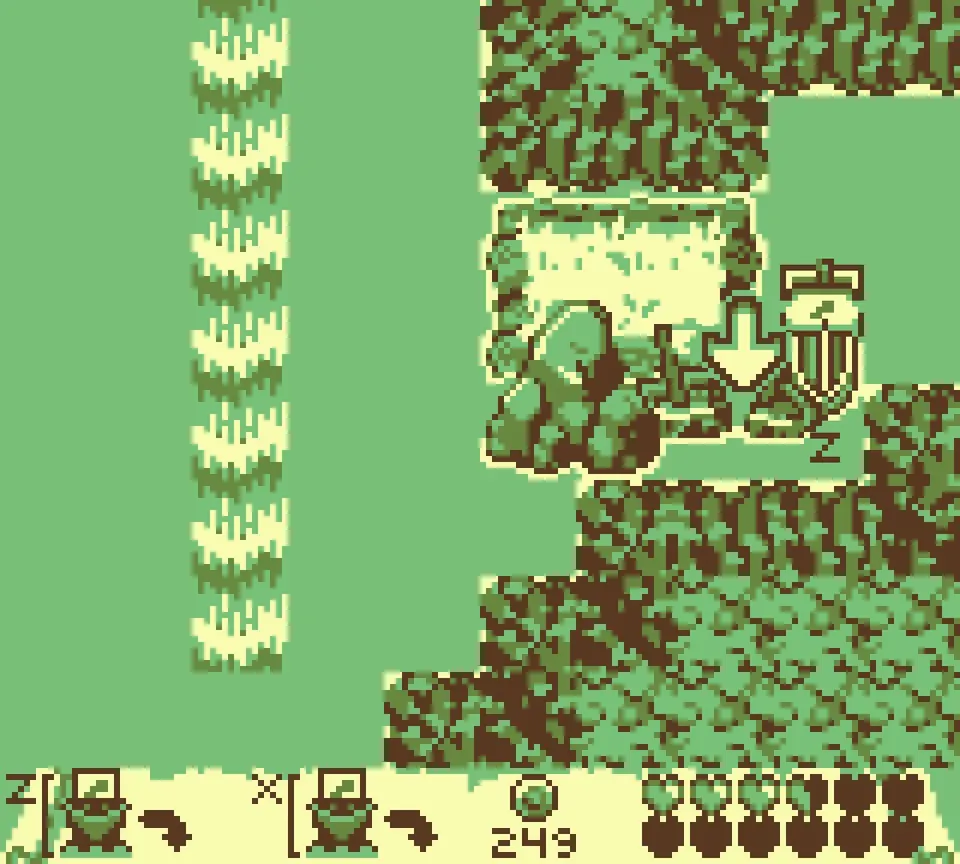
Siren comb D
Complete the trial in the cave to get Siren comb D.
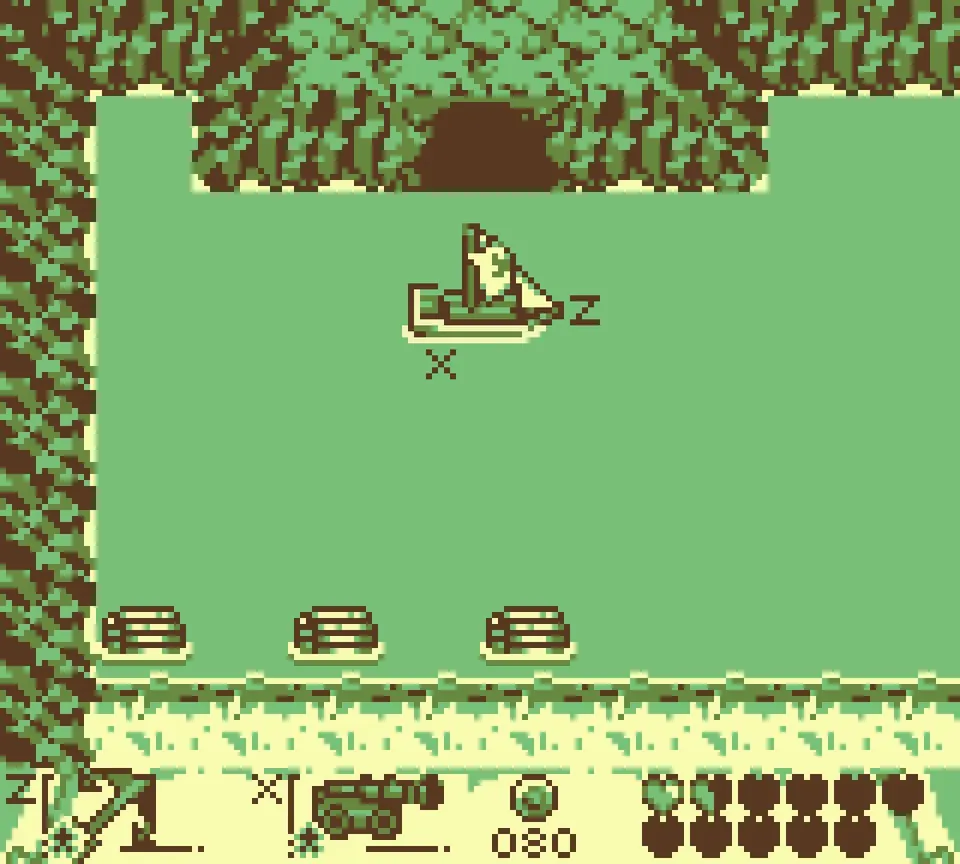
Siren comb E
Siren comb E: dock at the landing inside the walled channel.
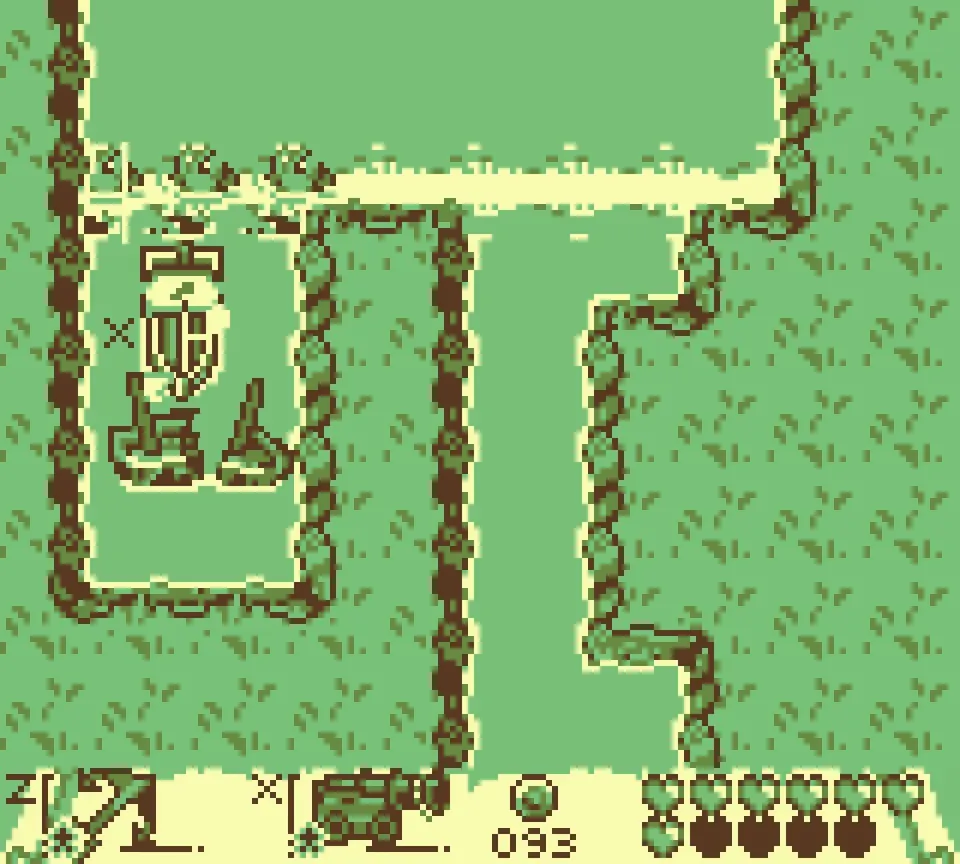
Siren comb F
Siren comb F: dock at the landing in the zigzag channel.
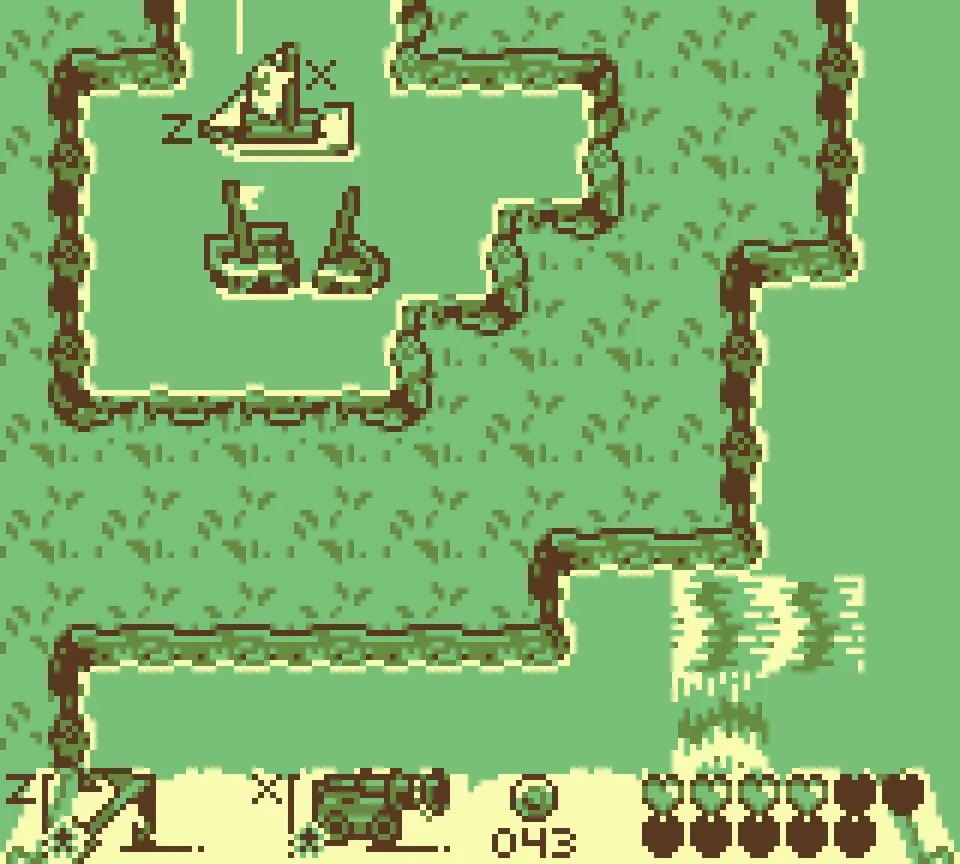
Siren comb G
Siren comb G: dock at the arrow below the left-hand signpost.
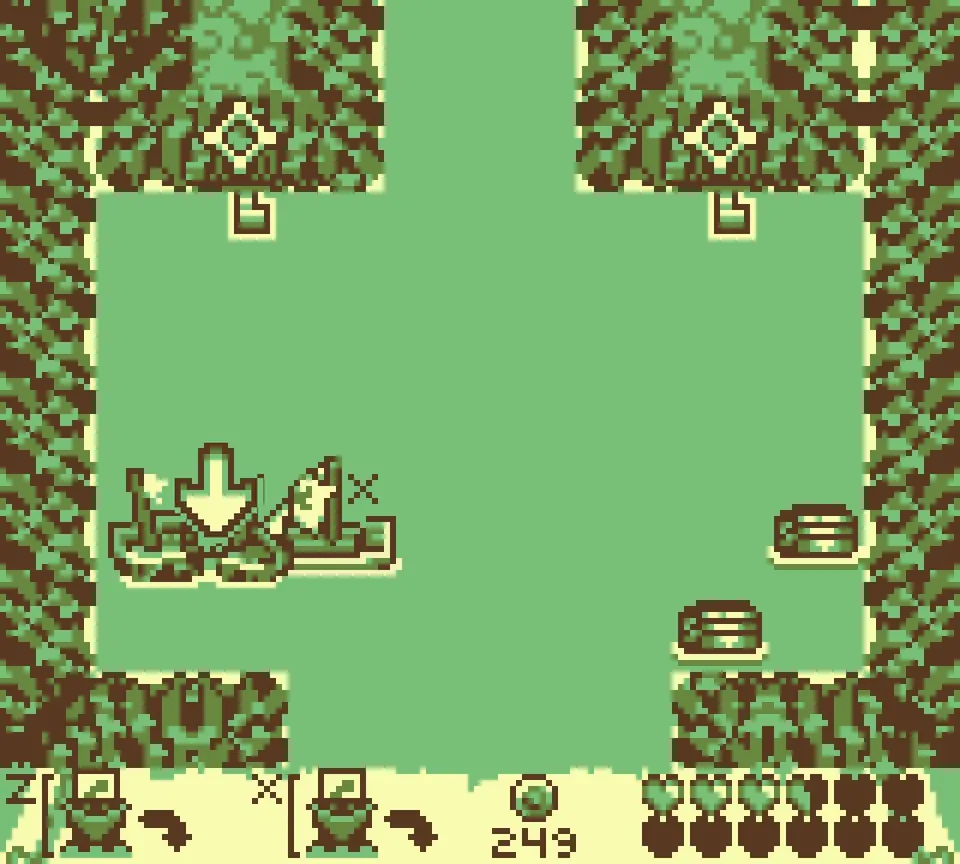
Siren comb H
Siren comb H: follow the hidden path along the rock wall to reach it.
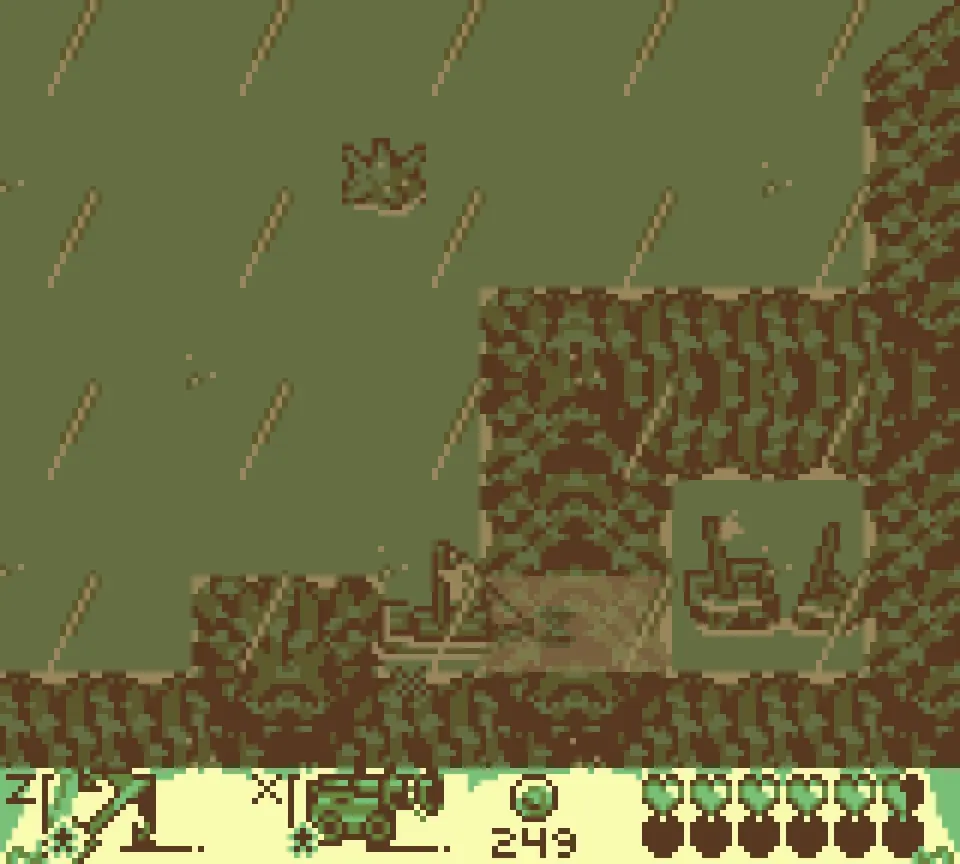
Siren comb I
Fire the ship’s cannon at the rock wall to blast a hole. The comb is inside.
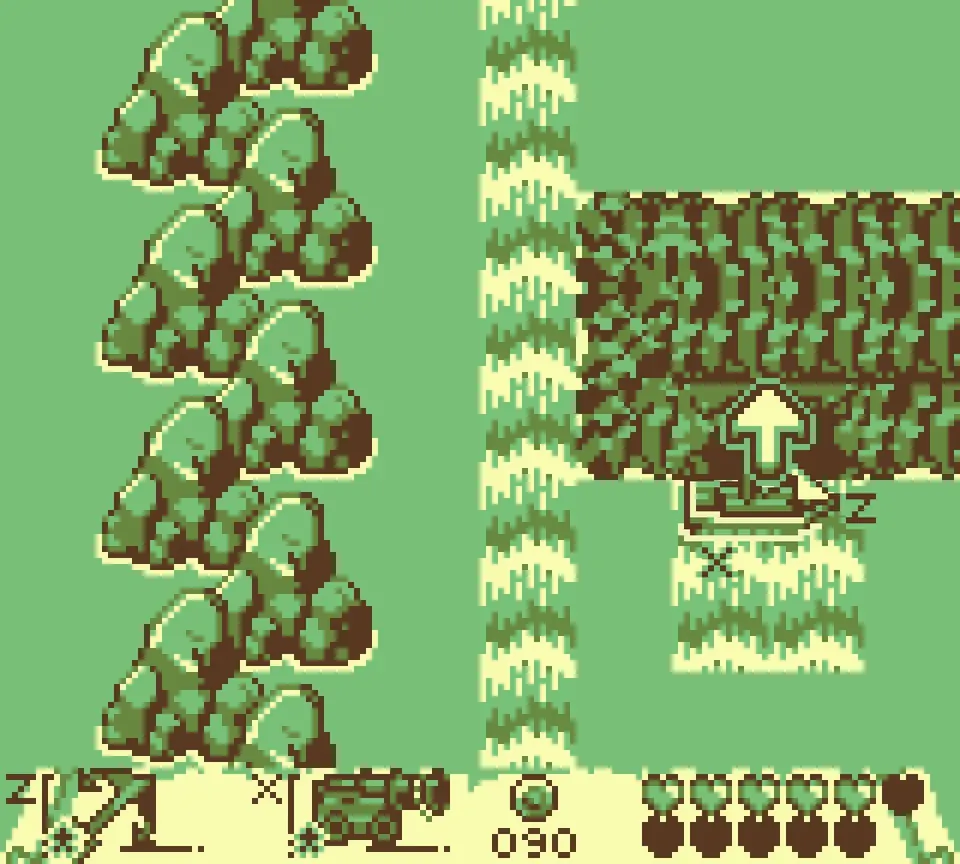
Siren comb J
Fire the ship’s cannon at the hole on the right to blast it open.
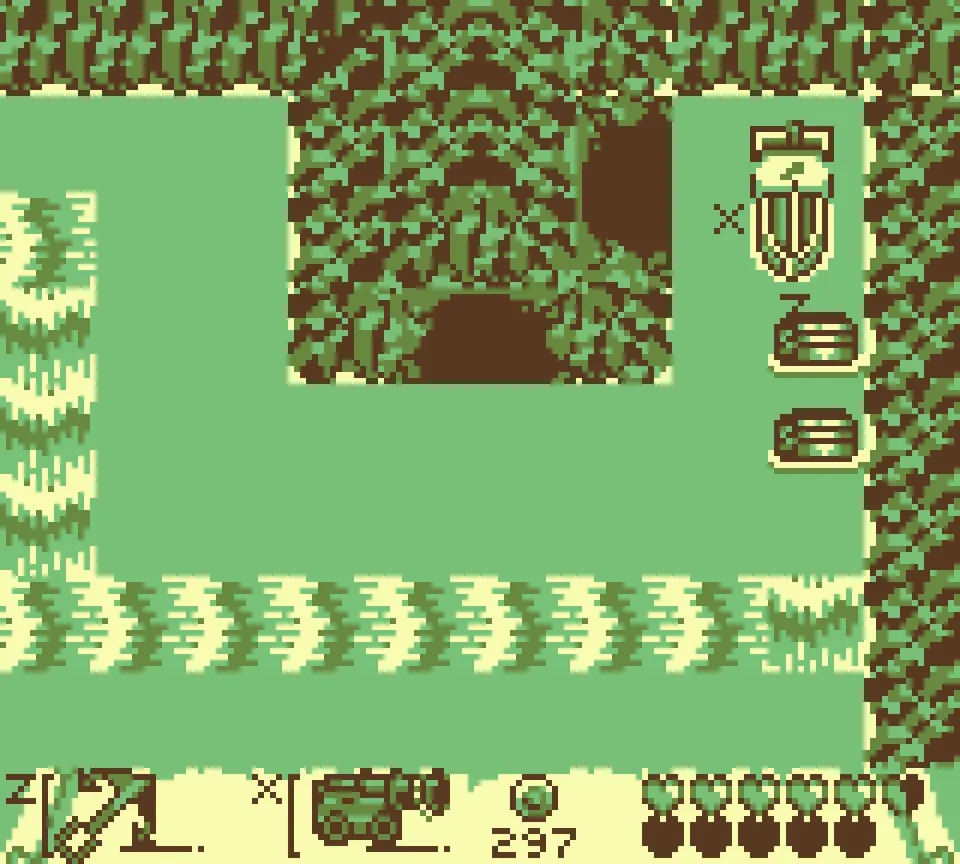
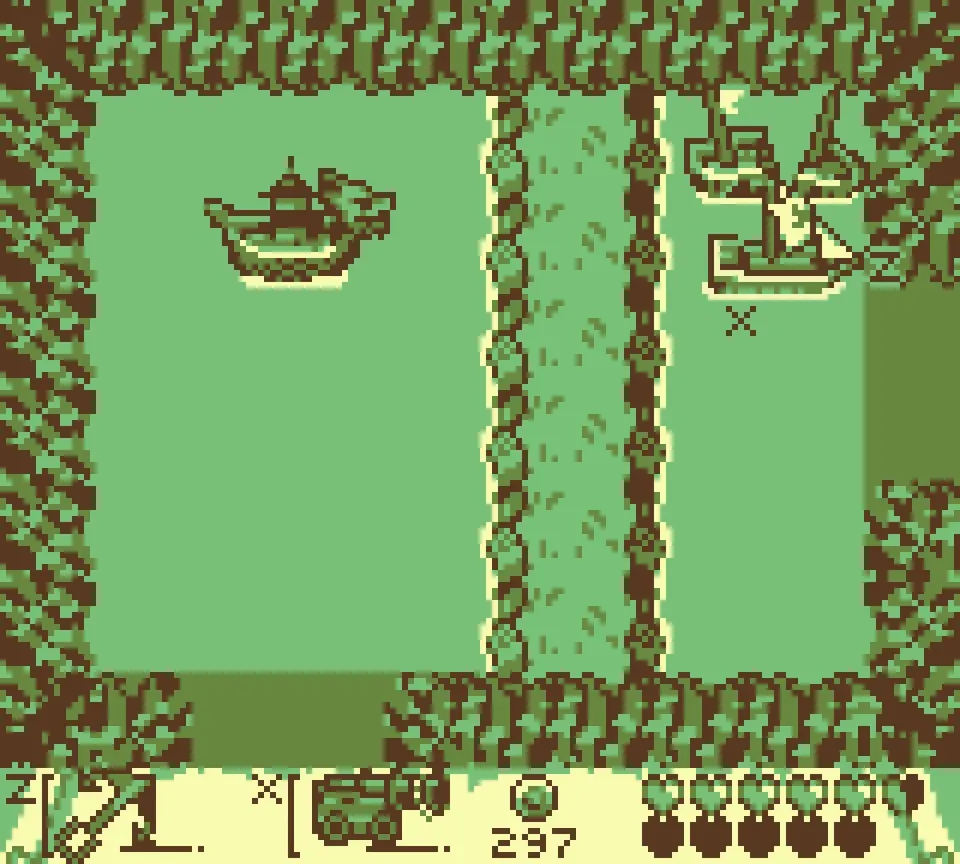
Siren comb K
Siren comb K: dock at the arrow next to the hedge of purple flowers.
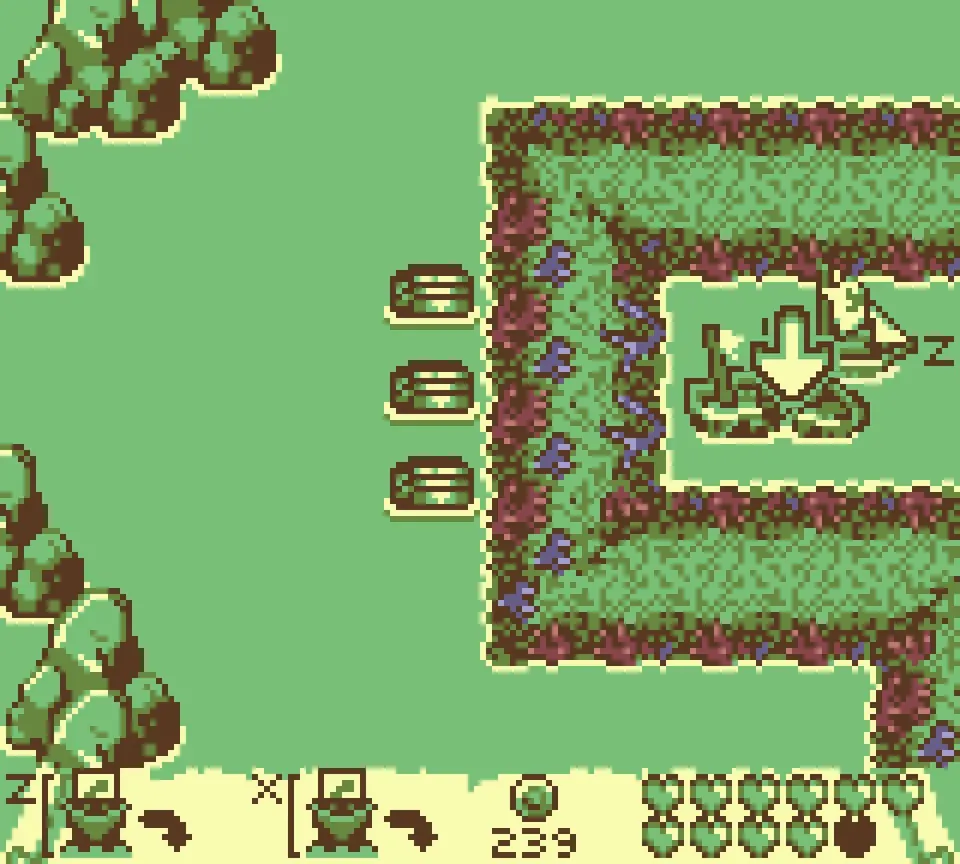
Siren comb L
Siren comb L: dock at the arrow beside the strong current.
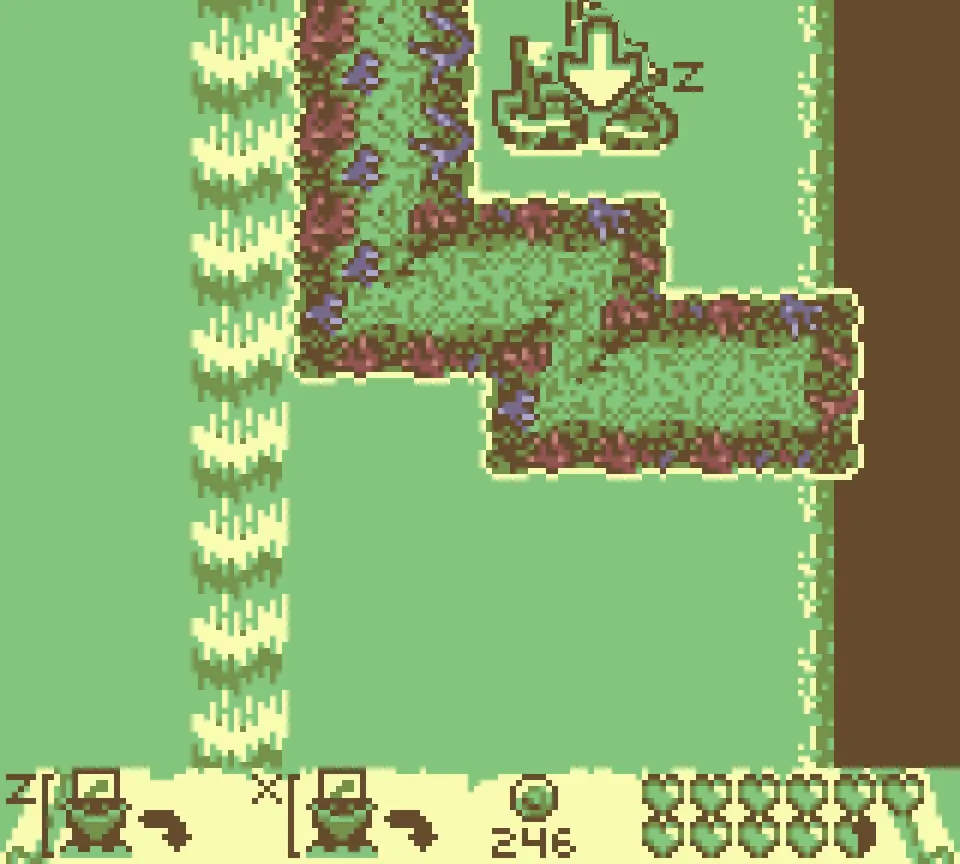
Siren comb M
Siren comb M: dock at the landing next to the wooden pier.
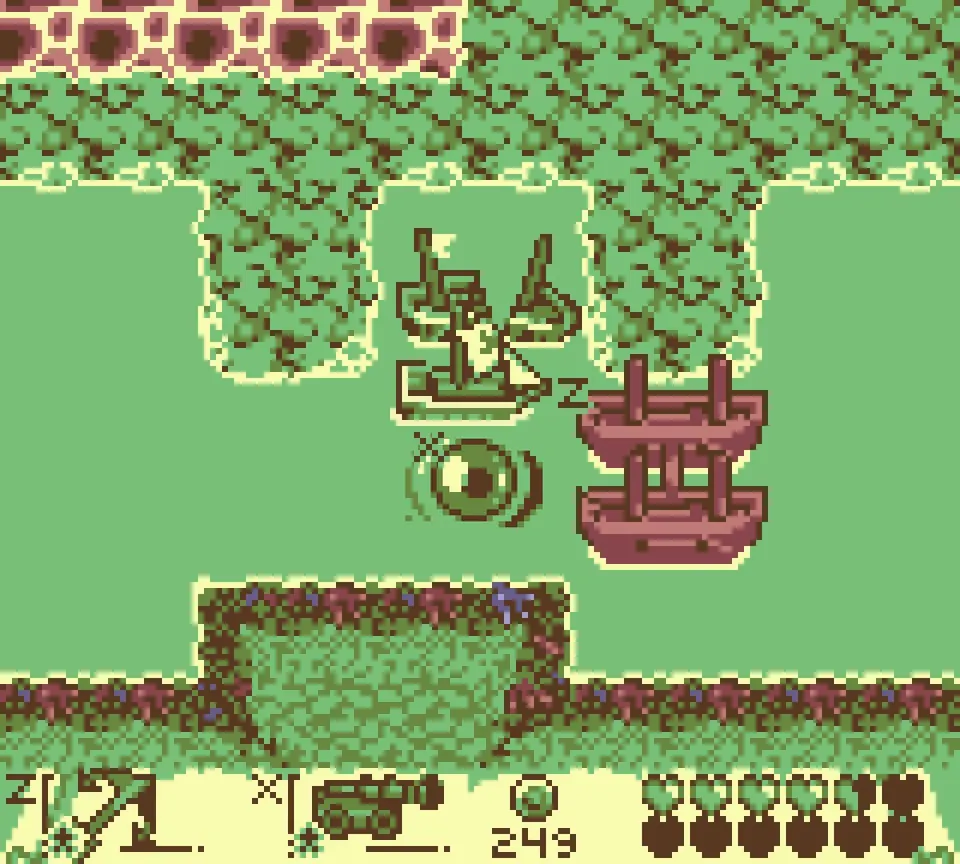
Siren comb N
Siren comb N: dock at the landing near the pink trees.
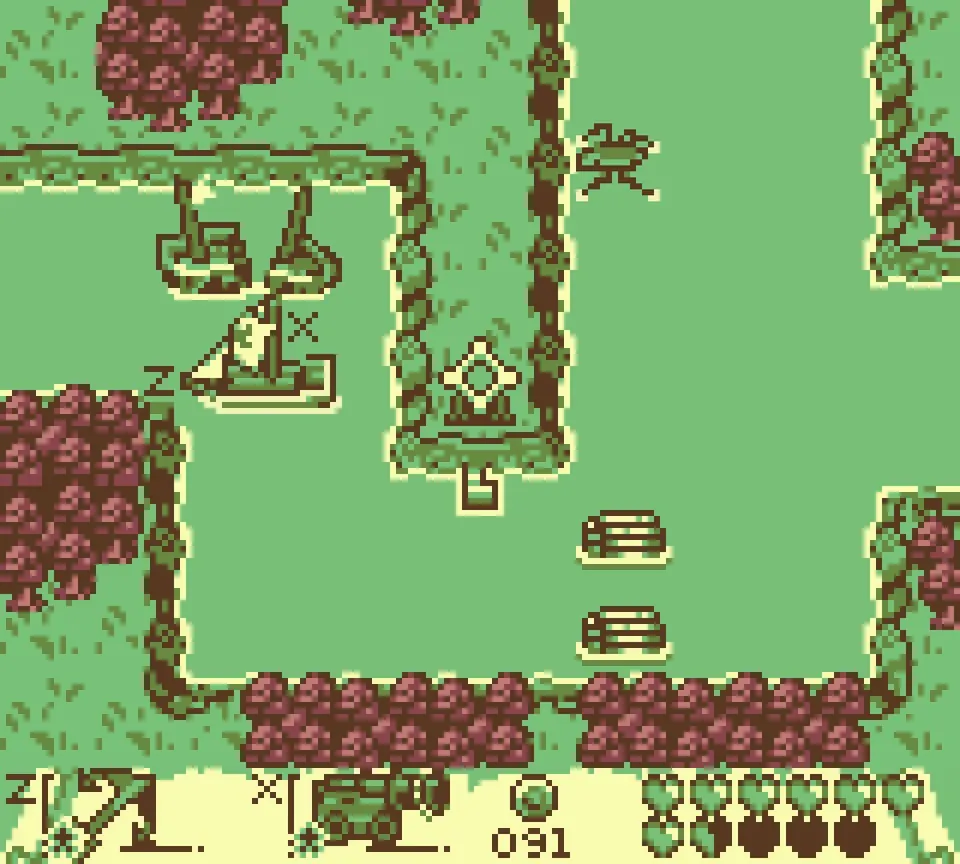
Flock Around: how to get every bird
Most birds take a small side quest. One starter macaw only opens up in the post-game, and the mystery bird waits until your fish collection is complete.
| Bird | How |
|---|---|
| First starter macaw | Choose one at Professor Mango’s mansion during the story |
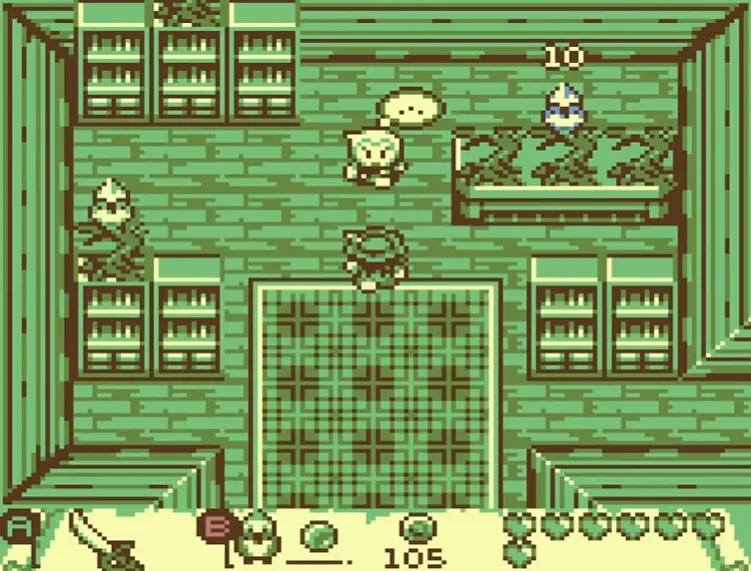
| Second starter macaw | Buy it for 10 coins on your next visit to the mansion |
| Third starter macaw | Post-game egg from the hideout, hatched on the volcano island |
| Fat parrot | Torch puzzle on a small island |
| Macaw with goggles | Clear an island trial |
| Crow | Bring the witch the item she asks for during the story |
| White dove | Orphanage errand |
| Mystery bird (???) | Talk to the fisherman once every fish is caught |
The three starter macaws
The main story takes you to Professor Mango’s mansion, where you get your first macaw.
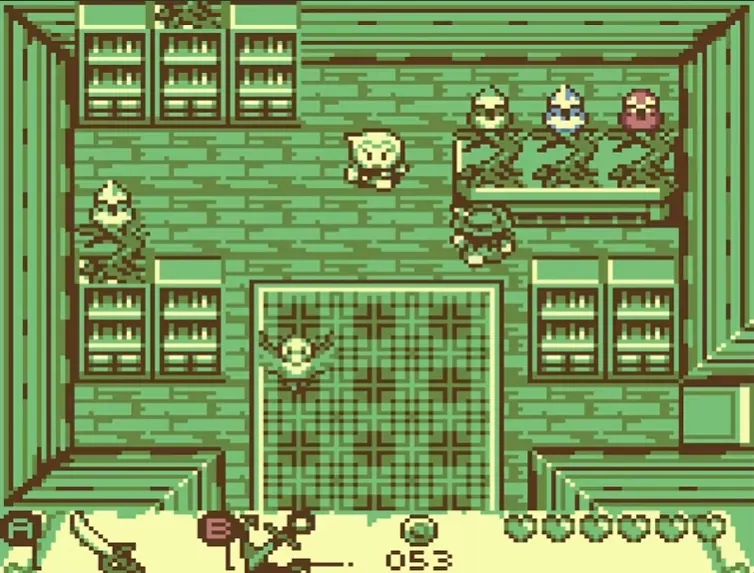
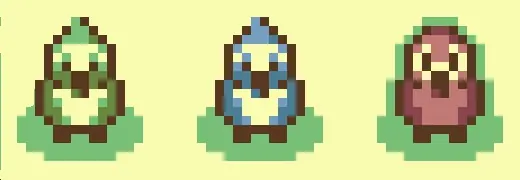
Pick the red macaw if you want damage and the green one if you want to make money. The blue one is the weakest pick, since the game is generous with healing items.
On a later visit to Professor Mango’s mansion, a second macaw is on sale for 10 coins.
The third one is post-game. After the ending, go back to the hideout and you are given a macaw egg.
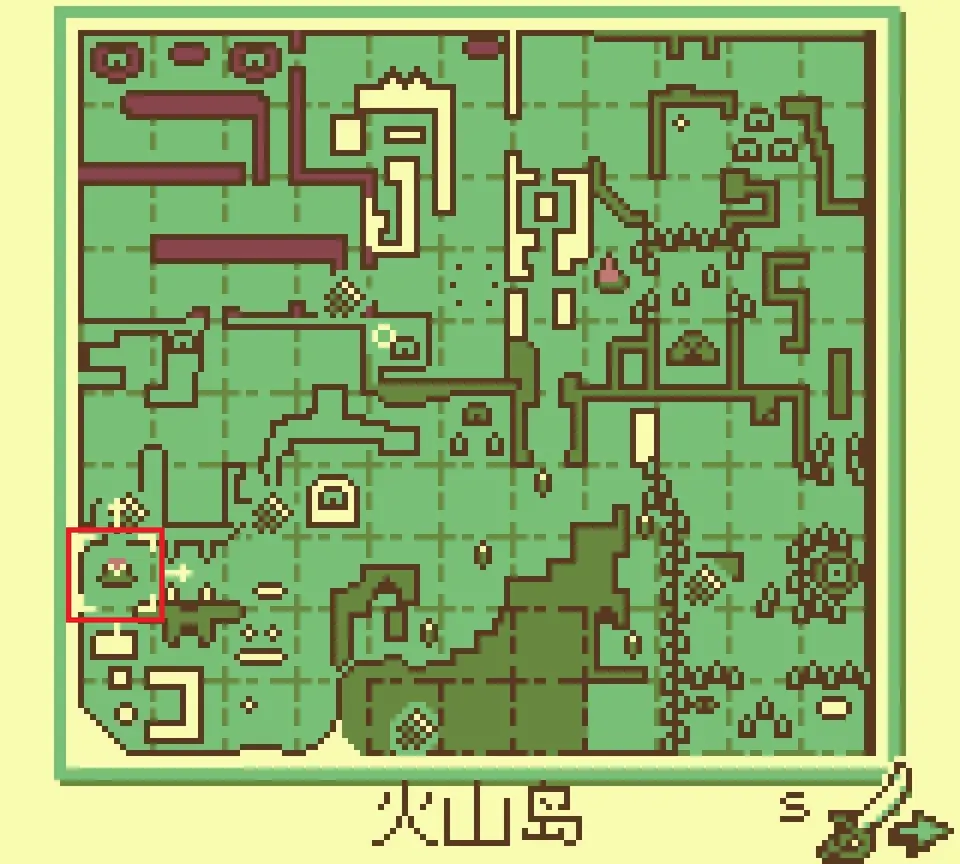
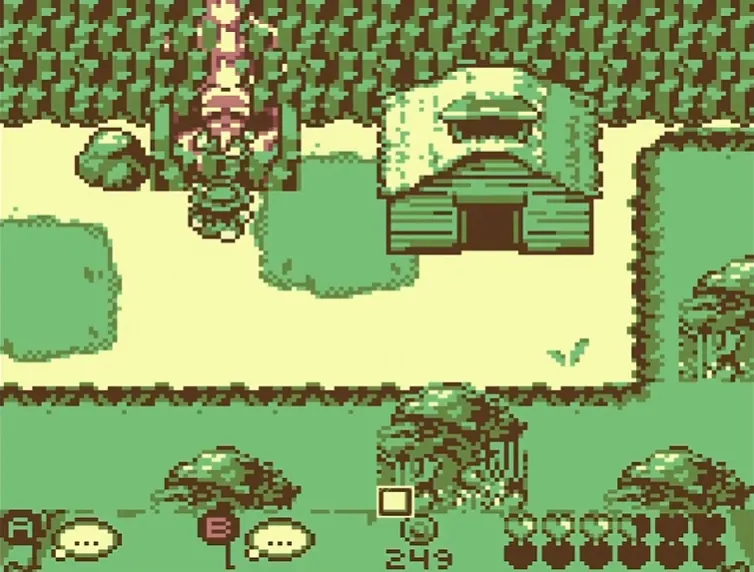
Take the egg to the volcano island on the far left of the map and talk to the NPC there to hatch your egg. That gives you the last starter bird.
Fat parrot
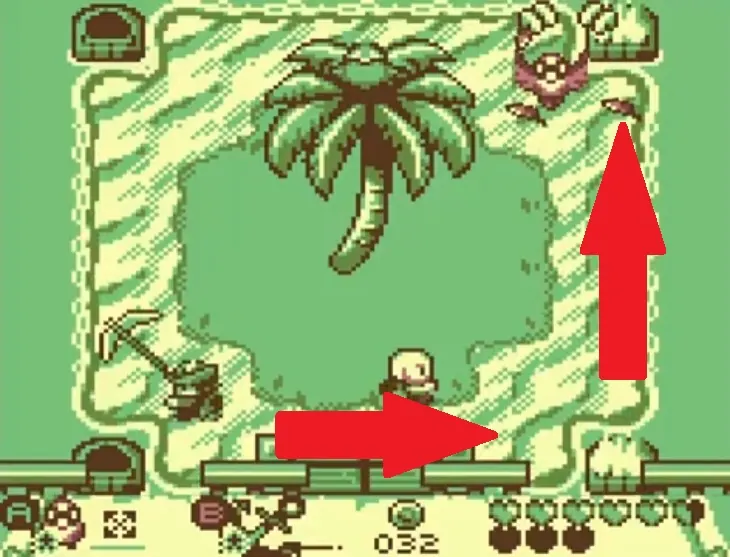
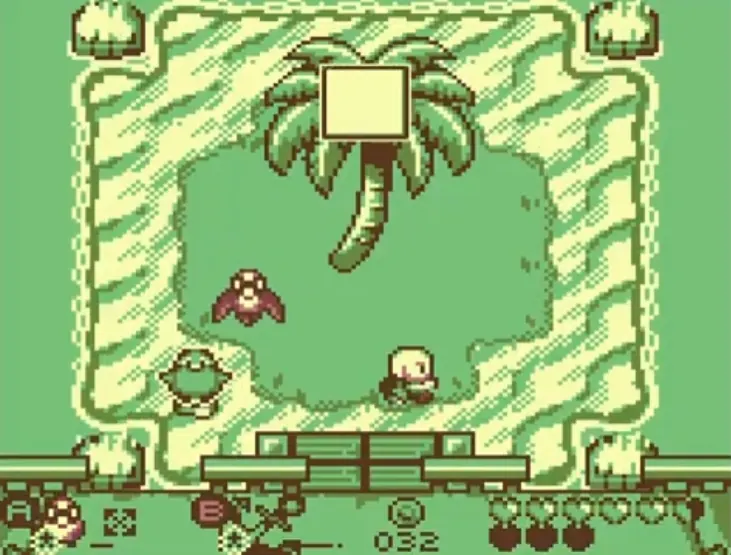
Sail to the small island marked on the map.
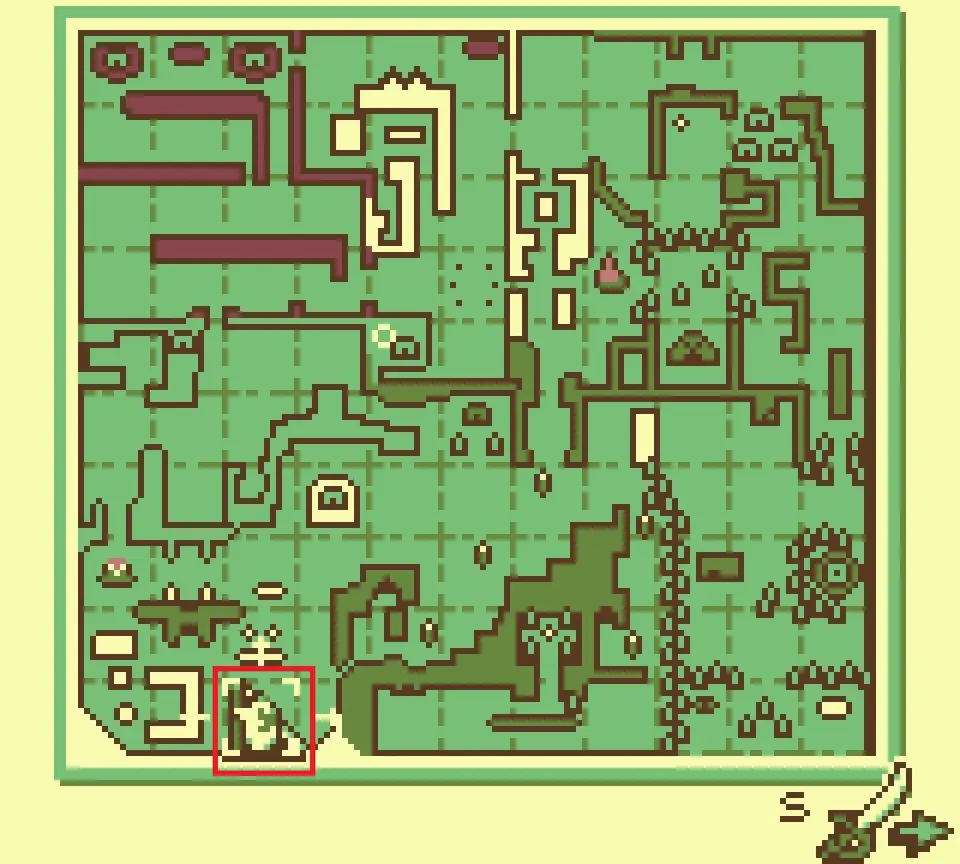
Steer your bird around the island counterclockwise to light the torches. This one is fiddly and can take many attempts, with no obvious reason why one run works and another does not. Keep trying.
Macaw with goggles
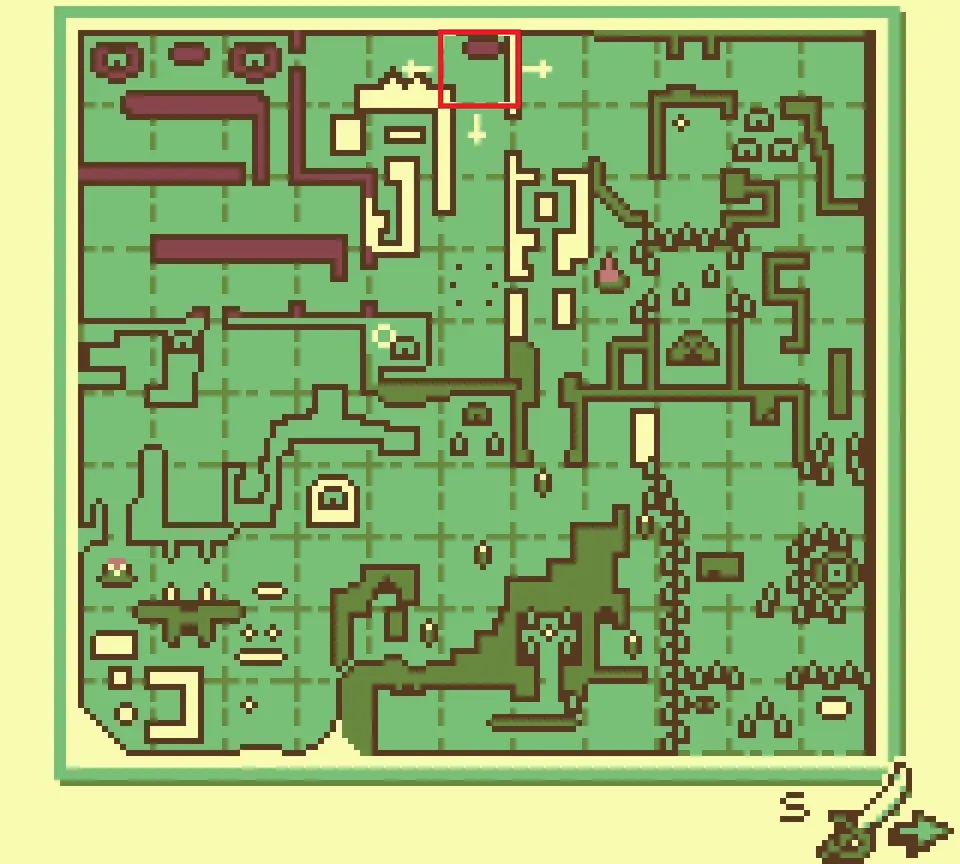
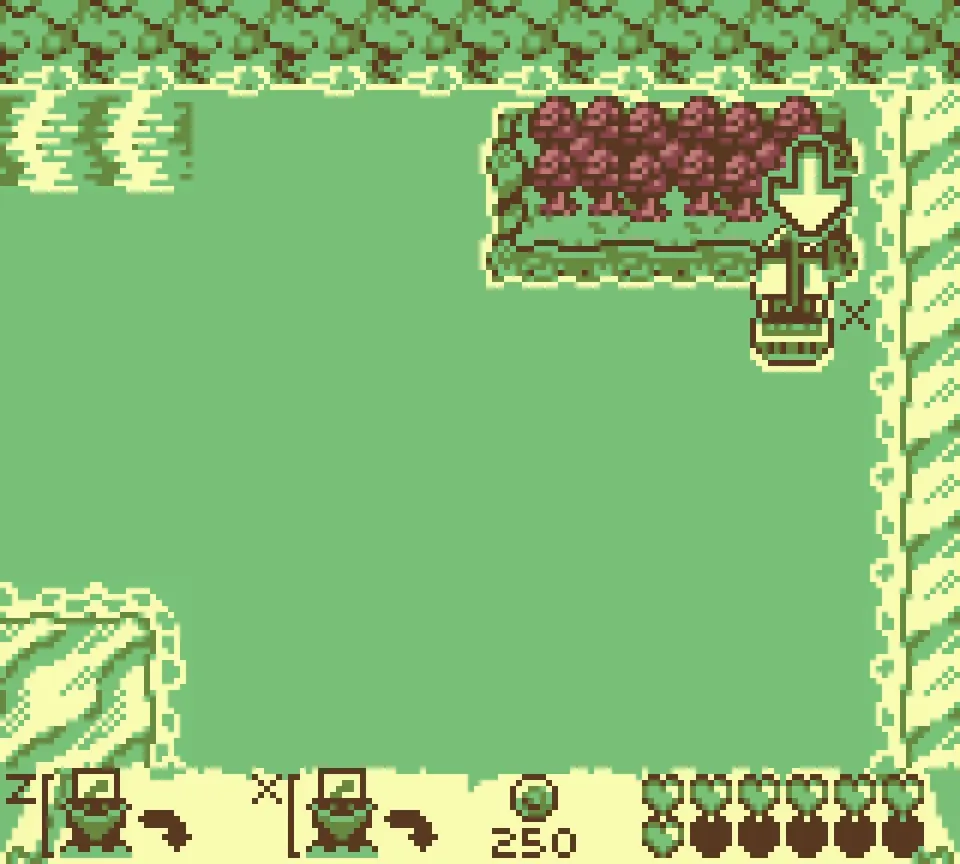
Go to the island marked on the map and complete the island’s trial to get this bird.

Crow
At a certain point in the main story, the witch asks you to help her find an item.
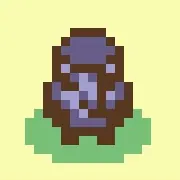
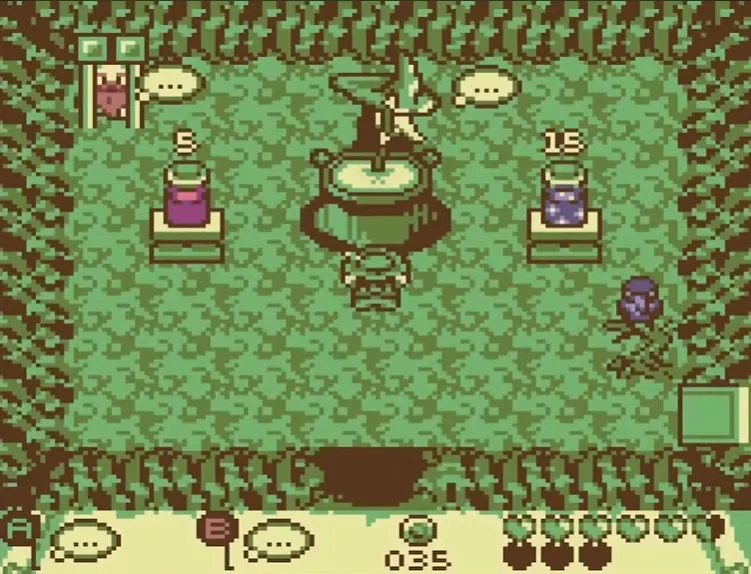
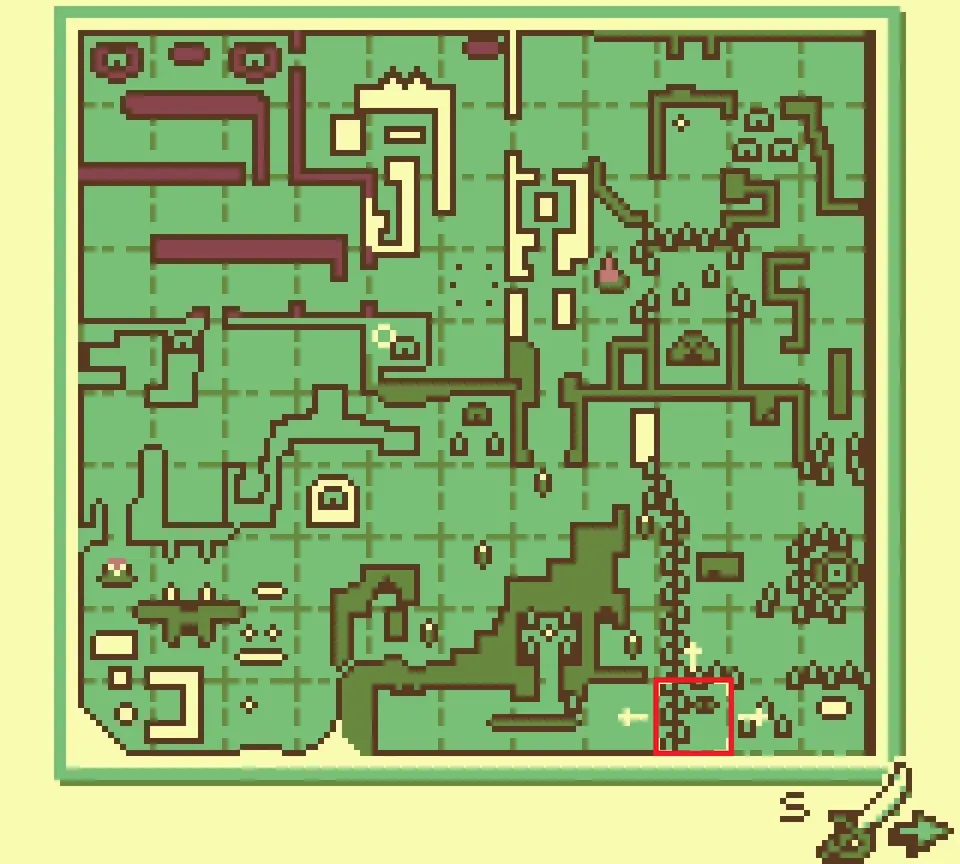
The item is at this location. Complete the trial inside the cave to get it.
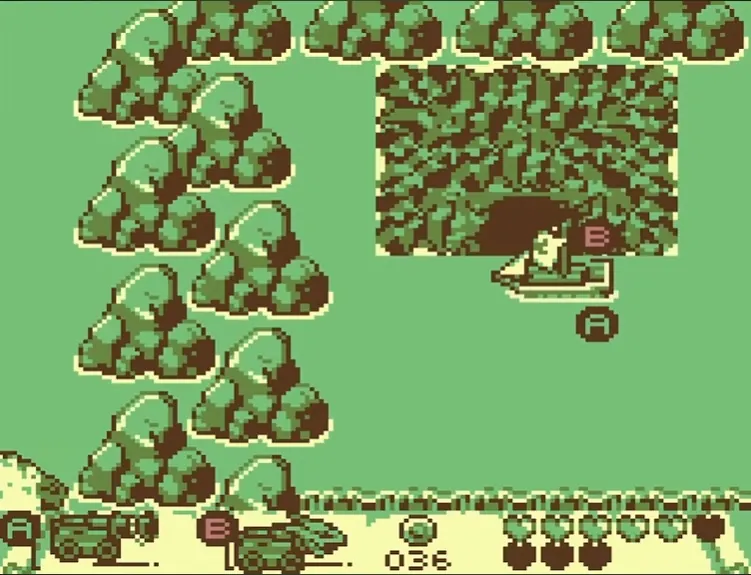
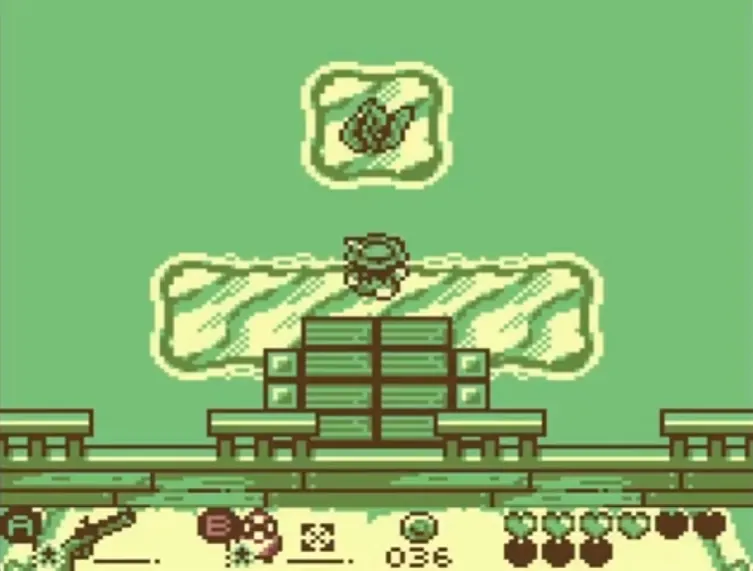
Take the item back to the witch’s dwelling and give it to her. She hands over the crow.
White dove
Go to the Orphanage marked on the map and talk to everyone in the orphanage.

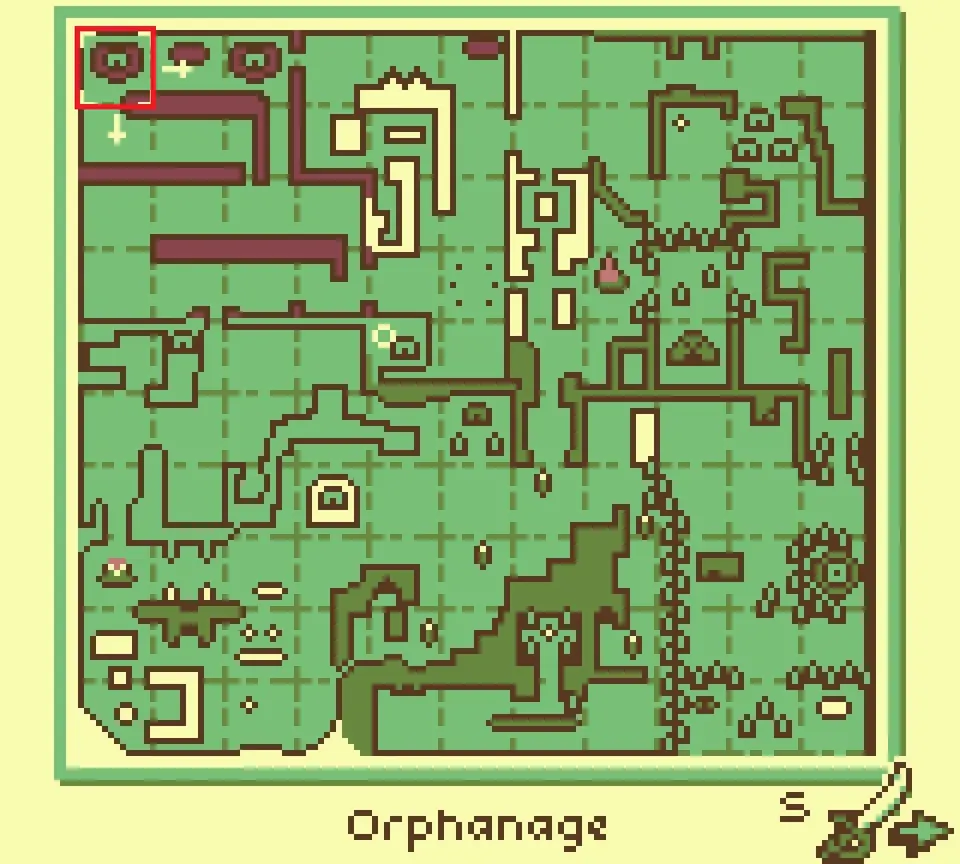
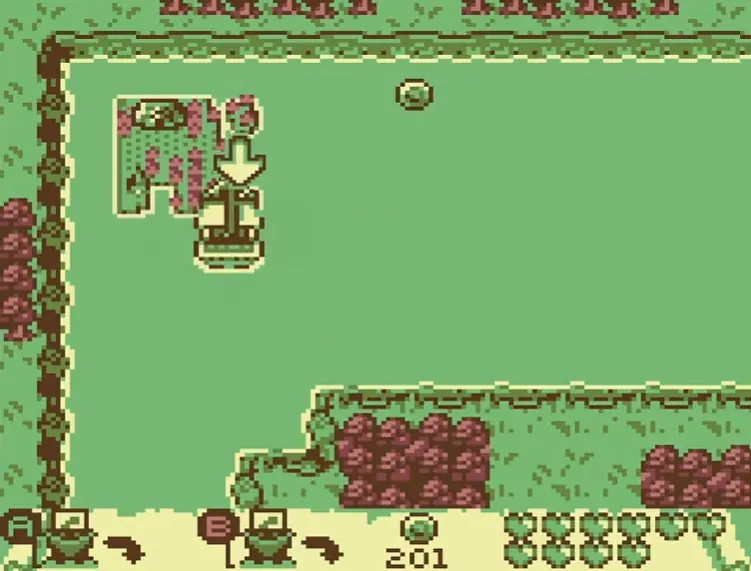
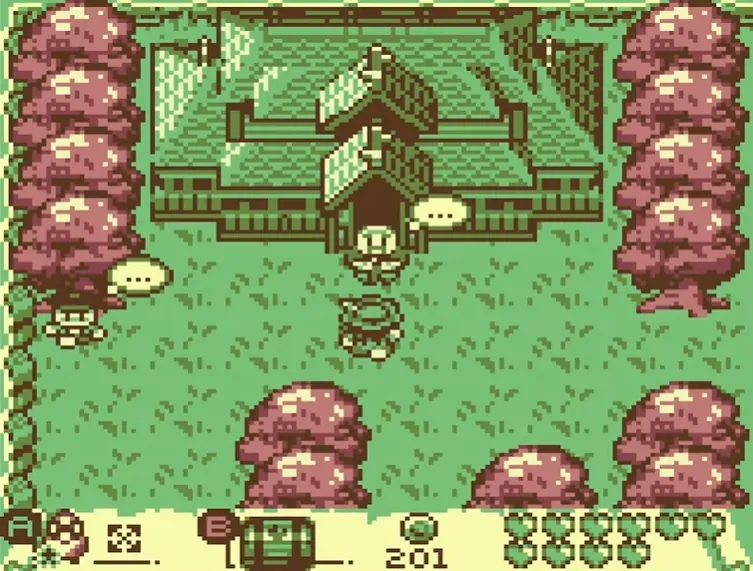
Next, sail to the other marked location and talk to the person in the pillared courtyard.
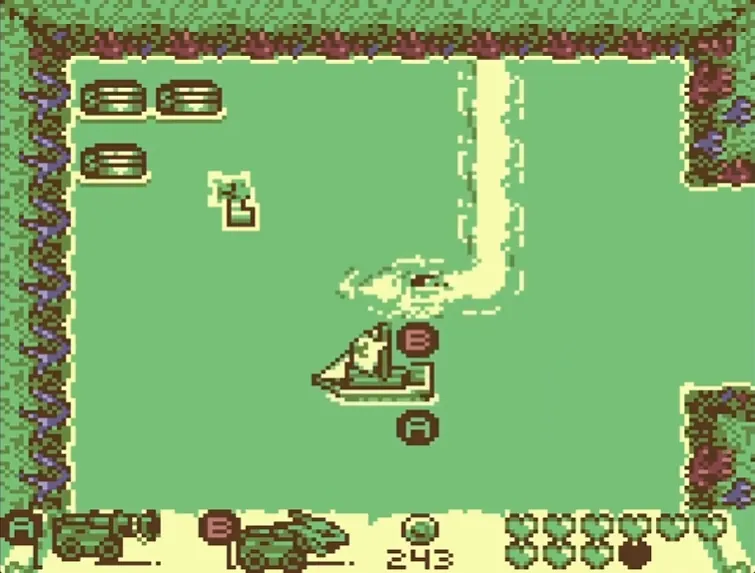
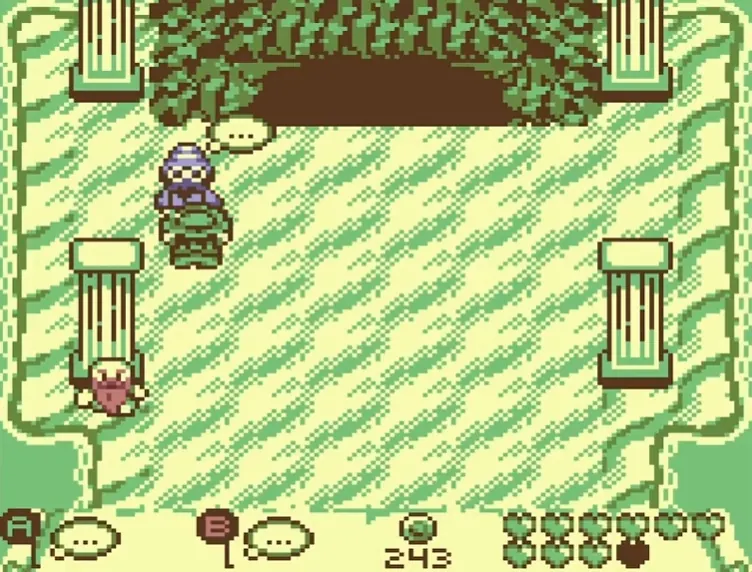
Return to the orphanage afterwards and the white dove is yours.
Mystery bird (???)
Once you have caught every fish, visit the fisherman. He gives you this last bird.

Terror of the Seas: the easy-to-miss ship cannon
Most ship cannons arrive through the main story. This one does not, and it is easy to sail past.
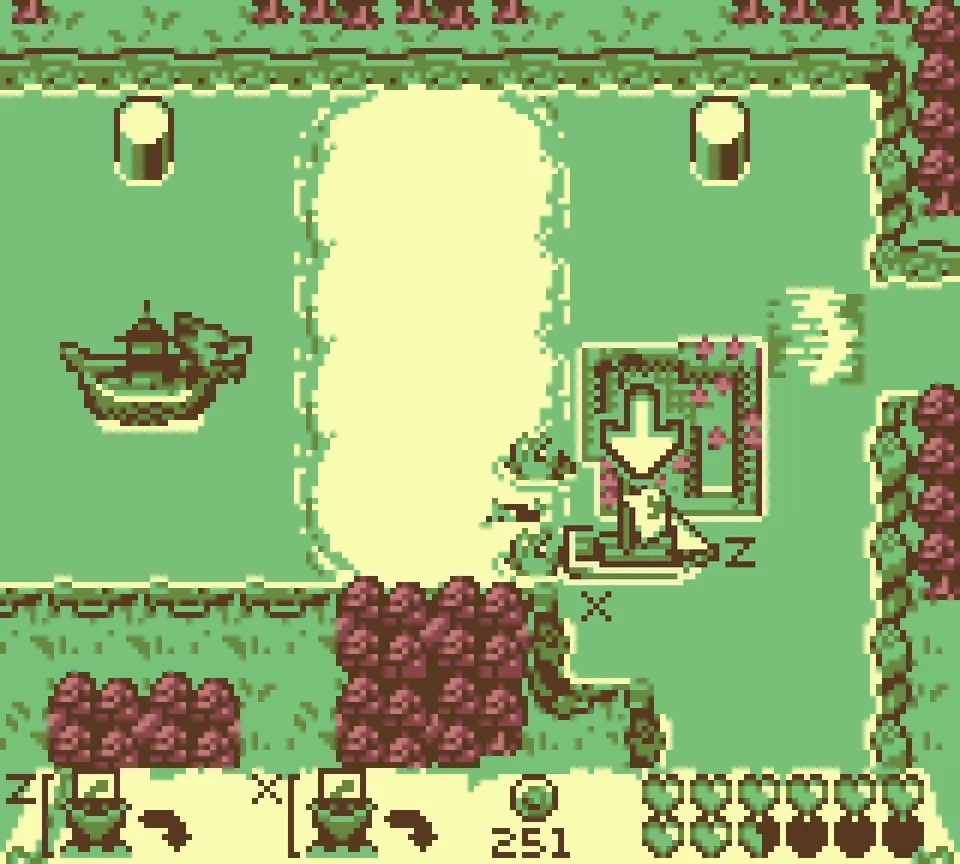
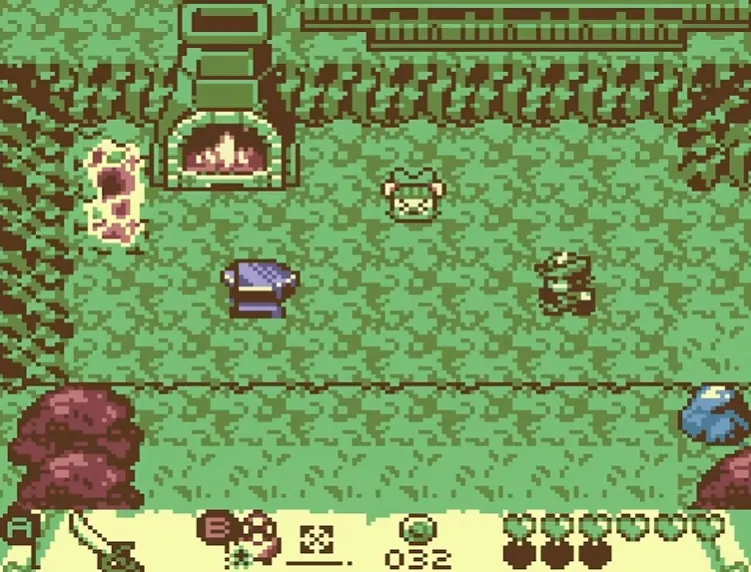
First, go to the Blacksmith island marked on the map. An NPC there needs a special item.
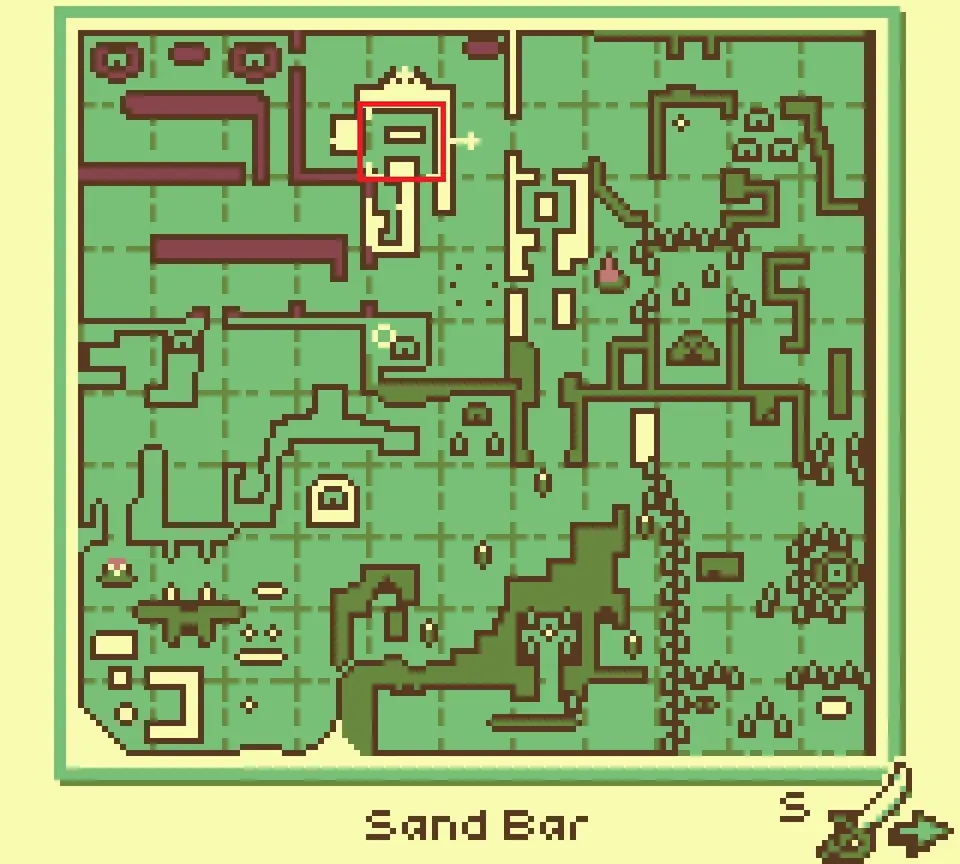
Next, visit the tavern at the Sand Bar and ask around about the item.
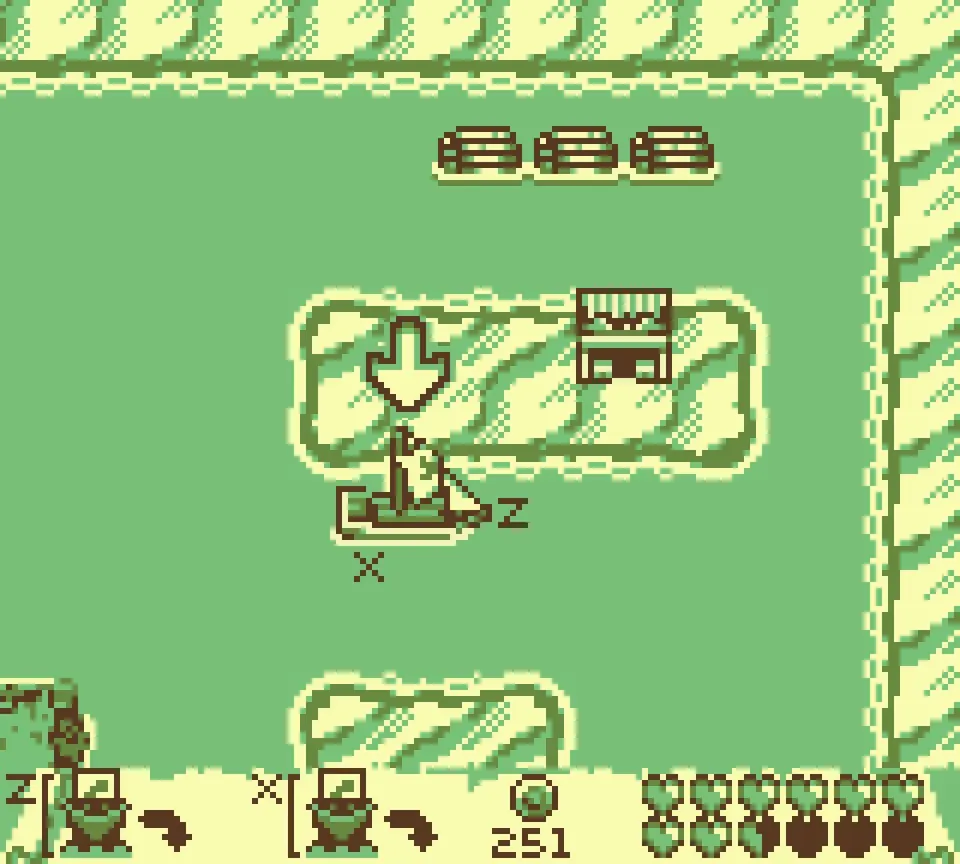
Then go back to the witch’s dwelling and ask her for the item.
Finally, return to the Blacksmith and hand it over. The NPC is brought back to life and forges a new ship weapon for you.
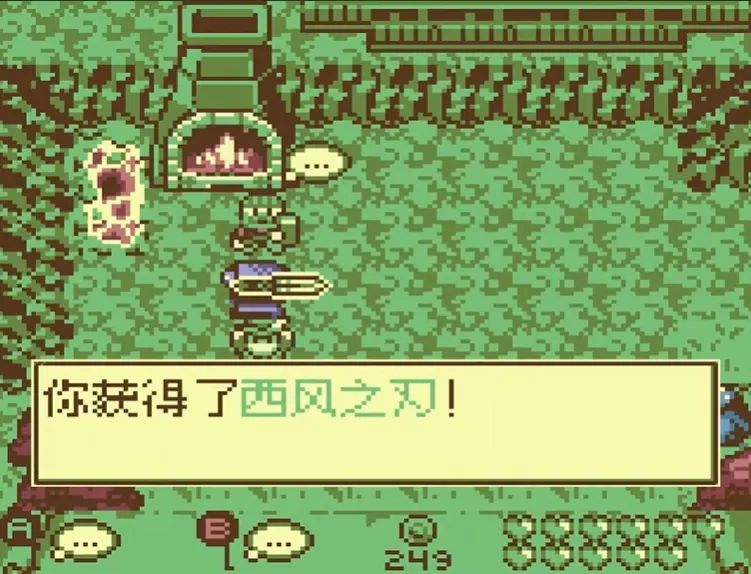
That weapon has a second piece. Once the first is unlocked, the second goes on sale in the hideout. Whether it counts separately for the achievement is not confirmed, so buying it is the safe choice.