Dig & Deal: All 12 Treasure Map Locations
Every treasure map in Dig & Deal is a sketch of one dig spot. Get the map, go to the place it shows and dig there to pull up its treasure. There are 12 maps, and each one is covered below with where to get it and where to dig.
The short version: six maps are sold in the shop under the OTHERS tab. One is sold by a hooded figure who only turns up outside the shop on some days. The other five are lying around the world, in a ruined building on the beach, a building on top of the desert hill, two places on the moon and the backrooms. The table puts every map on one line. The sections after it give the landmarks.
Spoiler warning: this page names later areas, including the moon and the backrooms.
| Map | How to get it | Dig area | Treasure |
|---|---|---|---|
| Ancient Forest Treasure | Shop, OTHERS tab | Forest | Locked box and a key |
| Cursed Treasure | Shop, OTHERS tab | Forest | Poop |
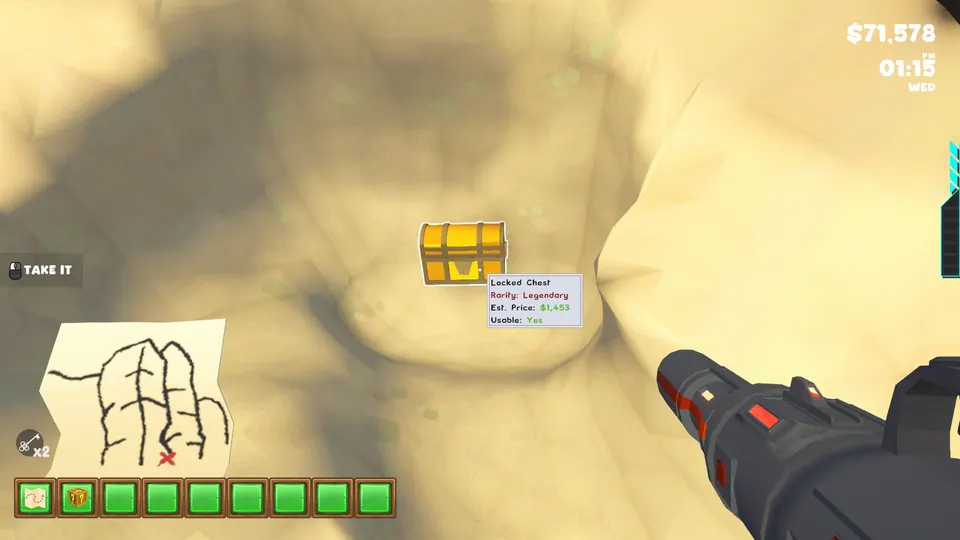
| Mystery Beach Treasure | Shop, OTHERS tab | Beach | Locked Chest |
| Shipwreck Coast Chart | Shop, OTHERS tab | Beach | Golden Crown |
| Golden Coast Treasure | Ruined building on the beach, past the big net | Beach | Egyptian Vase |
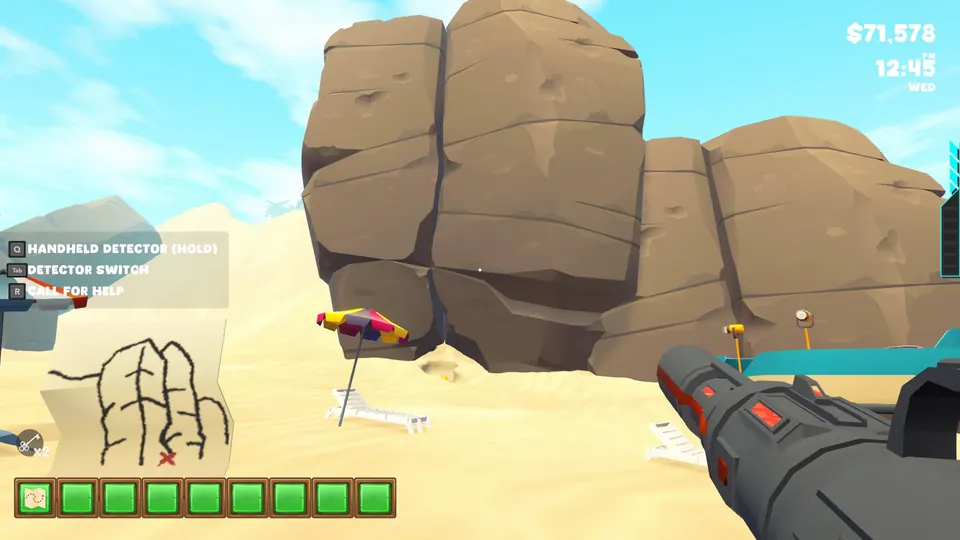
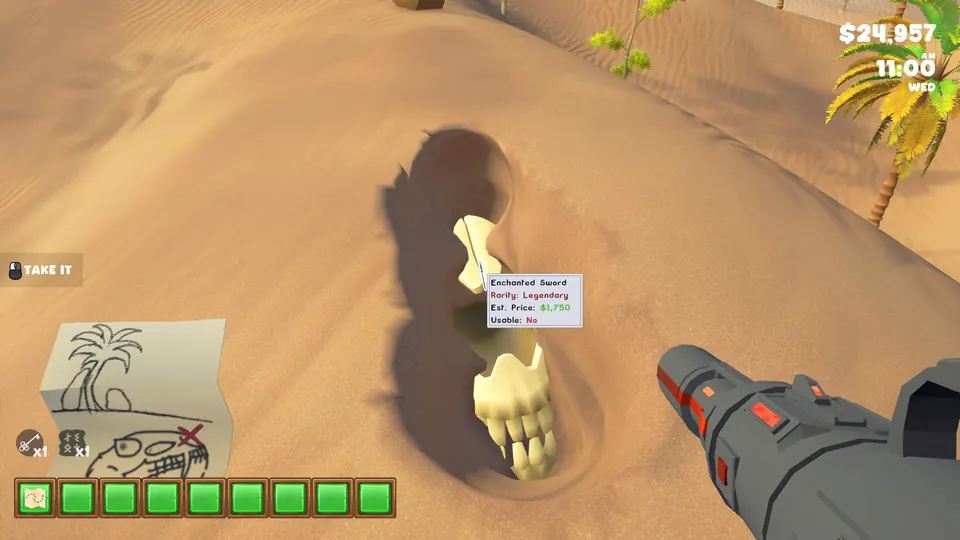
| Crimson Sands Map | Building on the desert hill | Desert | Enchanted Sword |
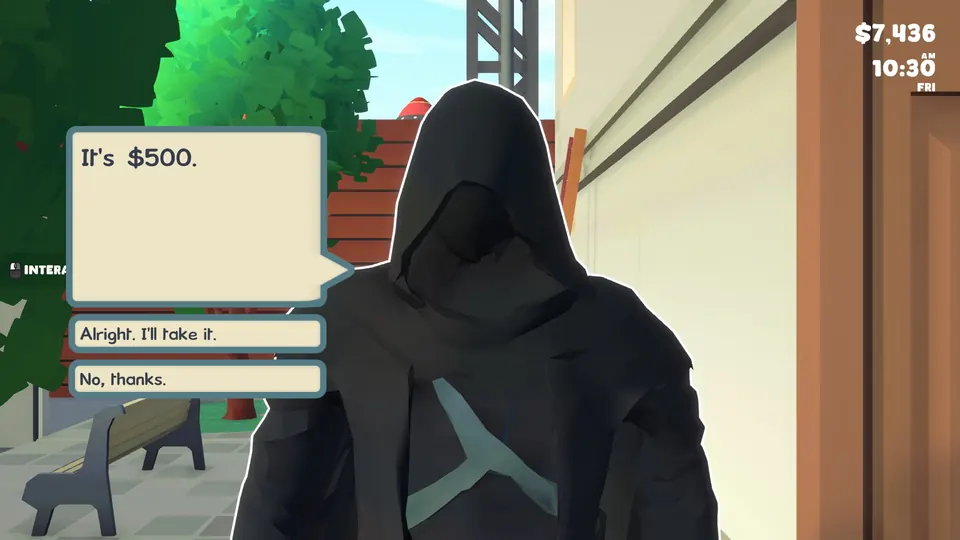
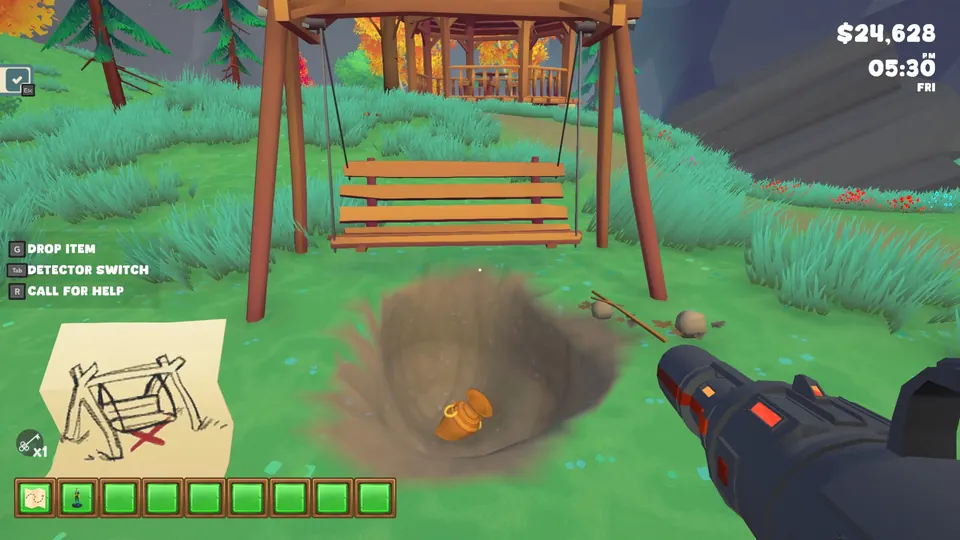
| Park Bench Swing Treasure | Hooded seller outside the shop, $500 | Forest | Vase |
| Lost Desert Treasure | Moon bunker | Desert | Unknown Artifact |
| Whispering Woods Treasure | Moon buildings | Forest | Locked Chest |
| Desert Rib Bones Treasure | Backrooms | Desert | Locked Chest |
| Rising Moon Treasure | Shop, OTHERS tab | Moon | Four Starlight Crystals |
| The Sea Kings’ Lost Treasure | Shop, OTHERS tab, $400 | Beach | Locked Chest |
Ancient Forest Treasure
Buy this map from the shop. It is in the OTHERS tab.
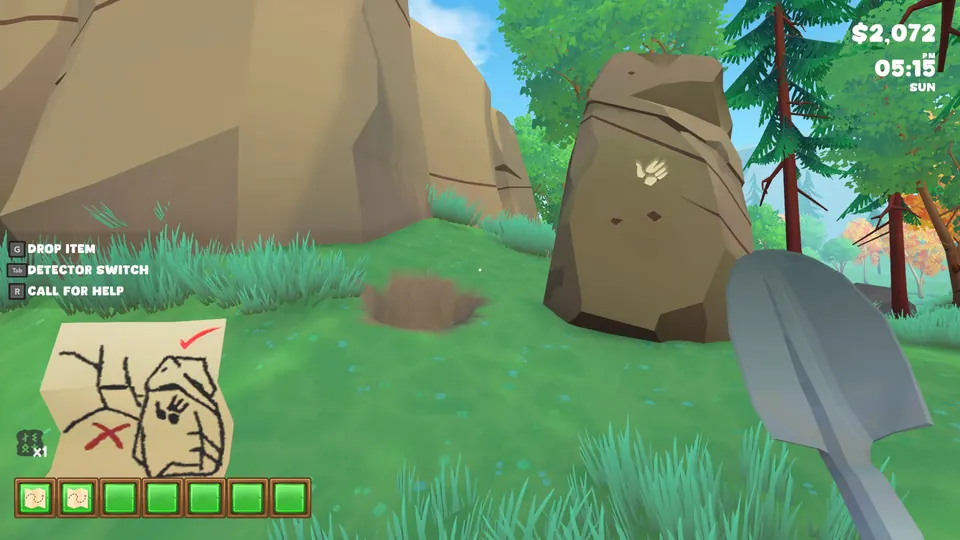
The Ancient Forest Treasure is in the forest, close to the man who is camping there. Look for a large boulder next to a smaller rock with a mark on it, and dig down about 2m in the gap between the two. You get a locked box and a key to go with it.
Cursed Treasure
Buy this map from the shop. It is in the OTHERS tab.
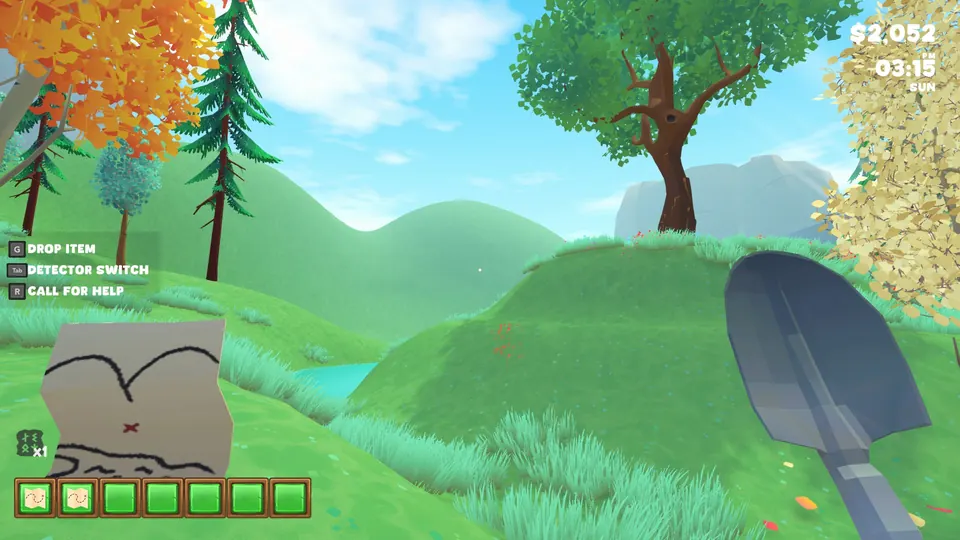
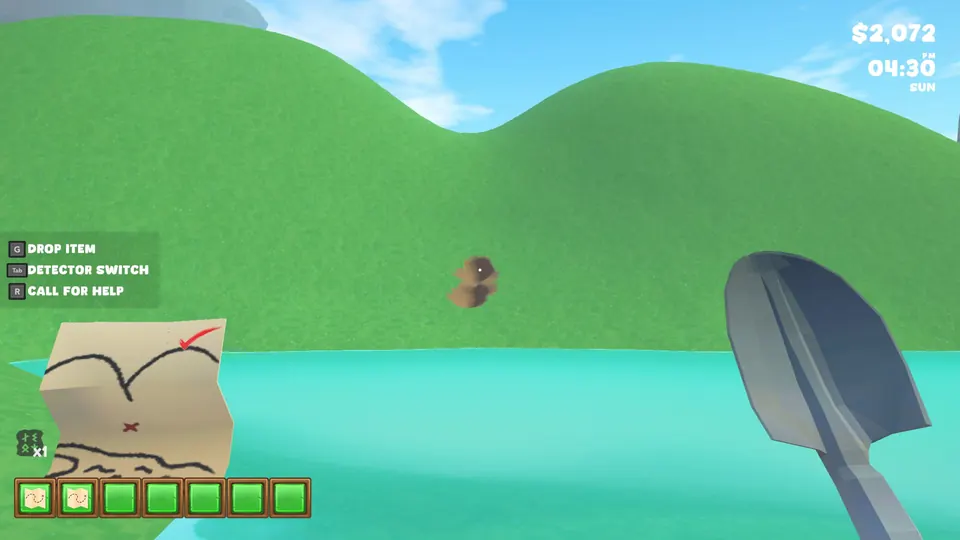
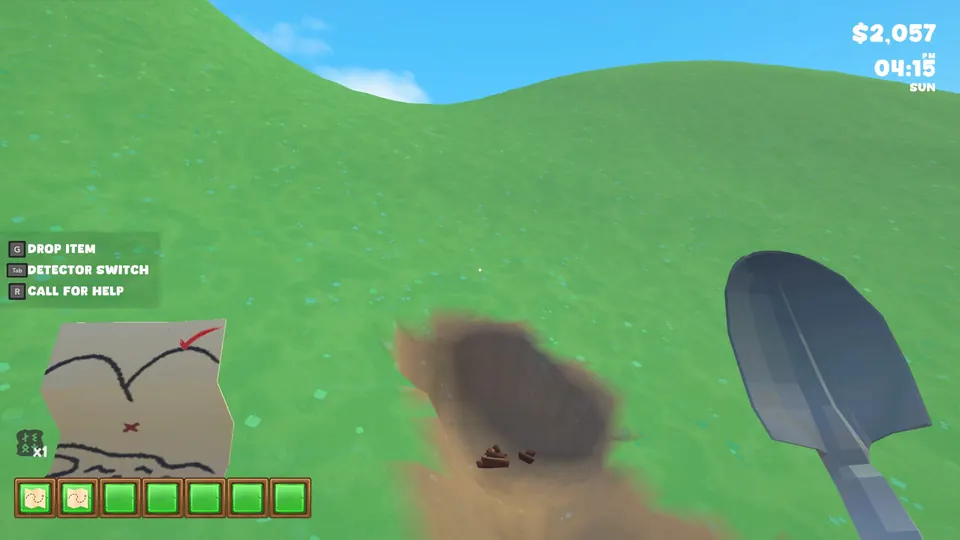
Head to the back of the forest and walk past the big hill that has a single tree on top. Behind it are two rounded mountains that look like a pair of buttocks. The Cursed Treasure dig spot is right between them. The reward is a pile of poop.
Mystery Beach Treasure
Buy this map from the shop. It is in the OTHERS tab.
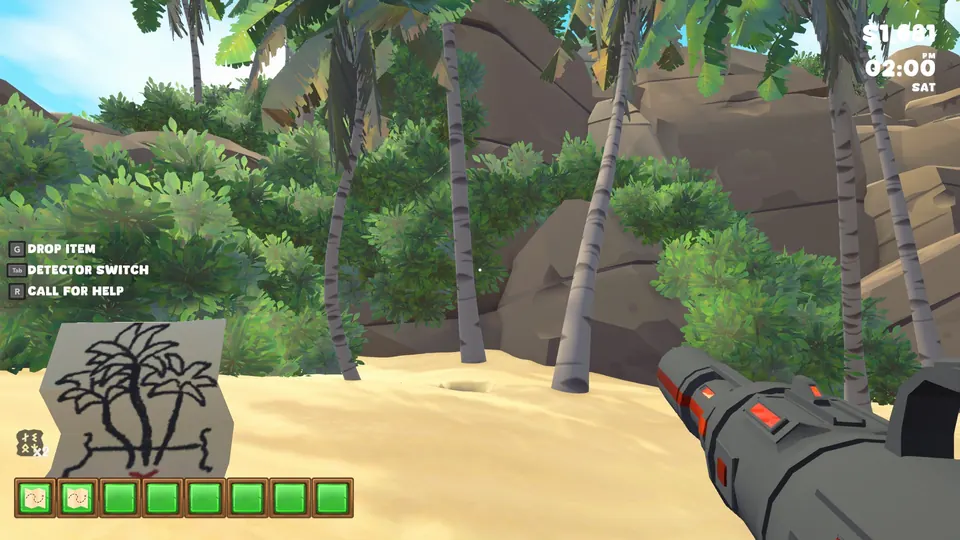
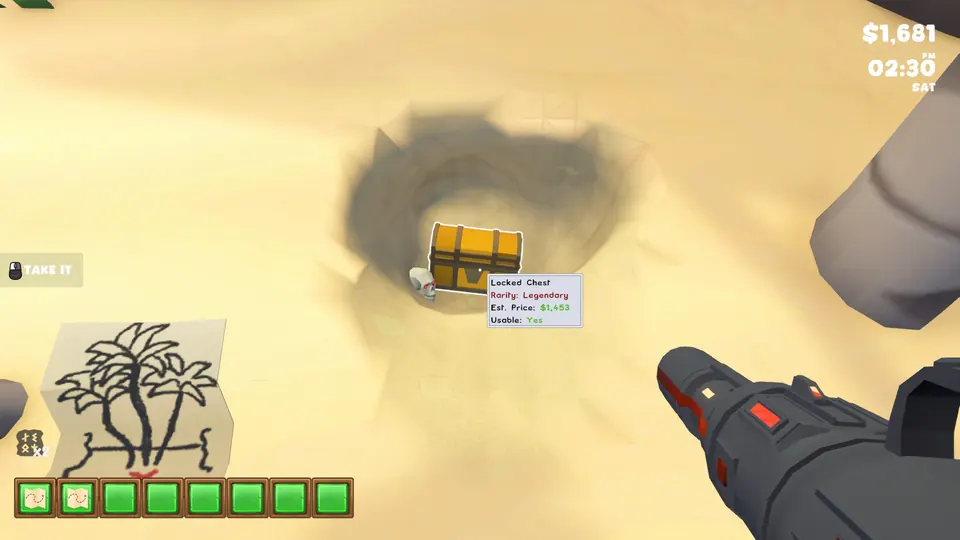
The Mystery Beach Treasure is on the beach, a short way to the right of the big net. Find the spot with three trees around it and dig in the middle of the three. The treasure is a Locked Chest.
Shipwreck Coast Chart
Buy this map from the shop. It is in the OTHERS tab.
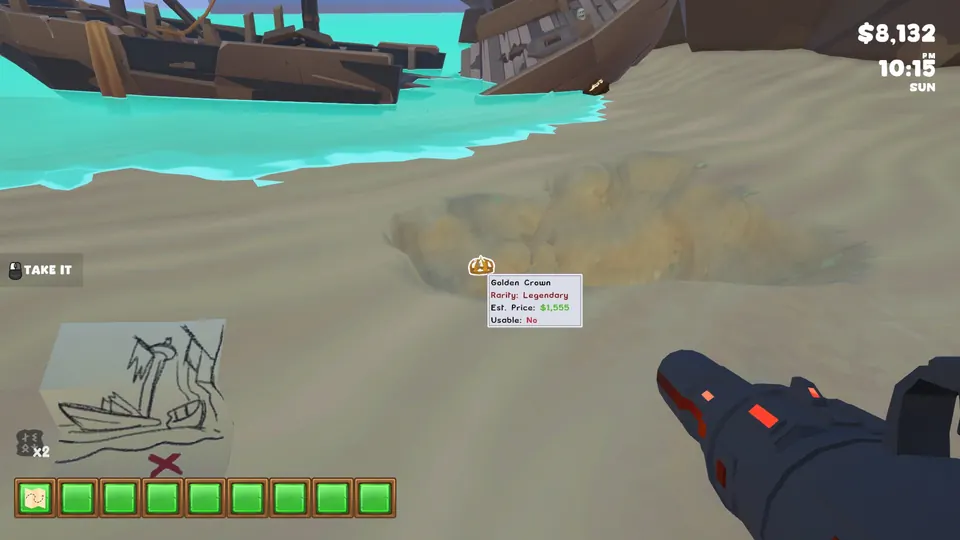
The Shipwreck Coast Chart leads to the far side of the big net on the beach. Dig right in front of the wrecked ship to find a Golden Crown.
How to get past the big net
The big net blocks the way along the beach, and there are two ways past it. The first is to fly over it. Walk to the right-hand end of the big net, where a big vine-covered boulder sits, then fire up your jetpack and go over the top.
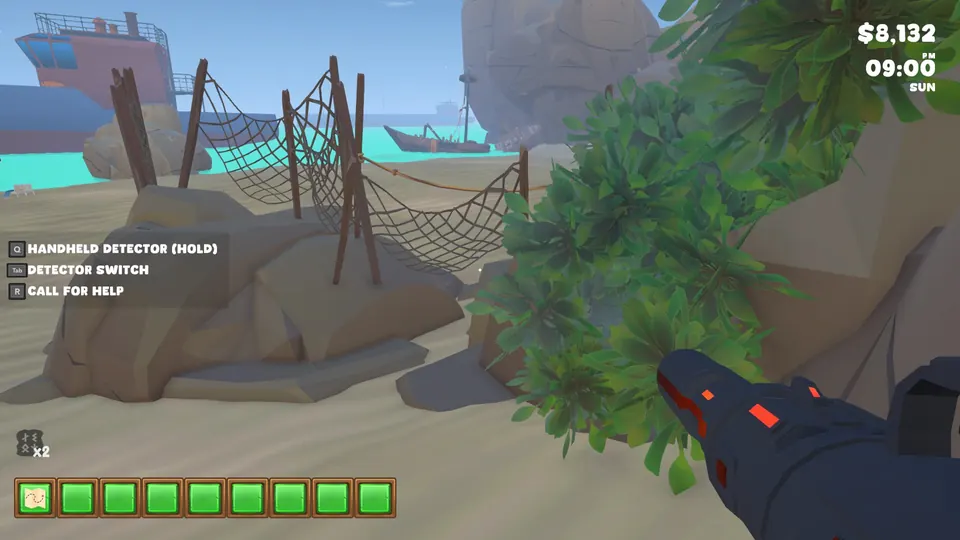
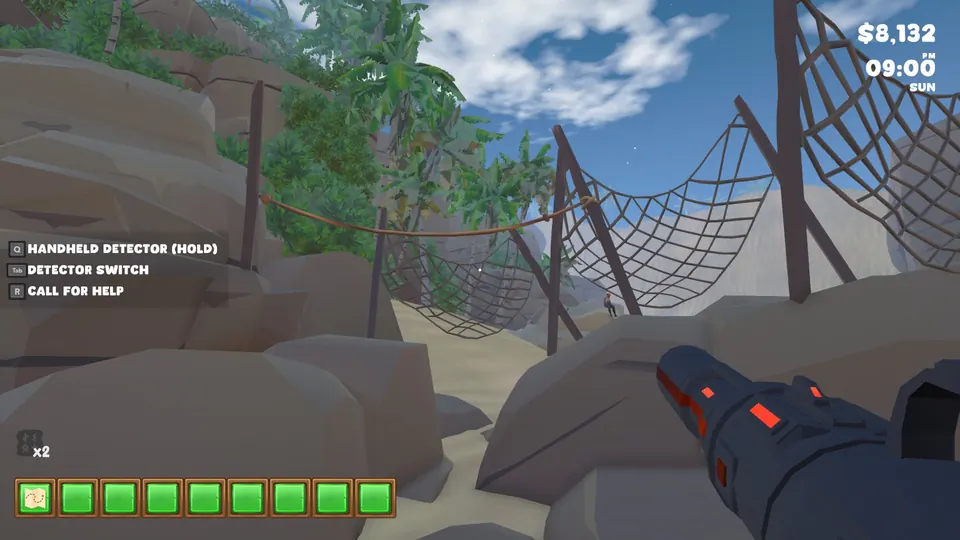
The second needs no jetpack. Dig a trench under the big net and walk through underneath it.
Golden Coast Treasure
This map is not in the shop. Get past the big net first (the section above covers how), then go into the ruined building on the far side and look for a table with the map on it.
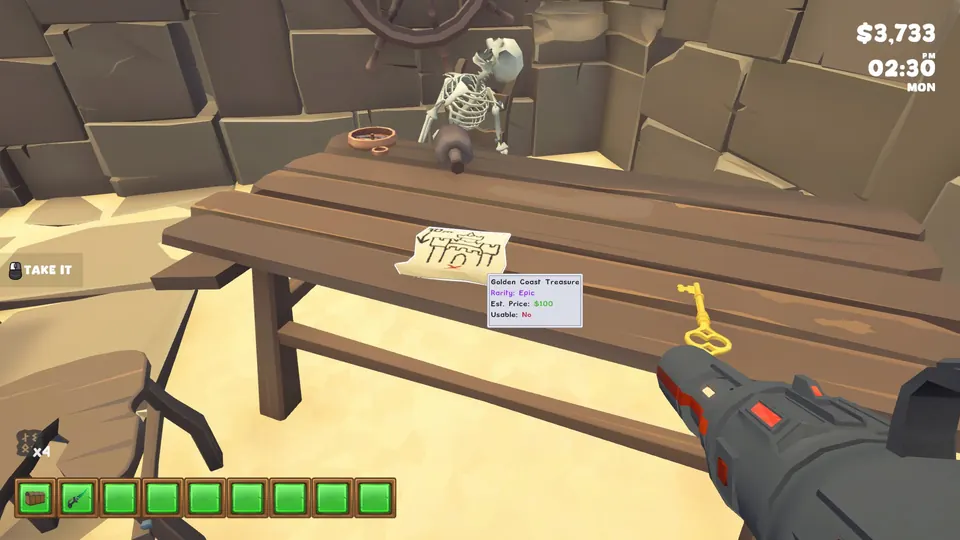
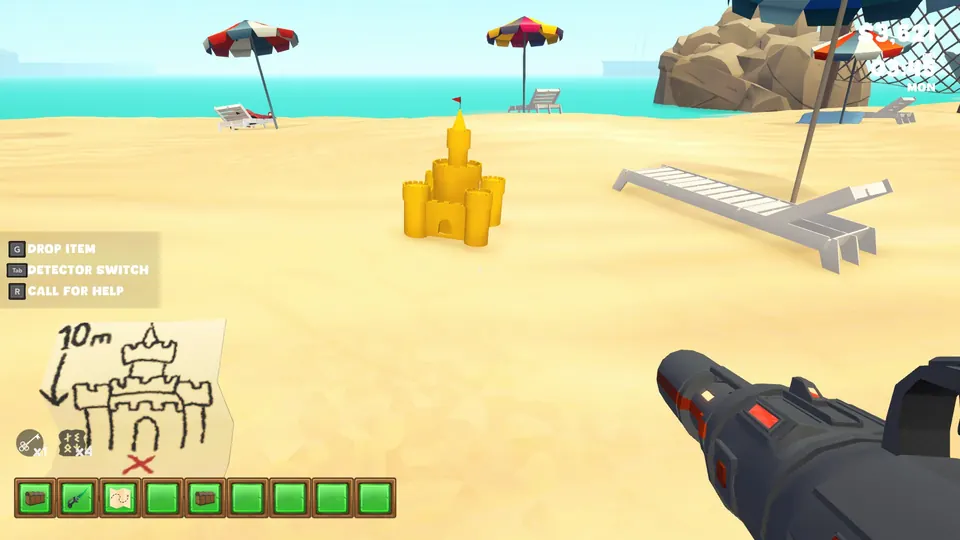
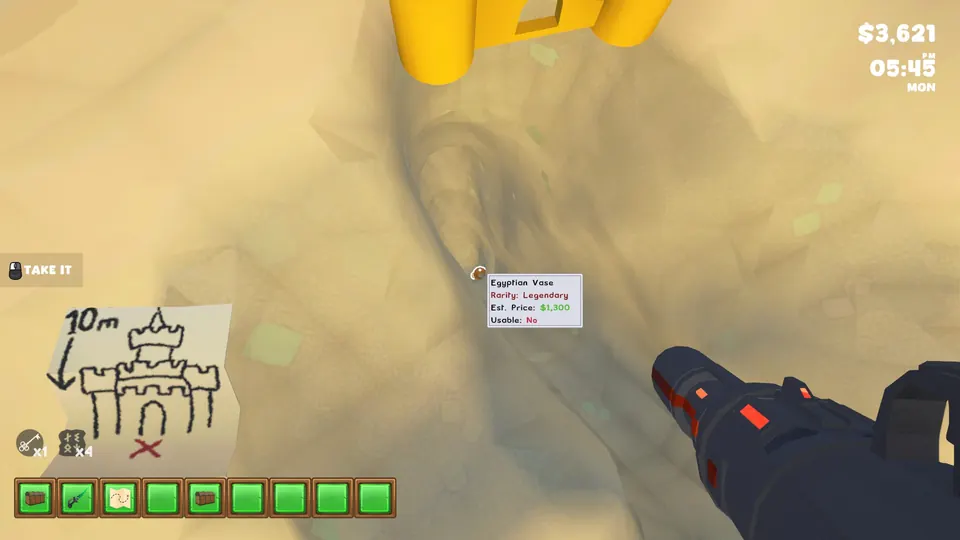
The Golden Coast Treasure is an Egyptian Vase, buried just in front of the beach’s yellow sand castle. The sketch on the map is labelled 10m next to an arrow pointing down, so start at the front of the sand castle and expect a deep dig rather than a walk away from it.
Crimson Sands Map
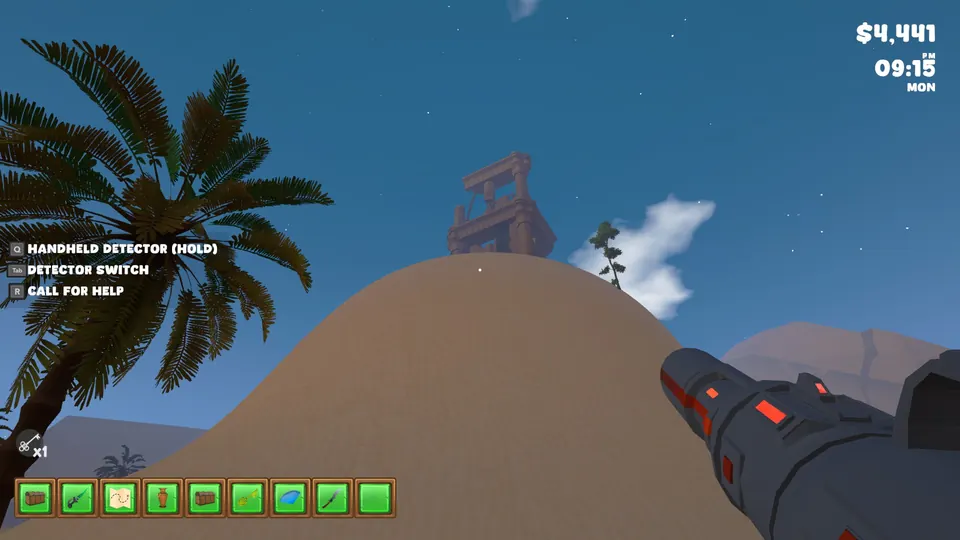
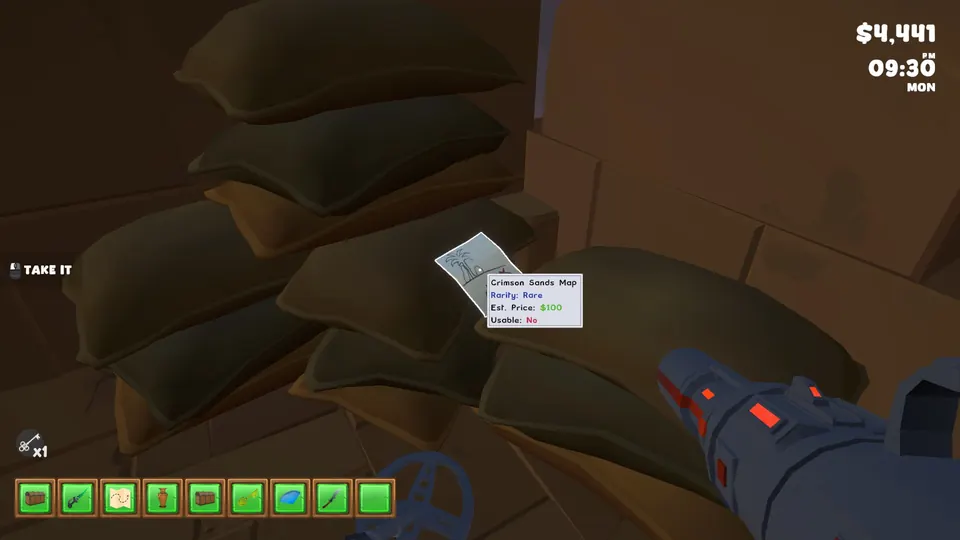
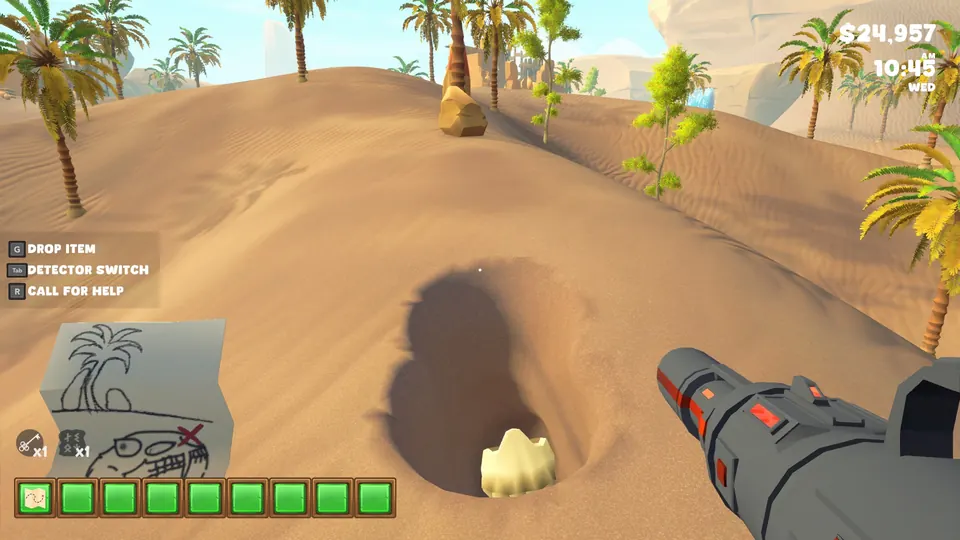
To get the Crimson Sands Map, climb the giant hill behind the portal you use to enter the desert. There is a building at the top, and the map is inside it, resting on some sand bags.
The dig spot is in the desert, directly in front of a tree with two rocks touching it. The sketch on the map shows a palm with a big skull below it and the X on the skull. Digging there uncovers that skull, and the Enchanted Sword lies in the same hole.
Park Bench Swing Treasure
This map is not in the shop. A figure dressed in black sometimes stands right outside the shop and sells it for $500. He only shows up on certain days and it is not clear which ones, so check outside the shop each day until he appears.
The Park Bench Swing Treasure is in the forest, at the park. Dig right in front of the swinging bench to find a Vase.
Lost Desert Treasure
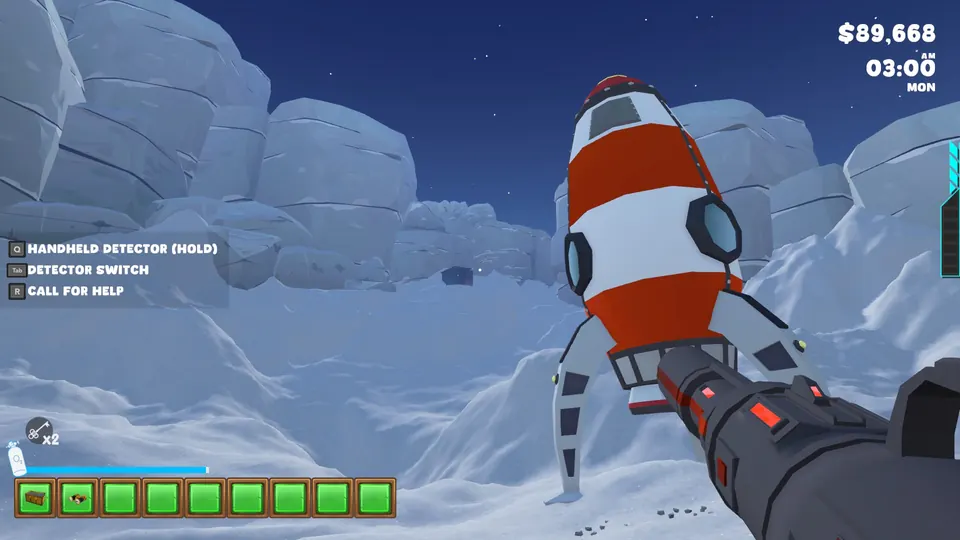
The map is in the bunker on the moon. When you land, the bunker is behind the rocket you came in.
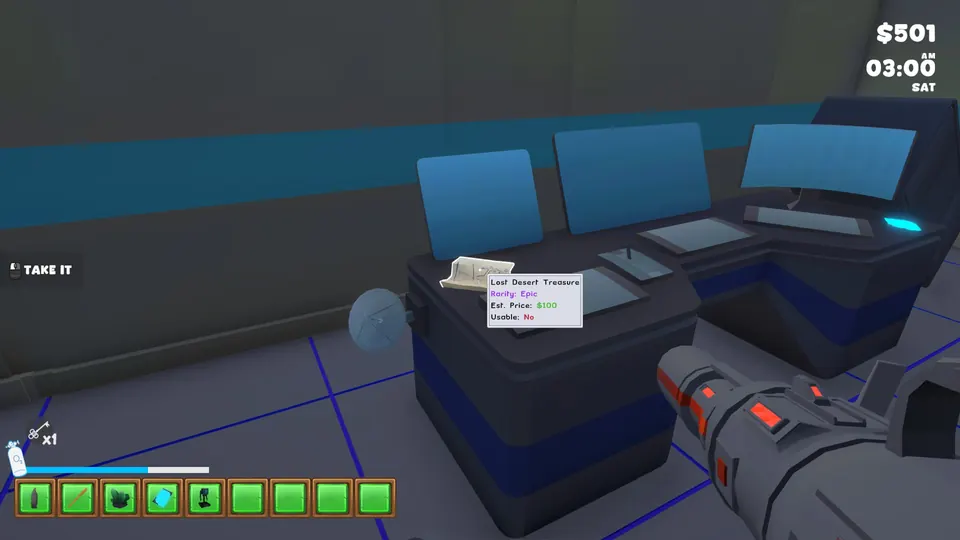
Go into the bunker and follow the hallway until you reach a room with a table. The map is on that table, next to some computer screens.
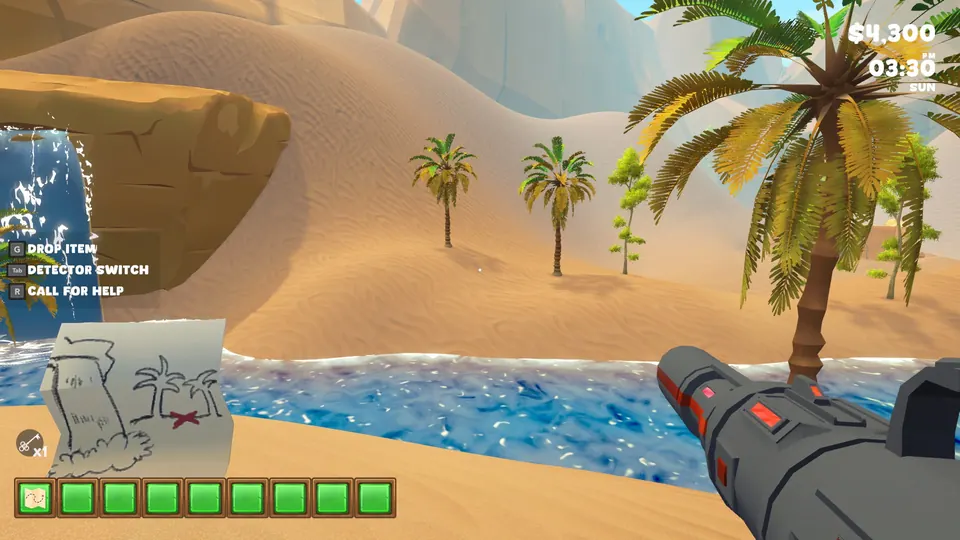
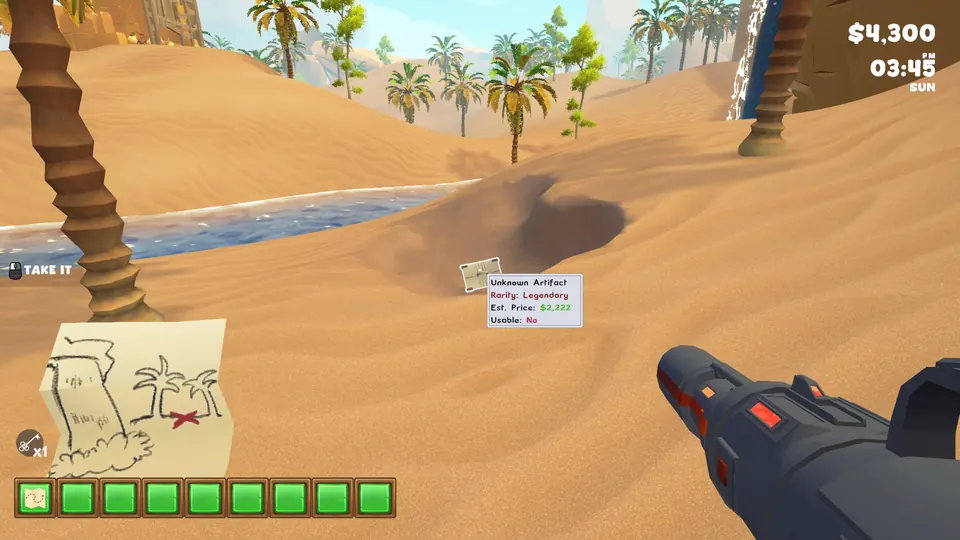
The Lost Desert Treasure is buried by the waterfall in the desert. Dig between the two trees there to find an Unknown Artifact.
Whispering Woods Treasure
The map is on the moon. Walk past the fuel station building to the group of buildings beyond it, and go into the one on the far right. Its door can be locked, and which key opens it is not covered here.
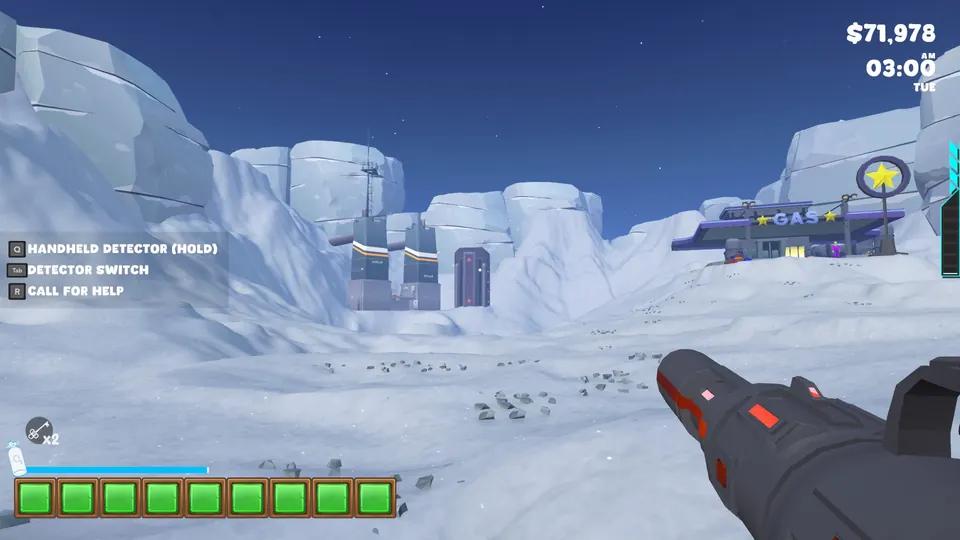
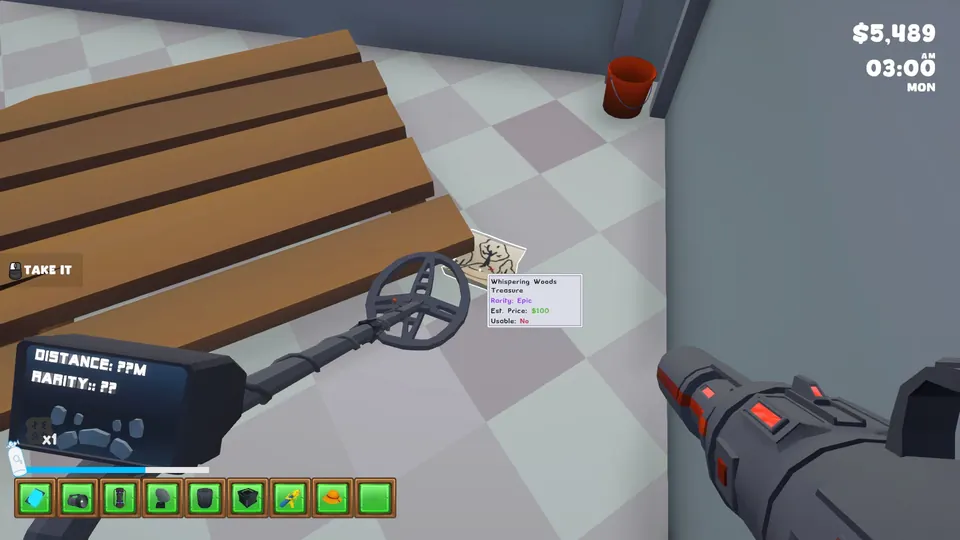
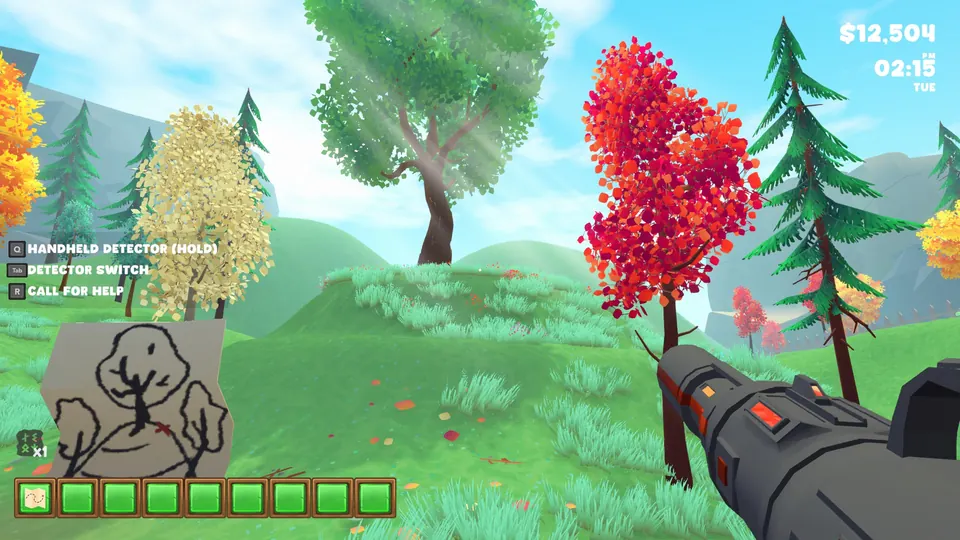
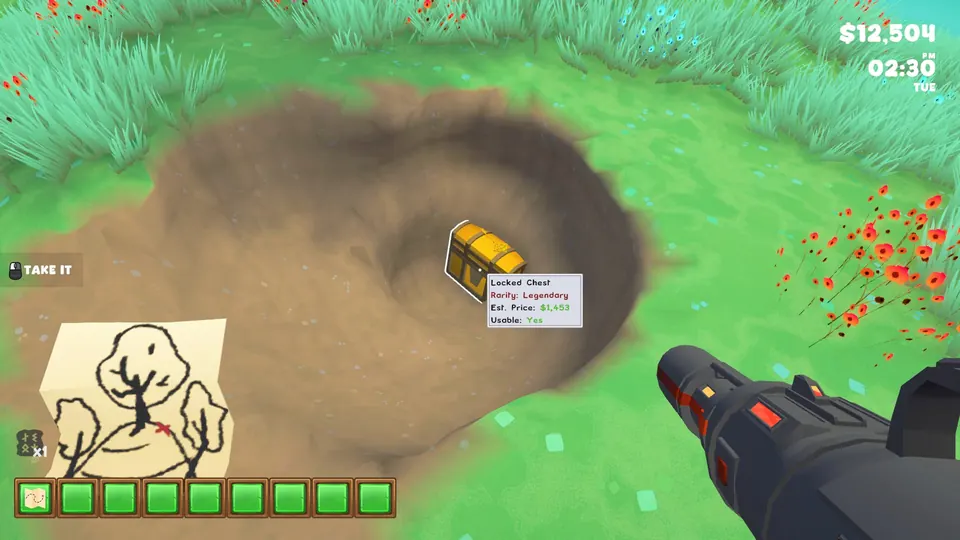
The Whispering Woods Treasure is in the forest, past the man who is camping there. Climb to the giant tree on the hill and dig beside it to find a Locked Chest.
Desert Rib Bones Treasure
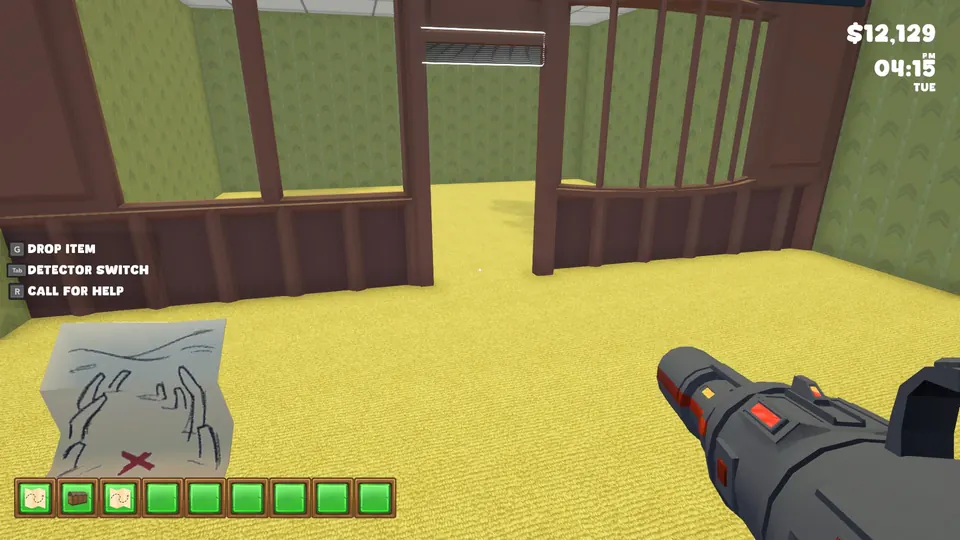
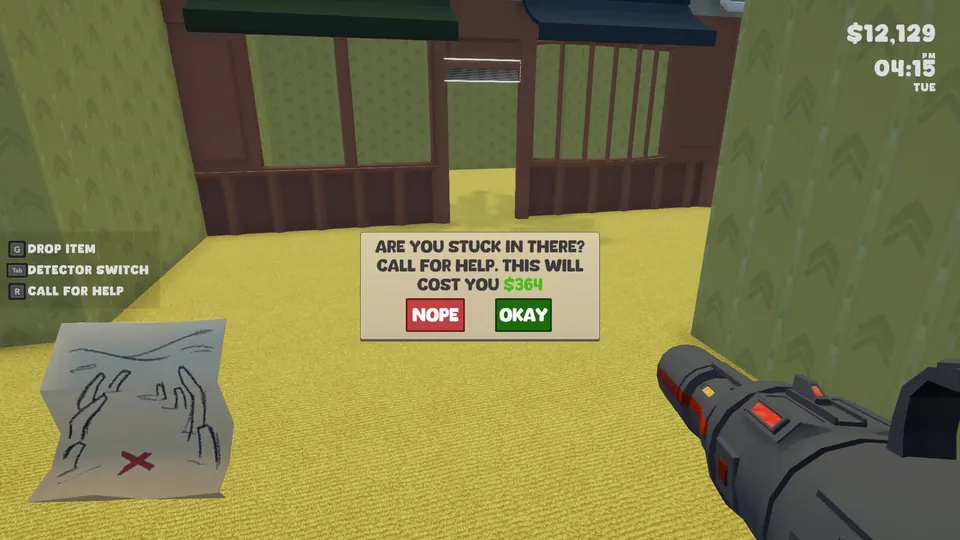
This map is in the backrooms. It sits in the last area before the room that looks like the entrance to the shop.
Do not walk into that room with the map. At the time of writing, going into the room makes you lose the map. Instead, pick the map up and use Call For Help (the R key by default) to get pulled out of the backrooms with the map still on you. The game charges you money for the rescue.
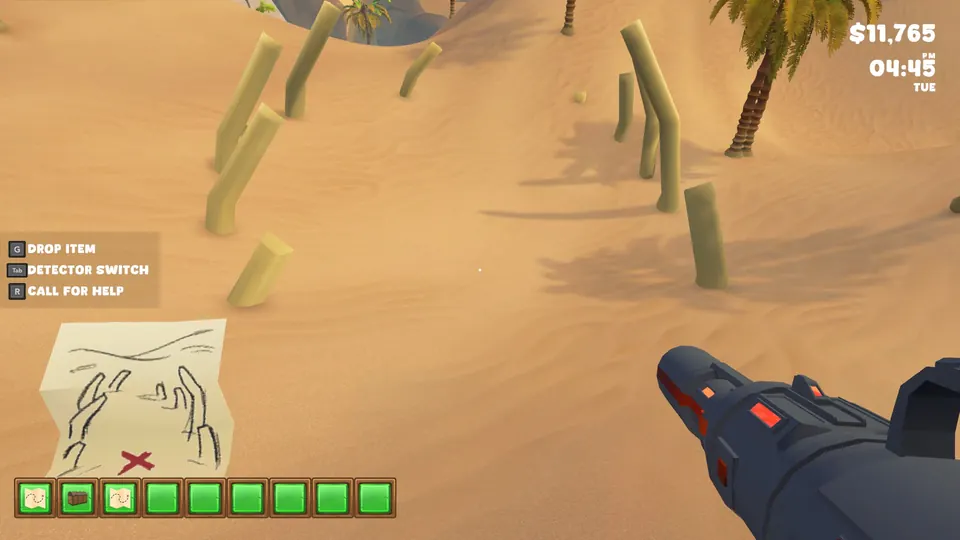
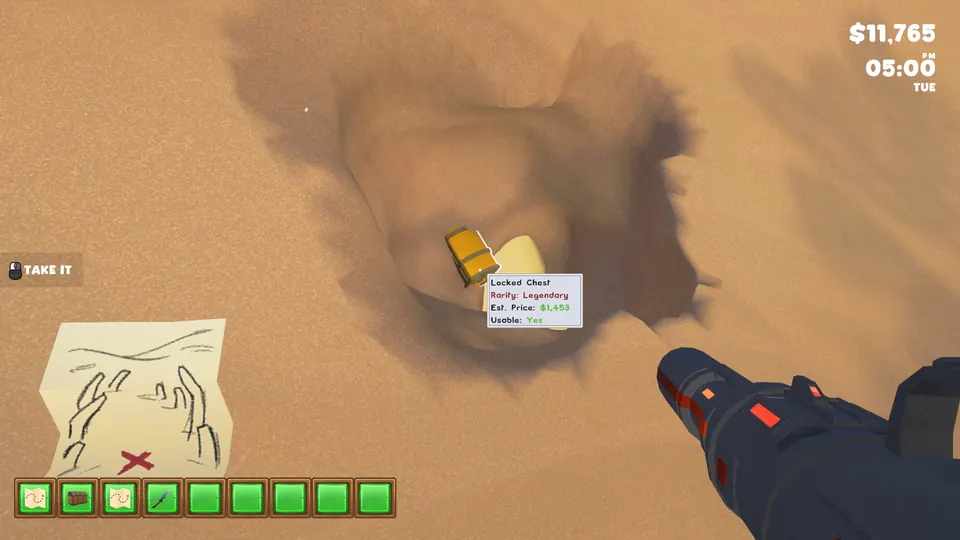
The Desert Rib Bones Treasure is in the desert, where huge rib bones stick out of the ground. Dig between the rib bones to find a Locked Chest.
Rising Moon Treasure
Buy this map from the shop. It is in the OTHERS tab.
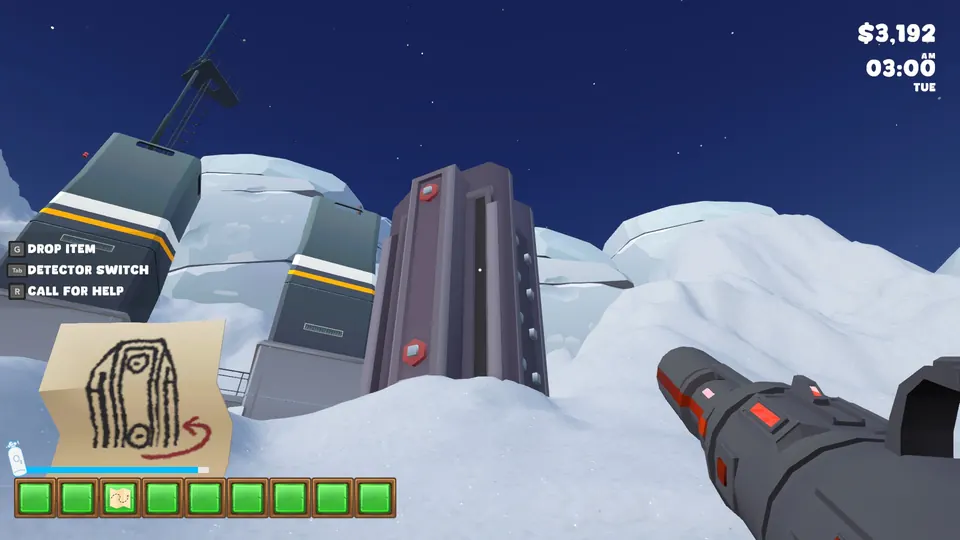
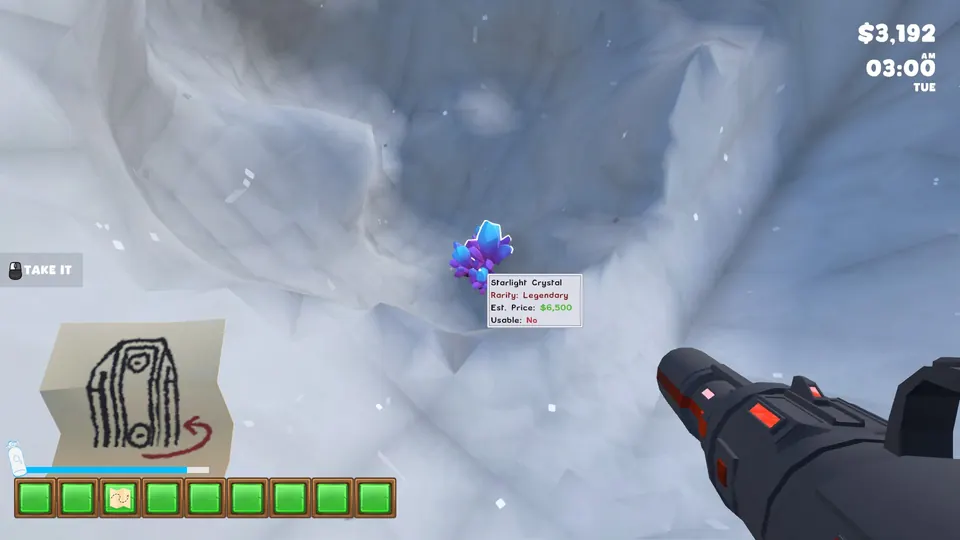
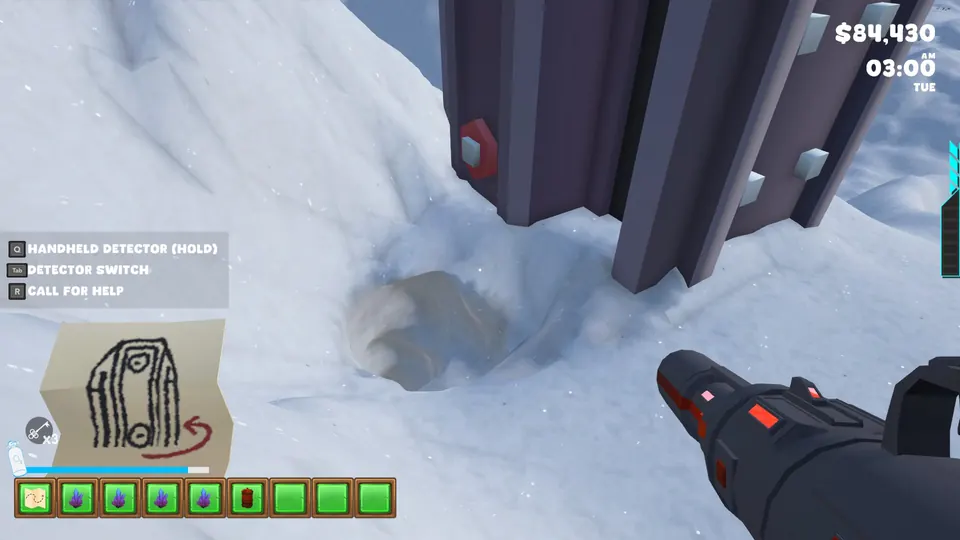
The Rising Moon Treasure is on the moon. Go just past the fuel station and dig behind the tall building there. You get four Starlight Crystals.
The Sea Kings’ Lost Treasure
Buy this map from the shop for $400. It is in the OTHERS tab.
The Sea Kings’ Lost Treasure is on the beach. Stand facing the boat you arrive on, then look to your right, where you will see two giant mountains. Dig right between those two mountains to find a Locked Chest.