BRICK - One Block at a Time: How to Play Guide
BRICK - One Block at a Time gives you an empty hotbar on an island of city and forest that fills up, a few at a time, with around fifty rival survivors. There is no campaign to finish. What you are working towards is a base you can defend, a crew that keeps working while you are away, and enough BITS to keep unlocking better gear, and most of what goes wrong in the first hour is fixable if you know the order to do things in.
The short version, if you read nothing else. Gather wood and stone, open handcrafting with C, and make a hatchet and a pickaxe before anything else. Eat before the hunger meter empties and keep one healing item on you. Pick ground with wood, stone and mineral nodes nearby and drop a Resource Cabinet, which claims the area around it and has to be fed wood and stone or your buildings start decaying. Put a Workbench Level 1 inside that claim, because every advanced recipe in the game starts locked and only a bench will open it. Build three bedrolls, not one. Holster your gun before you walk into the city, and take scrap components to the SALVAGER rather than hauling them around.
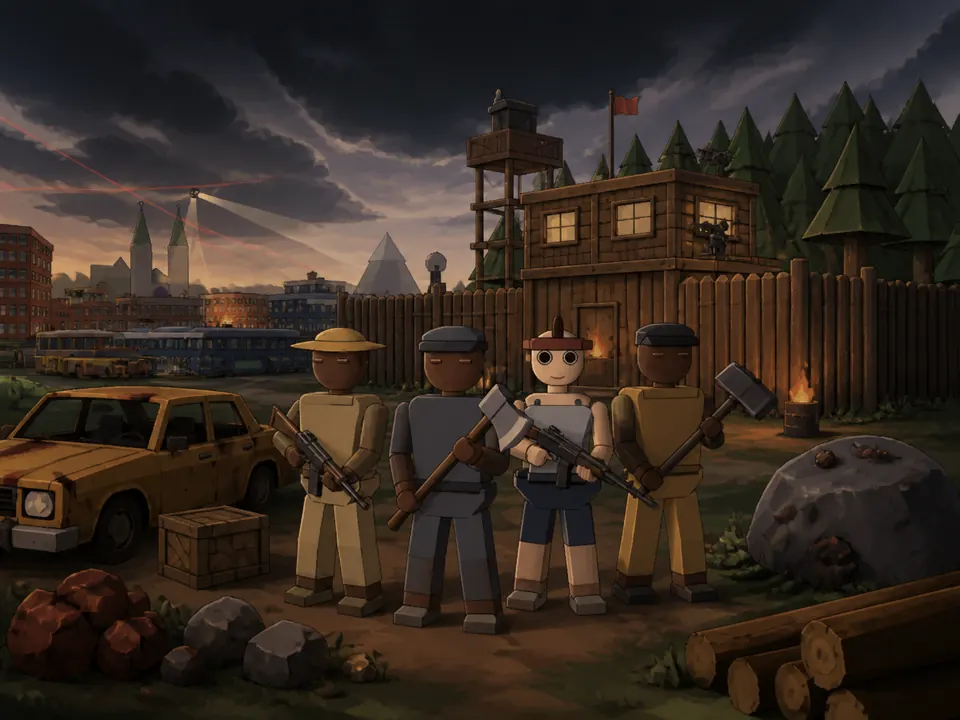
Every number on this page, costs, timers and Workbench tier requirements included, is the one in the launch build at the time of writing, and a patch can move any of it. The game also carries its own manual on F1, and single-player pauses while that manual is open.
Your First Five Minutes
The safe opening runs in five steps: gather, tool up, eat, scout, then plant a foothold.
- Gather. Chop wood and break stone. Move with WASD and keep SHIFT in reserve, because sprint stamina is what gets you away from a car, an animal, a police officer or a hostile survivor.
- Tool up. Open handcrafting with C and make yourself a hatchet and a pickaxe.
- Eat. Sort out something to eat and something to heal with before you cross open ground or pick a fight.
- Scout. Look for ground with resources nearby and enough flat room to build on.
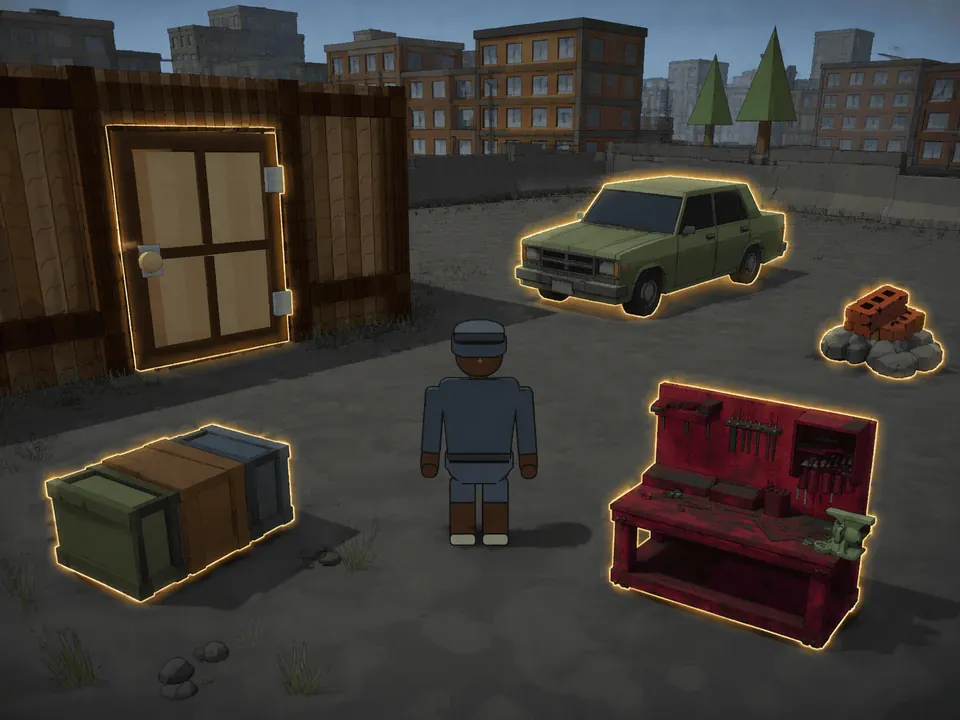
- Plant a foothold. That means a Resource Cabinet, a foundation, a door and a Storage Crate.
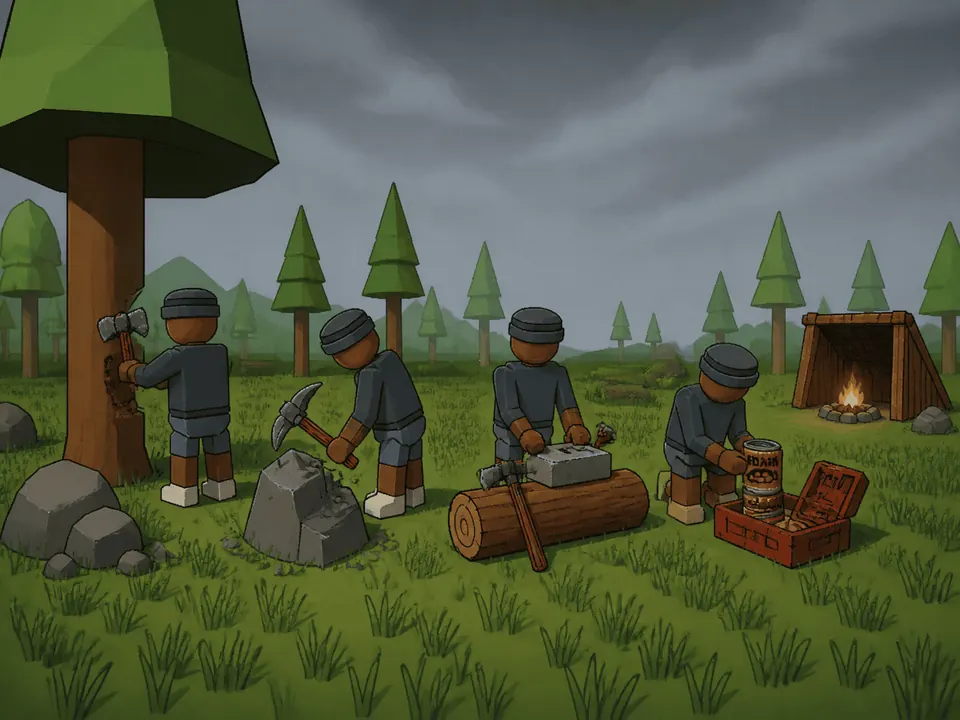
Do not spend everything you gather on weapons. Food, a bedroll, a Storage Crate and a door that actually closes are what protect the progress you already made, and preparation and positioning will win you more fights than one lucky weapon will. Stop and listen before walking into a building that looks occupied.
Controls and Key Bindings
Everything in the world is targeted with the crosshair. Aim at the thing you mean to use, because standing next to something does not override what the crosshair is pointed at. That applies to doors, containers, vehicles, Workbenches and every other interactable.
| Key | Action |
|---|---|
| W A S D | Move forward, left, back, right |
| SHIFT | Sprint |
| SPACE | Jump |
| E | Interact, enter a vehicle, open a Workbench |
| LMB | Use, attack, harvest, place |
| RMB | Aim down sights, hold for the Build Kit radial |
| R | Reload, or rotate a placement ghost |
| I | Inventory |
| C | Handcrafting |
| M | Map |
| P | Full Stats panel |
| F | Eat Best Food |
| H | Use Bandage |
| L | Show or hide the Online Players panel |
| K | Clan management |
| ESC | Close the window that is currently open |
| F1 | How To Play manual |
One window closes before another will open, so ESC is the way out of anything you are stuck in. The Quick Keys drawer shows your own current bindings rather than a fixed list, and keyboard and gamepad drive the same actions.
Inventory, Hotbar, and Backpack
Your main grid is 24 slots. Equip a backpack and its capacity stacks on top of that. Weapons, tools, food and placeables can all be dragged between the Inventory, Backpack, Equipment and Hotbar panels. Right-click anything for whichever actions it supports: use, equip, split, move, drop.
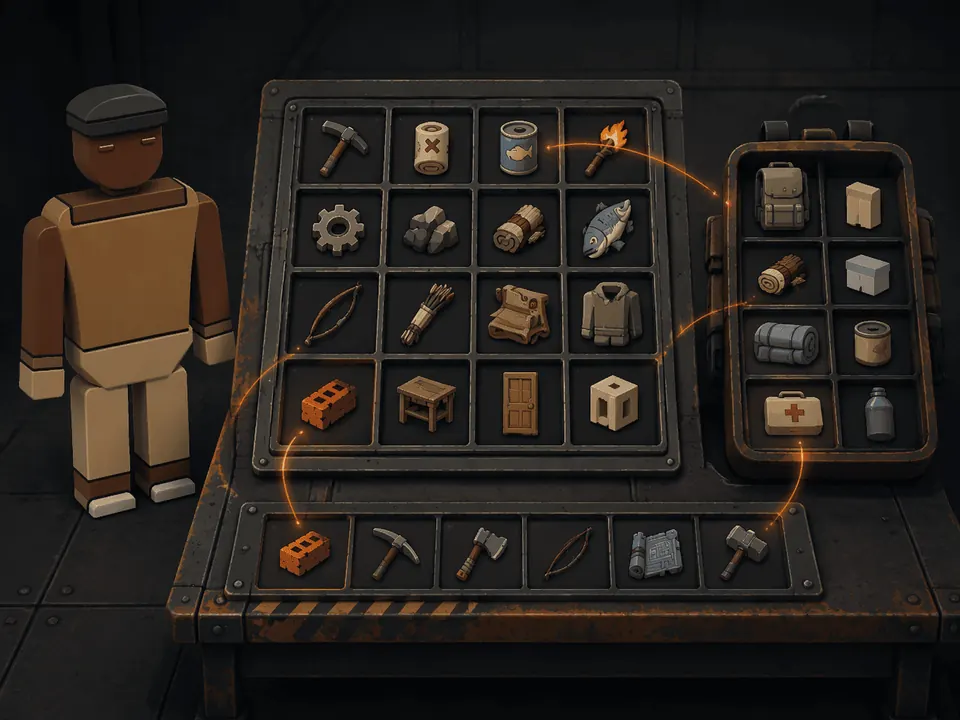
Taking clothing off returns the actual item to your inventory rather than destroying it. Anything you drop can be collected by anyone standing nearby.
Give healing and one escape weapon fixed hotbar slots you can reach without looking.
Survival Meters and Player Progression
Press F to eat before the hunger meter runs out. Food gives back a little health too, and that health return grows as your FAT goes up. H or a medical item handles low health. Armor cuts the damage coming in, but it is not a replacement for carrying bandages.
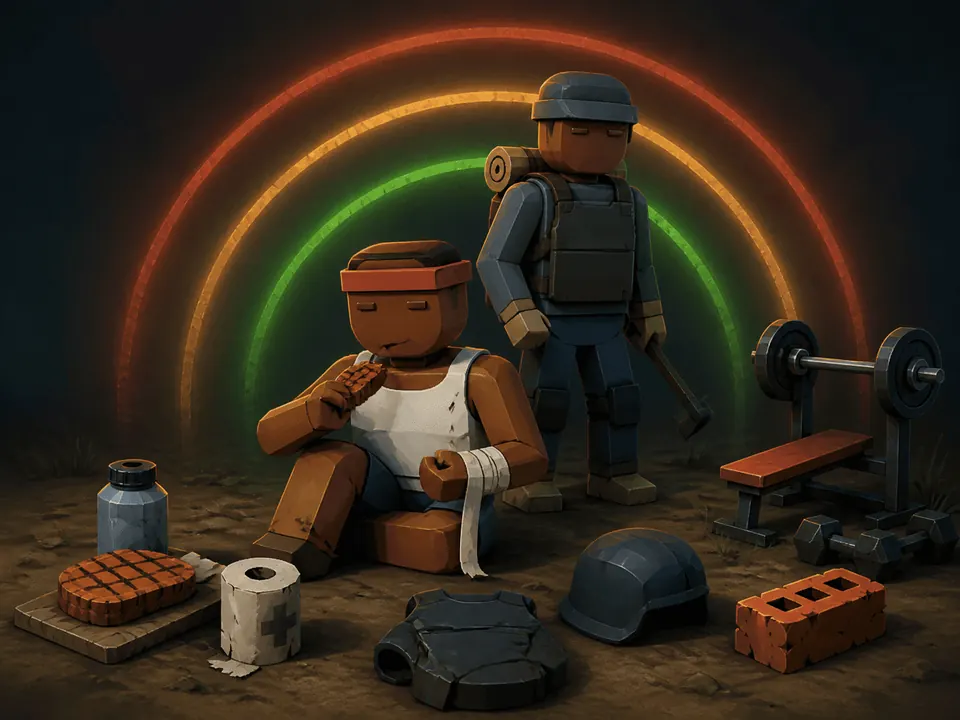
Sprint in bursts, because stamina only recovers once you stop. The HUD keeps your STR and FAT readouts in view alongside your armor and your bandages, and P opens the full Stats panel behind them.
Player stats improve through use. Harvesting, mining, fishing, shooting, driving, trading, exercise, scavenging and eating all raise their related stat by being done. A good stat is worth having, but a dangerous encounter is still settled by your equipment and your preparation, so do not treat a number on the Stats panel as a substitute for a better gun.
Harvesting and Mining
Tools are not interchangeable. A hatchet will not touch iron, and a pickaxe is required for every mineral node.
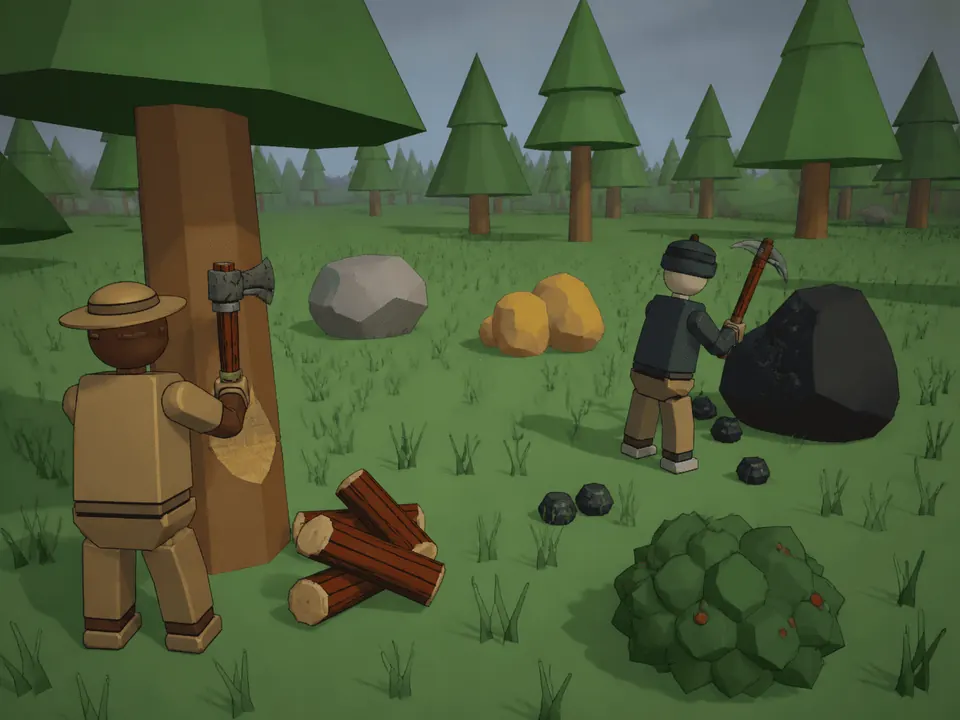
| Node | Tool | What it gives |
|---|---|---|
| Trees and suitable bushes | Hatchet | Wood and plant resources |
| Stone nodes | Pickaxe | Stone |
| Iron nodes | Pickaxe | A little metal ore for each hit that lands |
| Sulfur nodes | Pickaxe | Sulfur |
| Coal nodes | Pickaxe | Coal |
Aim at the node itself. The area it can be hit in is more generous than the surface it is drawn on.
Nodes deplete, and they deplete whether it was you or one of your recruits swinging at them. A depleted node inside a claim does not respawn there. Claim ground that has wood, stone and minerals all within reach rather than the prettiest clearing.
Scavenging and Loot Types
Salvage and food are collected two different ways, and using the wrong one on either just wastes time.
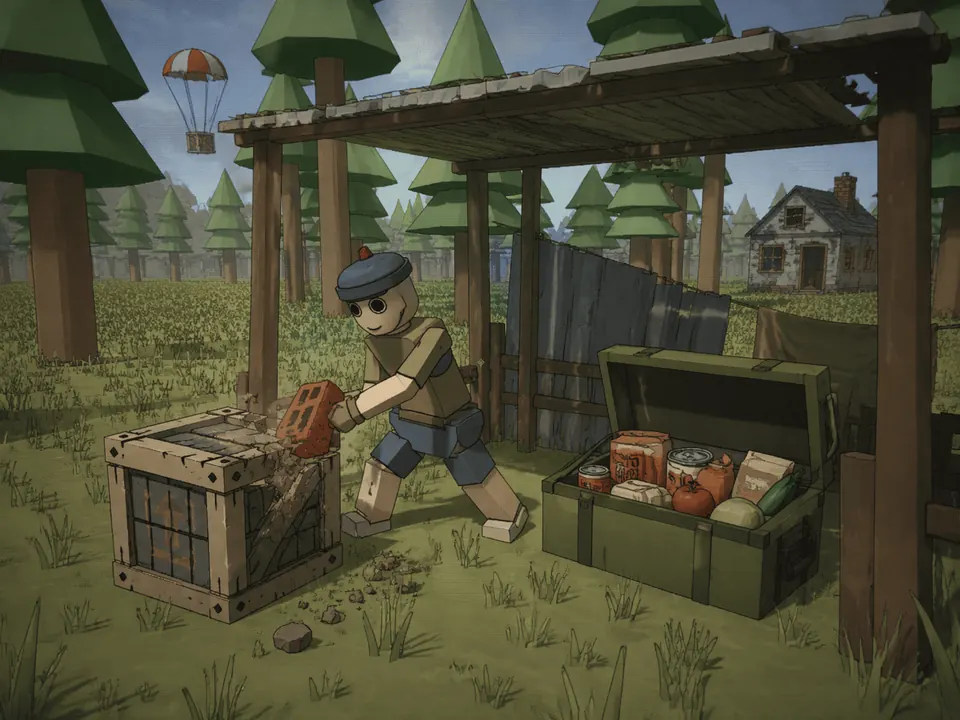
| Loot source | How to collect it | Notes |
|---|---|---|
| Salvage crates and resource boxes | Break them with LMB | A brick or a suitable melee tool handles low-tier boxes |
| Food caches | Aim and press E once | Loot and collision both vanish until the cache respawns |
Airdrops, forest loot sites, containers around the city and ordinary houses are all worth working through. Emptying a house does not conjure enemies out of nothing. Anyone nearby can notice the theft or the noise and turn hostile, but they have to already be in the world and walk to you like anything else.
Loot timers are remembered across saves, so reloading will not refill a container you have already stripped. Airdrops are the loudest event on the map: every crew in play can see one, and they all break off whatever they were doing to reach it. Forest loot sites reposition themselves out of your view rather than popping in front of you. Leave slots free before you set out, because a good run is worth nothing if you cannot carry the result.
The SALVAGER
Components are the money in this game. Gears, springs, pipes, rope, tape and tech are all worth more melted down than carried around.
The SALVAGER is in the city. Bring a full bag over, press E, and the whole lot breaks down into BITS and metal in a single action. Gears pay the best of the lot. Rival scavengers are out collecting the same components you are, so anything you walk past will be in somebody else’s bag by the time you come back for it.
Handcrafting and Starter Placeables
Handcrafting gets a base off the ground and then Workbenches take over. Press C for basic tools, arrows, clothing, supplies and the early placeables. Those are the Bedroll, the Campfire, the Wood Door, the Wooden Crate (the early Storage Crate), the Resource Cabinet and Workbench Level 1.
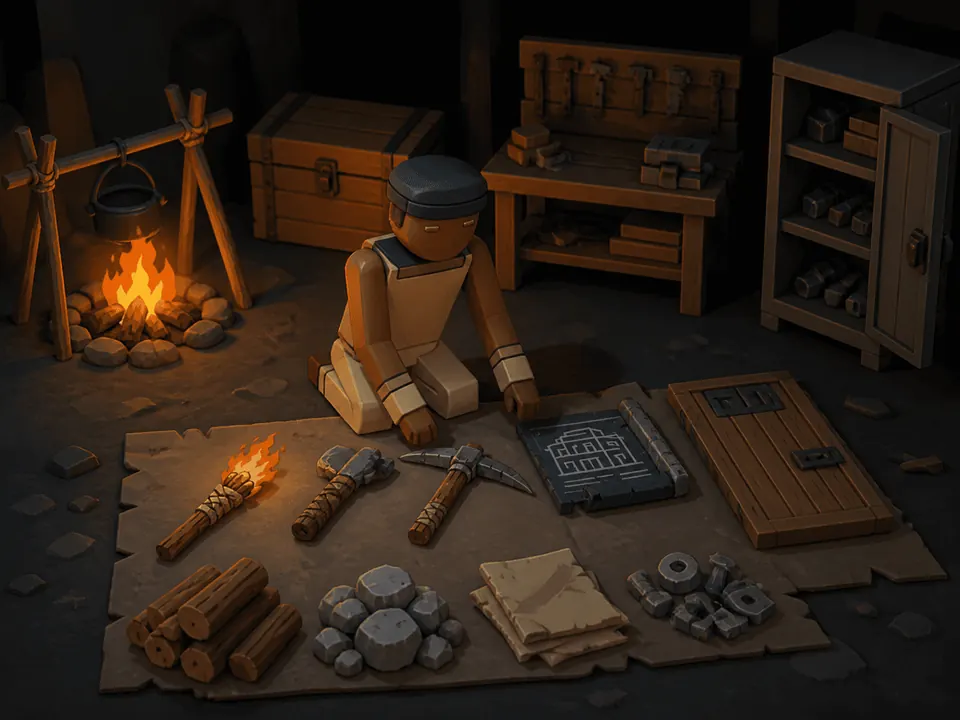
Doors, containers, stations and defenses you craft arrive as real items in your inventory, and none of them can be installed straight out of the crafting panel. Put the item on the hotbar, select that slot, line the ghost up, press R to rotate it, and confirm. None of this is Build Kit work; the kit only produces the structural shell.
Get a Storage Crate down before good loot starts eating the slots you need. If a bow is the plan, keep arrows made in advance rather than at the moment you want one. And put a bedroll down before you travel any real distance.
Workbenches and Blueprints
Every advanced recipe starts locked, and having the materials does not unlock it. Unlocking a blueprint is what BITS are for. You spend BITS at the correct bench to open the recipe, and then you spend resources to craft the item itself. Those are two separate payments, which is why you can be sitting on a pile of metal and still be unable to make the thing you want.
A Workbench Level 1 goes anywhere in your claim. Interact with the bench to see what is locked and what is not. You can narrow the list to a single item type, and order it by name, by cost, or by whether it is still locked, ascending or descending.
Level 2 and Level 3 are unlocked through the bench you already have. When you can afford it, choose UPGRADE and the bench improves where it stands. A higher-tier Workbench never goes into your inventory, so an upgraded bench is a fixed asset inside a claim that now has to be defended.
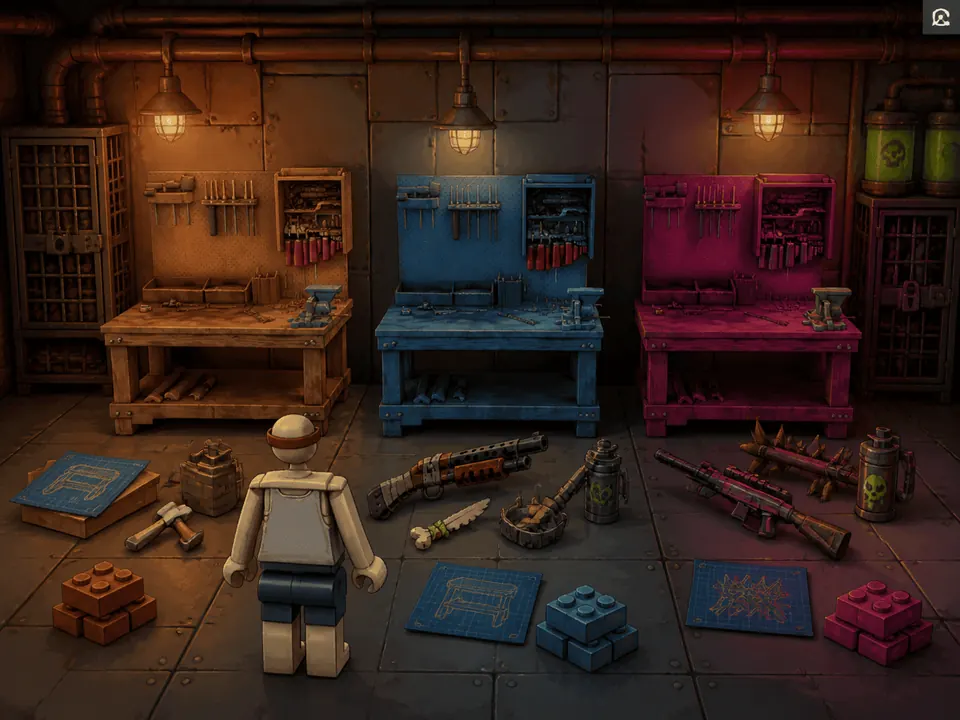
Unlock a firearm and its matching ammunition recipe opens with it, though you still pay resources every time you craft a batch. Spend your BITS on gear you can afford to keep supplied and replace, rather than on the single strongest line in the list.
Claims, Resource Cabinets, and Upkeep
The Resource Cabinet is the ownership and logistics core of a base. Placing one establishes a claim around it. Deposit wood and stone into it for upkeep, and it will show you the remaining time along with whether the base is currently protected or DECAYING. Let upkeep run out and everything connected to it slowly loses health.
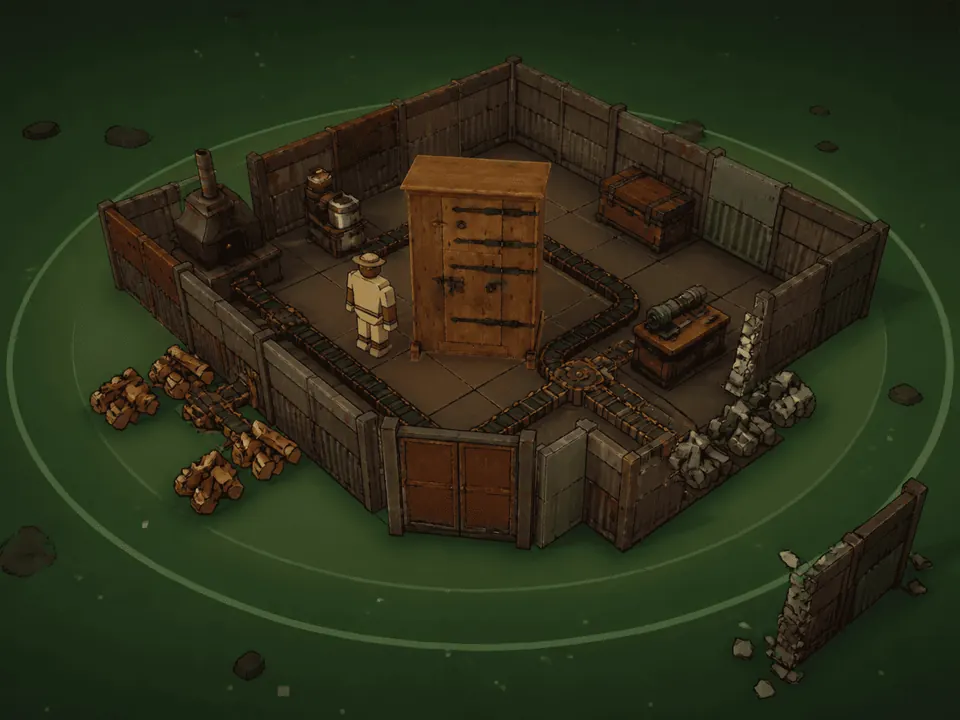
Building and crafting inside the claim will draw materials out of eligible Storage Crates standing there, not only out of your pockets, so a stocked crate near the build site saves a lot of walking.
Access checks for your own and your clan’s structures and placeables run off the claim. What they block is interaction: an enemy cannot open them, cannot demolish them with a hammer, cannot replace them and cannot build their own pieces through them. What they do not do is make anything bulletproof. A raider brings a weapon that damages structures and destroys the container instead, and destroying and looting an enemy cabinet hands over the resources inside plus bonus BITS. That is why your own cabinet belongs several layers deep rather than beside the front door. Top the upkeep up before you log out or head off on anything long.
Build Kit and Structural Pieces
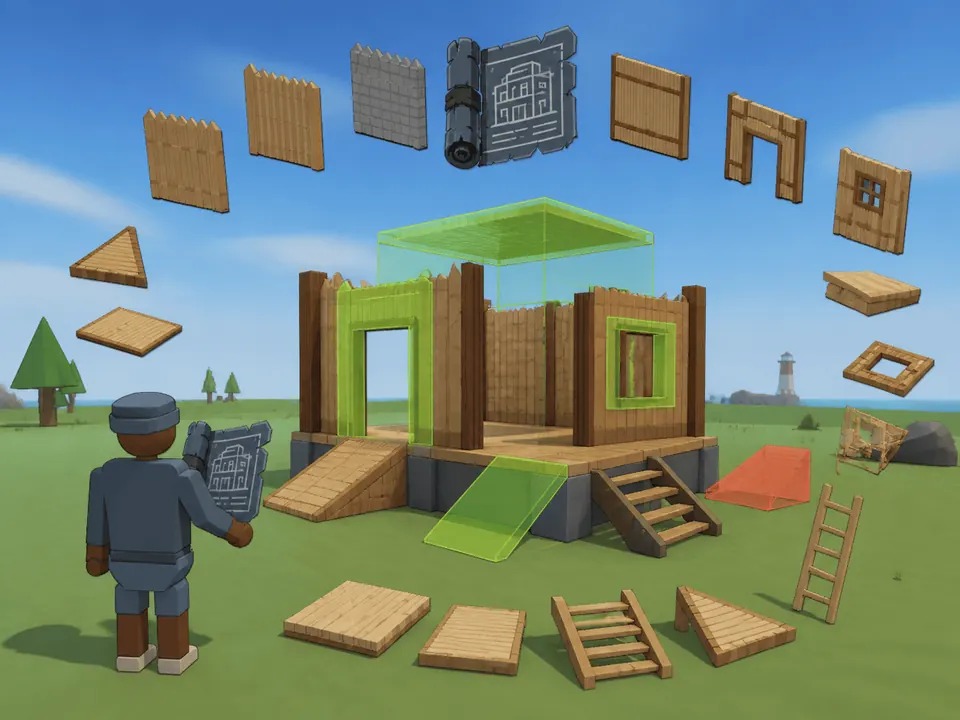
The Build Kit handles the shell: foundations, walls, doorways, windows, ceilings, frames, ramps and stairs. Equip it, then hold RMB to bring up the radial selector, hover the piece you want, and release to take it.
Line the placement ghost up on a snap point. A green ghost means the position is legal and a red one means it is blocked or has nothing holding it up. R rotates the piece while you are placing it. Leave yourself enough interior room for placeables before you put a roof over the shell.
Placeables and Storage
A base becomes useful at the point where its loot, its respawn, its food, its crafting and its entrances are all protected. Storage Crates, bedrolls, doors, gates, compound pieces, stations, lights, traps and turrets are the objects that do that job.
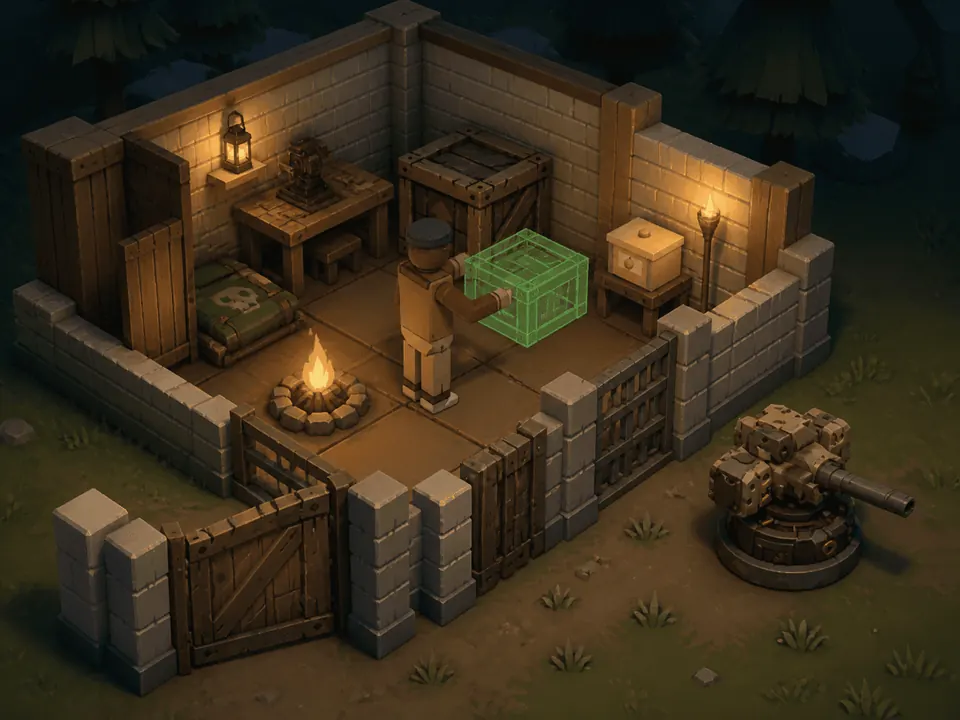
A Storage Crate holds anything you would hate to drop. A Food Box keeps a crew working. Workbenches carry the unlocks. One placement rule catches people out: an object that depends on a Workbench tier has to go inside a claim that already contains that tier of bench.
Placeables provide no structural support of their own. Do not crowd a door or a bay door with other placeables, either, or the crosshair starts picking the wrong target when you go to open it.
Structural Integrity and Repairs
Every elevated piece has to trace a support path back to a foundation. Supported structures stay up. Floating ceilings and disconnected sections collapse, and that rule applies to AI clan buildings exactly as it applies to yours.
Grow the base outward from its foundations so that walls, ceilings, stairs and anything raised keep a path back down to solid ground, and add spare foundations before you expand upward. Take out the only foundation holding a section up and everything above it comes down, which is worth knowing from both sides of a raid.
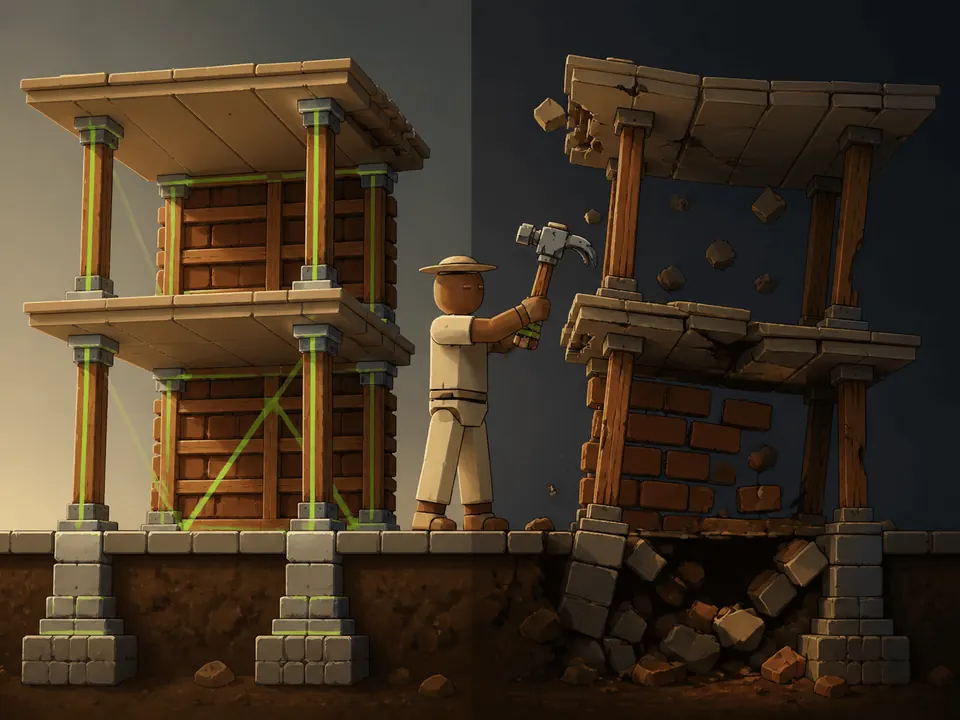
The hammer repairs and demolishes anything you own, or anything clan permission has shared with you. Upgrading a piece raises its maximum health. Hammers and bricks do no damage to enemy structures at all. Read the name of the targeted piece and the ownership message before you swing a demolish.
Weapons, Ammo, Reloading, and Durability
Put a weapon in a hotbar slot, select it, and LMB fires or swings it at whatever the crosshair covers. A firearm needs its matching ammunition, and that ammunition has to be crafted and then loaded. R reloads any time the magazine is short, and the moment to use it is before you walk into a building, not after the shooting starts.
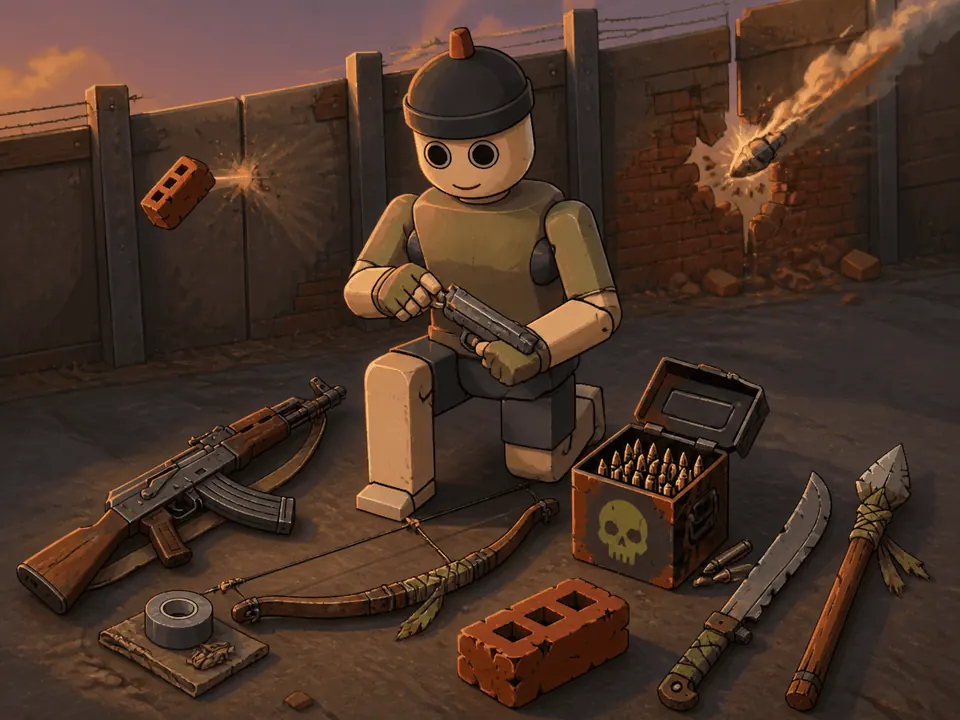
Hold RMB to sight down any firearm. Your grouping tightens and the shot steadies, and you move slower for it. That trade is worth taking at range and a bad idea in a small room. Only the Bolt Action puts a scope on top of it.
Durability drains on everything you swing or fire. Better tiers usually survive longer, and anything that hits zero simply breaks and comes off your hands. Carry a spare tool or weapon when you are working far from storage.
A brick, a hammer, a hatchet, a pickaxe or a hunting bow is not the thing to be holding when a defender comes at you, so carry a real gun for that half of a raid. Note as well that a kill only counts for whoever, or whatever, actually landed the lethal damage.
Base Defense and Raiding
Defense is not just more walls. The job is to delay an attacker long enough that the Resource Cabinet core is never reached, and the tools for that are gates, compound walls, doors, controlled entrances and rooms layered behind each other. A compact layered base outperforms a large hollow compound, and anything defensive left in open line of sight is easy to destroy.
| Defense | Requirement |
|---|---|
| Shotgun Trap | Workbench Level 2 |
| Auto Turret | Workbench Level 3 and its blueprints |
The bigger, richer and better fortified a base gets, the more raid heat it throws off, and the stronger the attacks it pulls in. Raid heat here means attention from other crews, and it is a separate thing from the police stars covered further down.
Going the other way, raid with weapons that can damage structures, then secure the cabinet and the Storage Crates before the defenders get back. Ordnance is not required to open a wall. A hatchet or a pickaxe will break one, which is exactly why a raiding party carries them, and explosives only buy speed. Take the beds out before you leave as well, for the reason under Death, Respawning, and Recovery below.
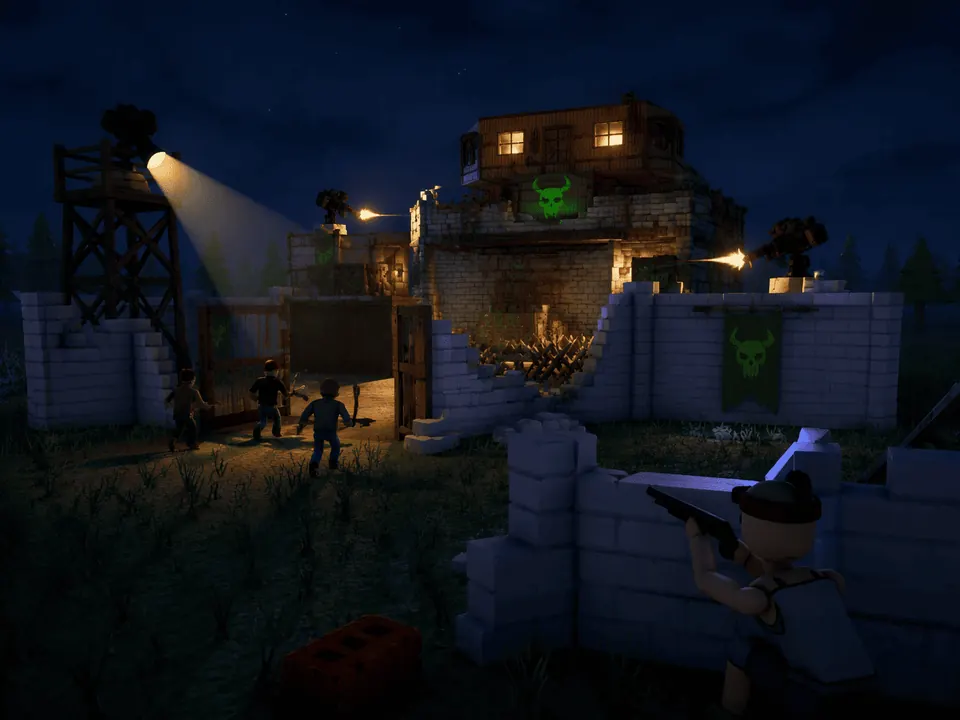
Attack an AI base and its owners drop whatever job they were on and come home to defend it. Allies who owe them defensive support may arrive too.
Death, Respawning, and Recovery
Run out of health and the death screen tells you who killed you and with what, where the game knows. You then respawn either on an available bedroll you own or at the Plaza, which is the fallback the game gives you when there is no bed to take.
Two bedroll rules decide how much a death actually costs. A bed enters a five minute cooldown the moment somebody spawns on it, which means a base with a single bed leaves you no respawn at all for those five minutes. And the cap is three beds per owner, applied to you and to every rival camp alike. Three beds spread around the base is therefore the practical answer to the cooldown, and it is worth keeping at least one of them reachable when the main doorway is blocked. Both numbers are current as of the launch build.
The map marks the spot you died with a skull, and the corpse package sitting there holds everything you dropped. Get back to it fast, because AI or other players can take it before you arrive. If the killer is probably still standing on that route, take a different one.
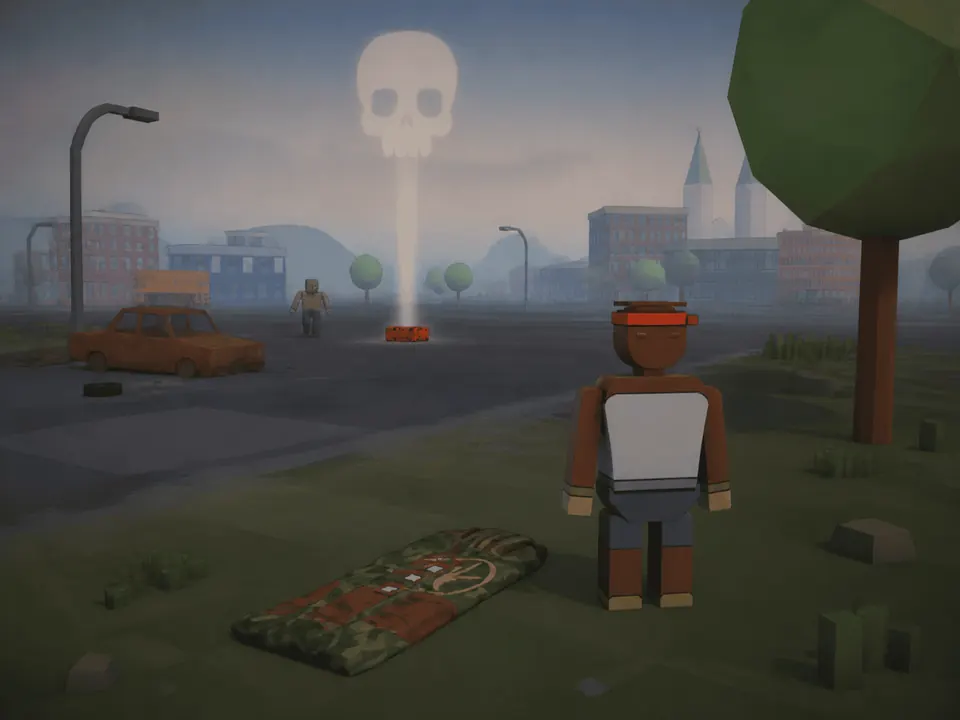
Every rival survivor lives under the same rules. Put one down at their own camp and they will get up again on their own bed, provided it is standing and off cooldown. Beds are structures, so they can be broken, and breaking a rival’s is the only way a kill on them sticks.
Food, Farming, Cooking, and Fishing
Food is worth turning into a base system rather than an emergency. Plant seeds in farm plots and let the growth timers run out, and note that those timers are saved, so a crop keeps growing across sessions. A campfire cooks anything suitable, and meals you can carry belong in your inventory or in storage before you set off.
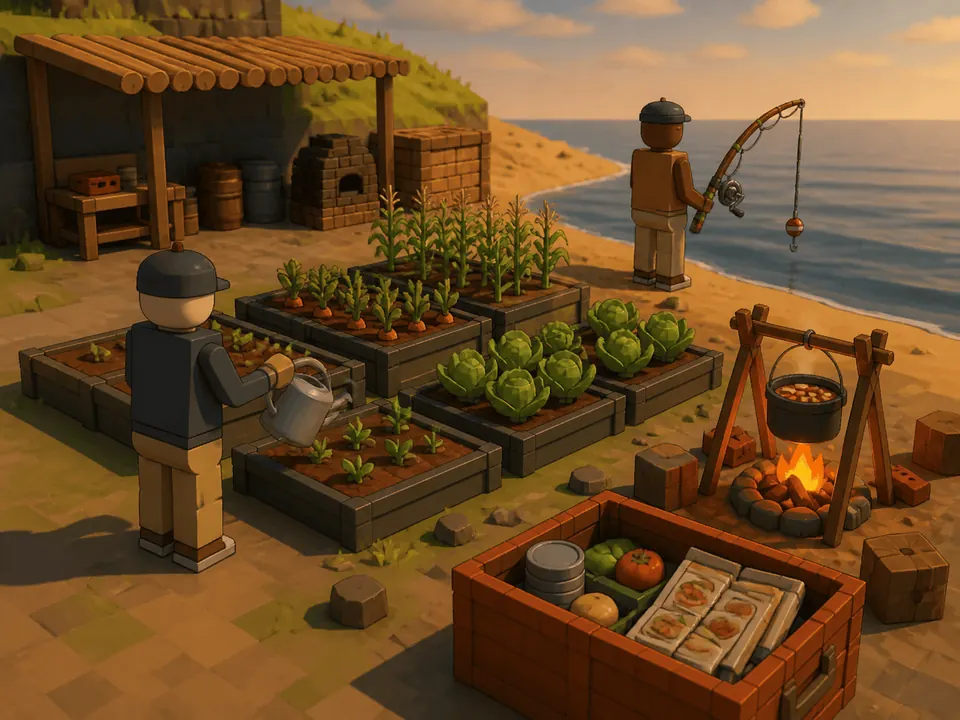
For fishing, equip the rod within reach of water, cast, and act on the bite prompt when it shows. Keep the shoreline you fish from clear of walls and anything else bulky enough to block the cast.
Do not harvest every crop the moment it is ready if the base has no room to store the result.
Weather, Time, Darkness, and Light
The clock rolls over gradually rather than snapping between states. Night sets in at roughly 8 PM and bottoms out in full dark somewhere near midnight. Street lighting and car headlights are on from 7 PM until 6 AM. The city stays navigable after dark. The forest is the problem, and near midnight it is genuinely black.
Take a torch with you, or plan around lanterns and headlights, before going into the forest at night. A torch will only sit in your left hand while your right holds compatible one-handed equipment, so a two-handed weapon and a torch are mutually exclusive. Headlight beams throw light down the road ahead rather than lighting up the space around the car, so they show you where you are going and nothing at all beside you.
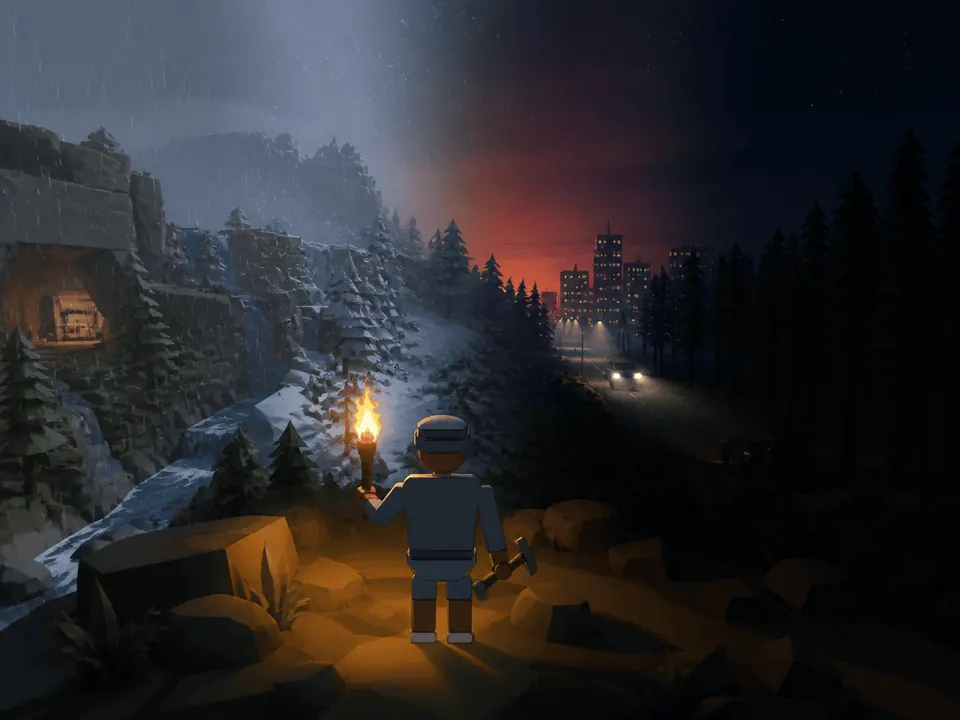
Rain and snow each show up as an elemental status on you. Snow also changes how things move: snow is slippery outdoors, it is not slippery inside a building, and a vehicle driving on it gives up a little traction.
Start long forest trips before the sun goes down. The glow of the city is a useful direction reference at night, but it will not light the forest for you.
Vehicles, Ownership, and City Driving
Aim at a car and press E to get in. Anything unowned needs a longer hotwire action first, and unowned traffic is the stuff that comes in varying colours. Stolen vehicles that qualify can be given a legal title, and once titled the garage will repaint them; police vehicles are the exception and can never be titled. Colour stays saved on anything owned, NPC-owned cars included, and your own vehicles hold their ownership state with it.
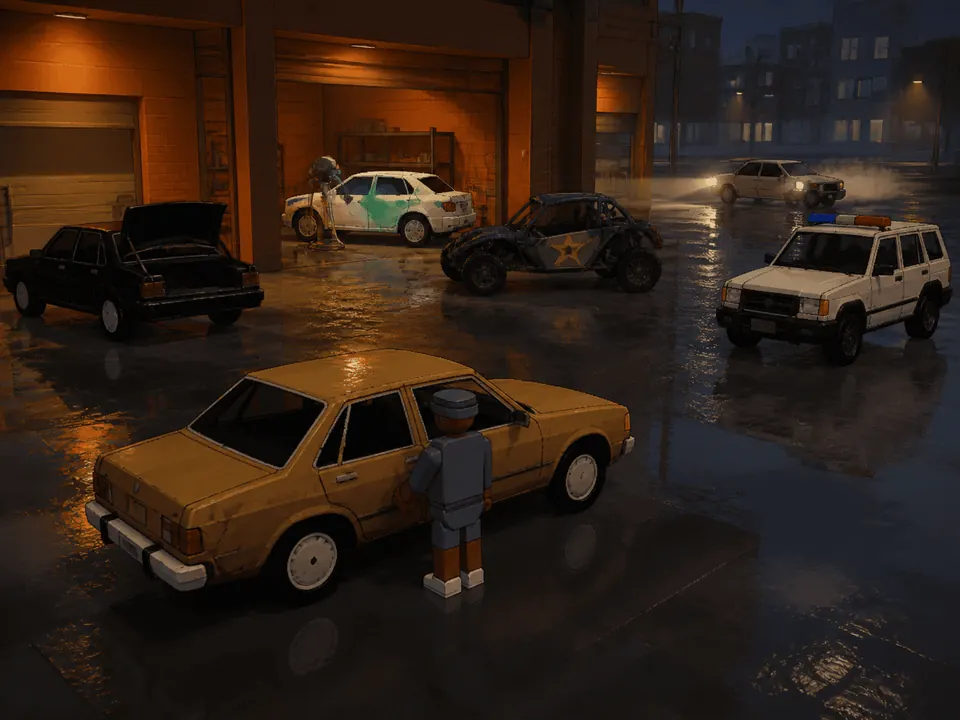
The trunk works as storage and the radio can be used from inside or outside the car. An arrest gives the police the option to impound a qualifying city vehicle, and buying it back costs 50 BITS as of the launch build, so do not leave anything you care about parked where an arrest will strand it.
A car is also cover. Sit inside one and the bodywork eats the rounds meant for you, right up until it gives out. When it finally blows, everyone in it is thrown clear and hurt. Get out of a burning car early instead of riding it down, because riding it down costs health on top of the vehicle.
Shooting from a car works. Point the crosshair anywhere you like rather than trying to line up through the glass, because the shot is traced from the vehicle itself, which is why a drive-by at touching distance still connects. Only a moving vehicle hurts a player, and an NPC hit by one gets knocked away from the impact rather than clipping into it. Ease off before busy intersections and steep hills. Traffic that wedges itself in a jam will briefly ghost through the blockage and then take its collision back, which is how it behaves in the launch build at the time of writing.
City Services and Trading
The city is dense with services, and knowing which building does what saves whole trips.
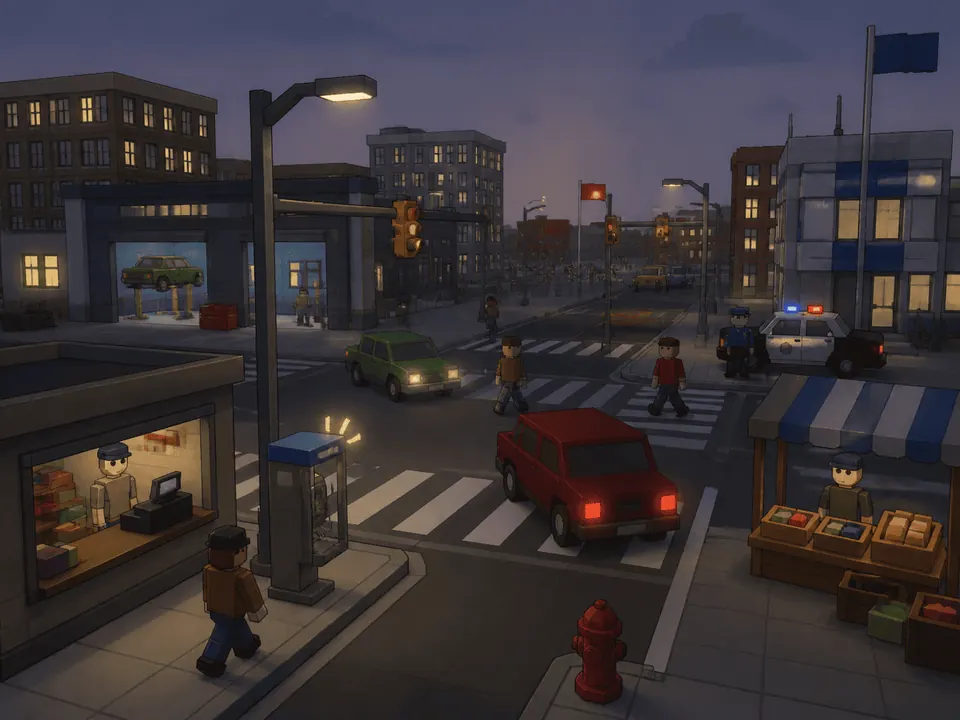
| Where | What it does |
|---|---|
| Corner-store vendors | Buy food with BITS |
| Markets and specialized traders | Other supplies |
| Big Tony’s Auto Repair | Vehicle titles, paint and ownership services |
| SALVAGER | Where scavenged components are cashed in |
| Payphones | Offer missions, and only ring when you are close enough to hear them |
| Clan Quarters desk | The Clan Registration NPC, for registering a new clan |
| Pay ‘n’ Spray | Pay to have police heat wiped |
The market is dynamic. Prices rise after repeated purchases from the same place and recover as stock replenishes, so buying out one vendor in a single visit costs more than spreading it out.
The map on M is what you use to find these services. Navigate by street signs and landmarks rather than floating world text; the signs are the more reliable of the two.
Heat: The Five Star Police Response
Each star you pick up makes the response larger, quicker and more willing to shoot.
| Stars | What turns out | Officers | New wave every |
|---|---|---|---|
| 1 | Arrest. Officers give chase and try to take you alive rather than shooting | ~3 | 7 seconds |
| 2 | Weapons free. From here they shoot instead of tackling | ~6 | 5 seconds |
| 3 | SWAT joins in | ~8 | 4 seconds |
| 4 | A police chopper goes up | ~10 | 3 seconds |
| 5 | Two choppers up, the National Guard called out, and a tank on the street | ~12 | 2 seconds |
Those counts and intervals are the launch build’s, at the time of writing. Above one star the response assembles around your position rather than setting off from the precinct, which is why it turns up while it still matters. Cruisers will leave the roads to chase you across open ground, fire out of the window, and drop officers onto the pavement once you are on foot. Their lights go on whenever heat is nearby, and they burn like any other vehicle.
Do not treat the tank as target practice. Rifle rounds come off its plate at roughly a third value, while explosives land at full strength, so either route around it or accept that it costs you rockets.
Holstering before you enter the city is the single best habit here, because what draws police attention in the first place is walking around visibly armed. A chopper is easier to shake under cover than in the open, since it circles instead of hovering and keeps losing its angle on you. Heat also falls off by itself once you have broken line of sight and stayed away, and Pay ‘n’ Spray will clear it for money.
Quota Patrols
A quota patrol is police attention that arrives when you have done nothing at all, and it behaves nothing like the heat ladder above.
Every so often a cruiser picks a destination and drives there, stopping any pedestrian it passes on the way. A quota stop while you are on zero stars costs you a fine in BITS and any firearms sitting on your hotbar. Nothing happens to your tools or your placeables. Hold still and let it happen and nothing follows from it: you keep zero stars and nobody chases you.
React badly and it changes completely. Running, getting back behind a wheel, or shooting at the cruiser will hand you two stars, and that same car opens a pursuit on the spot.
These patrols never run while you already have heat, so they are a peacetime annoyance and not a rung on the ladder above.
Recruits, Jobs, and Survival Needs
A recruit is a permanent worker and defender rather than a resource tap you switch on. Recruit survivors, give them Follow or job orders, and use the clan controls to manage how they fight and how they work. Where they are, what they carry, what they need and what they were told to do all survive a save.
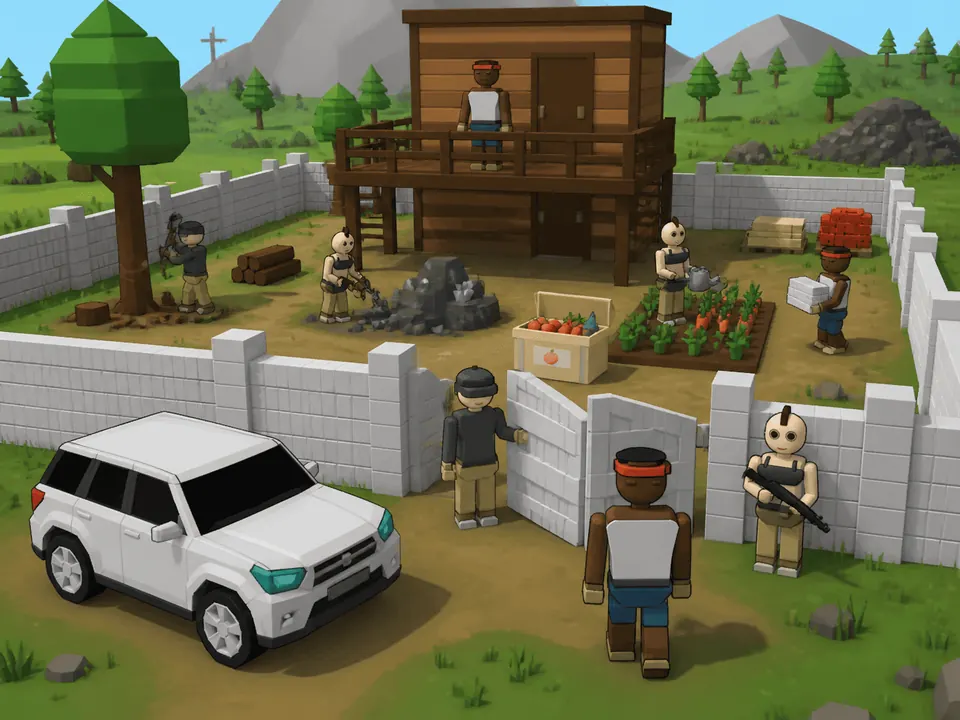
Three containers keep a crew running, and all three need to be inside the claim and protected.
| Container | What it does |
|---|---|
| Food Box | Feeds recruits. Starving recruits stop working until food is available |
| Gear Box | Supplies weapons, armor, clothing, hatchets and pickaxes |
| Storage Crate | Receives the materials recruits gather |
Recruits take the best suitable equipment out of the Gear Box, and whatever tool or weapon they have chosen is visible in their hands. Send one out without the proper tool and it will bring back very little, so an equipped hatchet is what makes a wood job worth assigning and a pickaxe is what makes a mining job worth assigning. When a gathering run finishes they drop the load into the closest Storage Crate they are authorized to use, then go back to the job.
A clan recruit walking to an order will find an authorized compound gate, open it, go through and shut it behind them, so put your gates on routes they can genuinely use. Only recruits set to Follow will get into a vehicle with you; everyone else stays on their assigned job.
Co-op, Clans, Permissions, and Voice
In co-op you spawn apart, and everyone is an enemy to everyone else until a clan invitation has been accepted. Until that happens another player counts as an enemy for every access check in the claim rules above, so your storage, your protected placeables and your building pieces are all shut to them. Check that somebody is really in the clan before you open a defended base to them.
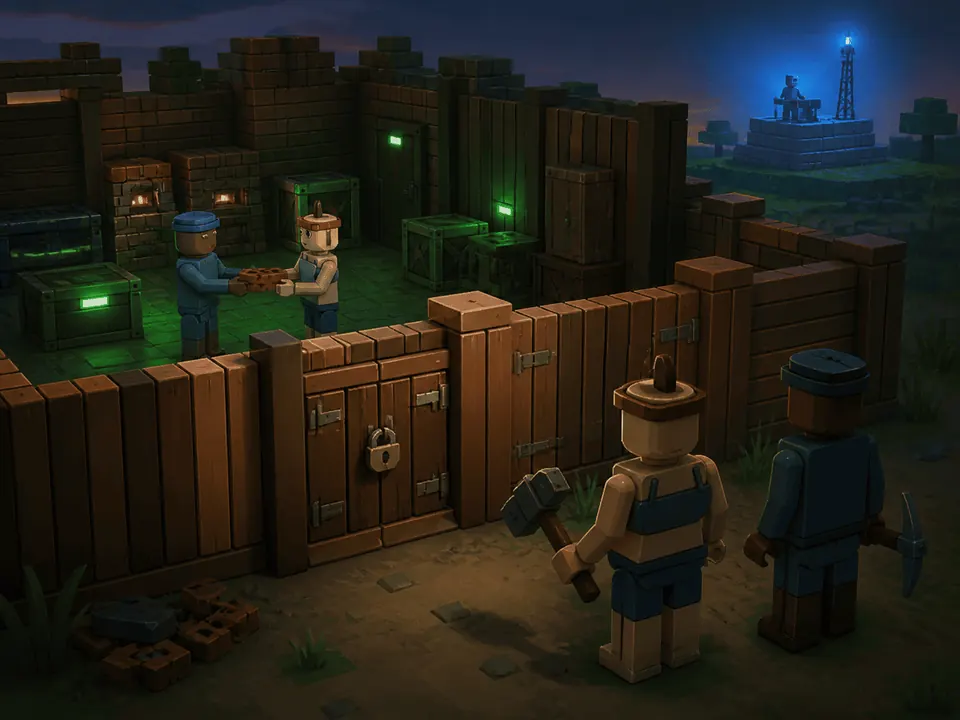
Registering a clan is done at the Clan Registration NPC. After that, K is where clan invitations are managed. Membership grants the shared access above, and it doubles your available recruit capacity once another player joins.
Settings keeps the room code on display. Voice is colour coded, green for clan and blue for world, and L toggles the player panel.
Missions, Contracts, Diplomacy, and Events
Contracts come from the payphones around the city, and they cover deliveries, thefts, rescues, assassinations, defense jobs and territory objectives. The BITS a contract pays are useful without ever reaching what permanent progression costs, which is what keeps trade and blueprints worth doing. Read the complication attached to a contract before you commit to the fastest-looking route.
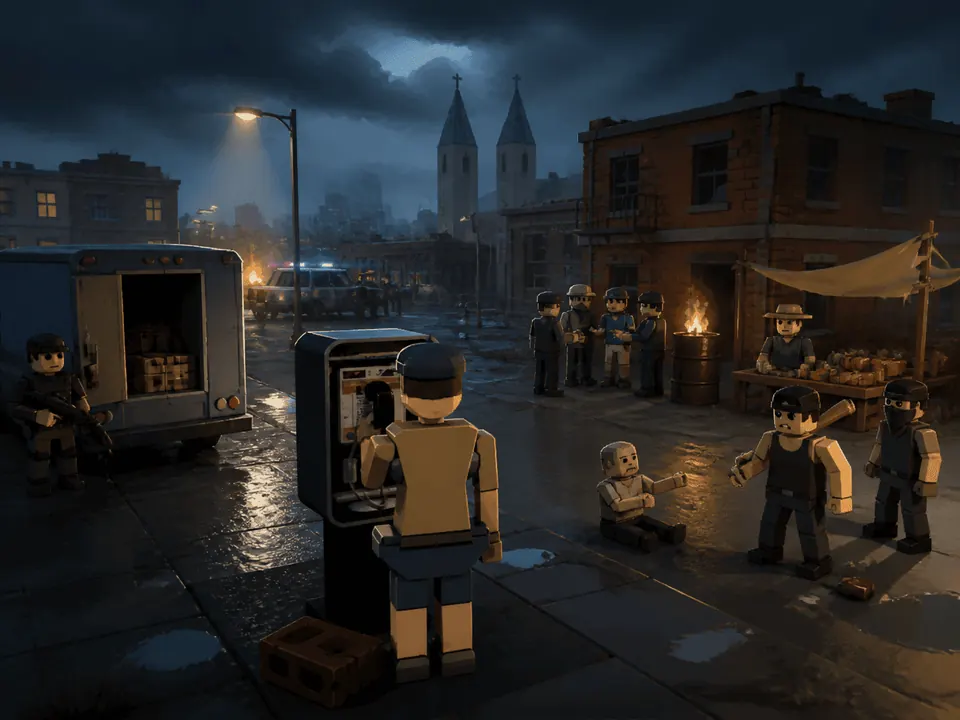
Diplomacy between the AI clans is real. A farming clan may want to trade. A raider clan may want tribute instead. A clan under pressure may cut a temporary alliance with someone, and every rival remembers what has already happened between you, so one you have fought for hours reacts quite differently from one you have just met.
World events reshape which route is actually the safe one. Blackouts, storms, shortages, gang wars, convoy robberies and police sweeps all qualify. Tutorial objectives and payphone missions run as separate systems, so neither one overwrites the other.
The Other Survivors
The island works its way up to about fifty rival survivors. They arrive a handful at a time instead of all at once, and they sort themselves into roughly twelve clans, four or five people each.
Each clan chases one goal at a time. Put up a camp. Get a bench standing. Wall the place in. Arm everybody. Then push for more ground. The work is divided by role, so while one of them is cutting timber another is down a mine and a third is out hunting components.
They also raid each other, not just you. A crew will settle on the richest camp it can reach, go in together, and strip it if it gets through the wall. Territory therefore changes hands with or without your involvement, a clan that loses a member drops onto the defensive, and the Wards marked on your map are territory you can take for yourself, at the price of raising your territorial influence and the conflict aimed at you together.
Warehouse and Bunker
The Warehouse and the Bunker are two-story guarded locations, and they pay out only after you have survived their defenders and the exposed waiting areas inside them.
Each contains at least ten regular loot boxes carrying stronger components, BITS and healing supplies. Commandos hold the entrance and the inside of the building, armed with pistols or rifles. A wall stops them seeing and stops them walking exactly as it stops you, so cover works and patrol routes can be read.
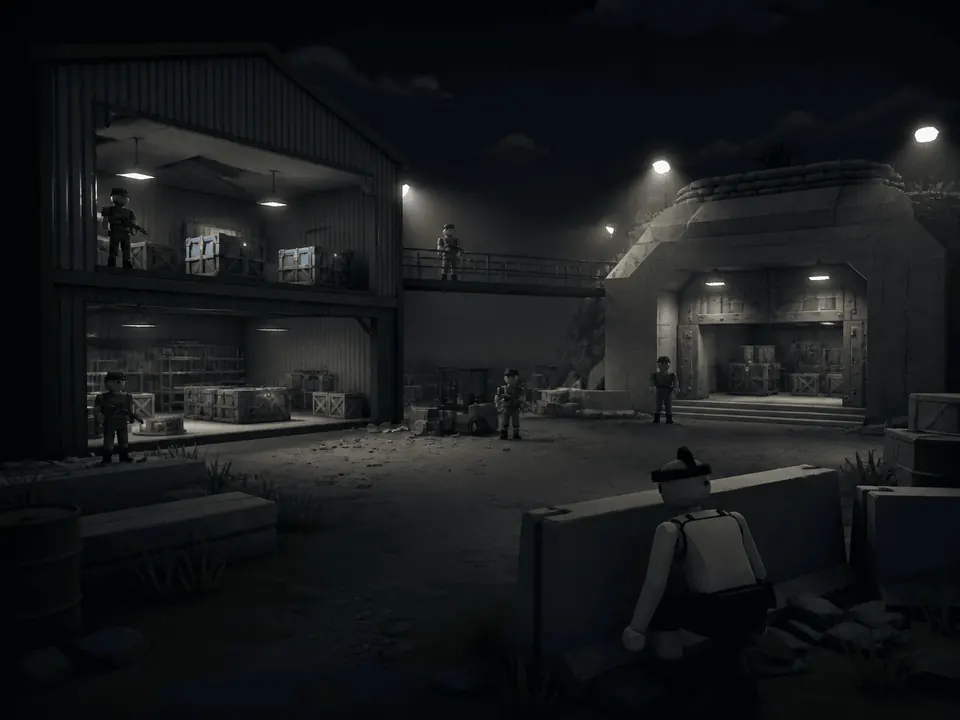
Each location also holds three reinforced crates with rare top-tier rewards. Each of those becomes lootable again on a 30-minute timer, current as of the launch build, and once you take one there is a short reset before that 30 minutes starts counting. Standing around waiting for a crate leaves you exposed to other players on top of the Commandos, so bring healing and ammunition for the wait.
Maps, Difficulty, and Modifiers
World and difficulty are both chosen before you start, and what they change is the environment and the rules, not simply how much health an enemy has.
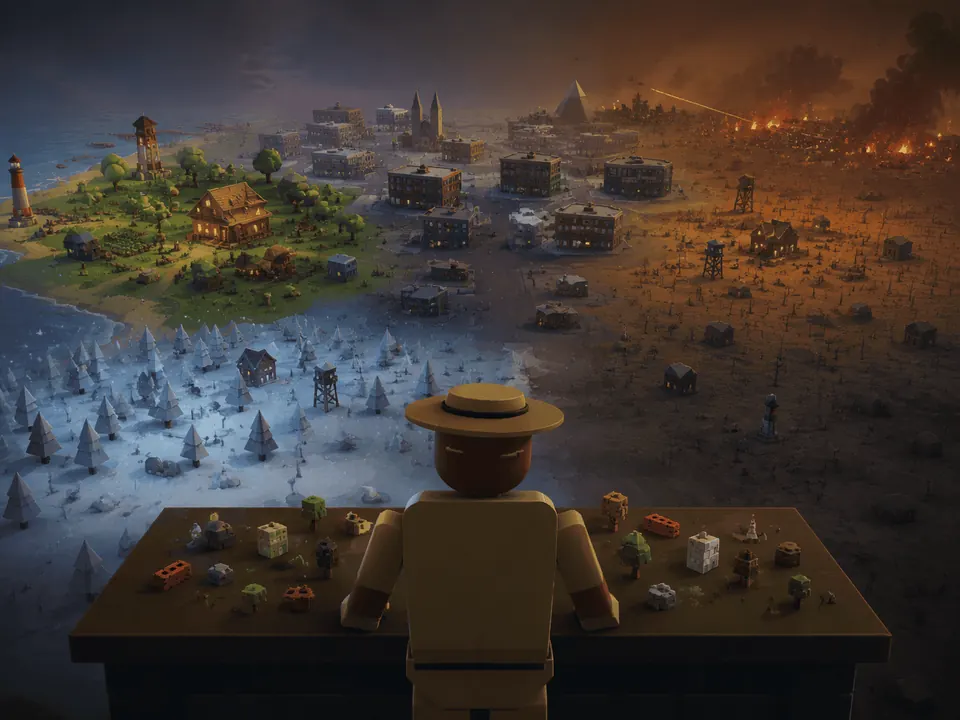
| World | What it is |
|---|---|
| Original Newark | The established city-and-forest world |
| Greater Newark | Roughly three times the play area: a wider city, plus rivers, hills, mountains, forest and more room for POIs |
Difficulty is chosen separately from the world, and it comes in three parts.
| Setting | What you choose from |
|---|---|
| Difficulty preset | Casual, Standard, UndaWirrld or Custom |
| Options behind it | Hunger, loot, raids, aggression and how much you lose on death |
| Optional modifiers | Scarce resources, permanent death, hostile city, endless winter, all-out clan warfare |
All of that belongs to the single-player owner or the co-op host, and in co-op a change syncs out to everyone already in the session, so leave world setup to whoever is hosting.
Original Newark on Standard is the intended first experience. Pick Greater Newark when you want the larger map and more room to expand into.
Admin Mode
Admin Mode is the testing toolbox. It covers Fly Mode, God Mode, Cloak, item spawning, free crafting, triggered raids and control over the time of day.
Any session that uses it has its achievements switched off. Treat Admin Mode as something for testing and for recovering a broken situation, and leave it alone while you are playing for achievements.
Saves, Continue, and Restore Previous Save
Progress is written to disk, and the title screen labels each save with its in-game day so you can tell them apart. CONTINUE picks up the current one. RESTORE PREVIOUS SAVE pulls back the one before it, which is your recovery route when a new game has already overwritten a save you wanted. You are always asked before that happens, and SAVE & EXIT tells you in writing what it just saved.