Brazilian Drug Dealer Before 4: All 64 Secrets
Find the level you are on below, then jump to the secret you missed. Brazilian Drug Dealer Before 4 has 64 numbered secrets across its 19 levels, plus three bonus stashes that are easy to walk past. Each level has its own section and each secret has its own heading, apart from one Aeroporto Santos Dumont spot that counts as two secrets and shares a heading.
The short version: most secrets sit on rooftops, ledges and floating platforms that you reach with a double jump and a dash. Many others hide behind a patch of wall with a slightly different texture, which opens when you walk up to it or shoot it. The last level has none. Five secrets hold no item at all, but they still count toward the total.
| Level | Secrets | Bonus stash |
|---|---|---|
| 1. Favelao | 4 | |
| 2. Salgueiro Street | 5 | |
| 3. Clube Maua | 3 | |
| 4. Caldeirao do Ruke | 5 | |
| 5. Maracananzinho | 5 | Yes |
| 6. Lapa | 6 | |
| 7. Cristo Gavea | 3 | |
| 8. Aeroporto Santos Dumont | 4 | |
| 9. Praca da Se / Metro | 4 | |
| 10. Guarulhos | 4 | Yes |
| 11. Quebra-Mar Santos | 1 | |
| 12. Largo do Pelourinho | 3 | |
| 13. Parque Zoobotanico da Bahia | 3 | |
| 14. Forte de Sao Marcelo | 4 | |
| 15. Mercado Modelo | 3 | |
| 16. Elevador Lacerda | 3 | |
| 17. TRIOELETRICO | 3 | |
| 18. Farol Da Barra | 1 | Yes |
| 19. PURGATORII_INICIO_54 | 0 |
Secrets are numbered level by level, but the numbers do not always follow the route. When a secret sits earlier on the route than the one before it, or sends you back to an earlier spot, its section says so. A few of them only trigger when you touch one exact spot, and those are called out where they happen.
Level 1: Favelao
Secret 1: weapon on the cliff
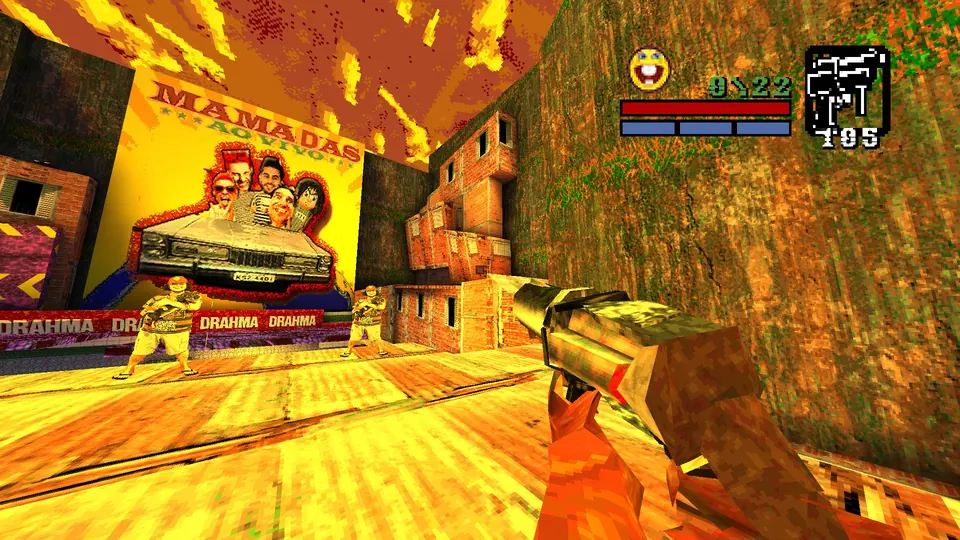
Get past the two ramps that follow the tutorial, then climb the large structure on your right. From the top, look back towards where you entered and you will see the weapon on top of the cliff. Hop onto the ramp in front of you and walk over to it. Reward: Broken Rocket Launcher.
Secret 2: wooden panel in the restaurant
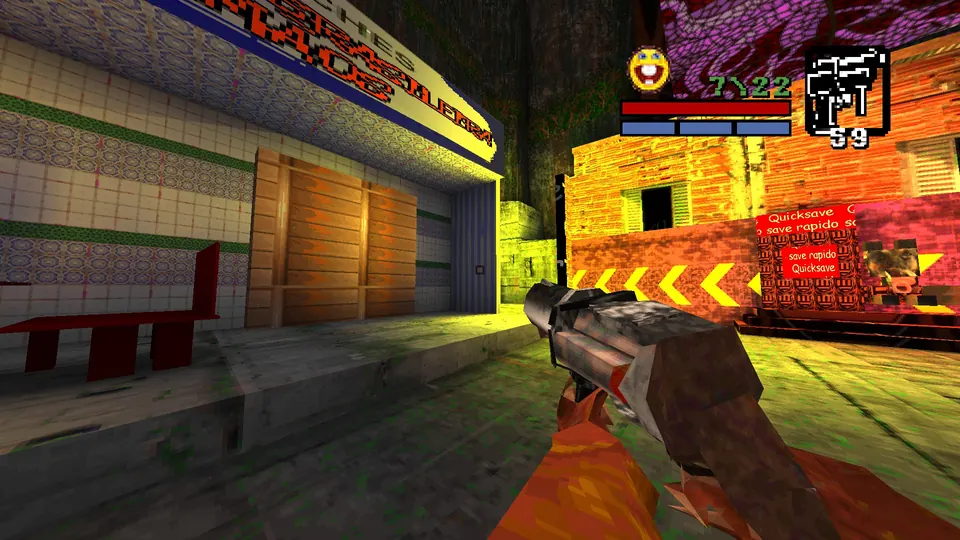
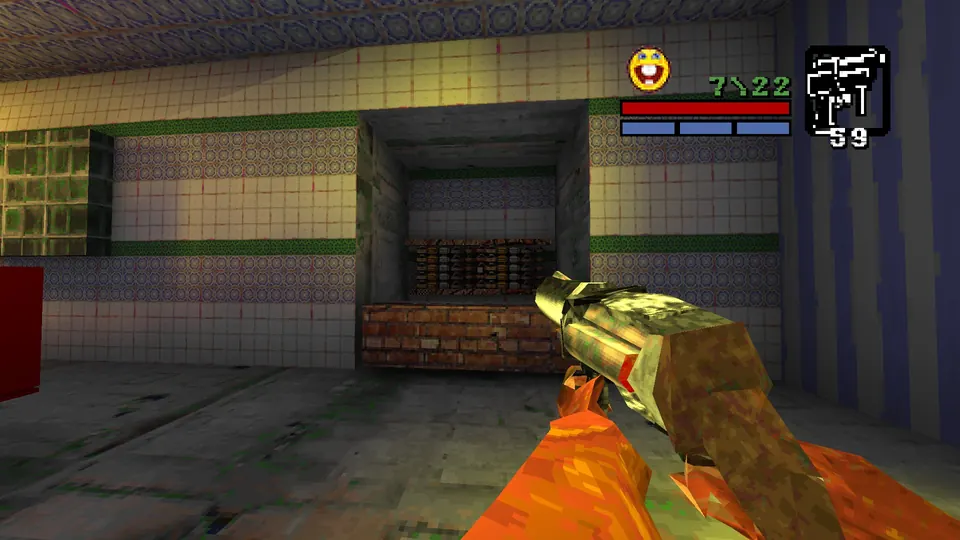
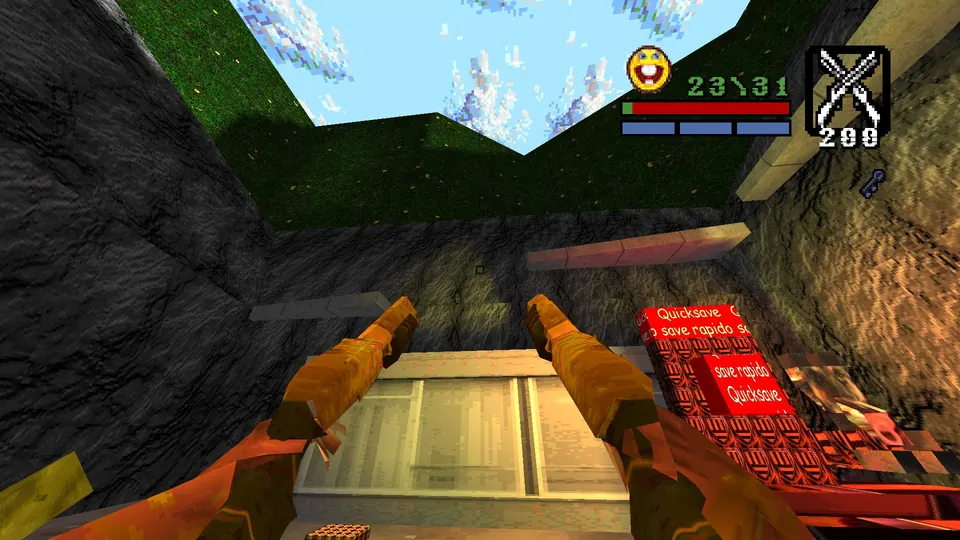
Just after Secret 1 you pass through a restaurant area with a Quicksave. Next to it is a patch of wall with a wood texture. Walk up to the wood and it opens. Reward: Golly Akimbo.
Secret 3: below the concrete wall
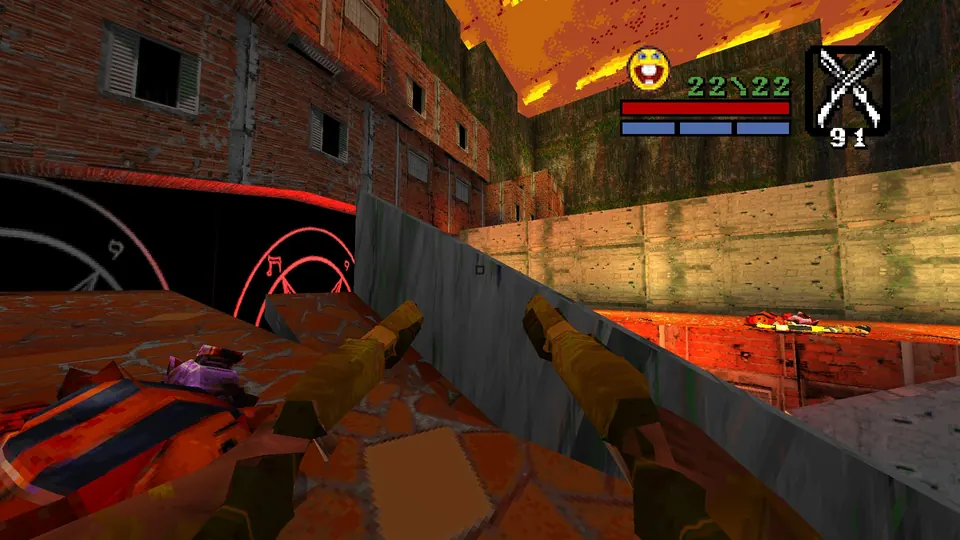
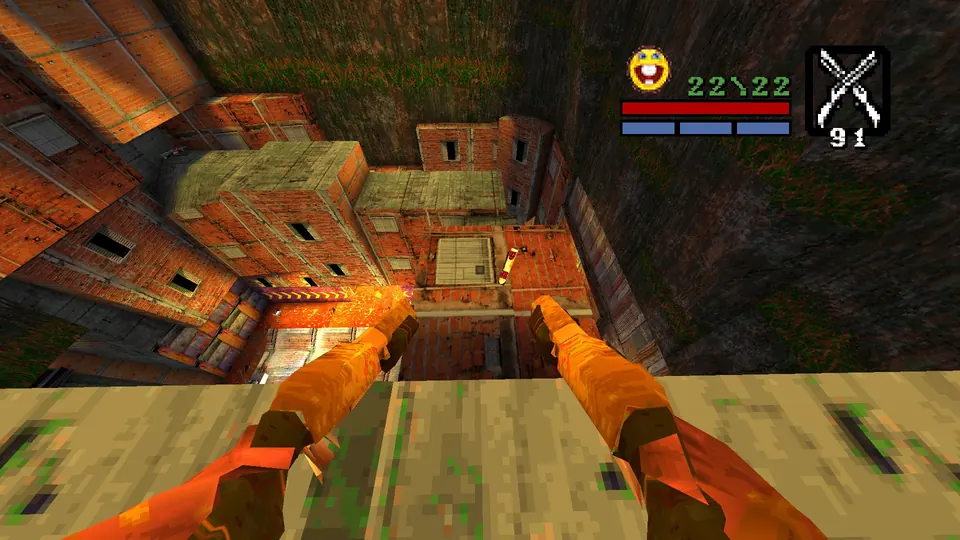
Close to the level exit, take the staircase on the left. At the top, jump onto the railing, then jump and dash up onto the concrete wall beside it. Look down on the right side and the secret is below you. Reward: Fireworks Launcher.
Secret 4: along the rooftops
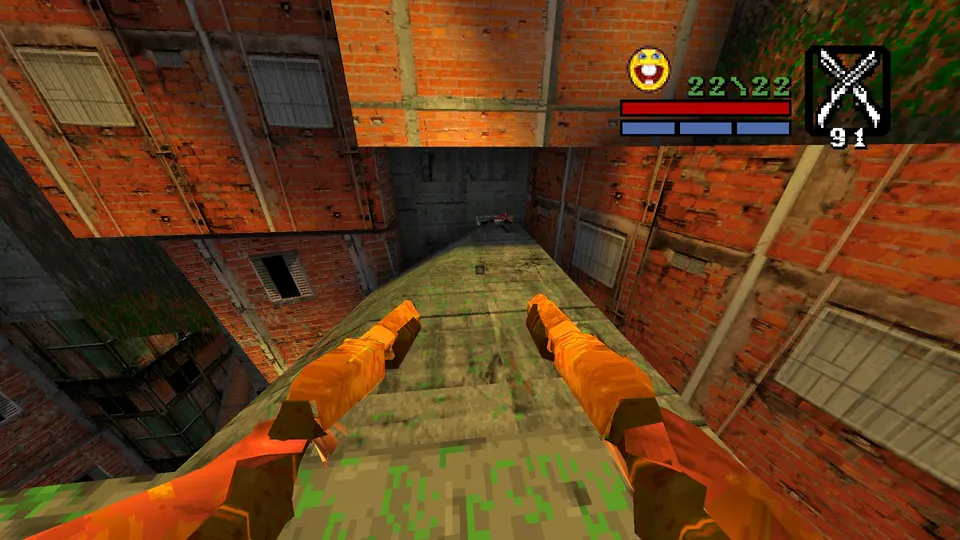
You can see this one from the spot where you grabbed Secret 3. Either drop to the roof below and follow the rooftops across, or jump and dash straight to it. Reward: Mac 10 47.
Level 2: Salgueiro Street
Secret 1: side of the tower
Right at the beginning of the level, climb the staircase until it flattens out. The secret is on the side of the tower. Be ready for a teleport the moment you cross the platform. Reward: Electric Shower.
Secret 2: end of the slanted ramp
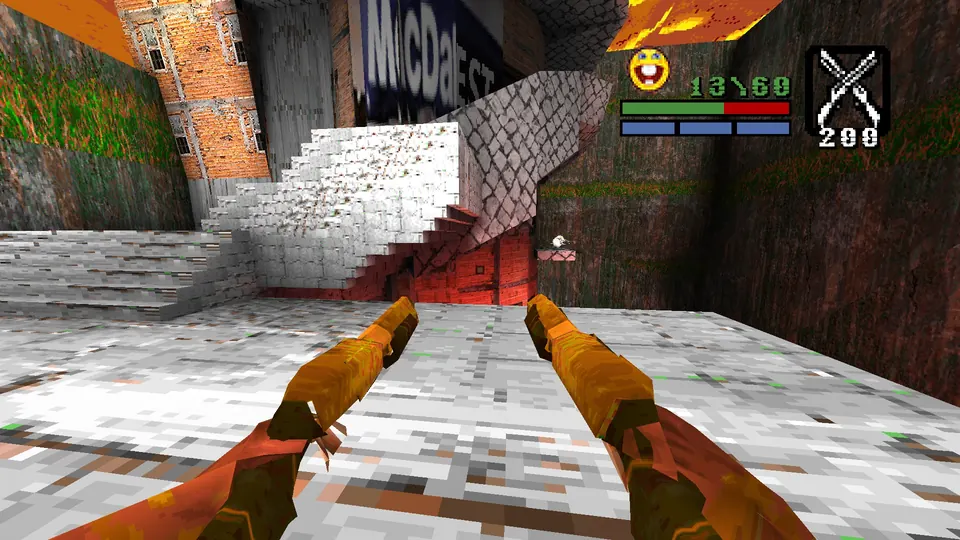
Where the teleport from Secret 1 drops you, turn around and double jump onto the slanted ramp. Follow it to the end. Reward: Mac 10 47.
Secret 3: in the lava by the tower
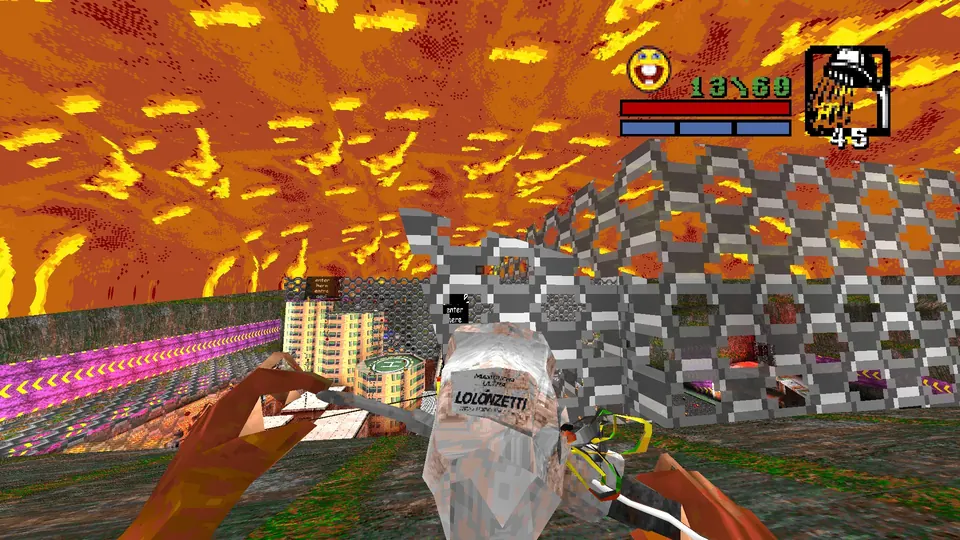
From Secret 2, drop onto the nearest helipad. If you skipped the first two secrets, use the second helipad instead. Look down and to the right of the other nearby tower and you will spot the secret sitting in the lava. Reward: Red Armor and a Megahealth.
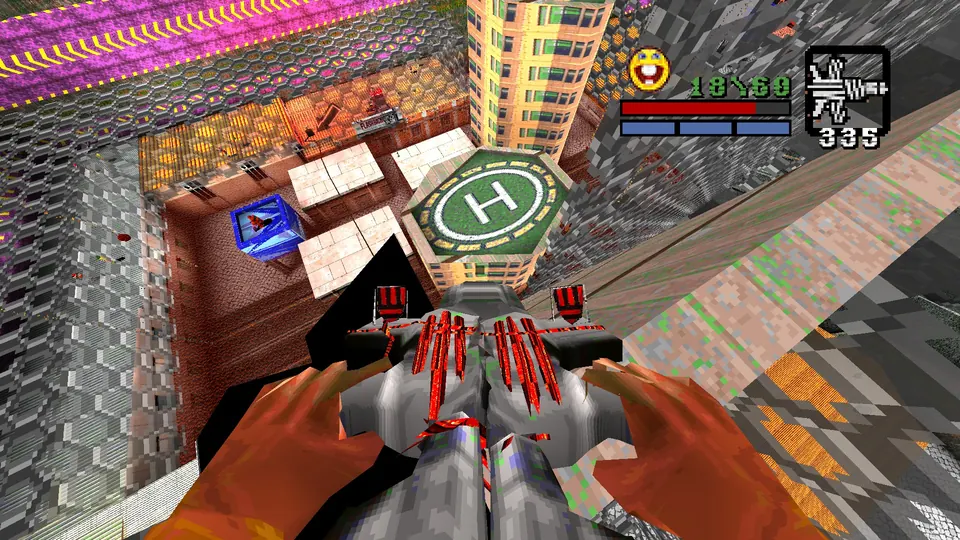
Secret 4: roof of the lone house
This one takes you back to the entrance. Left of where you come into Salgueiro Street there is a lone house tucked in the corner, with the secret on its roof. Climb onto the roof of the house next to the ramp to gain height, then jump and dash across. Reward: Red Armor and Rockets.
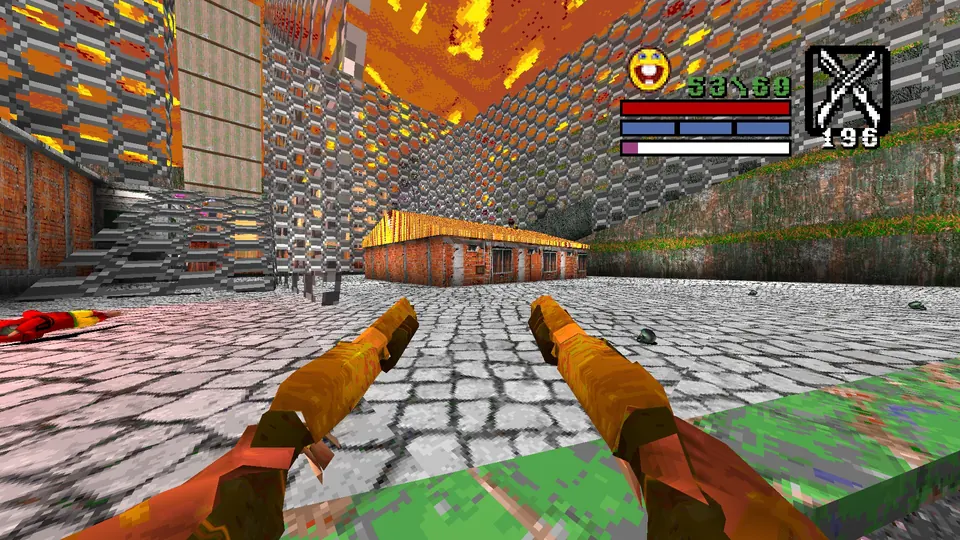
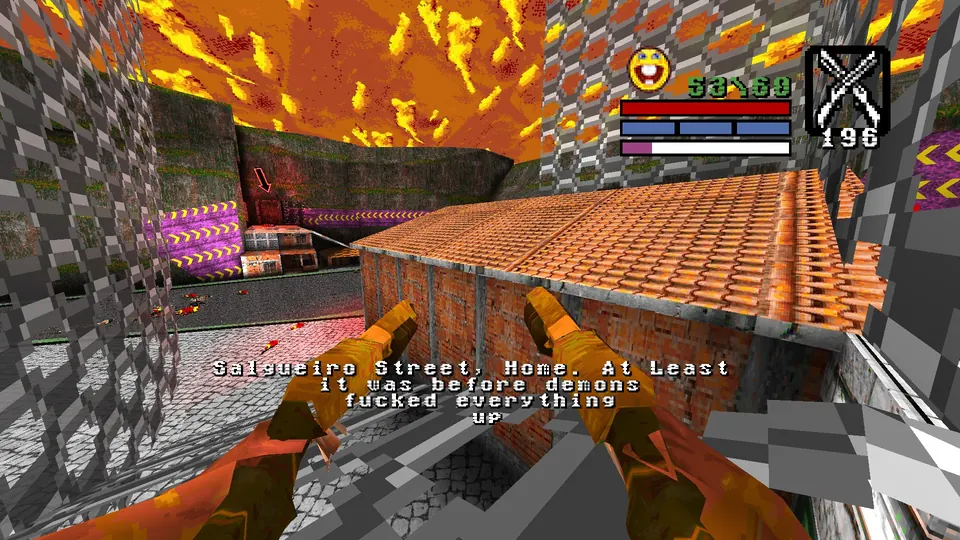
Secret 5: the lit-up door
Over on the right side of the neighborhood is a house whose door is lit up. Walk to the door and wait: it opens slowly to show the secret. There is no item here.
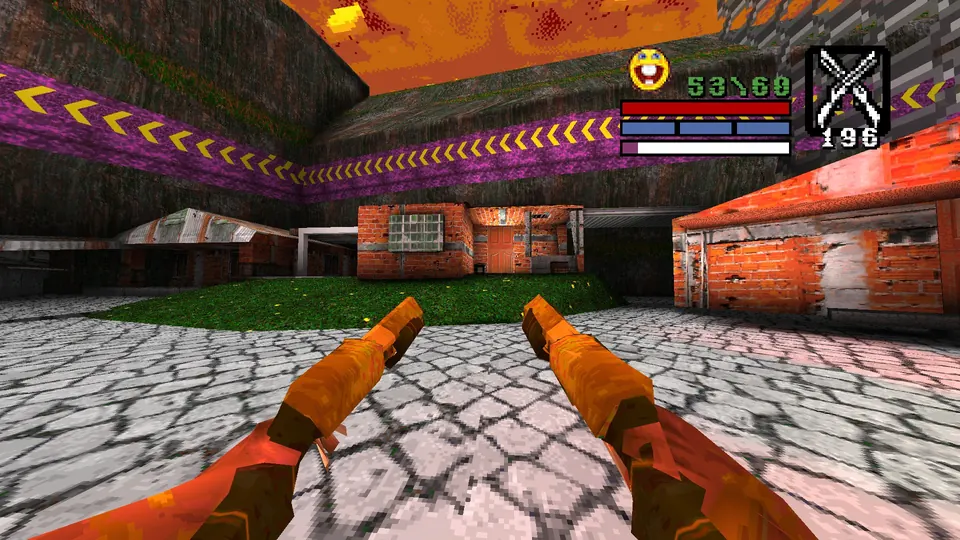
Level 3: Clube Maua
Secret 1: hidden button by the door
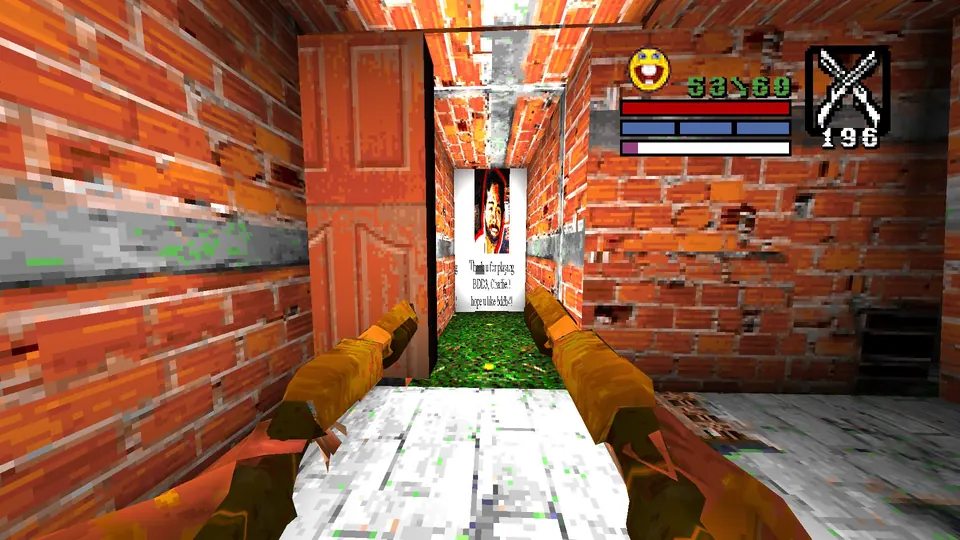
Turn around as soon as the level starts. In the corner near your start point is a door, and beside it is a button disguised with the wall texture. Pressing it opens the door. Reward: Mac 10 47.
Secret 2: above the Quicksave in the small pool
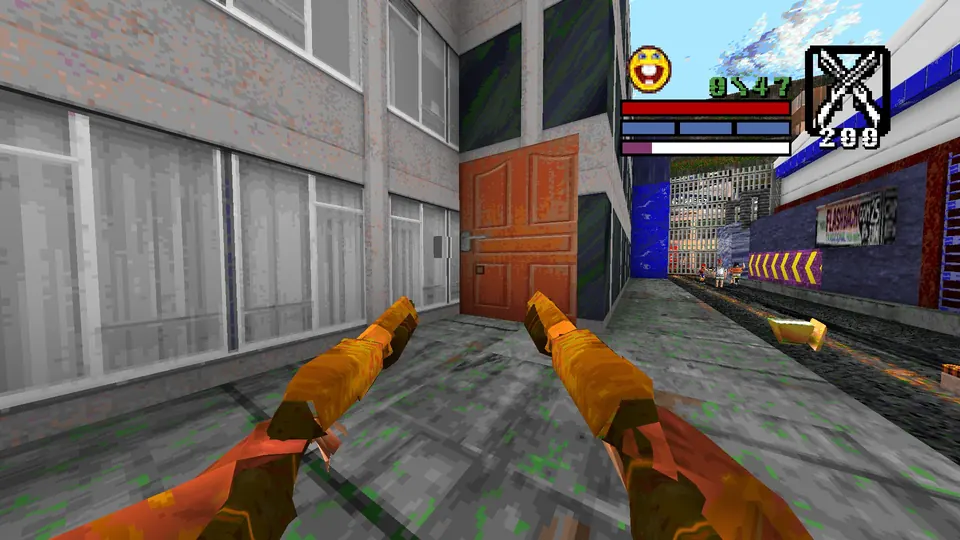
The small pool area is where you pick up the silver key. It has a diving board with a Red Armor on it. Double jump from the board onto the grating nearby, then turn around and look up: the secret sits over the Quicksave. Reward: Fireworks Launcher.
Secret 3: on the grating in the large pool
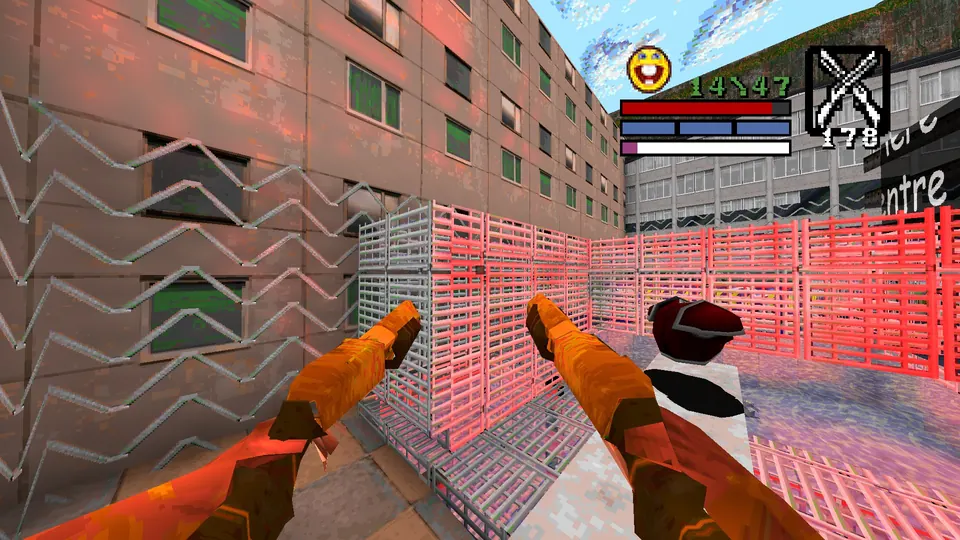
Once the silver key door is open you reach the large pool area. Go up the ramp right at its start and turn around. The secret is up on the grating, so double jump to it. Reward: Electric Shower.
Level 4: Caldeirao do Ruke
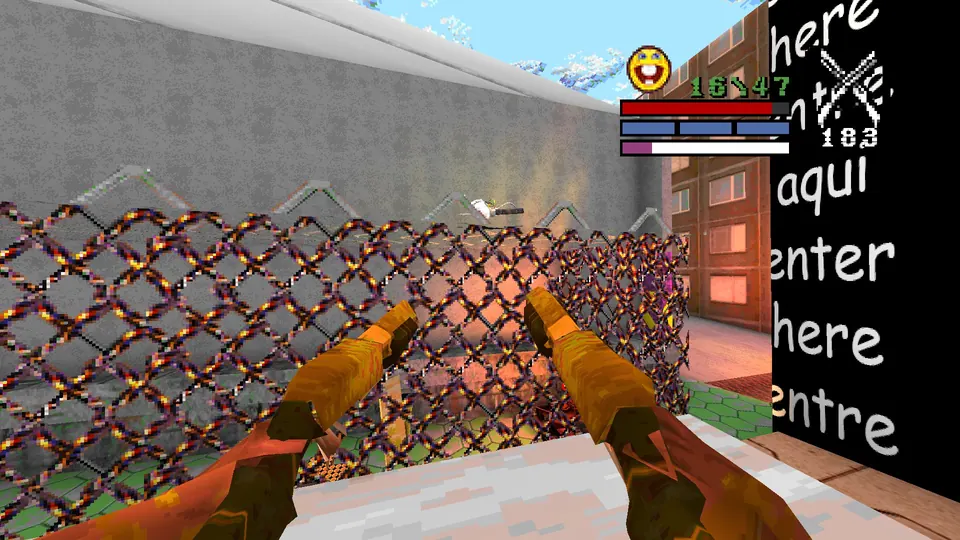
Secret 1: path around the chained area
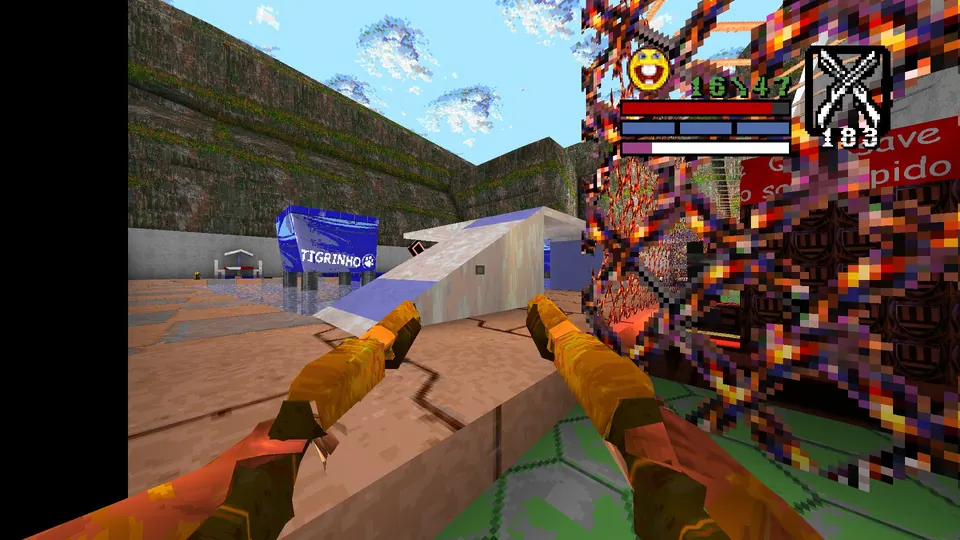
Turn around at the start of the level. A path runs around the chained area in the water, and following it brings you to the secret. The quicker way is a double jump over the little wall where the street ends. Reward: Mac 10 47.
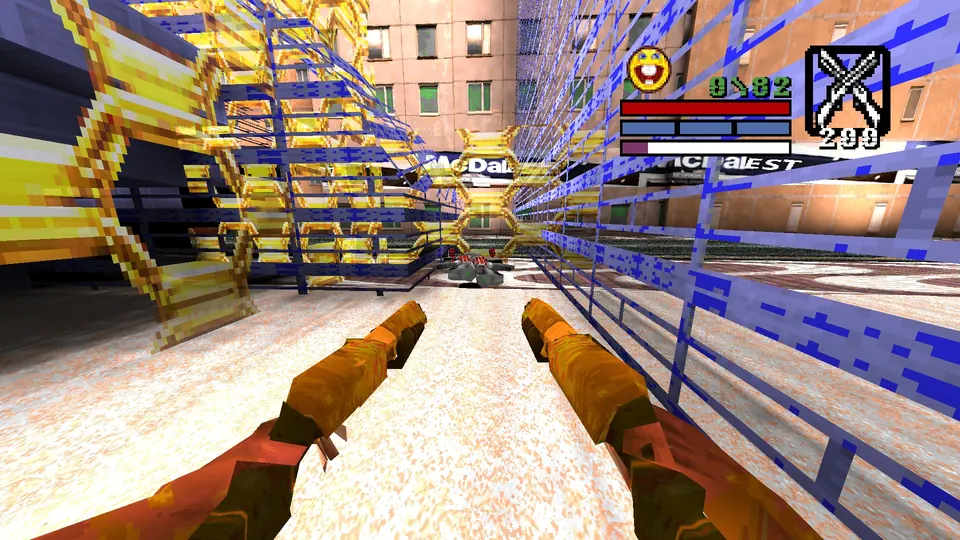
Secret 2: roof above the nail traps
In the section with the Brazil nail traps, stand on one of the traps and use it as a platform to reach the roof. The secret is up there. Reward: Red Armor.
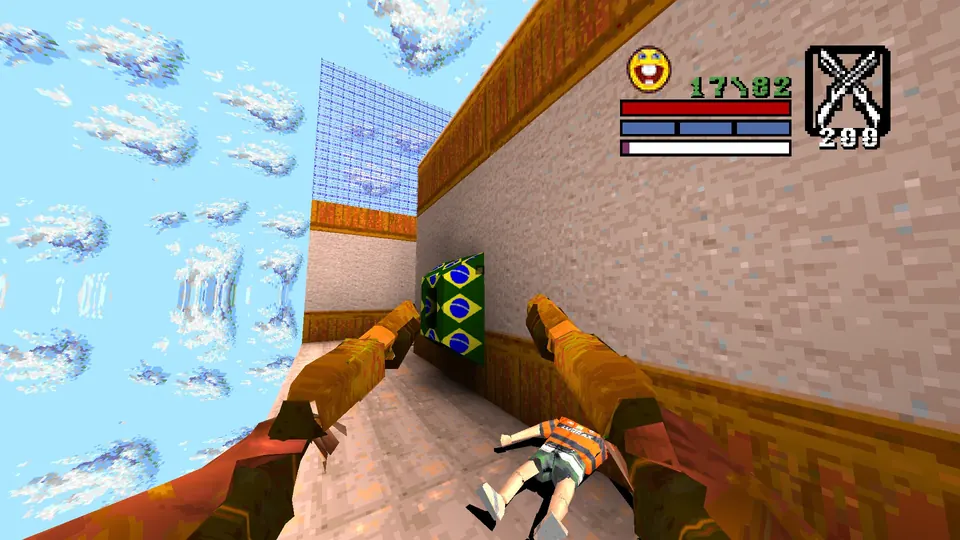
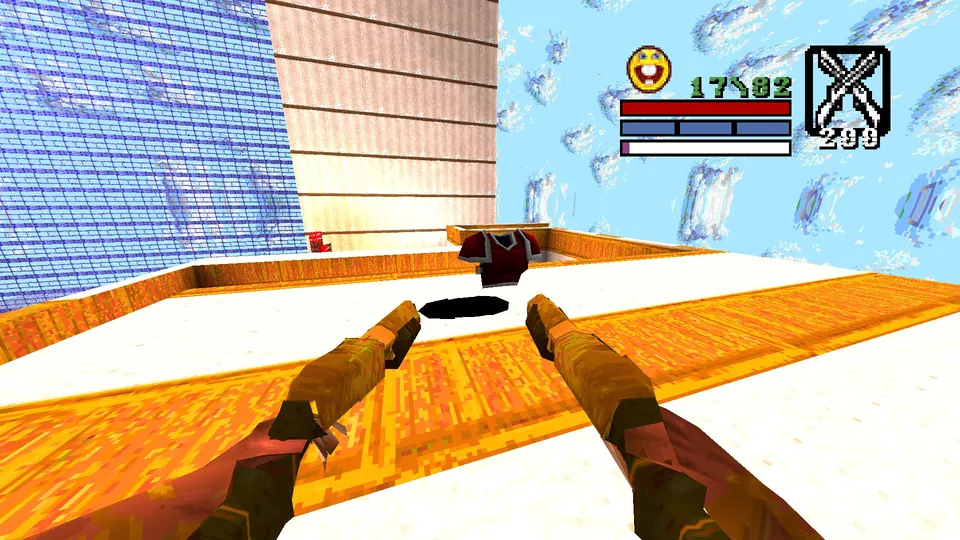
Secret 3: narrow walkway by the arrow button
Close to Secret 2 is a button with a big arrow pointing at it. To the left of that button is a narrow walkway. Walk along it to the secret. Reward: Mac 10 47.
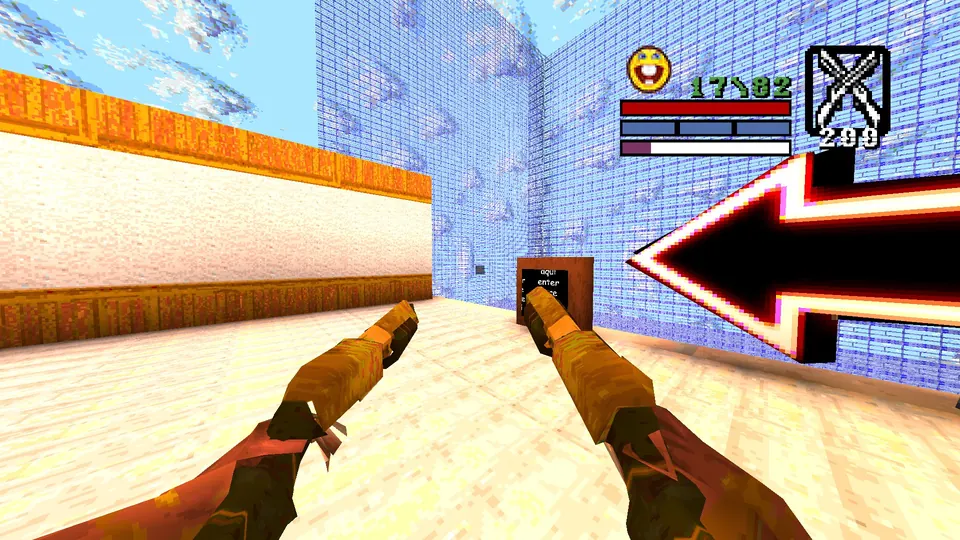
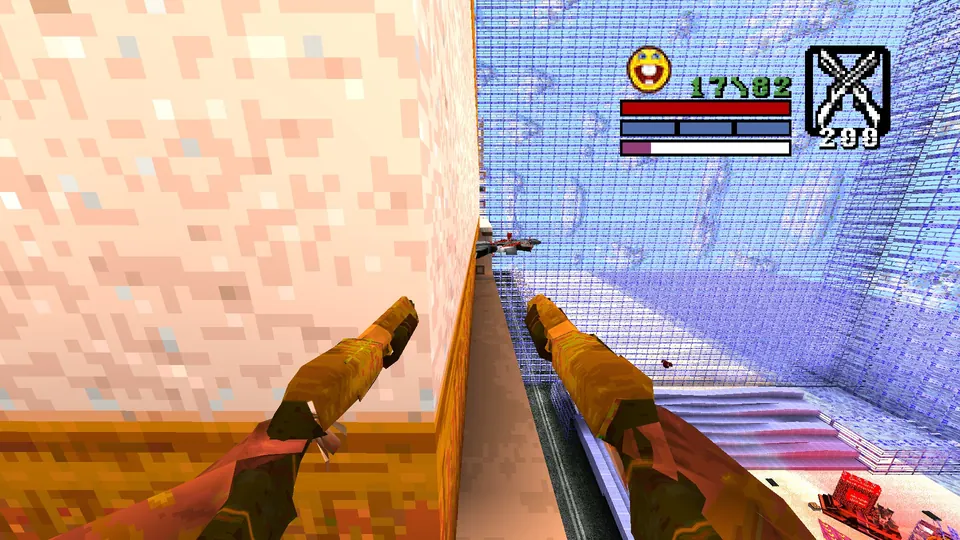
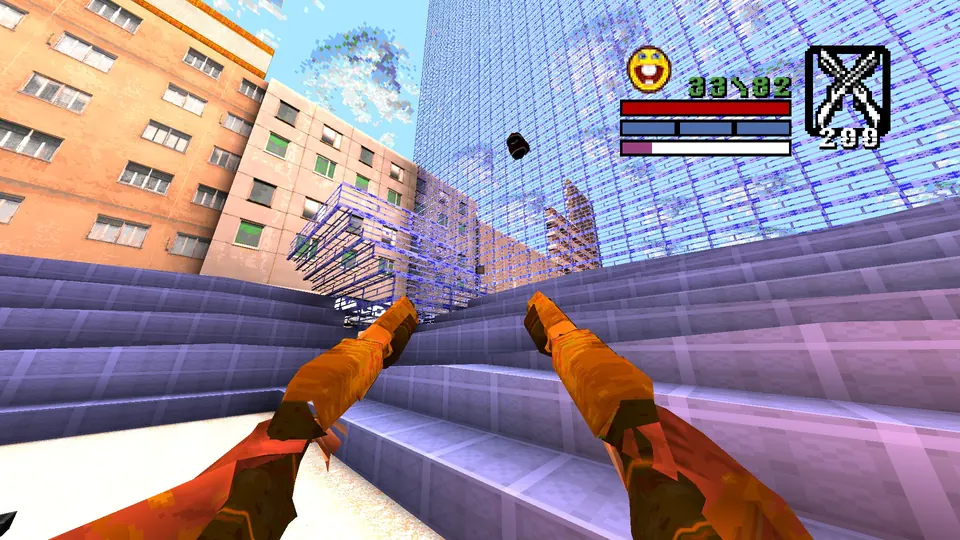
Secret 4: floating armor in the stadium
The stadium section of this level is unlocked from a rooftop. Inside the stadium, an armor floats in midair. Climb the ramps beside it and jump across. Reward: Red Armor.
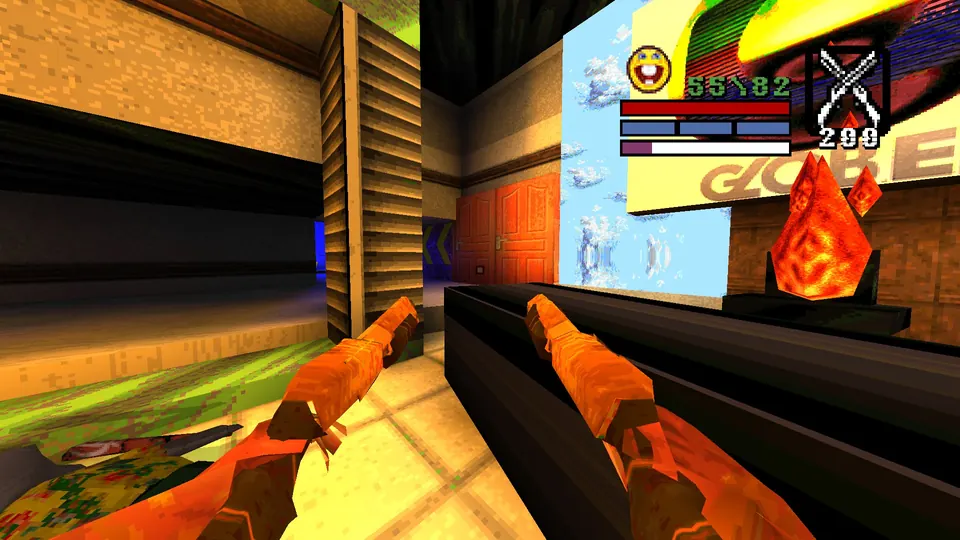
Secret 5: door texture near the GLOBE sign
After the electric traps you reach a section built to look like Doom’s E1M1. A door texture in that room, near the GLOBE sign, opens when you approach it. At the time of writing it only triggers if you stand in the corner to the left of the room’s entrance. Reward: Green Armor and a Broken Rocket Launcher.
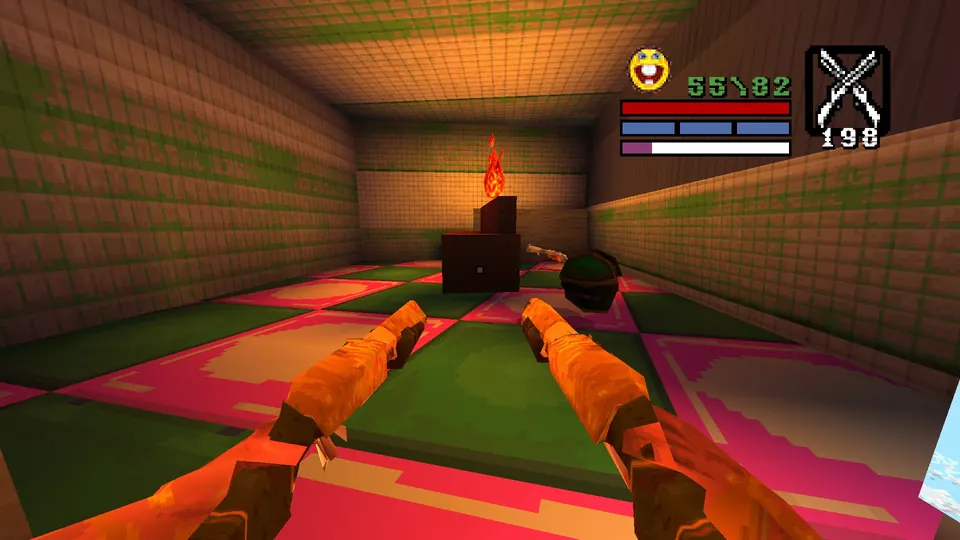
Level 5: Maracananzinho
Bonus stash: sliding panel at the start
This one is not on the secret counter, but it is a free weapon. At the very beginning, turn around and look into the left corner. A sliding panel there has a weapon underneath. Reward: Electric Shower.
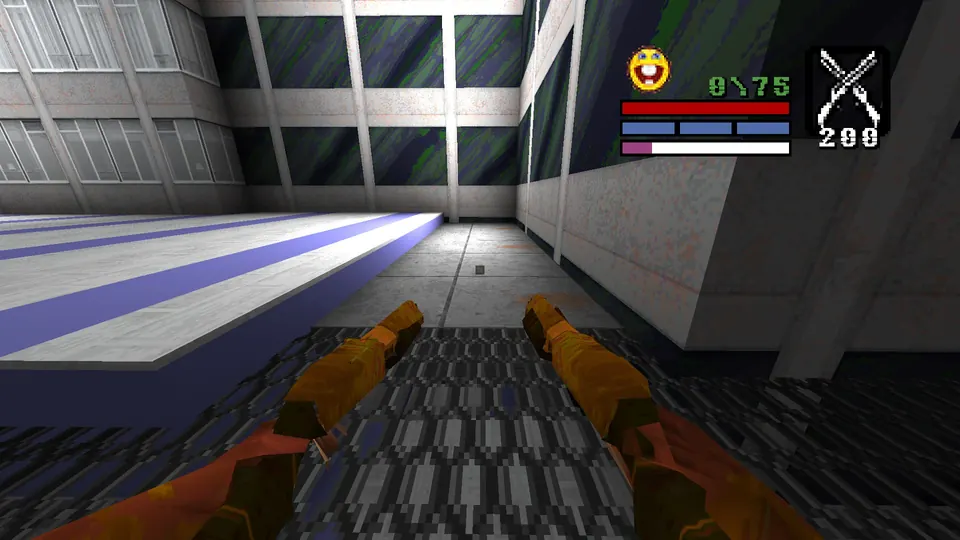
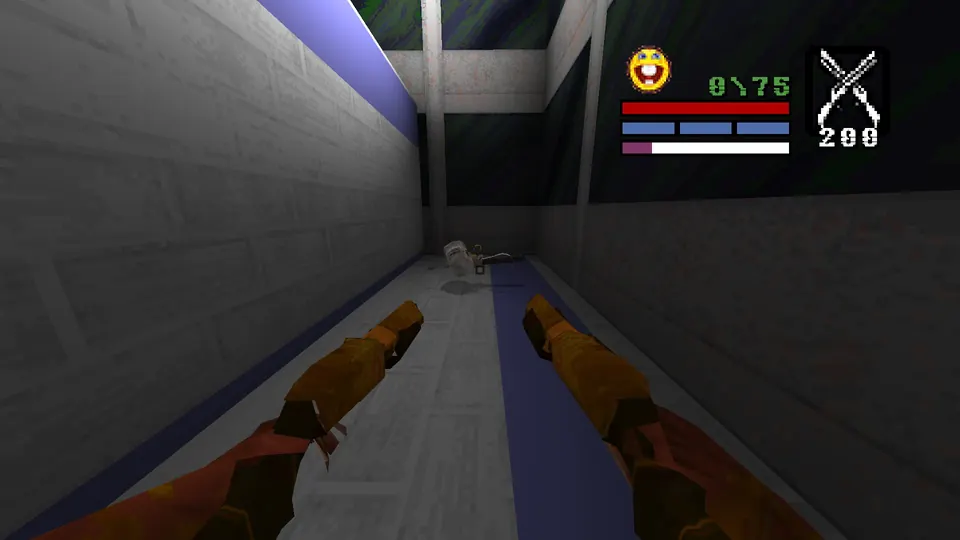
Secret 1: the short left wall
Past the large pool, a door leads into a small room that seems to hold nothing but another door. The wall on the left does not quite reach all the way across. Hit it and the secret opens. Reward: Golden Double Shotguns.
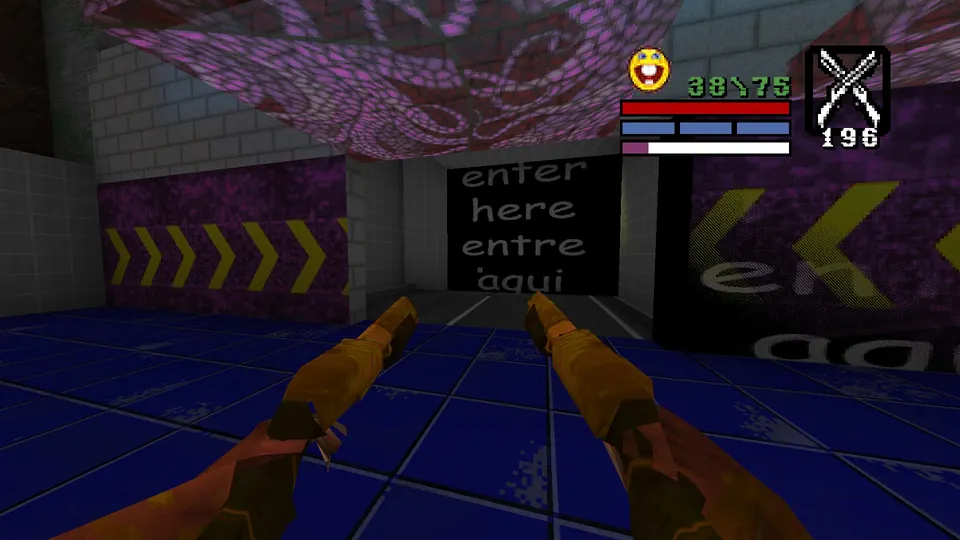
Secret 2: stained glass platforms above the building
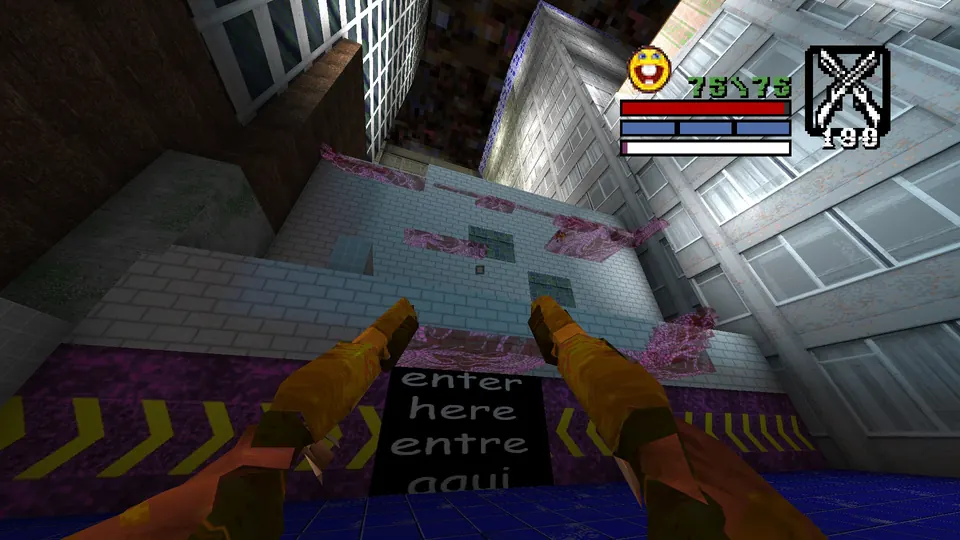
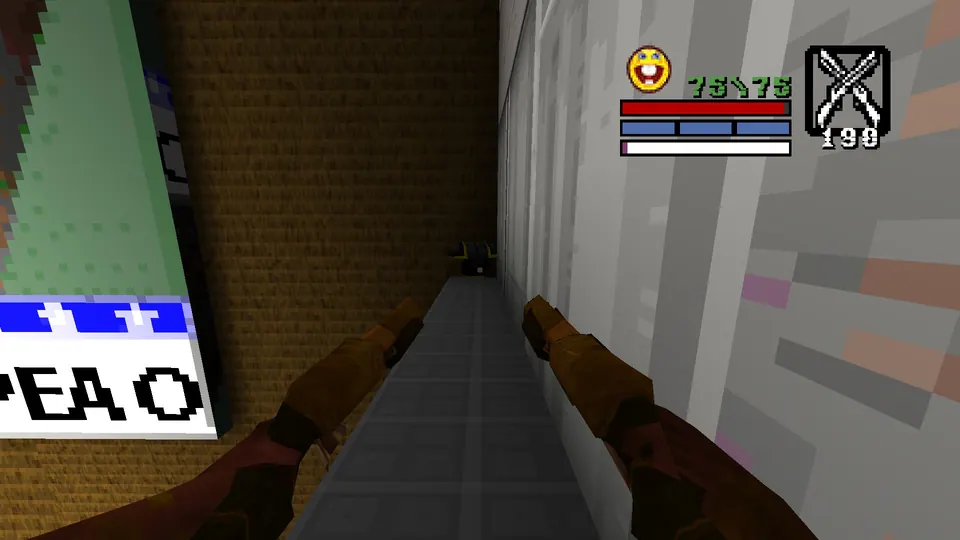
This one comes before Secret 1 on the route. On your way to the small room you pass platforms leading up above the building. Climb them and keep going forward across the stained glass platforms. The armor waits on a ledge on your right. Reward: Black Armor.
Secret 3: textured wall by the brick pillar
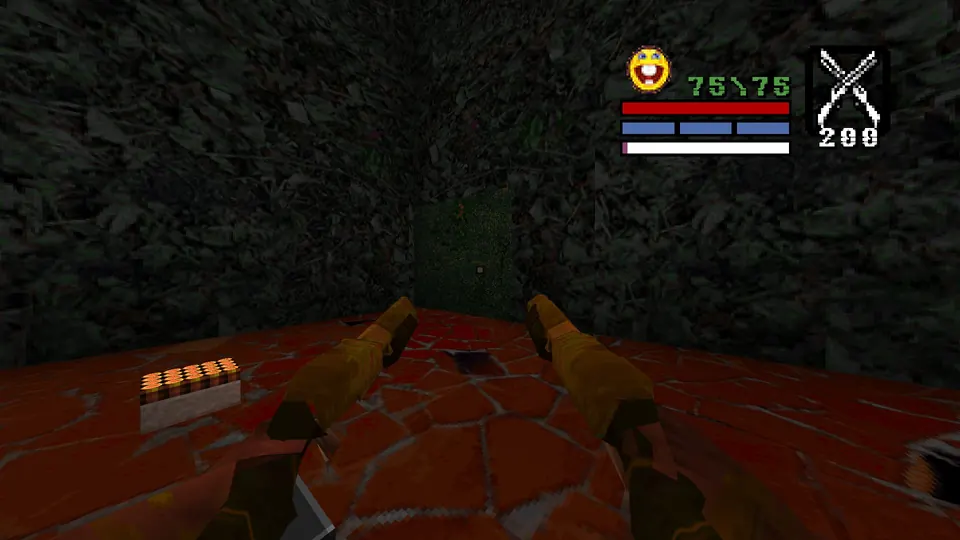
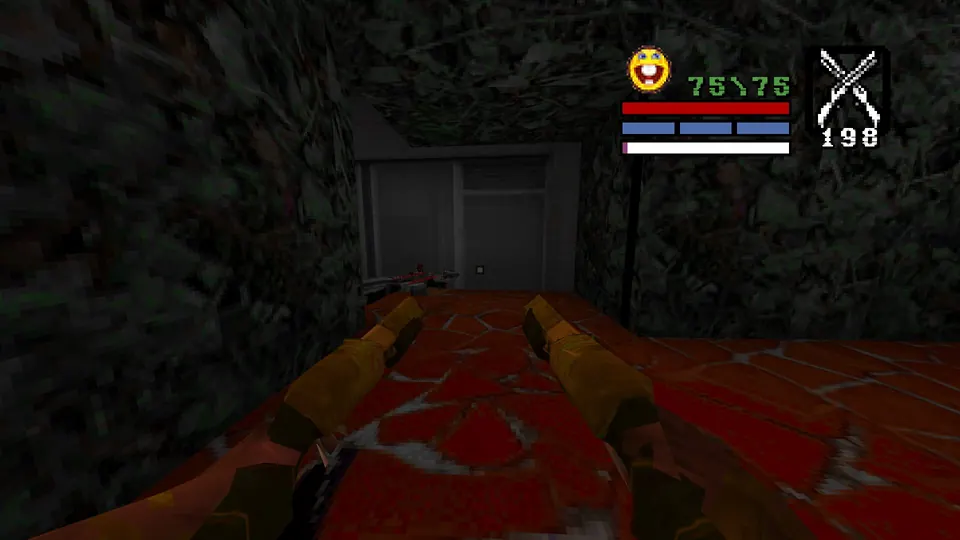
Backtrack a little from Secret 2 to the room with a brick pillar in the middle. One patch of wall there has a different texture. Shoot it. Reward: Mac 10 47.
Secret 4: top of the tower after Ronaldo’s trap
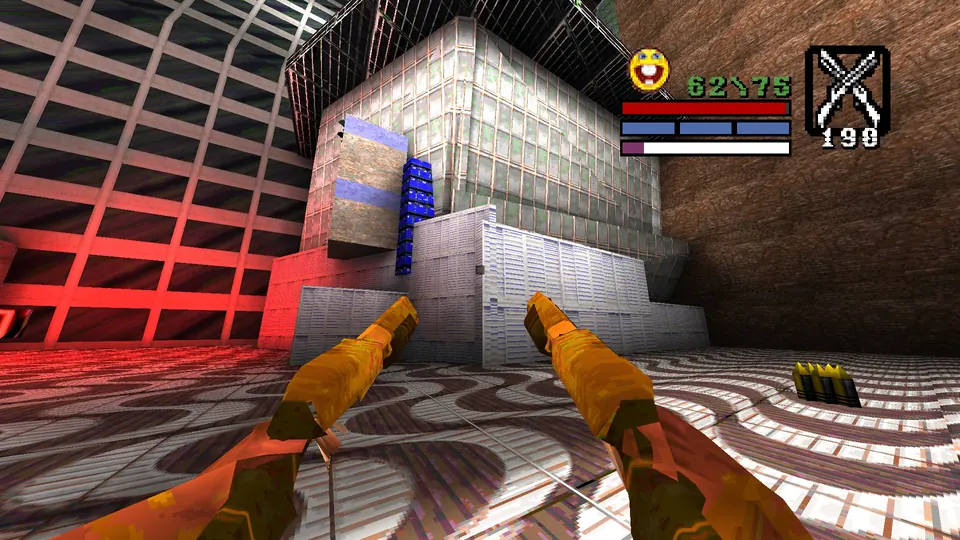
Ronaldo’s trap drops you into a large area. To the right of where you come in is a tower. Climb its edge to the top for the secret. Reward: Mac 10 47.
Secret 5: roof of the fish shop
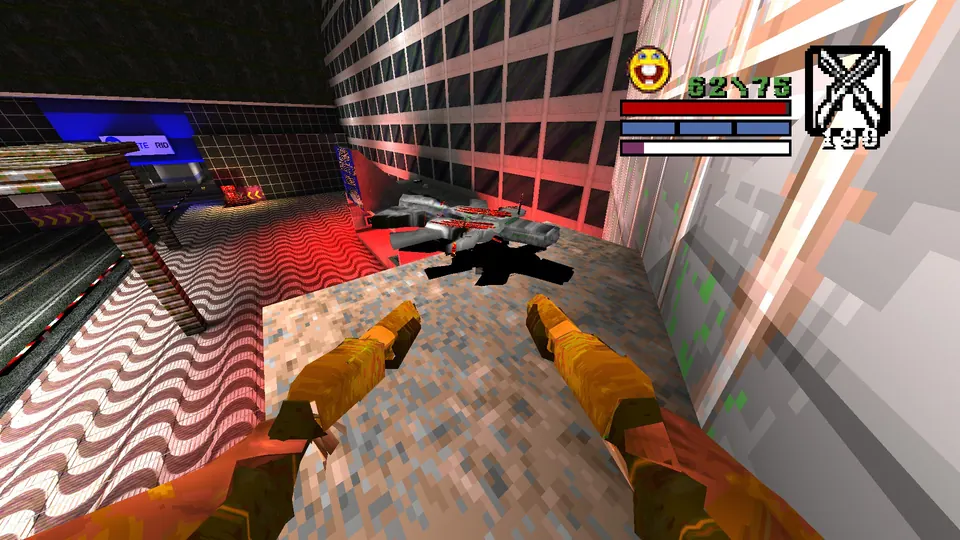
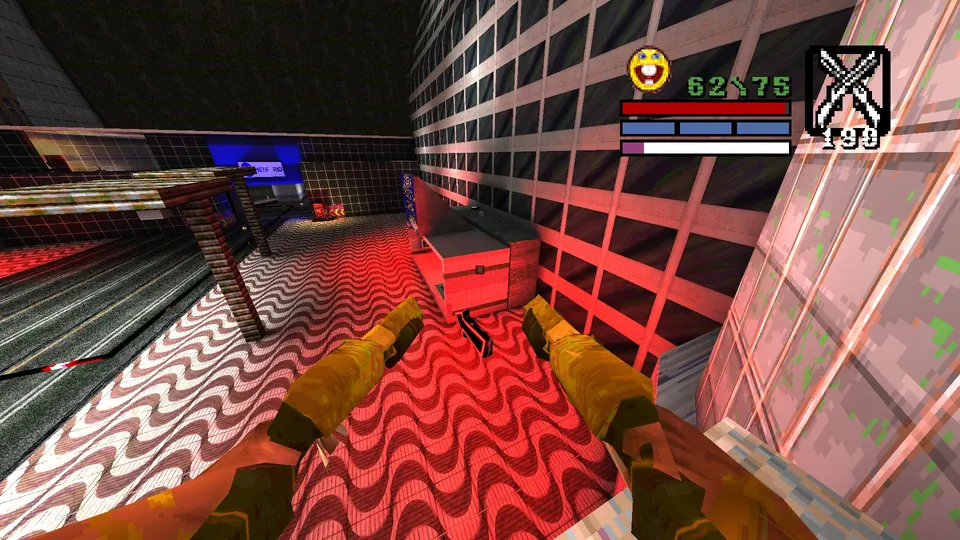
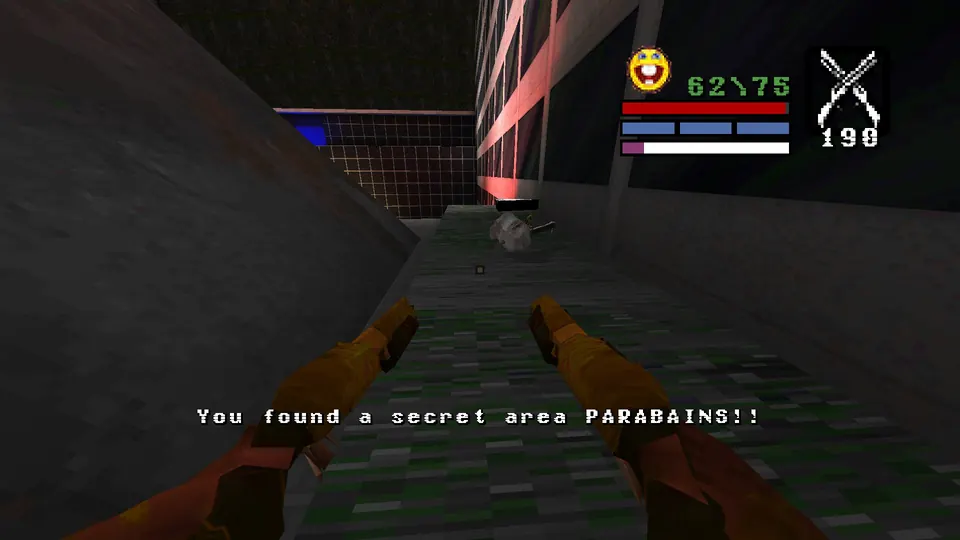
From Secret 4, jump and dash over to the roof of the fish shop next door. If you miss it, the lamp posts a little further on also let you jump onto that roof. Reward: Electric Shower and a Money Paper Airplane.
Level 6: Lapa
Secret 1: church roof behind the spawn
The church behind where you spawn has the secret on top. Double jump onto the blue roof and go up from there. Reward: Fireworks Launcher.
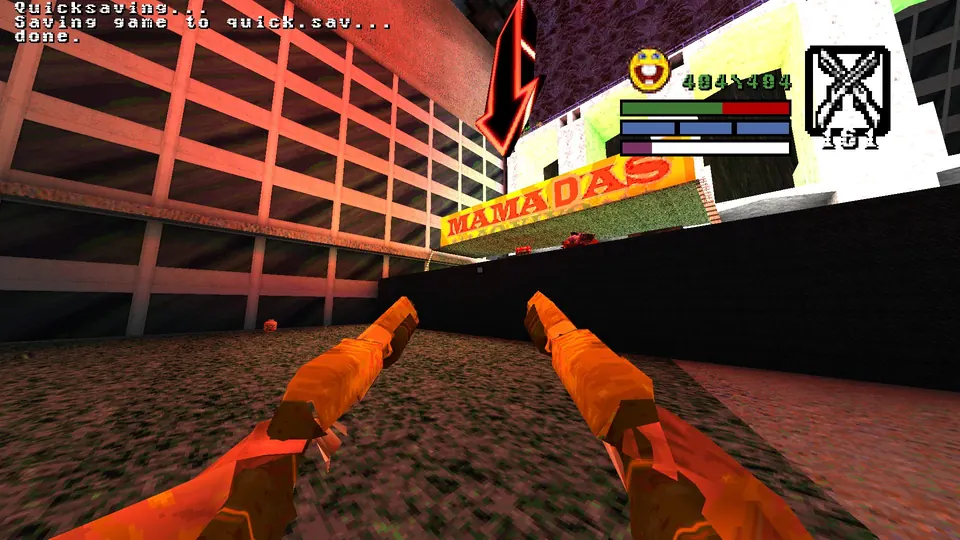
Secret 2: ledge beside the Mamadas stage
Left of the Mamadas stage is a ledge. Double jump onto it and walk it back to the secret. Reward: Megahealth.
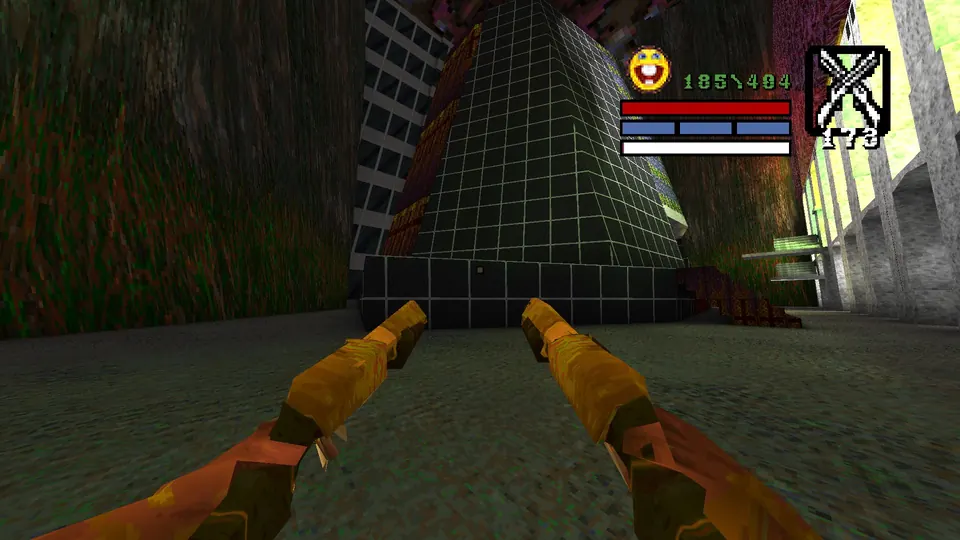
Secret 3: left side of the large tower
A large tower stands at the back of the first area. Go around its left side. Reward: Black Armor.
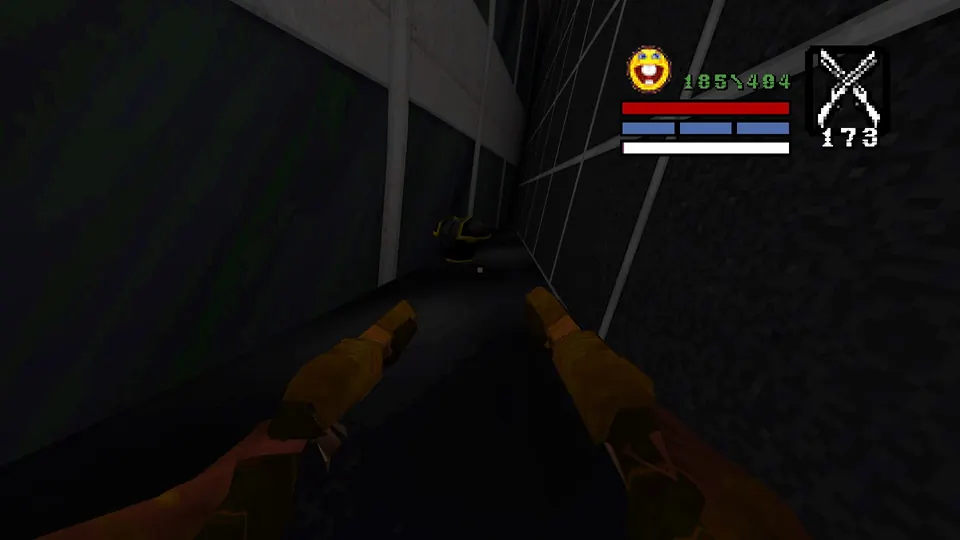
Secret 4: right side of the large tower
Similar to Secret 3, but going around the right side of the tower instead. Reward: Mac 10 47.
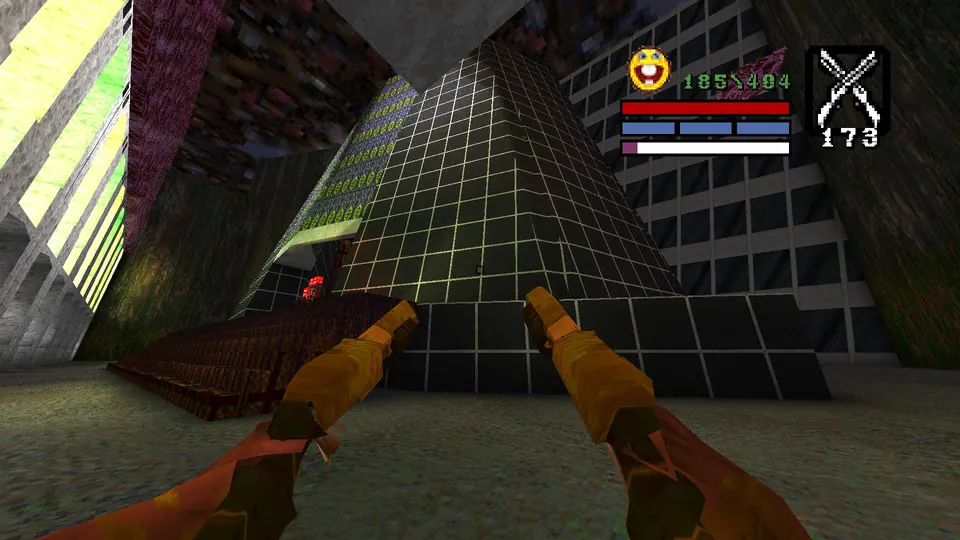
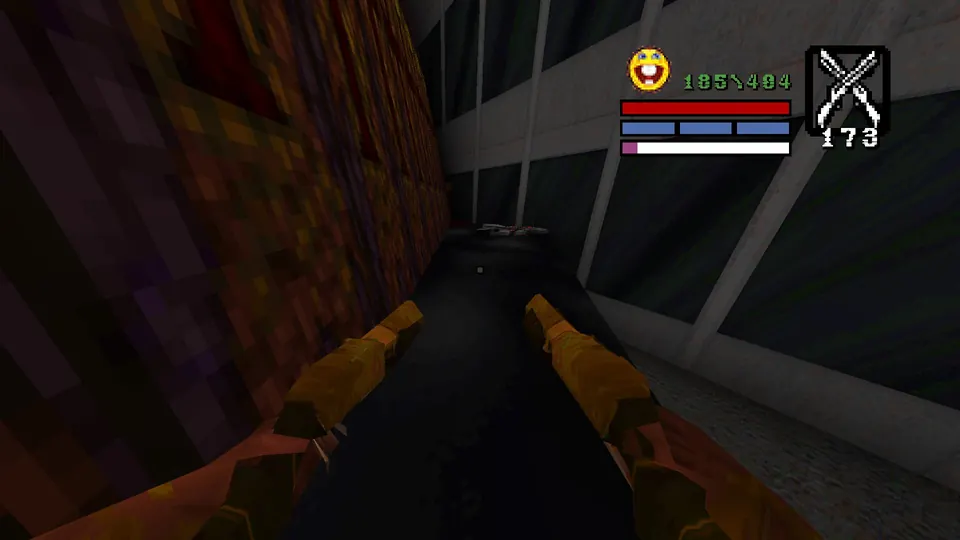
Secret 5: floating platform facing the Quicksave
The silver key sits on top of a tower. When you reach it, look for a floating platform on the opposite side from the Quicksave and jump to it. Reward: Mac 10 47 and Flamethrower/Gel Ammo.
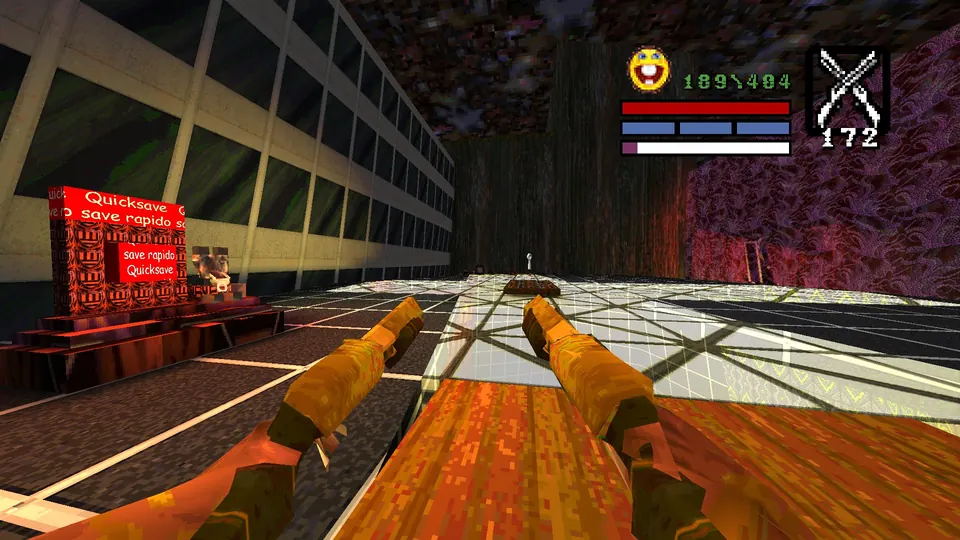
Secret 6: under an arch of the bridge
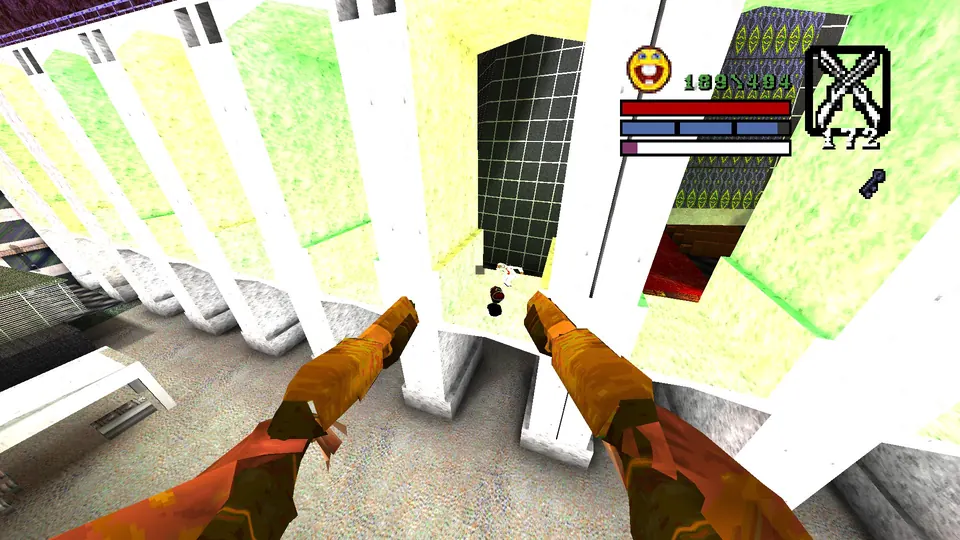
The secret sits inside one of the bridge arches. Several spots let you jump into it, including the top of the bridge staircase and a nearby tower. Reward: Red Armor.
Level 7: Cristo Gavea
Secret 1: left arm of the statue
Bounce up to the silver key, then drop off the left side onto the statue’s left arm. Reward: Green Armor, Shells, Bullets and Rockets.
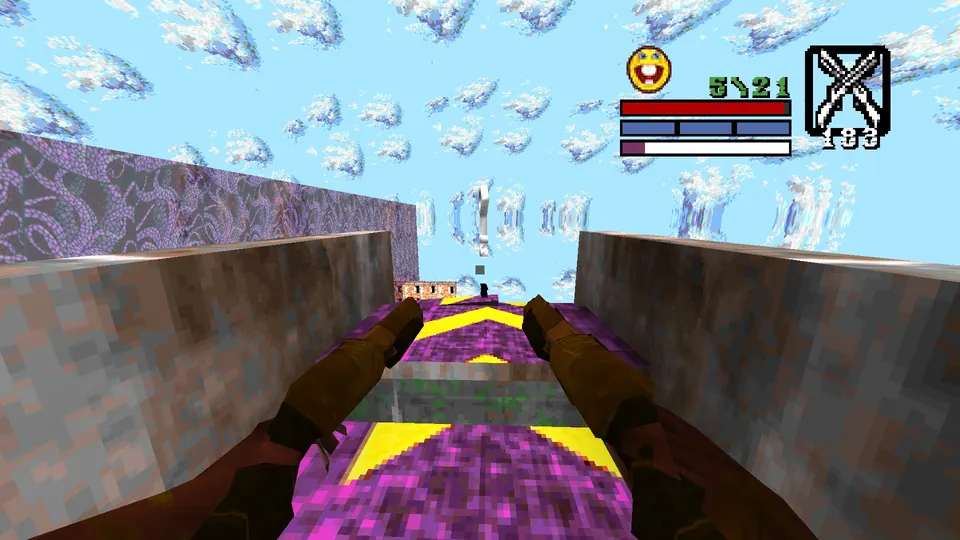
Secret 2: stained glass platform off the right side
Climb back to the top of the statue and look off its right side. A stained glass platform floats there, close enough to dash to. Reward: Quad Damage and a Megahealth.
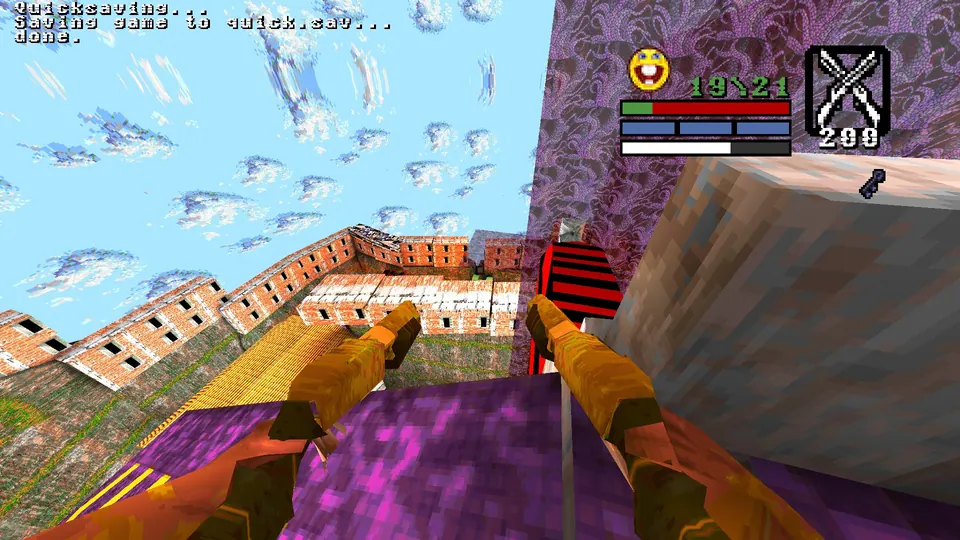
Secret 3: under the last Mario pipe
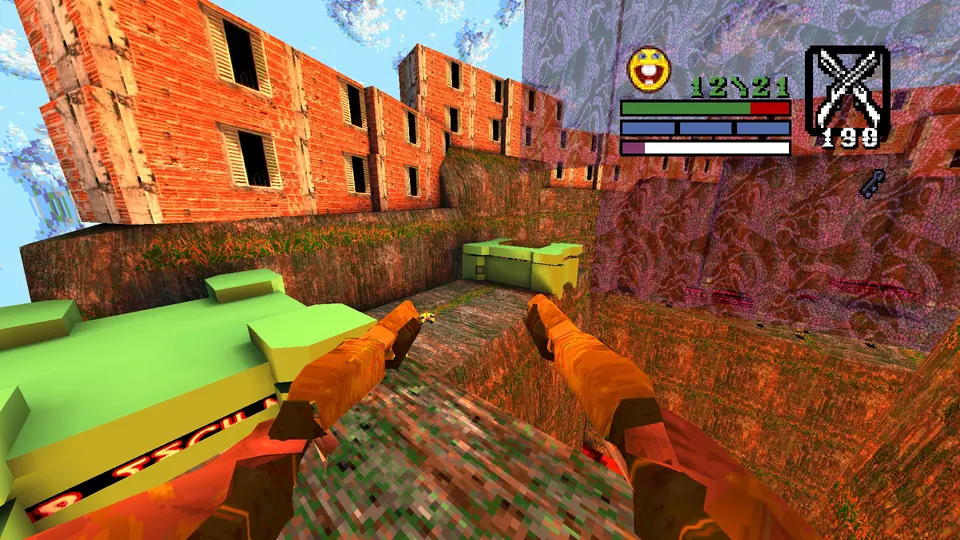
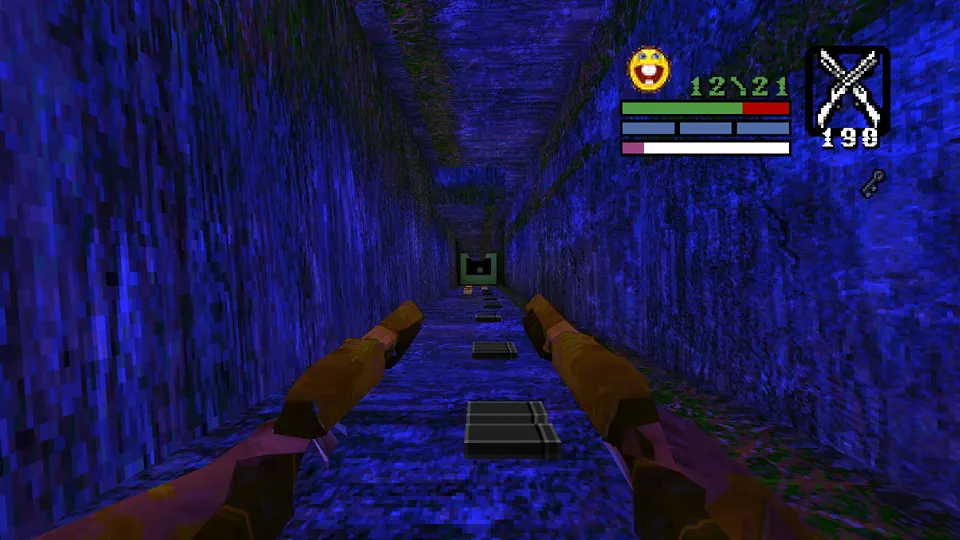
The level has a section styled after Mario. Dive into the lava at the last pipe and you drop into a secret underground area. You can also jump straight from the stained glass platform of Secret 2 down to that last pipe. Reward: Electric Shower, Shells and Bullets.
Level 8: Aeroporto Santos Dumont
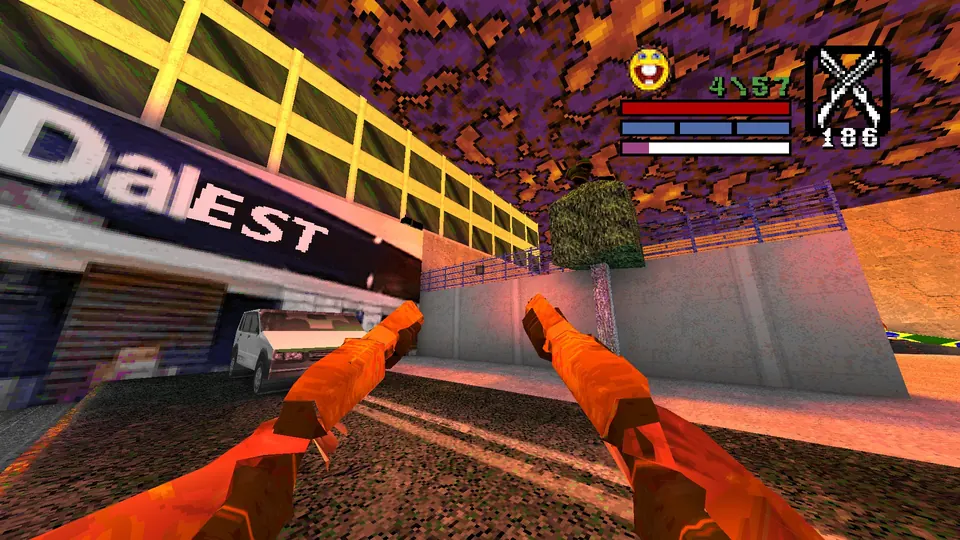
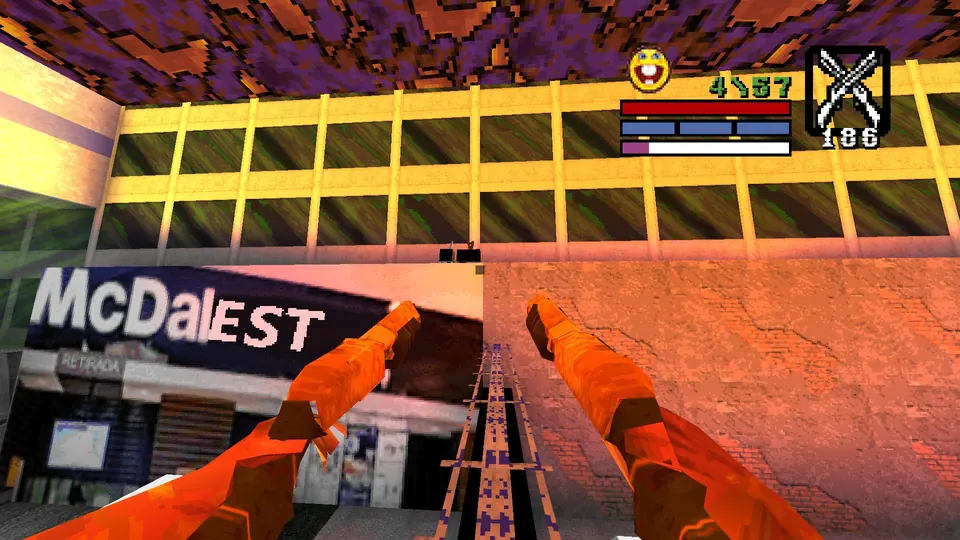
Secrets 1 and 2: the concrete wall in the middle
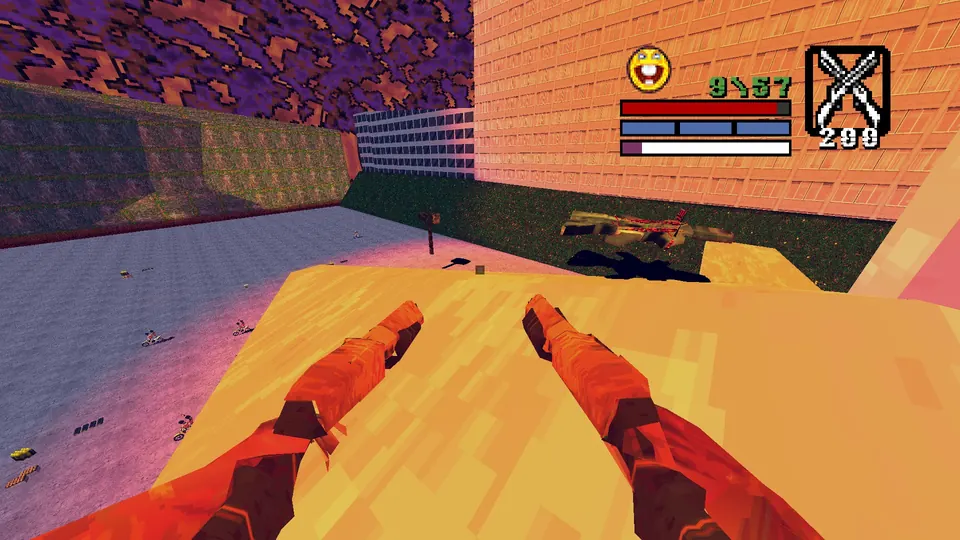
As the level starts, use the cars as steps to climb onto the wall in the middle. The trees hold a Green Armor and some Bullets, but the secret is on top of the concrete wall beside the Armor. It counts as two secrets on the tally, as of the time of writing. Reward: Flamethrower/Gel Ammo.
Secret 3: invulnerability in the hedge maze lava
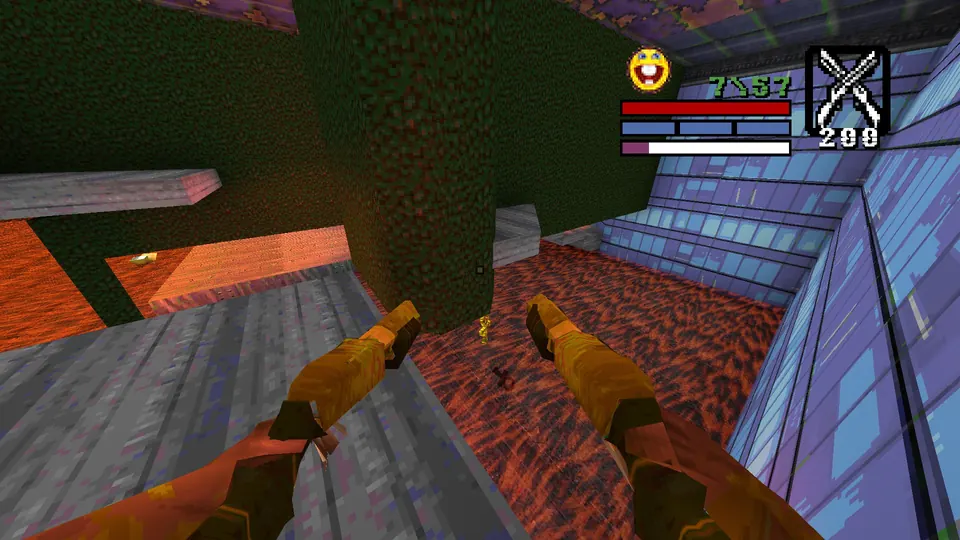
Inside the hedge maze, an invulnerability floats in the lava left of the staircase. Grabbing it is not enough on its own: the secret only registers once you have also touched the platform next to it. Reward: Invulnerability.
Secret 4: tail of the airplane
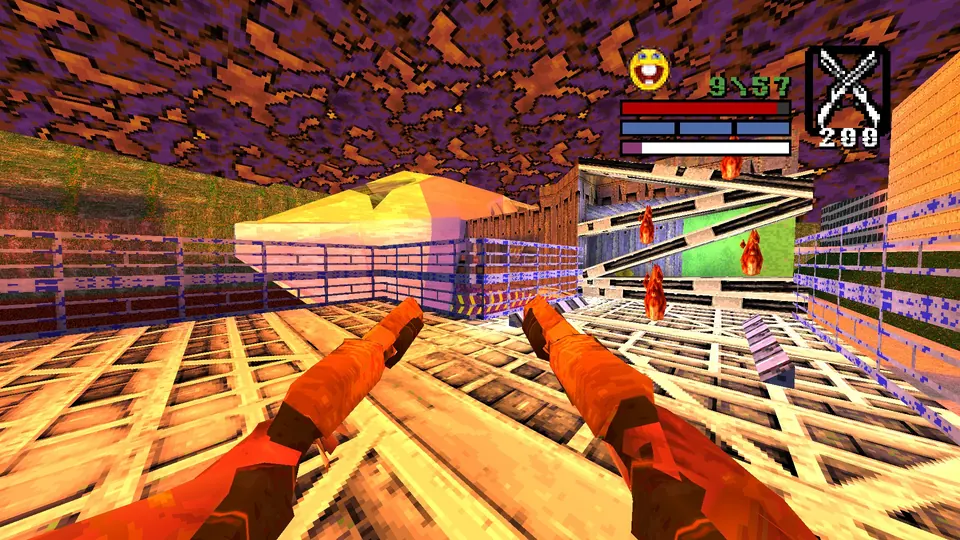
When you enter the airplane area, climb the fencing and the jet bridge to get onto the plane. The secret is on the tail. There is an extra Quad Damage and a Black Armor on the way. Reward: Quad Damage and Mac 10 47.
Level 9: Praca da Se / Metro
Secret 1: the two lines of trees
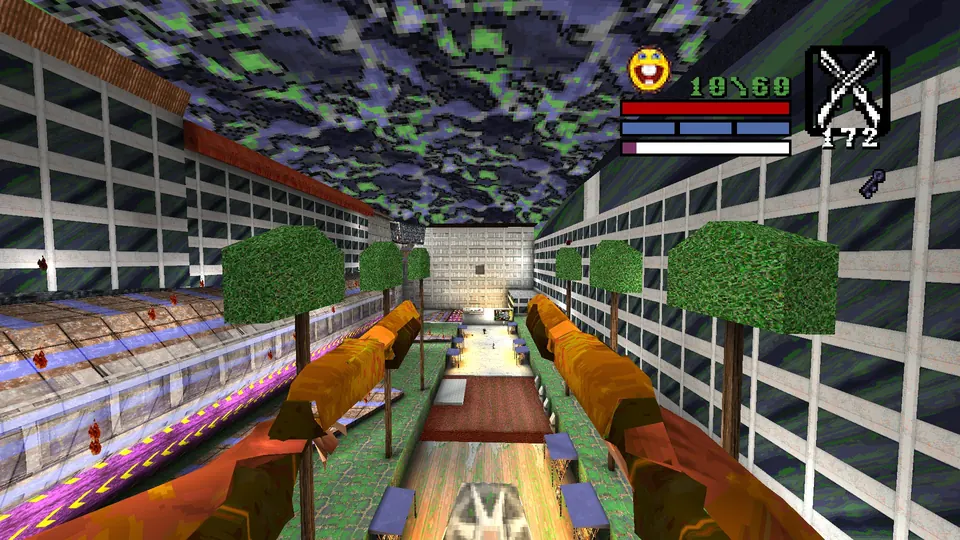
The silver key is on the roof of the building behind your start. From there you can see two lines of trees ahead, and crossing them gets you the items. You only need one line for the secret: grabbing the items on either line counts. Cross both if you want every item. Reward across both lines: Mac 10 47 and Red Armor.
Secret 2: the hole in the buildings
From the silver key roof or the trees of Secret 1, jump onto the wrecked airplane. Work round to its backside for some extra items, then climb onto the fin. Facing the way you climbed, you will see a large hole in the buildings ahead. Double jump and chain three dashes to cross it. Reward: Electric Shower, Red Armor, Flamethrower/Gel Ammo and Cocos Ammo.
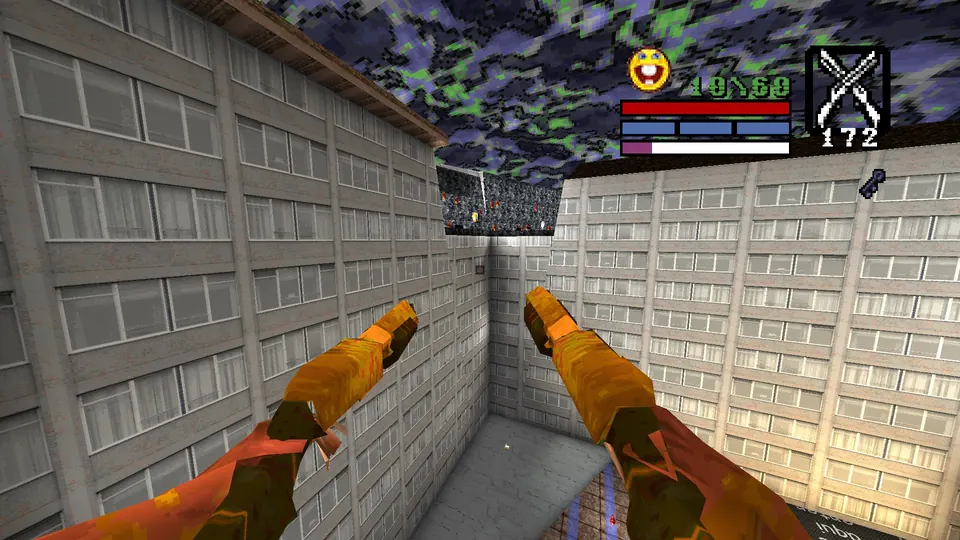
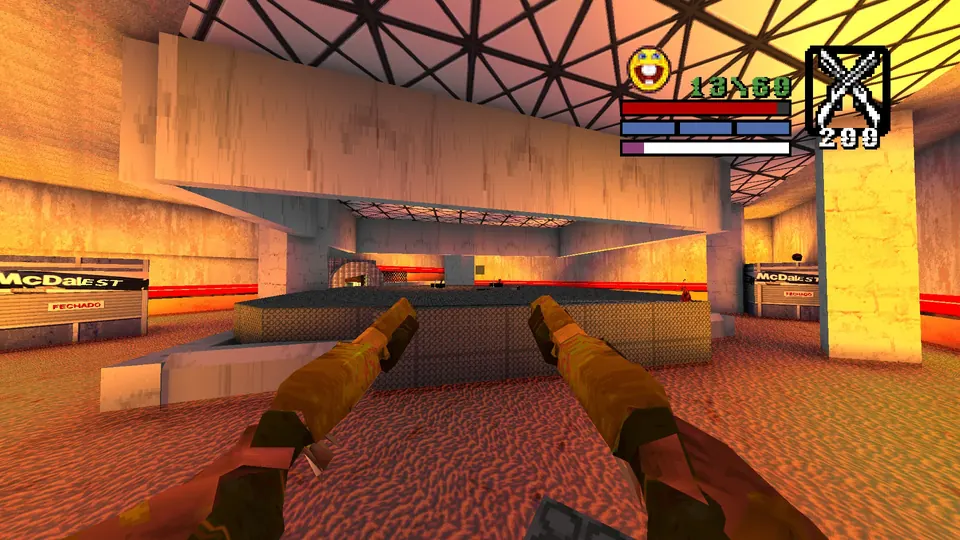
Secret 3: pillar in the lava room
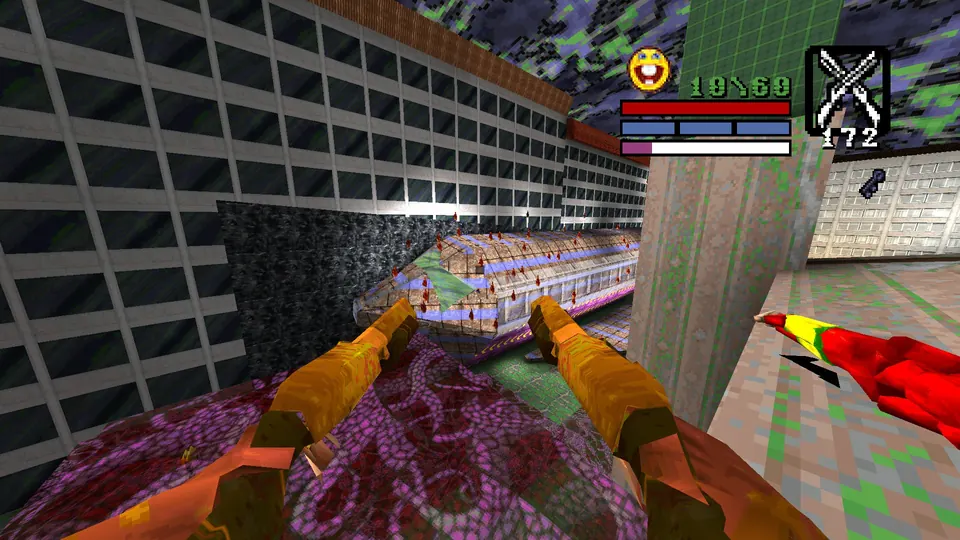
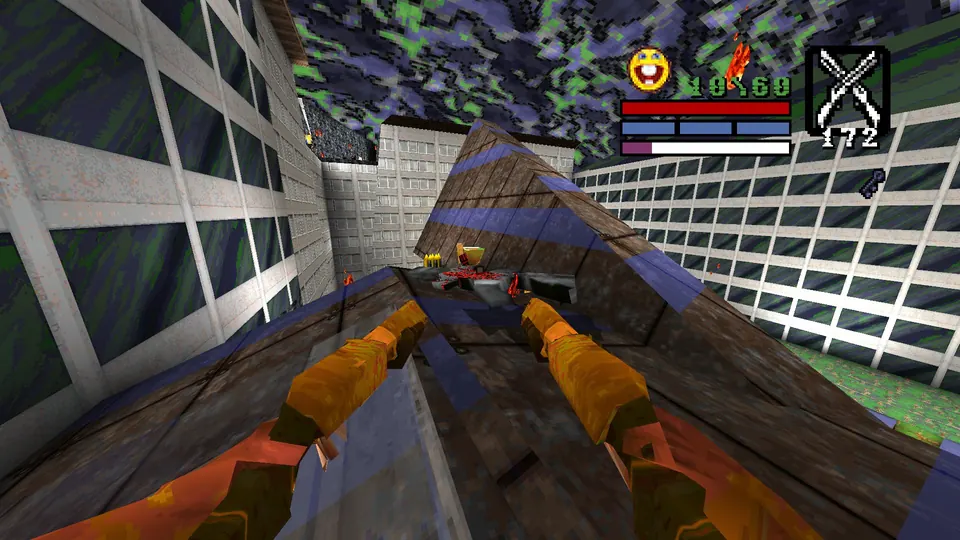
Behind the silver key door is a lava room with a Red Armor on a distant pillar. Double jump and dash over to it. Reward: Red Armor.
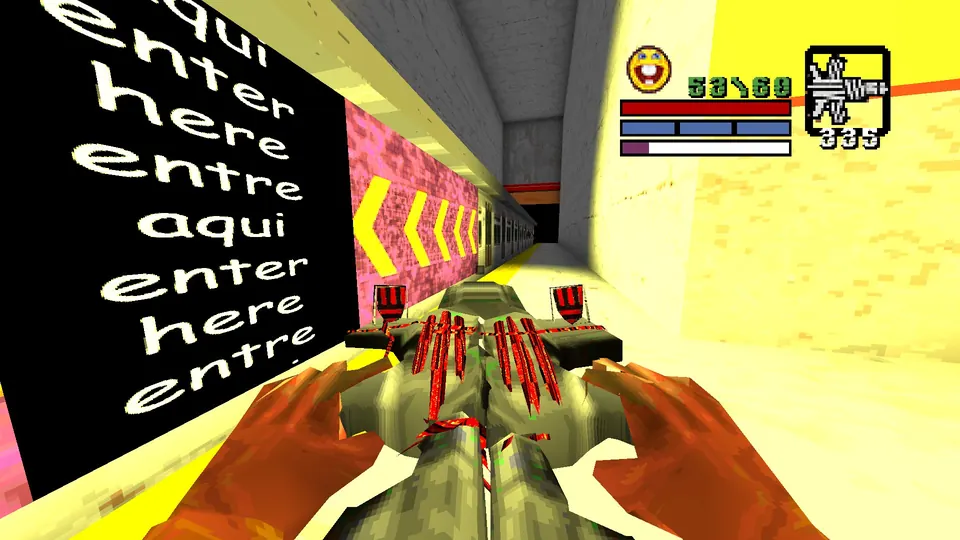
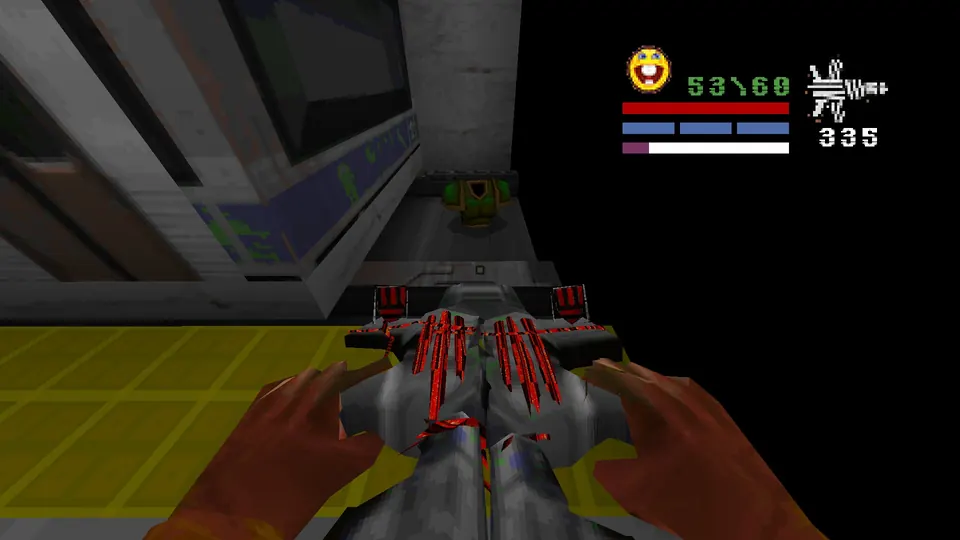
Secret 4: end of the subway train
Go to the right end of the subway train, to the right of the gold key door. Reward: Green Armor.
Level 10: Guarulhos
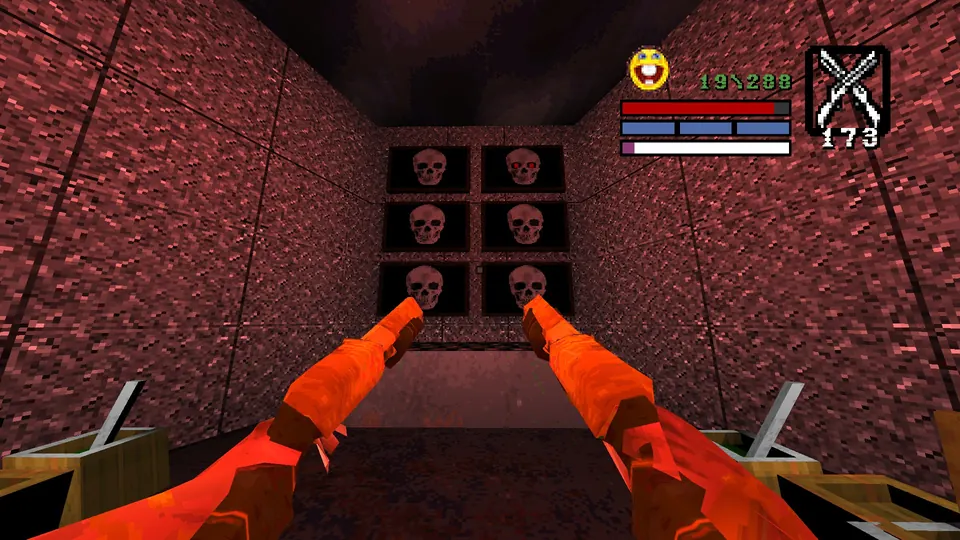
Secret 1: the skull monitor with glowing eyes
Shoot the air vent the game points you to and climb in. You land in a room with two buttons you need for progress and six skull monitors in front of you. Shoot the top right monitor, the one whose eyes glow. Reward: Quad Damage.
Secret 2: the grate in the water
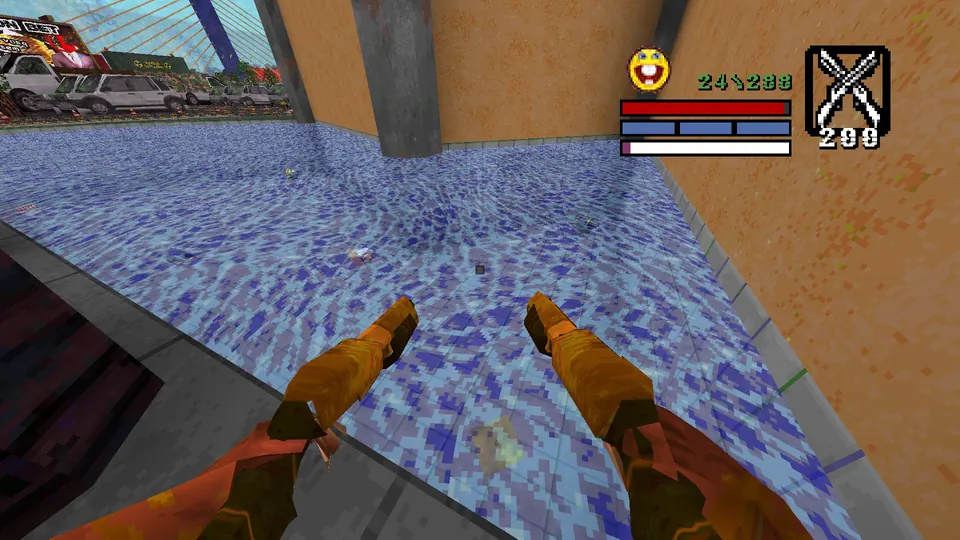
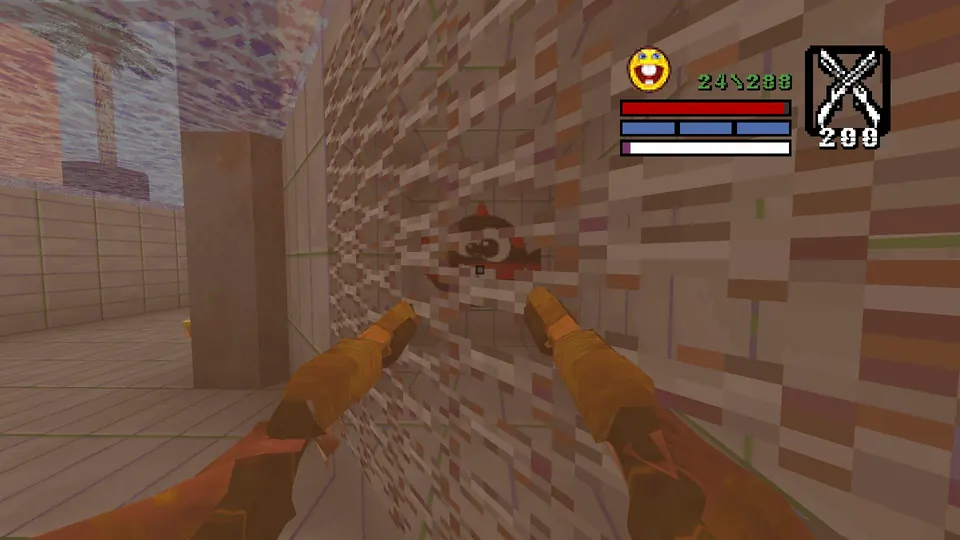
Soon after Secret 1 you exit the mall. Turn right and drop into the water, then swim through the small grate on the right to meet the Dopefish. There is no item.
Secret 3: top of the first semi-truck
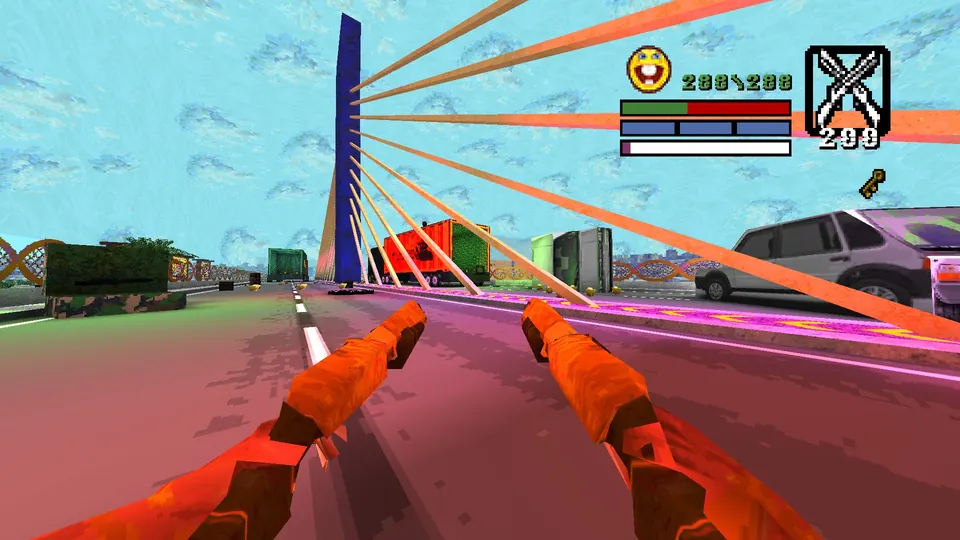
Further on, the level teleports you ahead. The first semi-truck you see after that teleport has the secret on its roof. Use the cars around it to climb up. Reward: Red Armor.
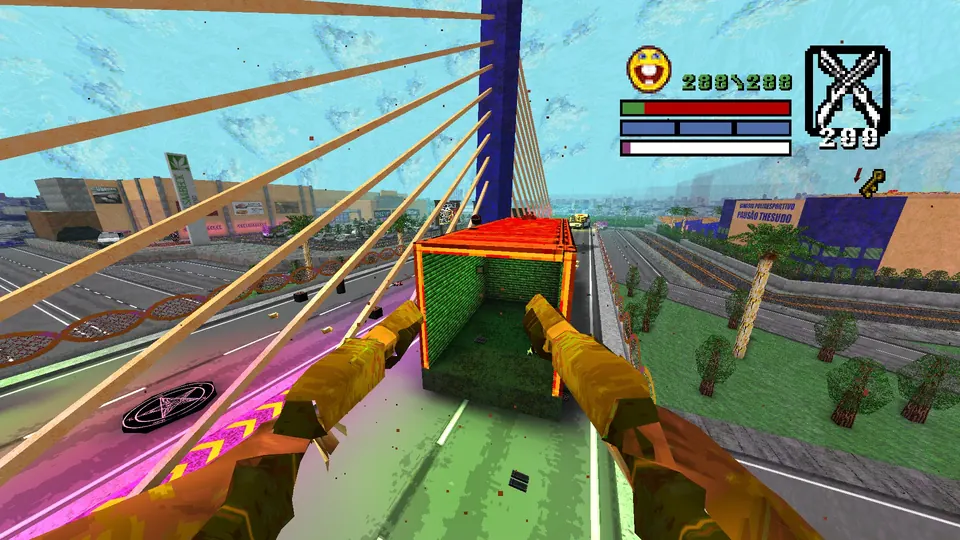
Bonus stash: under the semi-trucks
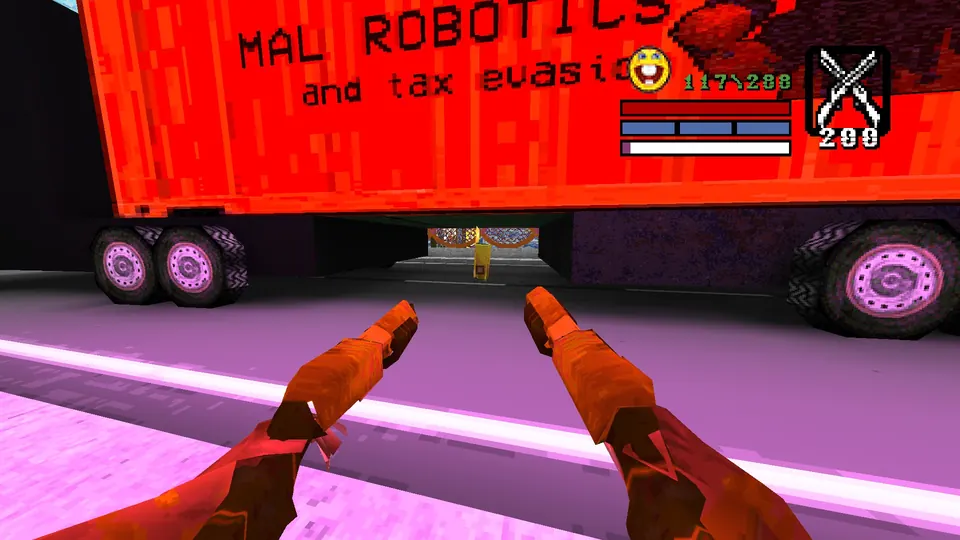
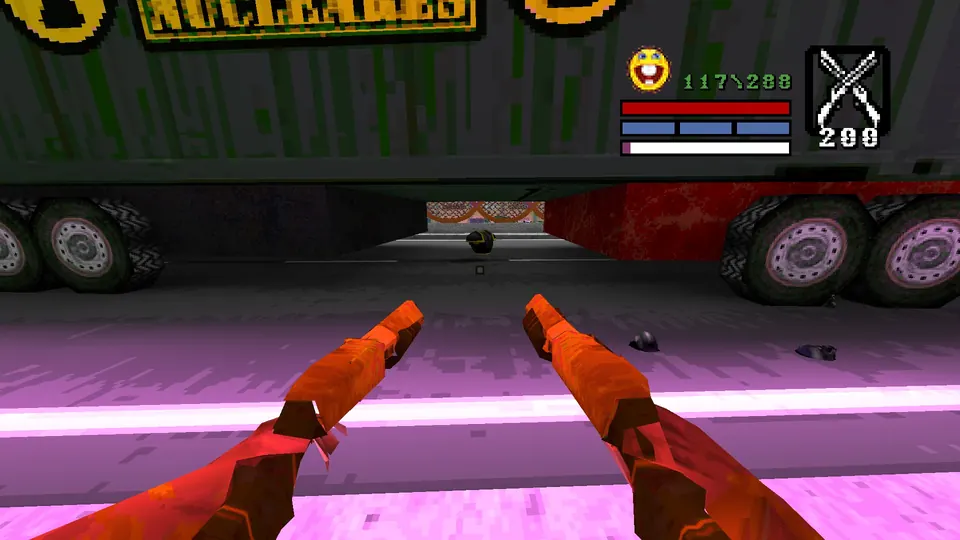
Two semi-trucks stand on the suspension bridge, and underneath them are a couple of useful items that are easy to miss. They are not counted as a secret. Reward: Megahealth and Black Armor.
Secret 4: odd wall past the blue arches
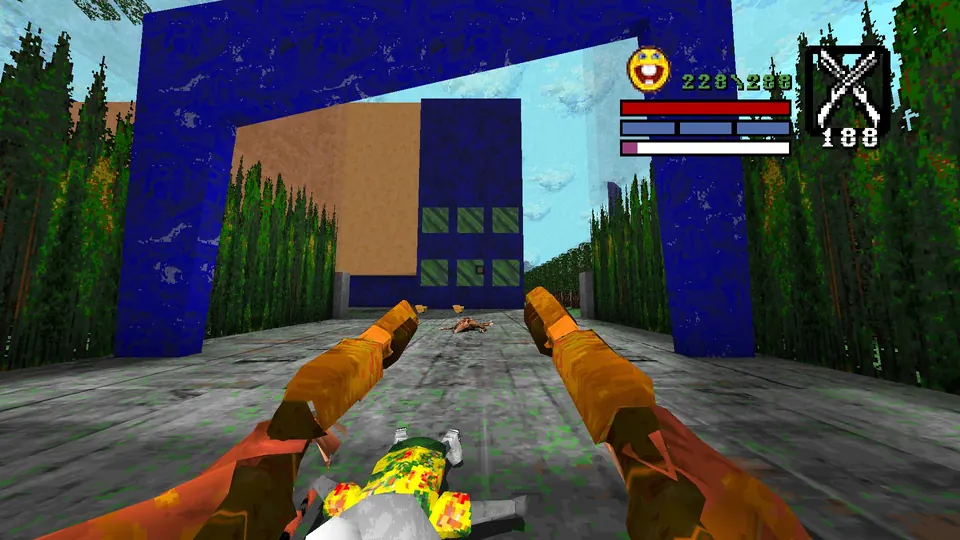
Kill the swarm of Xaropito (the rat enemies) and go through the blue arches to reach a building. Head right and check the walls closely: one has a different texture. Reward: Electric Shower.
Level 11: Quebra-Mar Santos
Secret 1: the jutting wall by the finish line
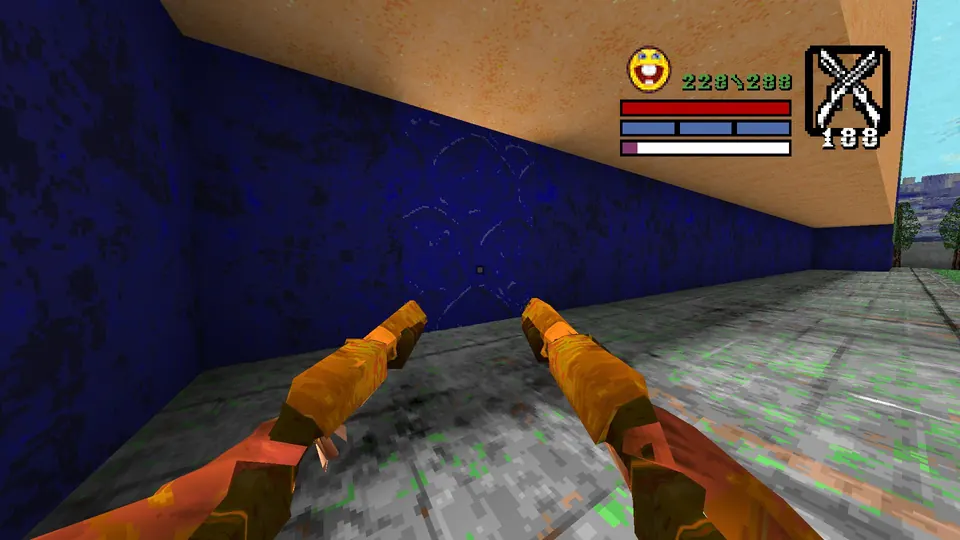
Two buildings stand close to the finish line. The first one you reach holds the secret. Part of its wall juts out a little. Walk up to it and it opens. Reward: Red Armor.
Level 12: Largo do Pelourinho
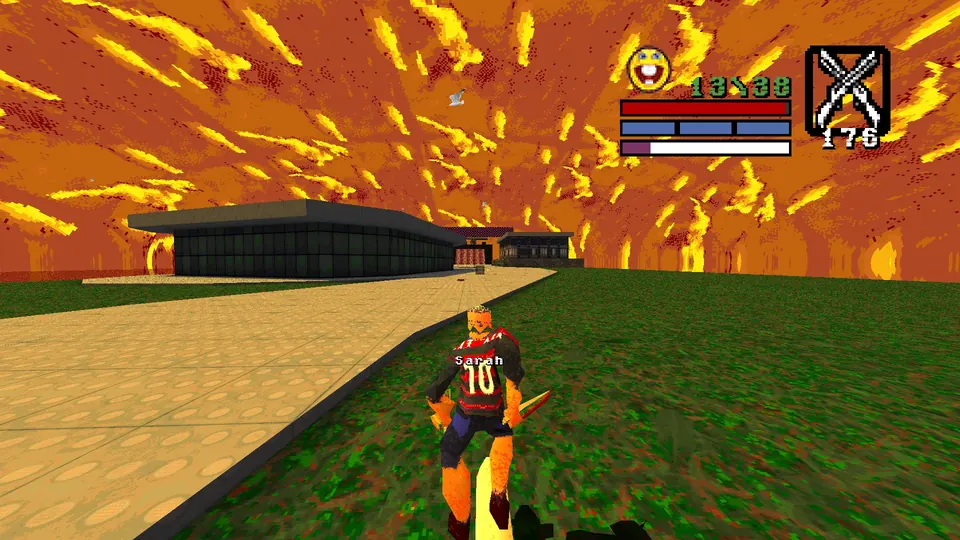
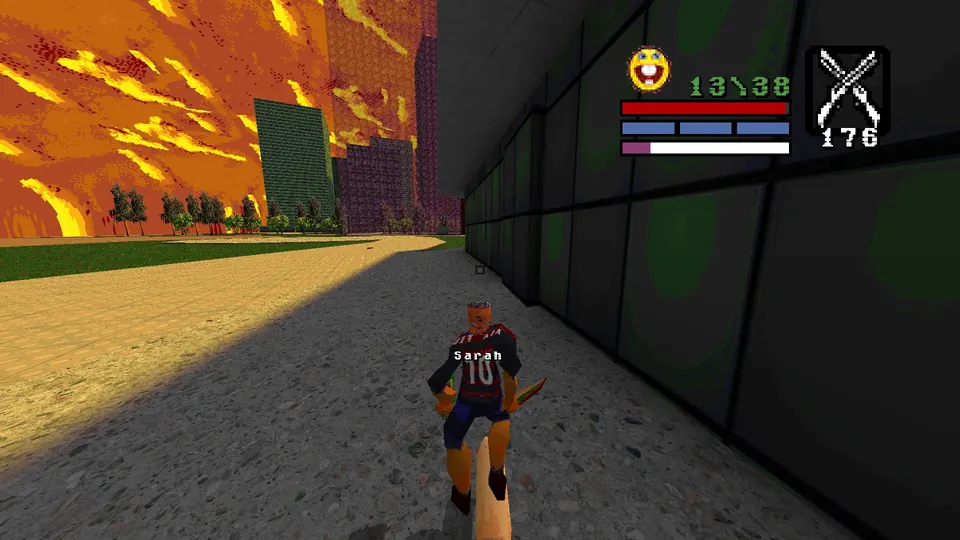
Secret 1: Red Armor on the rooftops
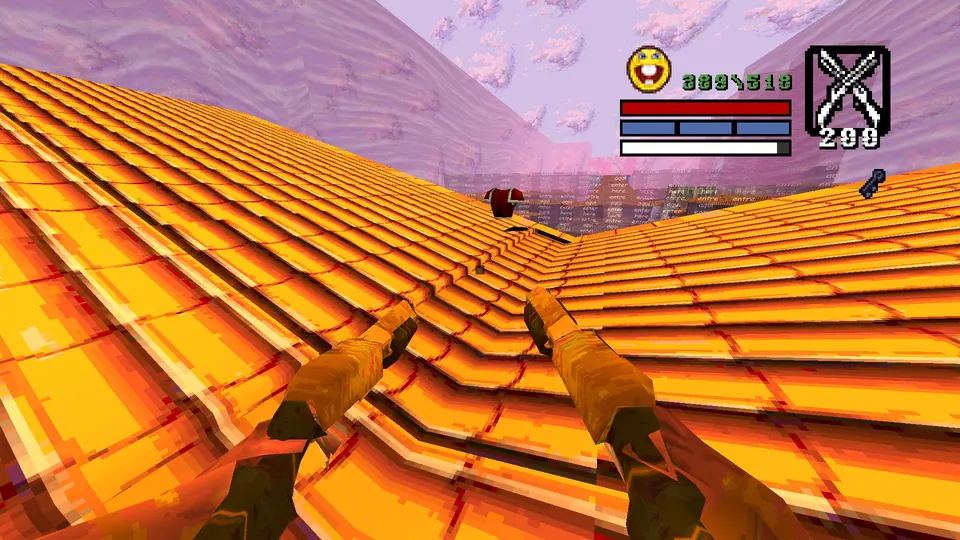
Grab the silver key, then carry on past it onto the roofs nearby. Climb to the highest one, next to the Quad Damage, and dash across to the far side, where a large fence texture blocks the way. Get on top of the fence, where an Electric Shower sits, and then up onto the rooftops. Enemies wait up here. The secret Red Armor is to your right. Reward: Red Armor.
Secret 2: items on the opposite rooftops
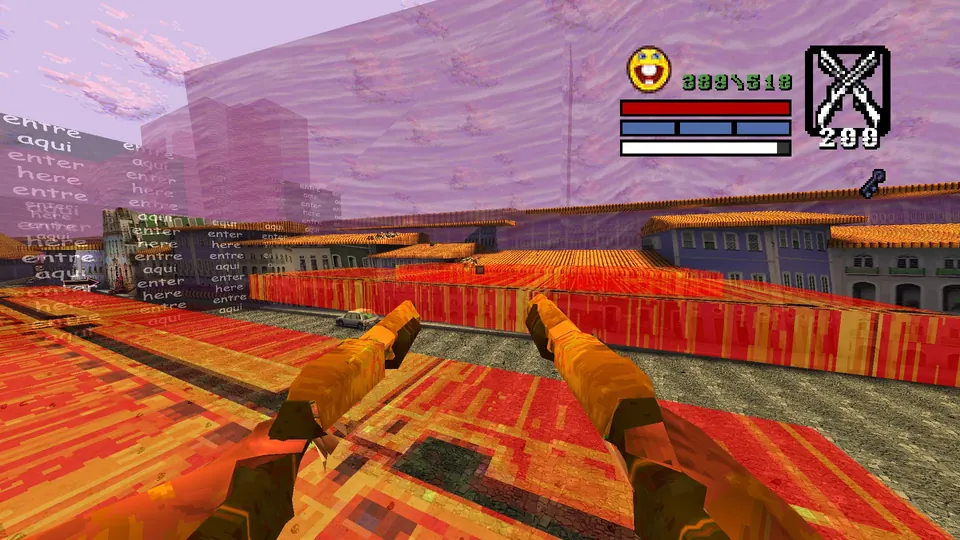
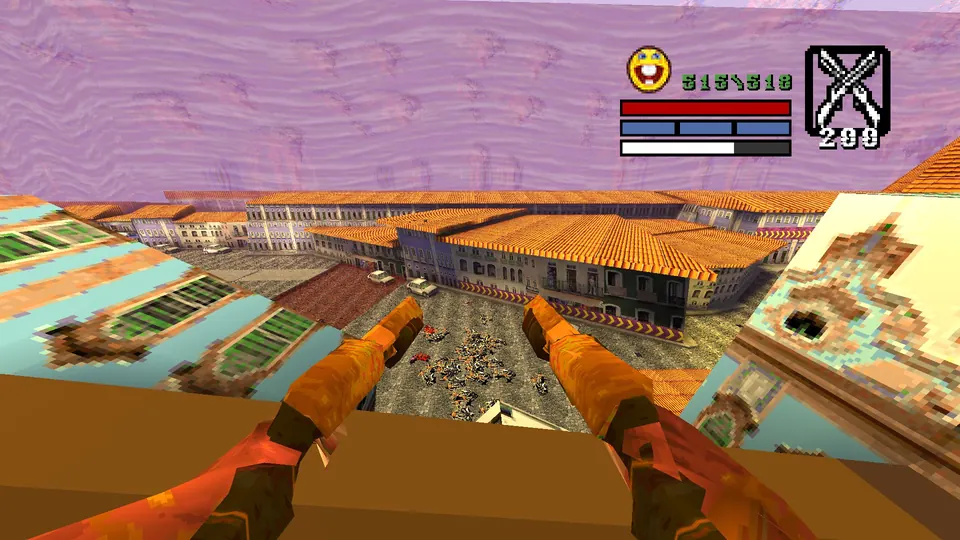
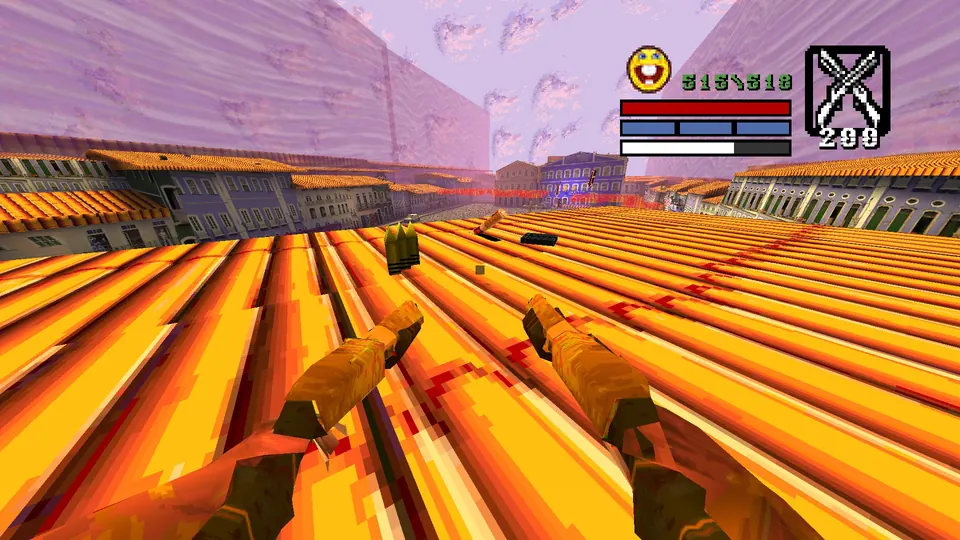
From the top of the church, look across at the rooftops opposite and you should see some items in the distance. Jump and dash over to them. Reward: Fireworks Launcher, Rockets and Bullets.
Secret 3: wall inside the building past the gold key door
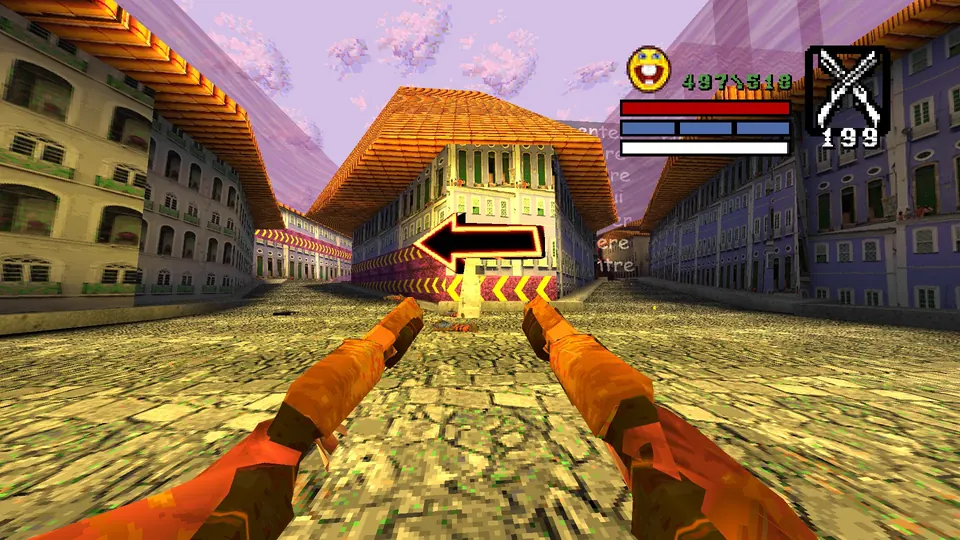
After the church the game sends you left at a fork in the road. Right after the gold key door is a staircase. Climb it, go inside, and look for a wall on the right with a different texture. Walk up to it and it opens. Reward: Mac 10 47, Broken Rocket Launcher and Fireworks Launcher.
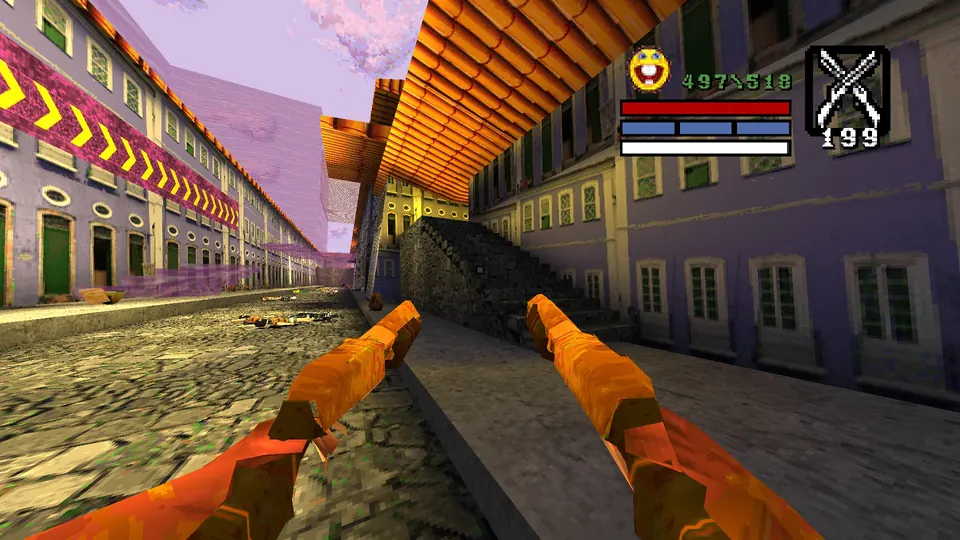
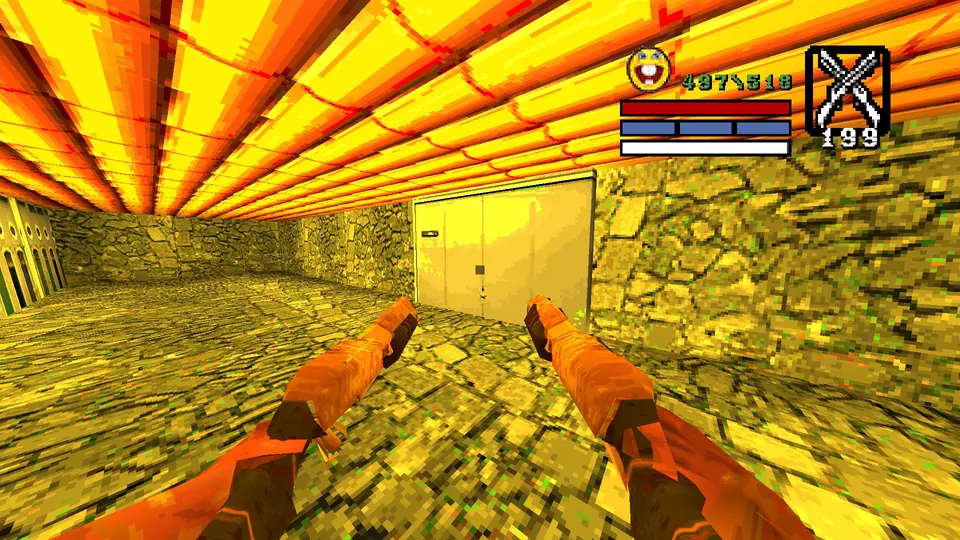
Level 13: Parque Zoobotanico da Bahia
Secret 1: ledge behind the camel
Once you are on the camel, turn around. Jump up to the nearby ledge and walk along it to the secret. Reward: Red Armor.
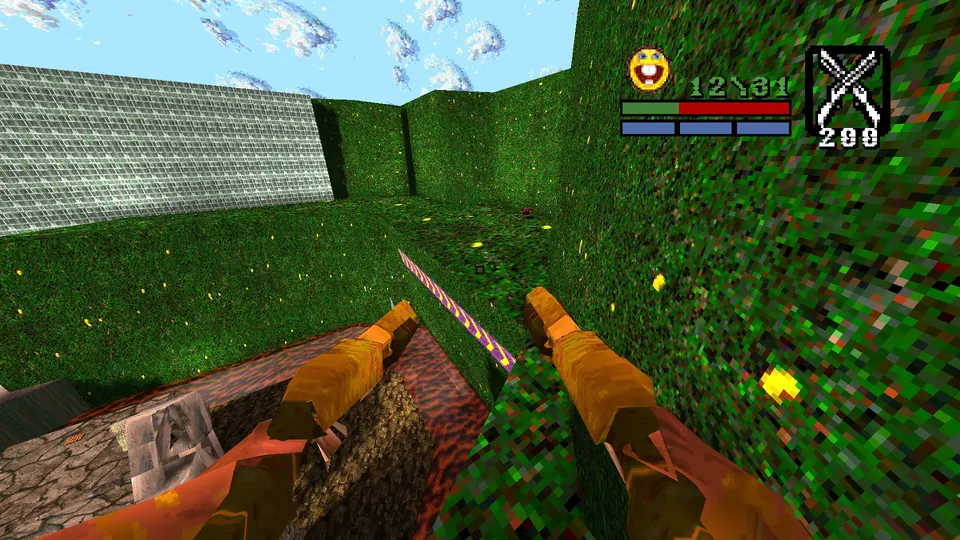
Secret 2: roof of the gray building
Keep following the same ledge around past Secret 1 until you can jump onto the roof of the gray building. Reward: Electric Shower, Shells, Bullets and Weird Ass Ammo.
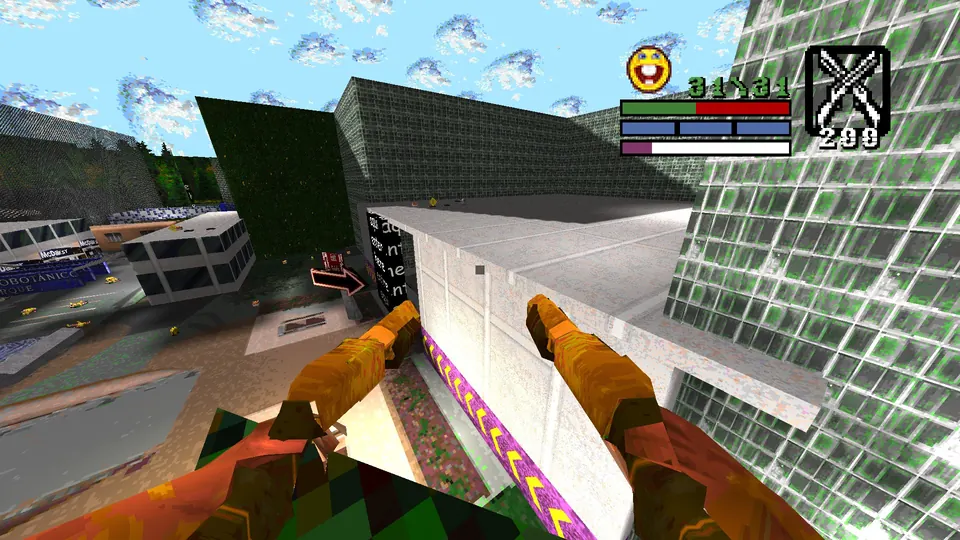
Secret 3: armor floating behind the silver key
Platforms lead upwards behind the silver key. Climb them and bear left to find a Red Armor hanging in midair. Reward: Red Armor.
Level 14: Forte de Sao Marcelo
Secret 1: the sunken boat
On the second boat of the level (the first one after the boat you start on), jump off the side opposite from where you boarded. A boat sits under the water, hard to see, and falling in teleports you onto it. The teleport field is wide, so you do not need to aim carefully. Reward: Quad Damage and Red Armor.
Secret 2: on top of the crates
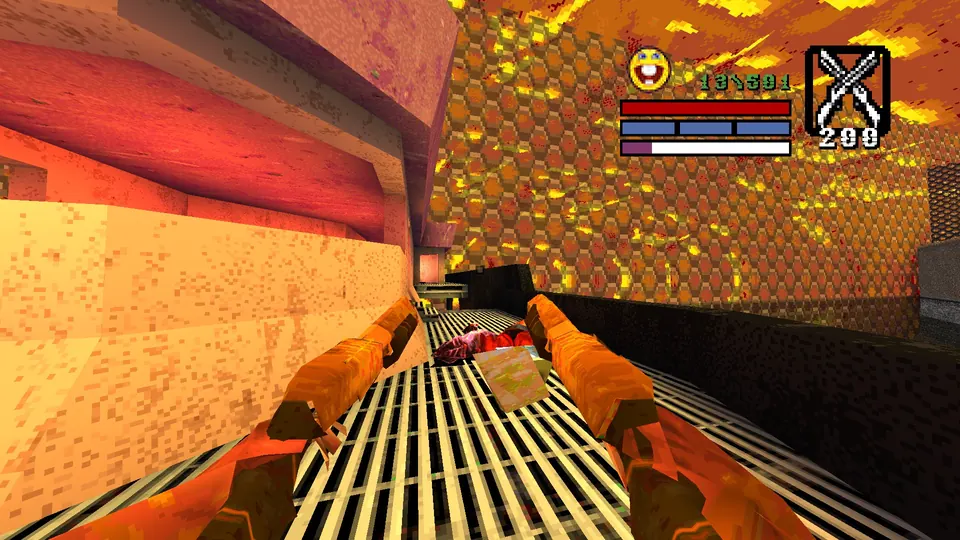
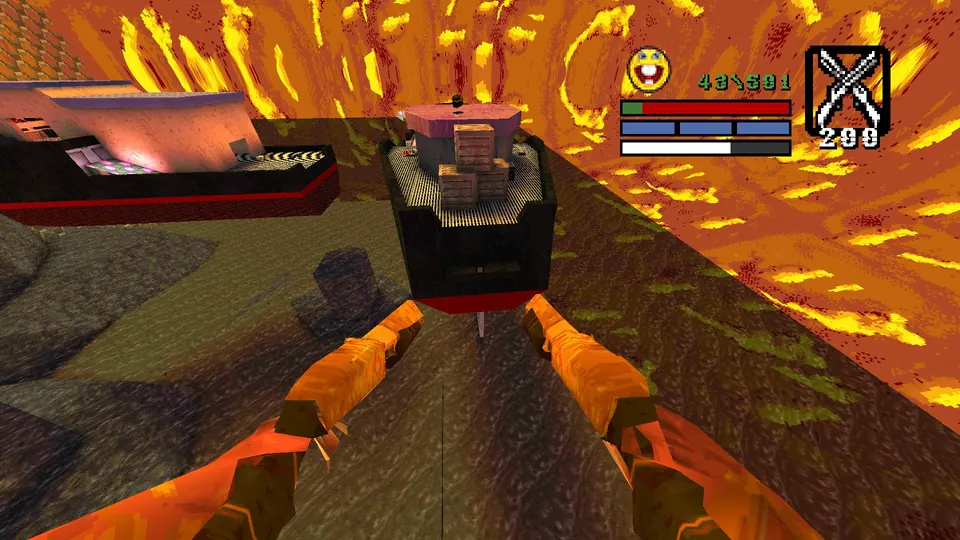
As you jump onto the fourth boat, you land beside a stack of crates. Climb to the top. Reward: Black Armor.
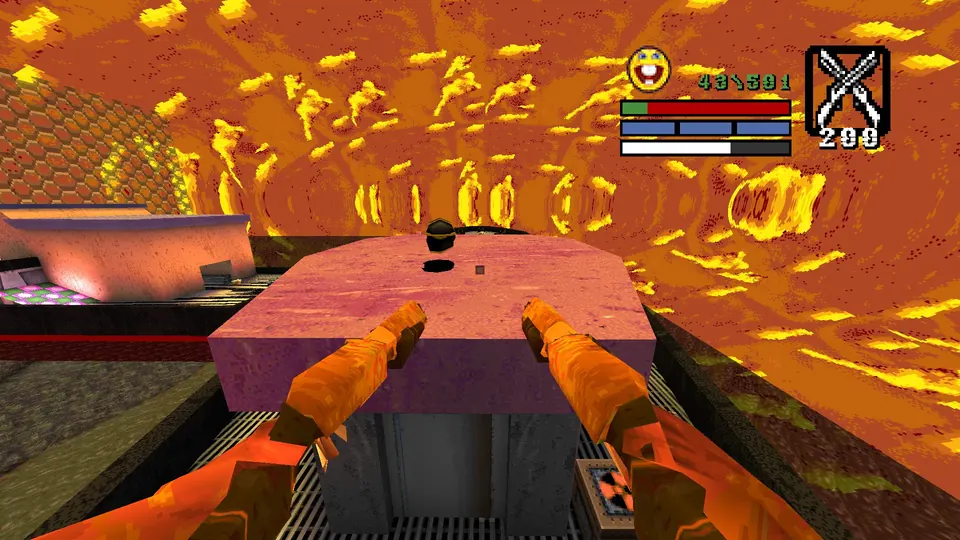
Secret 3: down the ramp on the upper rim
Walking around the upper rim of the fortress, you pass a ramp heading down next to the hole into the interior. Take the ramp down and drop a short way to reach the secret. Reward: Red Armor.
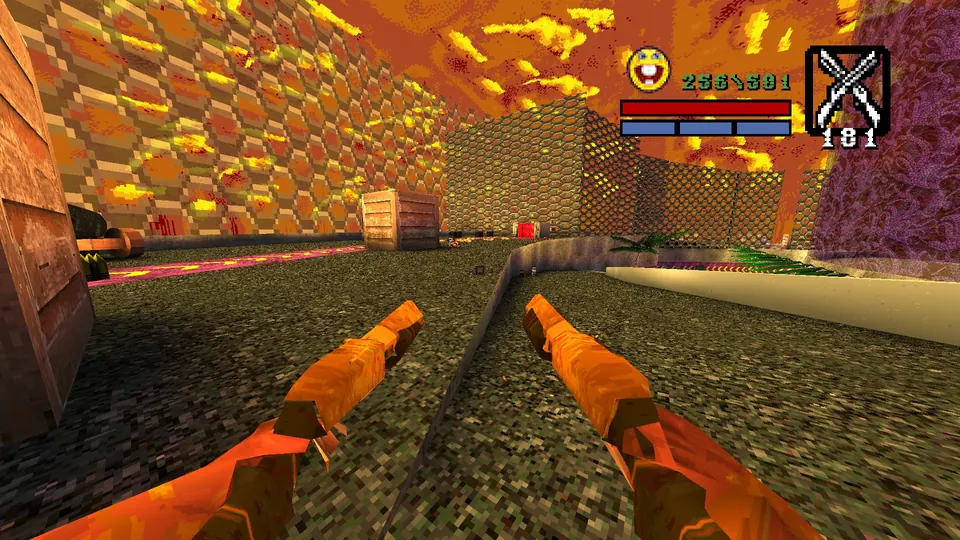
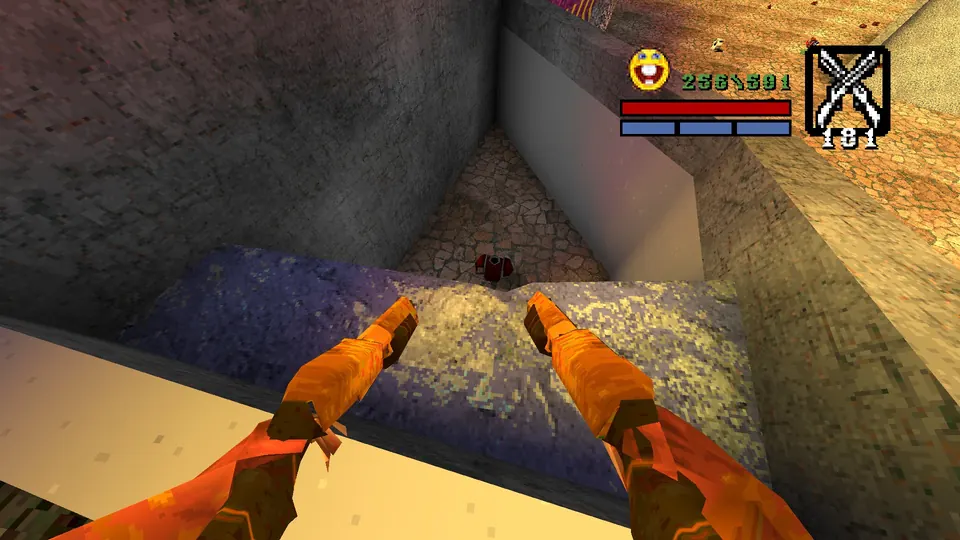
Secret 4: pillar in the slime pits
In the interior, an invulnerability sits on a pillar in the corner of one slime pit. Jump around to it from the upper platform close by. Reward: Invulnerability.
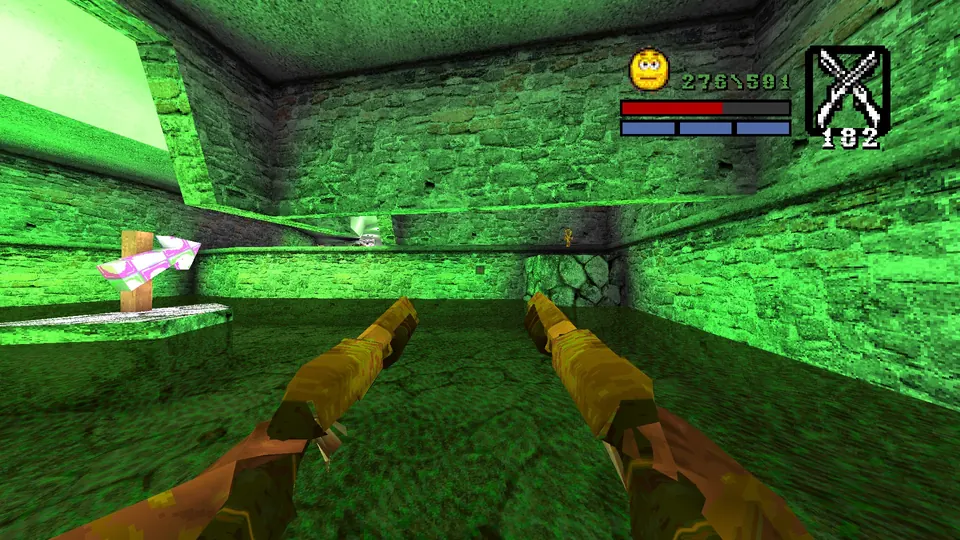
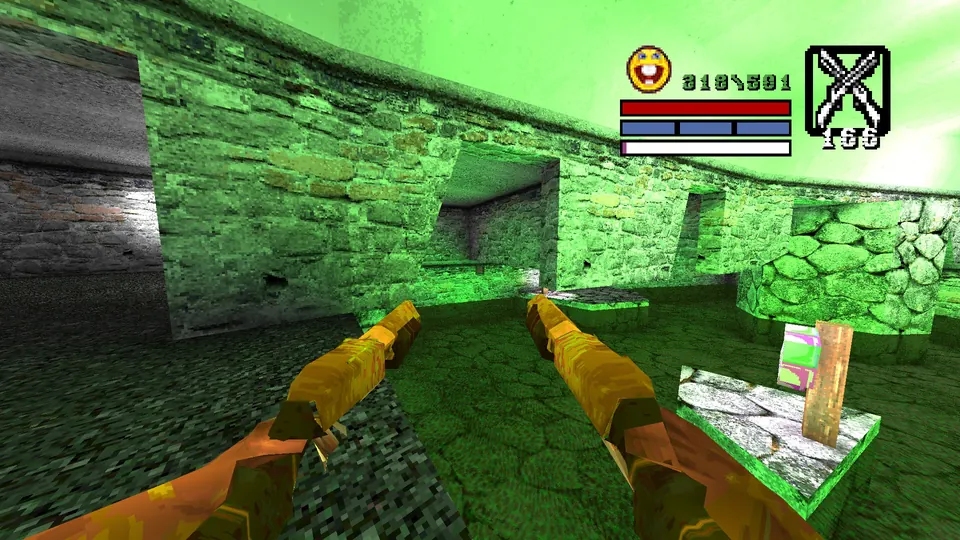
Level 15: Mercado Modelo
Secret 1: roof of the building you started in
The level starts in a pit. When you step onto the first fish on the way out, turn around and double jump onto the roof of the small building you just left. Reward: Red Armor.
Secret 2: the caged Quad Damage behind the market
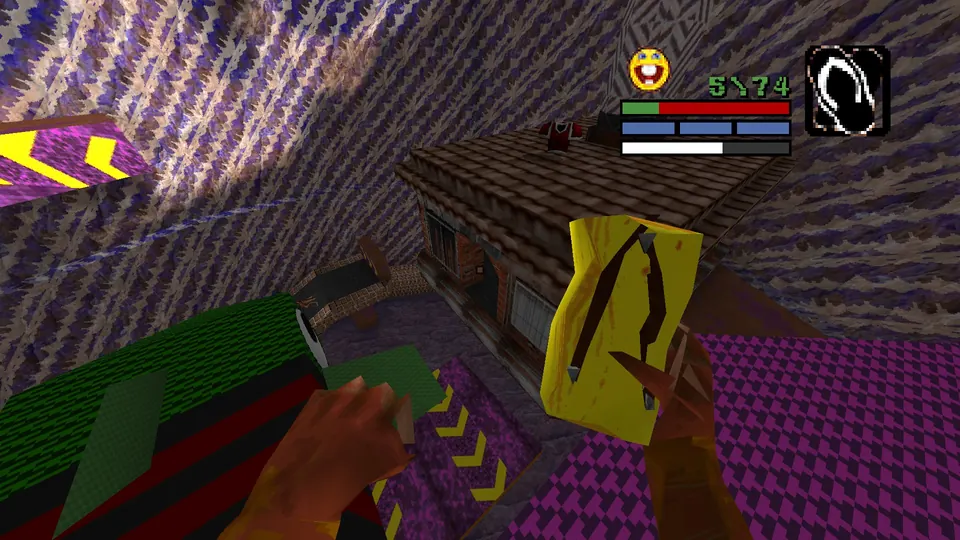
The Quad Damage behind the market is caged, and freeing it takes two buttons. The first is by the Brasil Portal and the Quicksave: climb the walkway there to find it. The second only becomes reachable after you clear the enemies behind the market and the barrier drops. Go back to the walkway you used for the first button and jump along the extra walkways on the buildings that are now open. With both pressed, the cage opens and the Quad Damage is released, although by then the fight it would have helped with is over. Reward: Quad Damage.
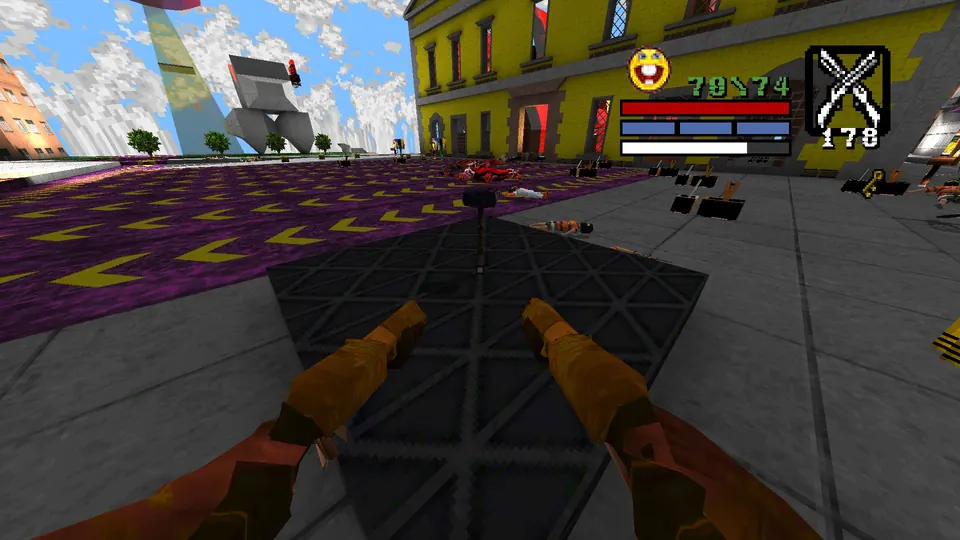
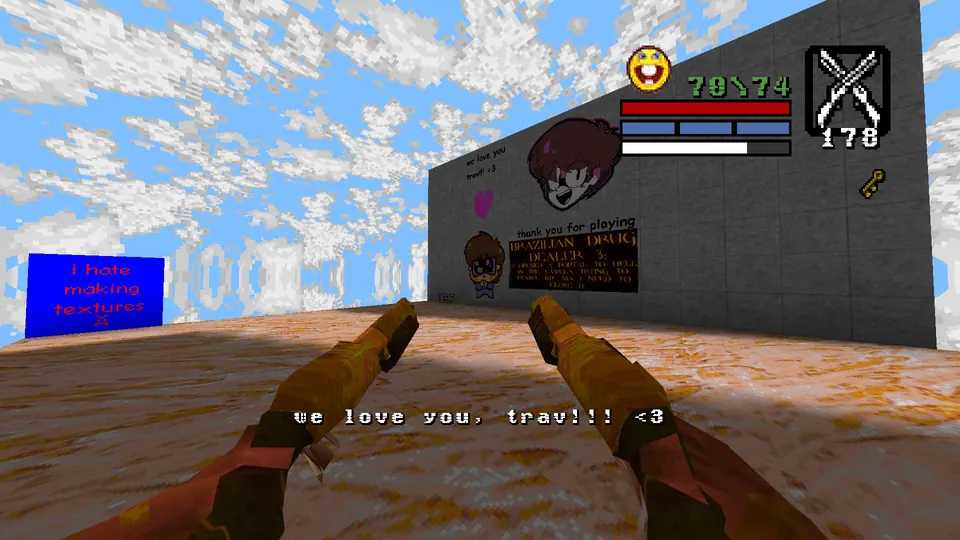
Secret 3: the message on the rooftops
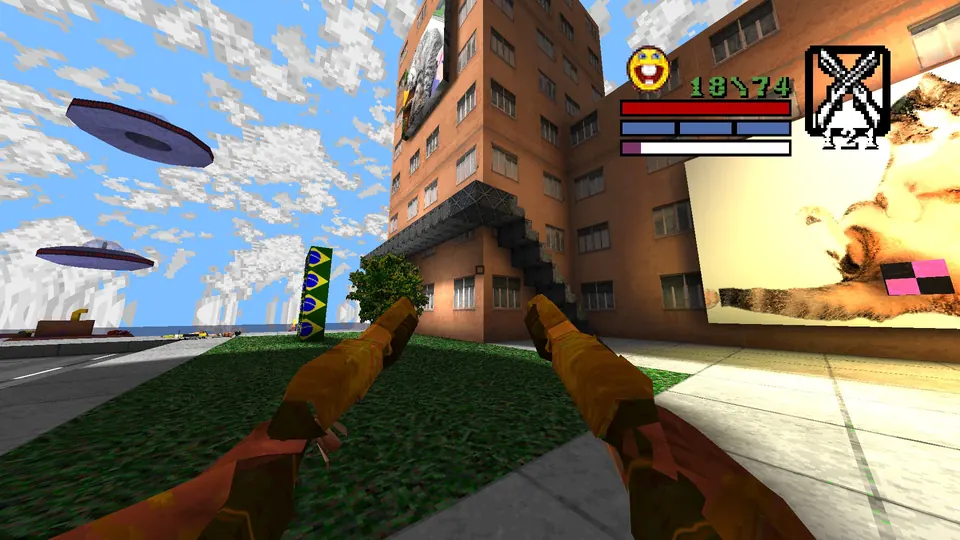
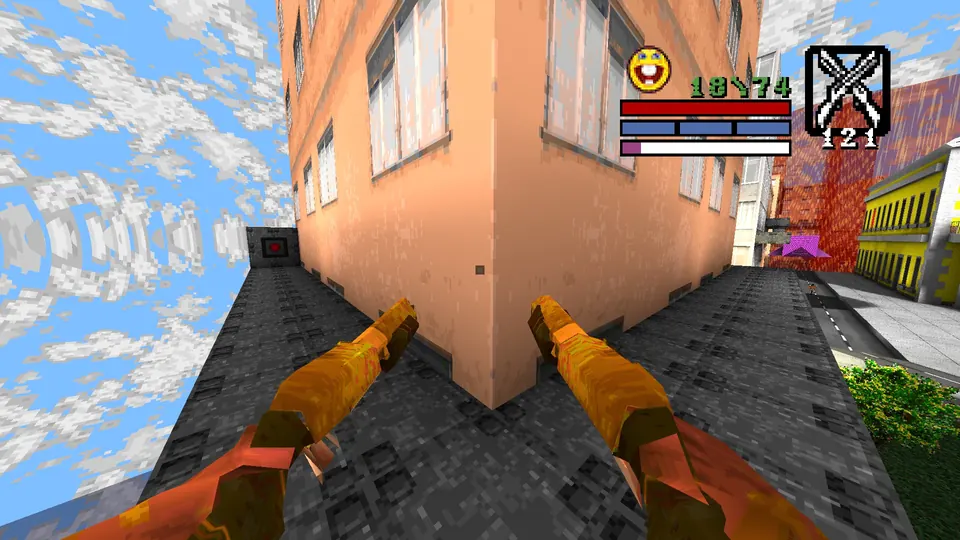
From the second button of Secret 2, jump over to the rooftops nearby to find a secret message. There is no item.
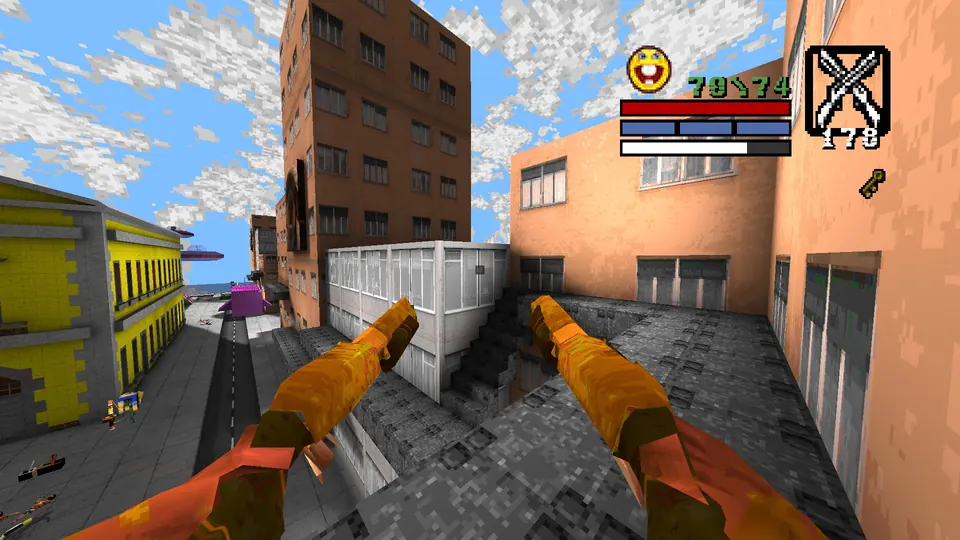
Level 16: Elevador Lacerda
Secret 1: hidden alleyway at the start
As the level begins, turn right and walk towards the building in front of you. A hidden alleyway there holds the secret. Reward: Electric Shower and Weird Ass Ammo.
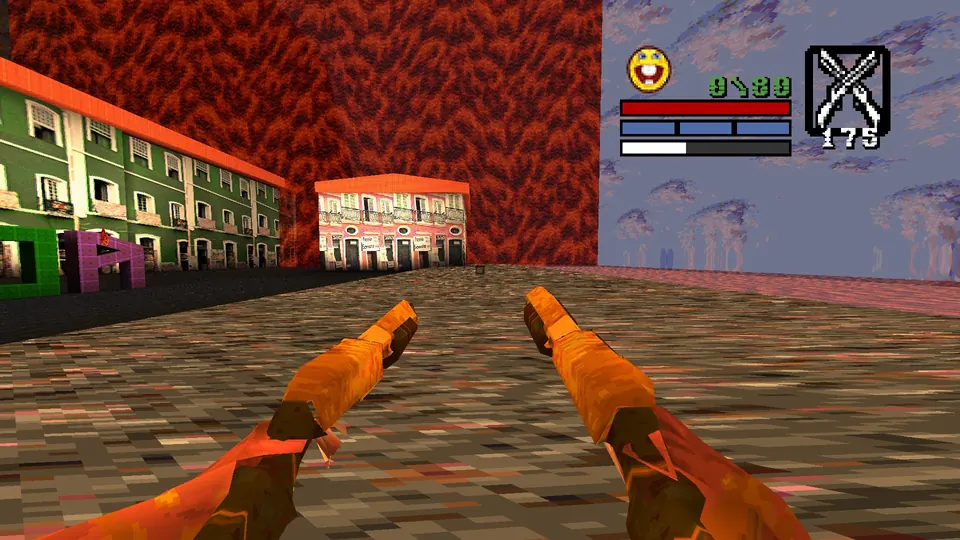
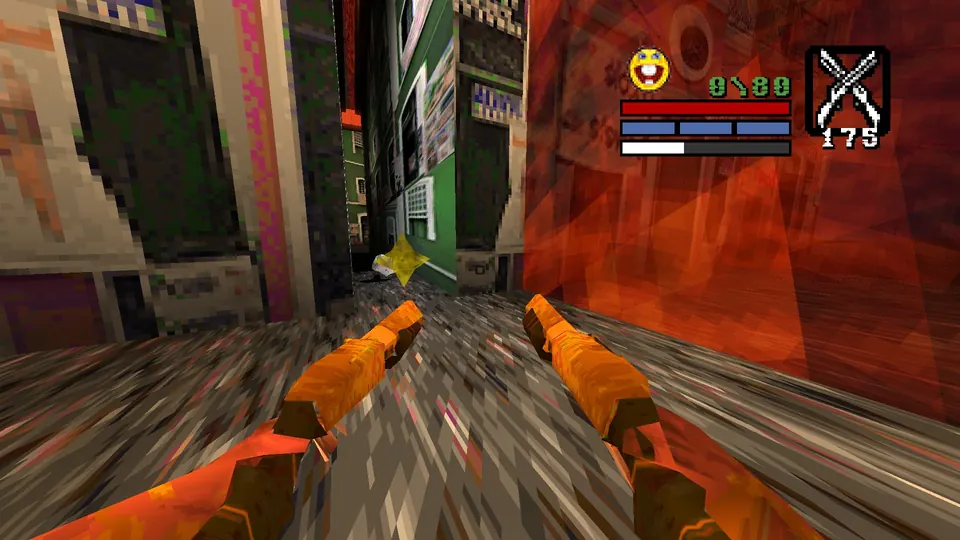
Secret 2: where the anti piracy hand came from
Later on, pressing a button to progress releases an anti piracy hand. Walk into the small room it came out of. There is no item.
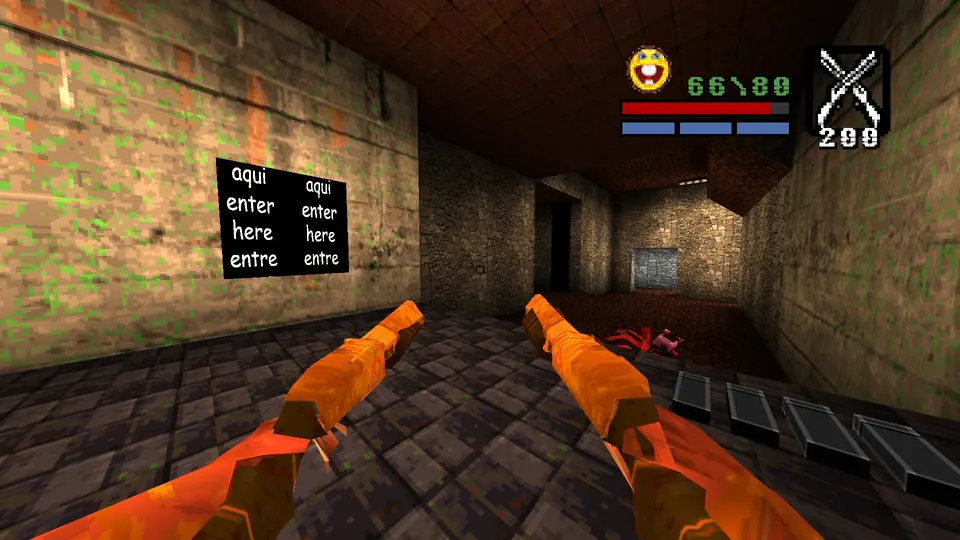
Secret 3: armor on the furthest metal beam
Press the button that raises a ramp and go up to the walkway above. Look across at the metal beams: the secret armor is on the one furthest away. Reward: Red Armor.
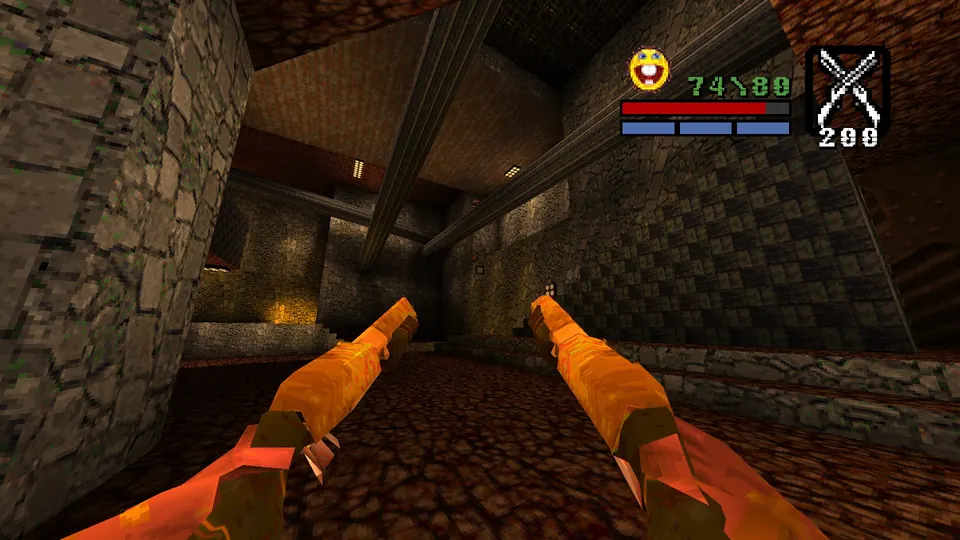
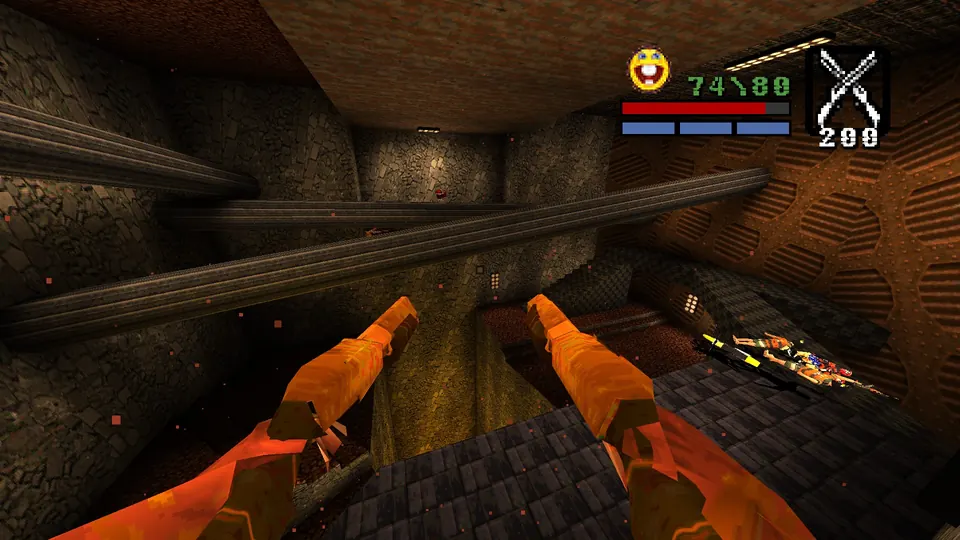
Level 17: TRIOELETRICO
Secret 1: just behind the truck
Before you jump into the front of the truck, jump just behind it instead. You land in a small secret area, and a path back opens up. Reward: Broken Rocket Launcher.
Secret 2: the open window by the truck
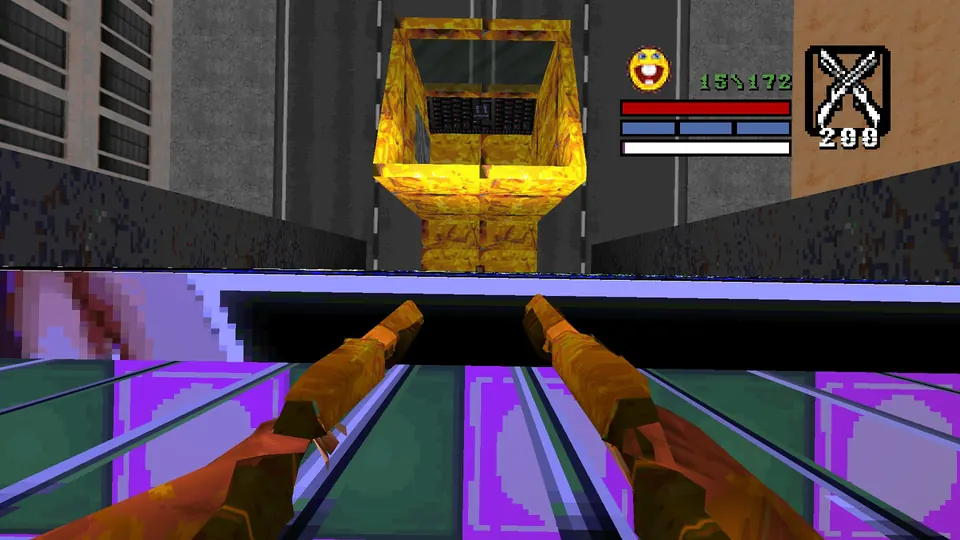
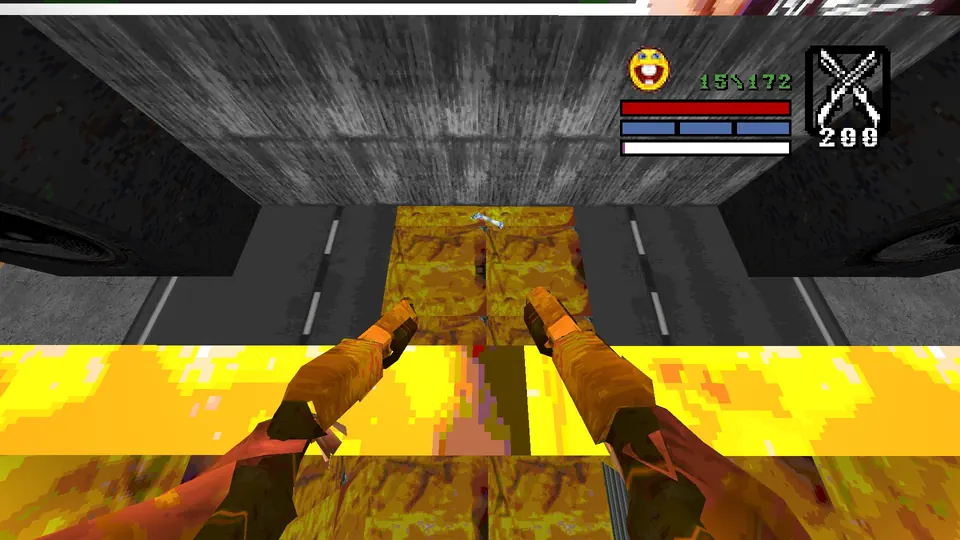
While searching the large area for the silver key, follow its edge until you reach a small building with a truck beside it. You need a button inside the building, but the secret is on the roof. Climb the front of the truck to get up there. The roof has a Broken Rocket Launcher and some rockets, and the actual secret is through the open window next to them. Climb in through it to find a streamer cameo room. There is no item.
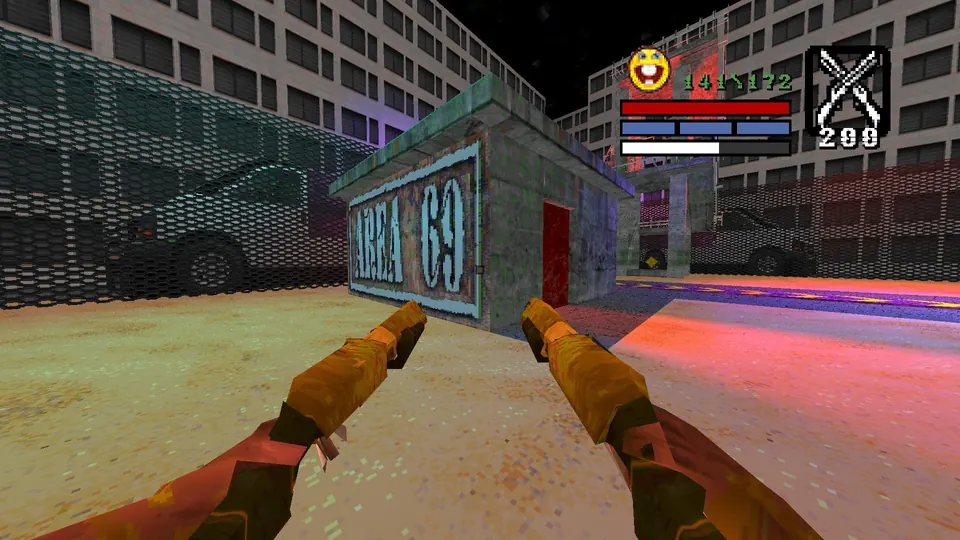
Secret 3: the weapon vault in Area 69
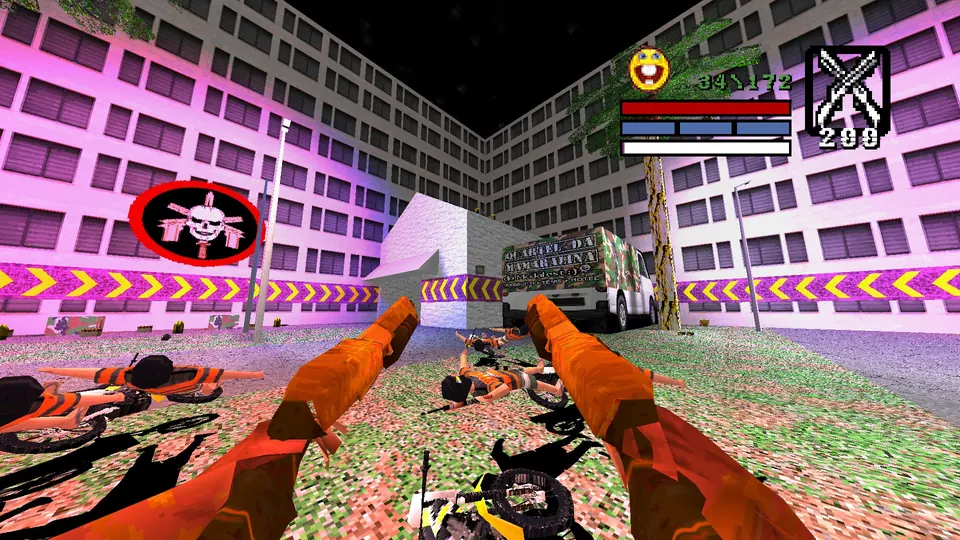
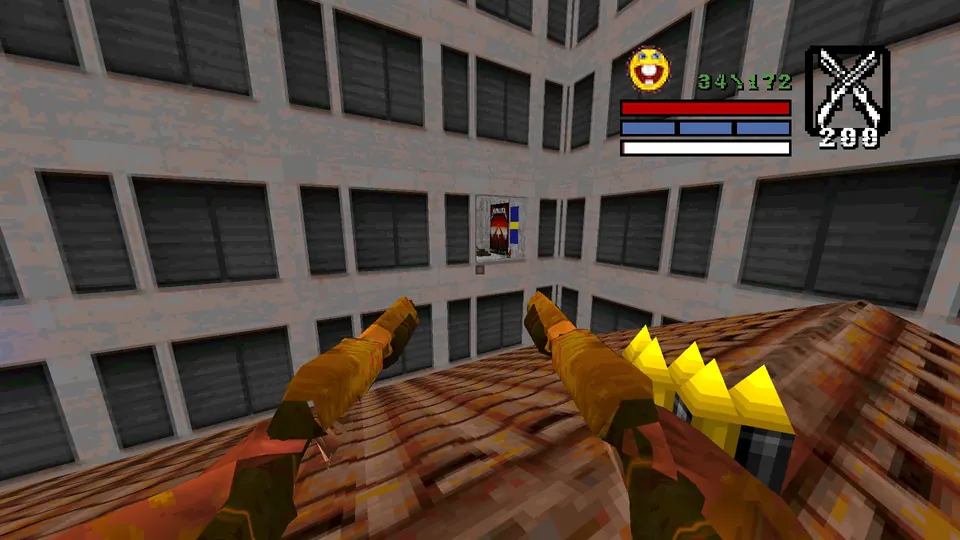
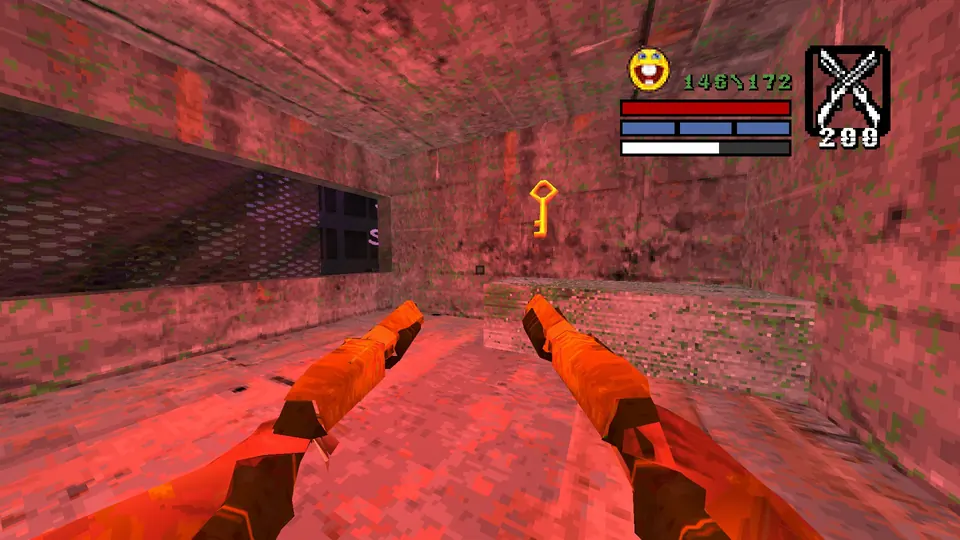
This one is in the “Area 69” area, the zone with four watchtowers, and it needs the gold key.
- Kill the four ogres in the watchtowers. That opens the barrier in front of the small building near where you entered the area.
- Take the gold key from that building.
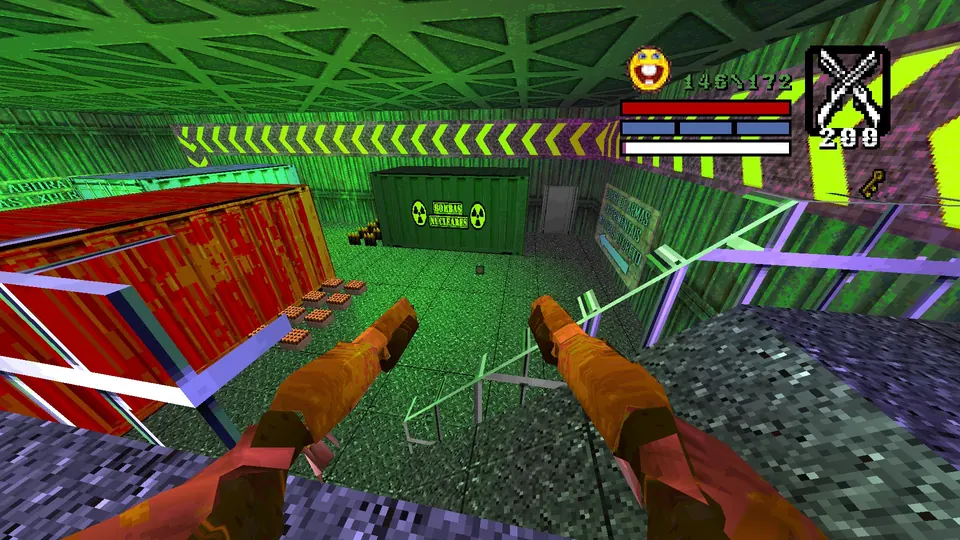
- Hit the three buttons around the area to open the small underground section.
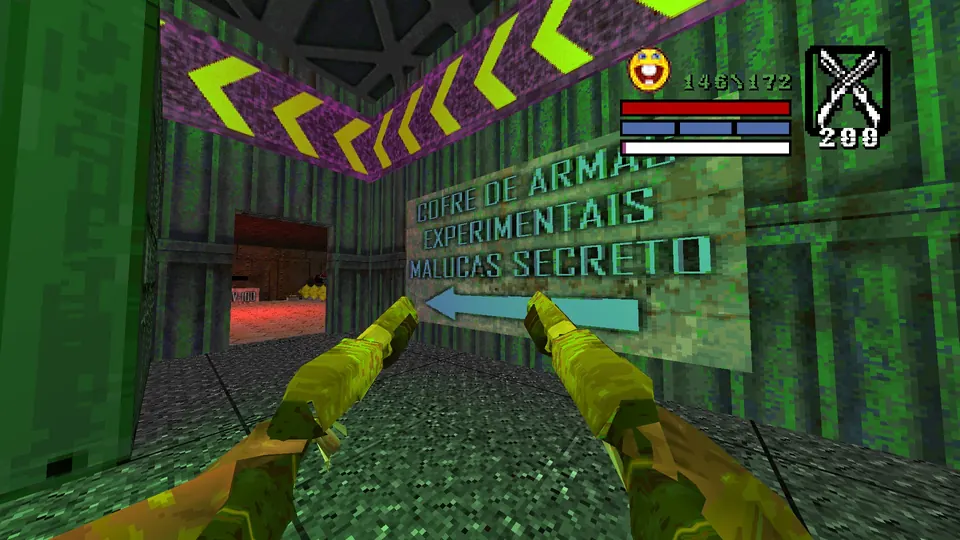
- Inside, shipping containers stand to the right of the entrance. Near the green one is a door with a sign pointing to it, visible from the Quicksave.
- Open that door with the gold key.
Reward, the largest haul of any secret on this page: Red Armor, a Mac 10 47, Electric Shower, Fireworks Launcher, Broken Rocket Launcher, a Money Paper Airplane, plus Bullets, Shells, Rockets and Weird Ass Ammo.
Level 18: Farol Da Barra
Secret 1: second floor of the steamboat
The secret is on the steamboat’s second floor. Stand on the waterwheels and use them as steps to climb up. Expect a fight: some enemies are packed into the small space with it. Reward: Megahealth.
Bonus stash: armor at the front of the boat
Outside the boat, right at the very front, is a partly hidden armor. It is not counted as a secret. Reward: Black Armor.
Level 19: PURGATORII_INICIO_54
The final level has no secrets.