20 Trials to Heaven: Secrets and Hidden Clues
Collect the known secrets by combining forward progress with carefully timed backtracking. The main chains are God’s Flower, the Four Candles of Virtue, and the green portal graveyard. Death returns you to the beginning, so finish any steps that must happen in one life before taking extra risks.
The short route is to activate the flower stone in Trial 4 and return to the starting screen, collect four candles across Trials 10, 7, 12, and 5 without dying, then reach Trial 20 and backtrack to Trial 13 without starting the boss fight. The remaining sections cover hidden room changes, the Trial 4 ghost, Insight Stones, and the unresolved clues tied to the deeper secret.
Spoiler warning: this guide names hidden rooms, achievement rewards, and late-game events.
God’s Flower: Trial 4 and the starting screen
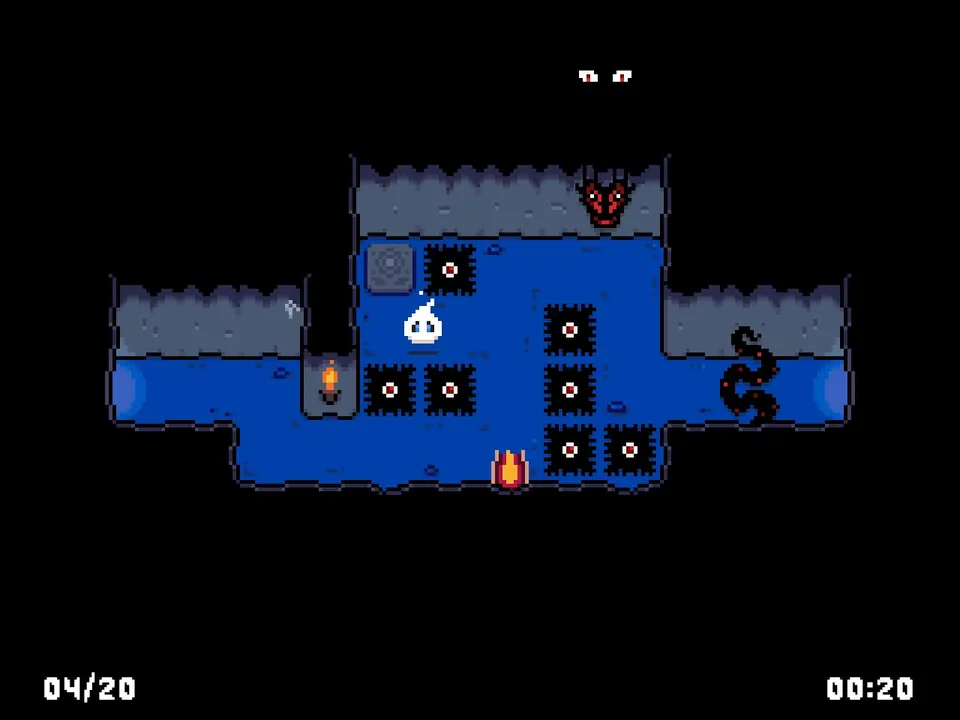
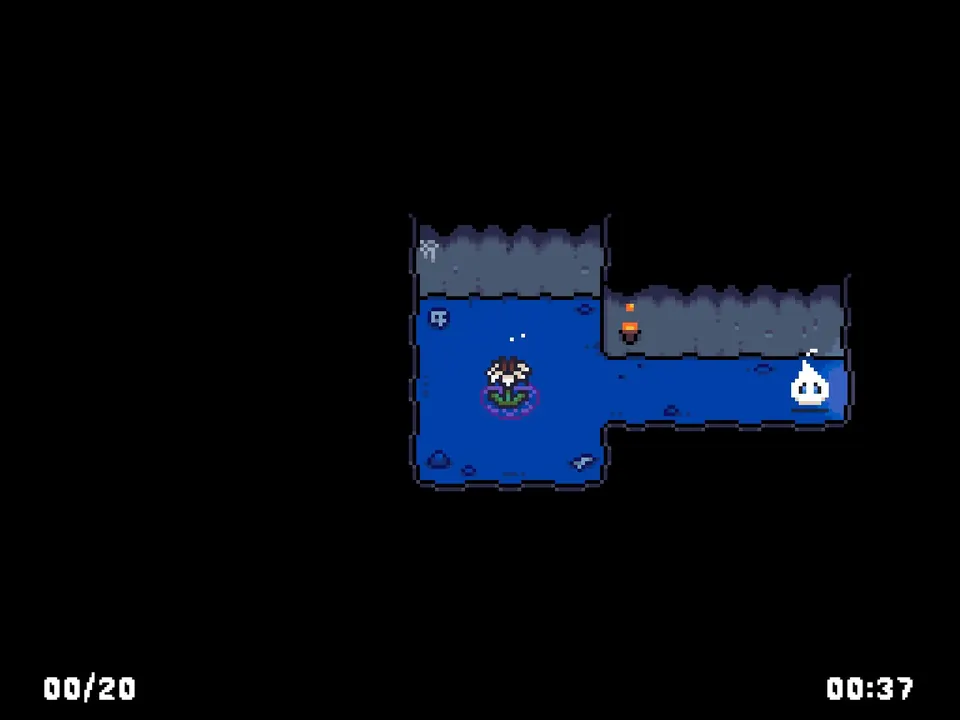
In Trial 4, step on the stone marked with a flower. Turn around and travel all the way back to the first screen, where God’s Flower can now be collected. This awards ECHO V: God’s Flower. Once saved, the flower does not need to be collected again after a death.
Four Candles of Virtue
All four candles must be collected without dying. Completing the set makes the collection permanent and awards ECHO IV: The Lightbearer.
- Candle 1, Trial 10: Collect it before the fireball destroys it.
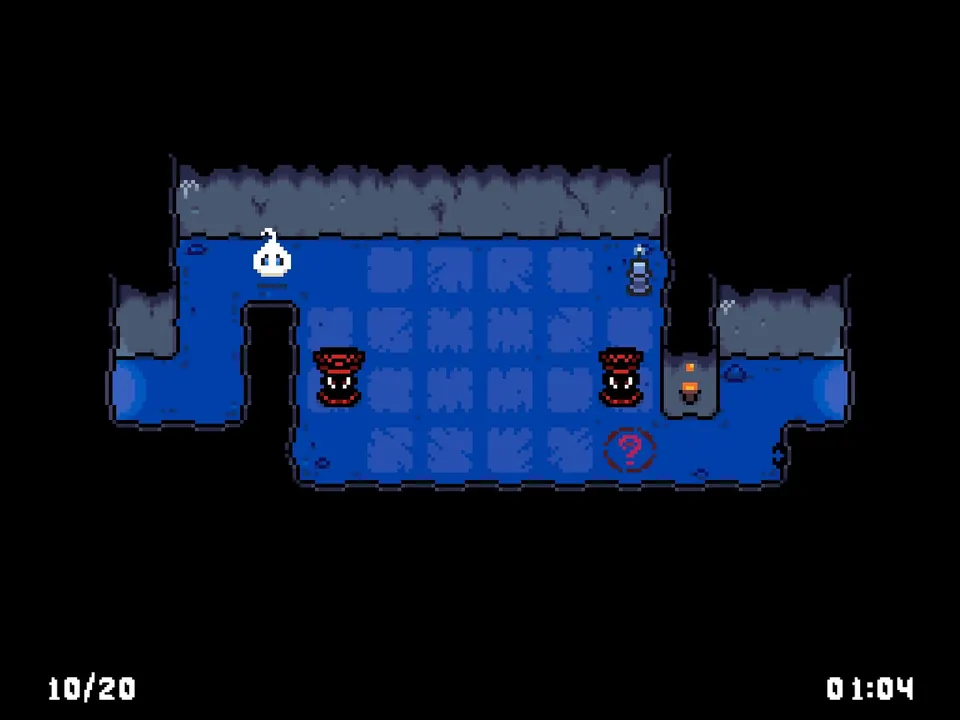
- Candle 2, Trial 7: Backtrack to Trial 7 and take the candle there.
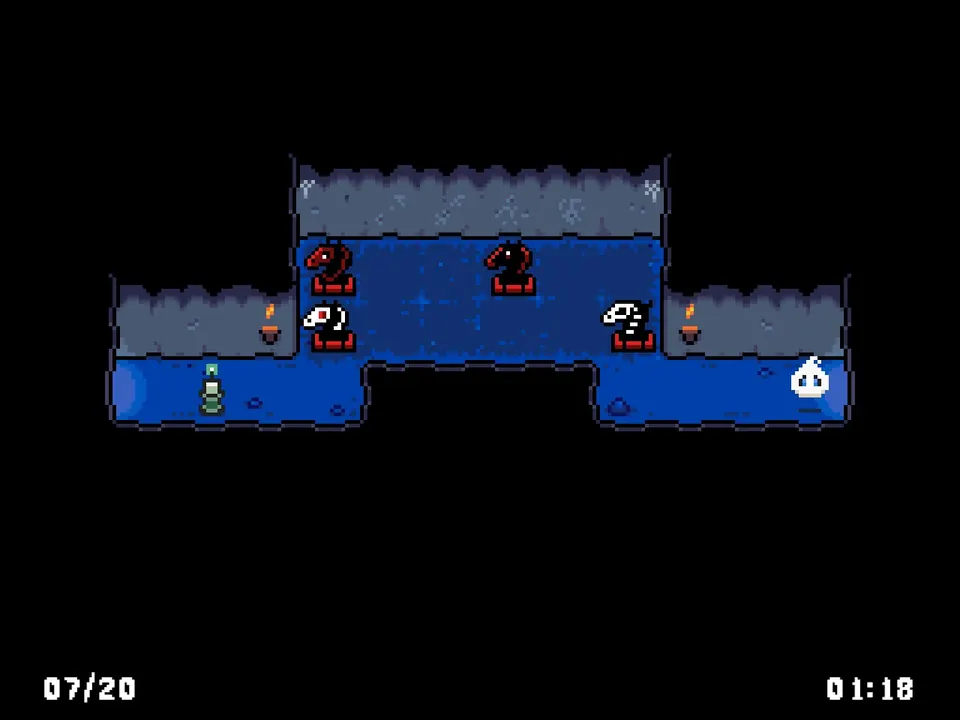
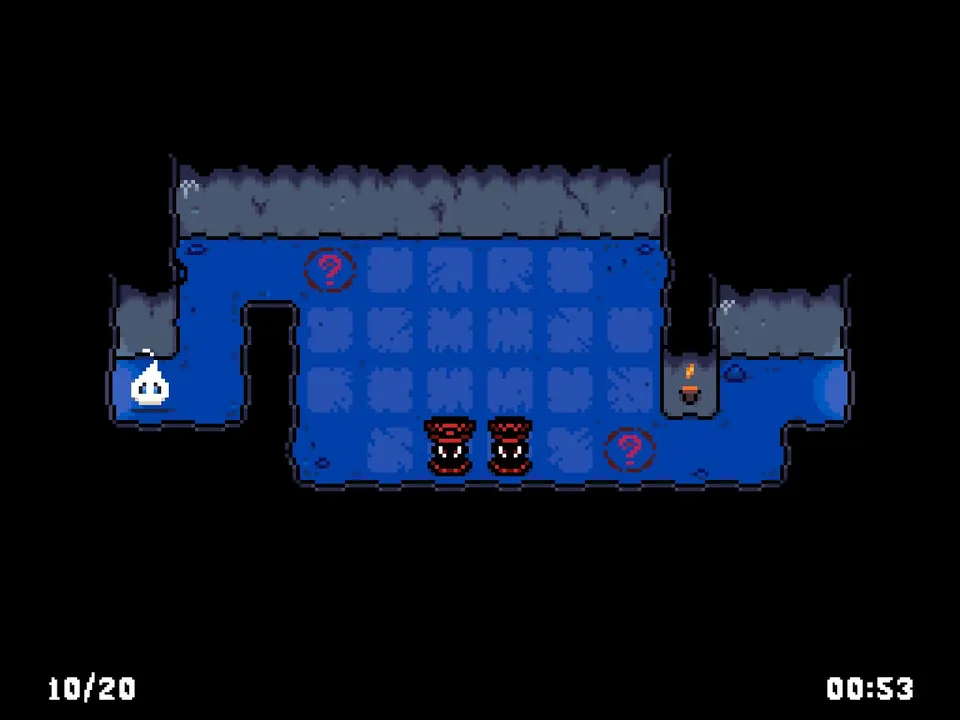
- Candle 3, Trial 12: Touch the question mark to make the candle appear, then grab it quickly before the claw above destroys it.
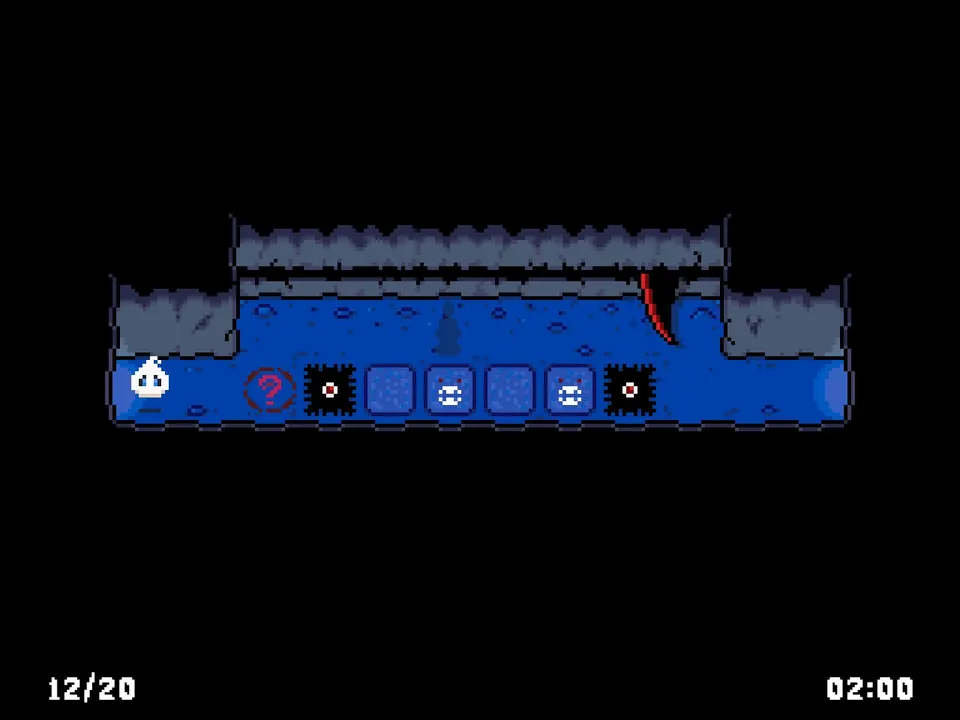
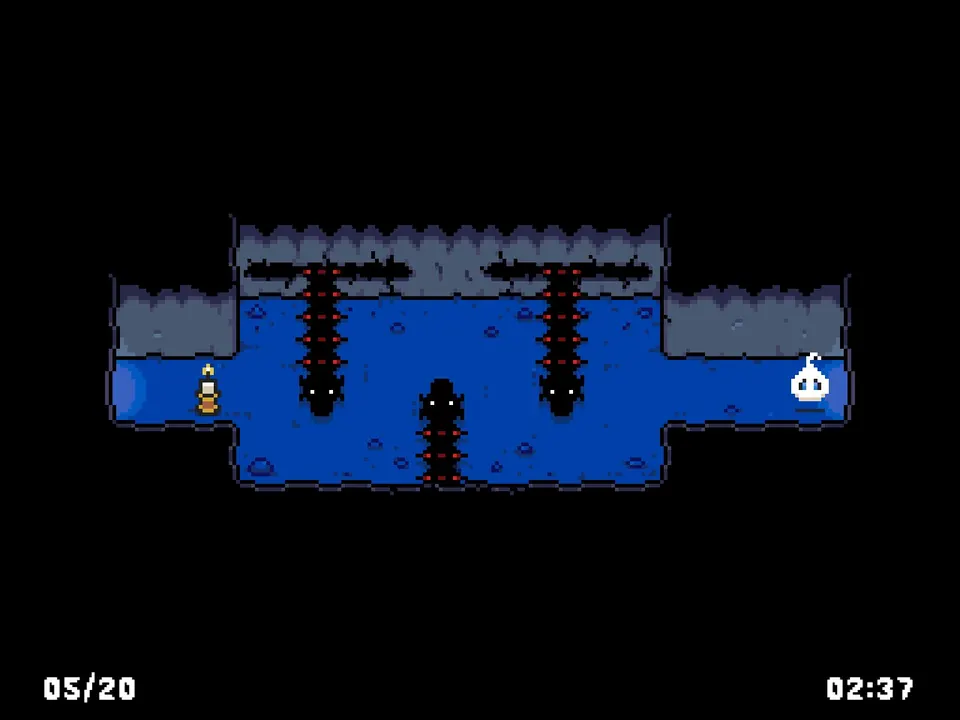
- Candle 4, Trial 5: Backtrack to Trial 5 and collect the final candle.
Green portal and graveyard: Trial 20 to Trial 13
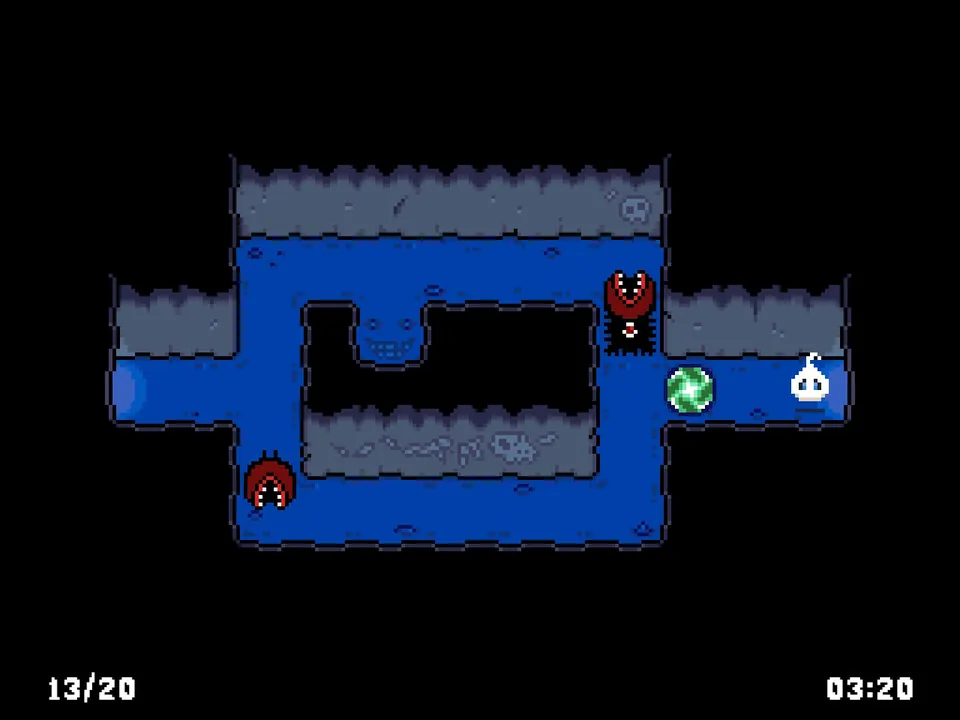
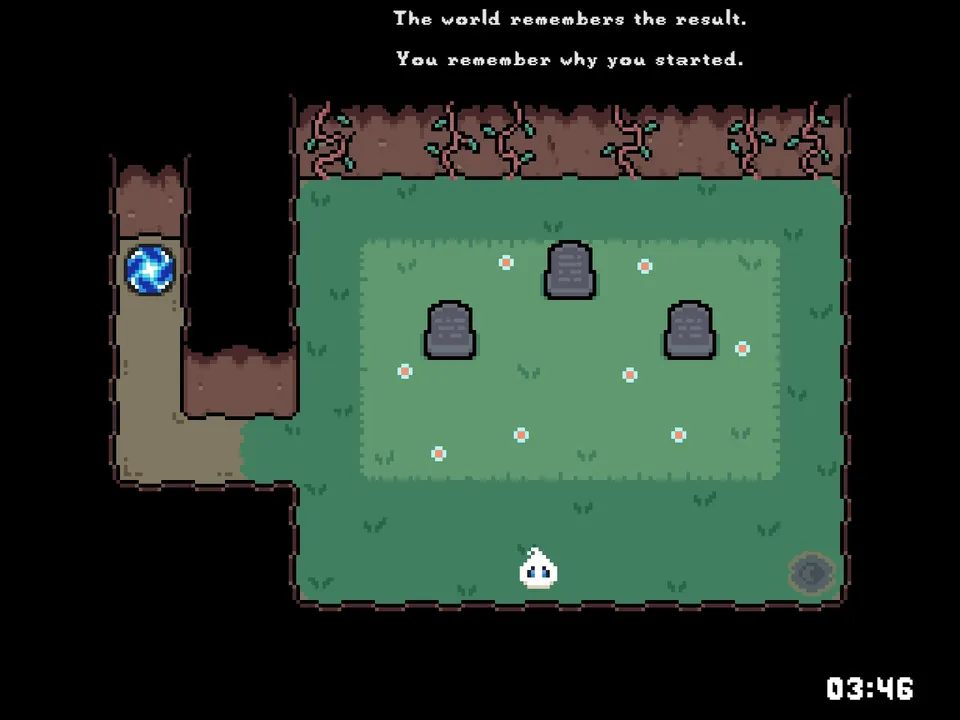
Reach Trial 20, but do not begin the boss fight. Turn around and backtrack to Trial 13. A green portal will now be present. Move away from the blue portal carefully because an enemy will try to kill you, then enter the green portal to reach the graveyard.
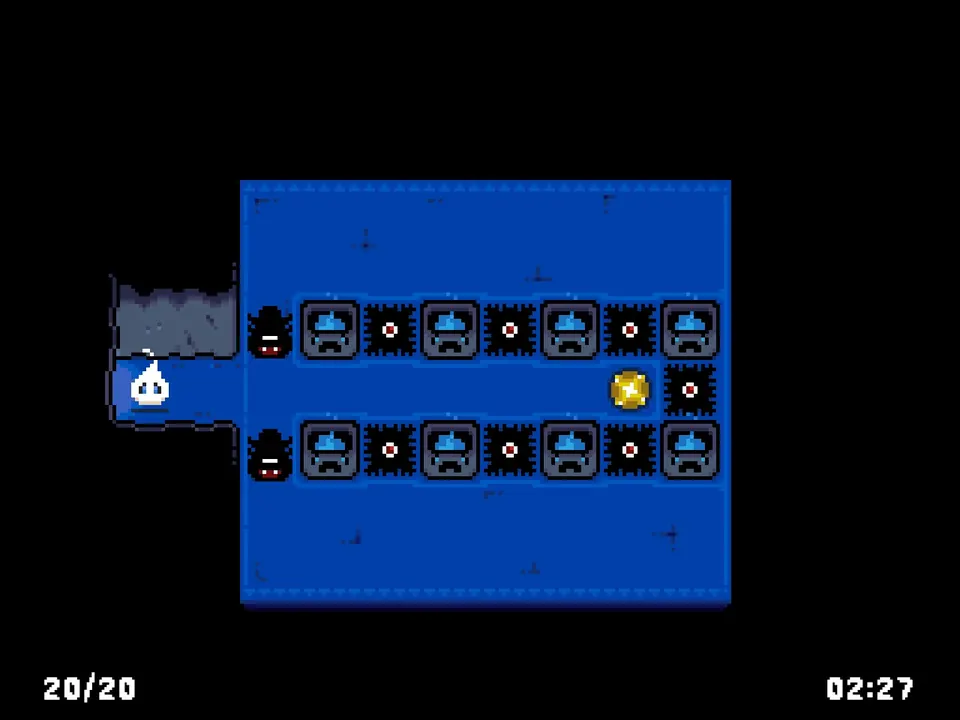
The blue portal inside the graveyard returns you to Trial 13.
Graveyard items and messages
The graveyard contains Glasses, a Hat, and Sunglasses. A Candle also appears in the corner after every achievement has been unlocked. You may take any number of the three items before leaving.
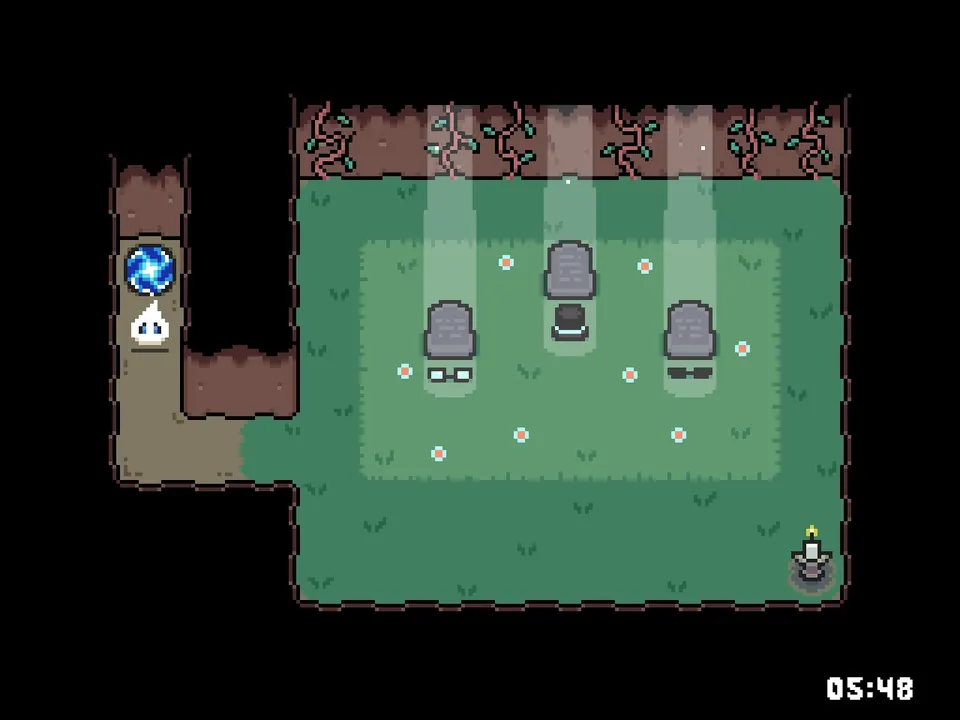
The Candle message connects lightness with recognizing hypocrisy. The Sunglasses message links challenge with respect. The Hat frames critique as care rather than hate, while the Glasses contrast the result remembered by the world with your reason for starting.
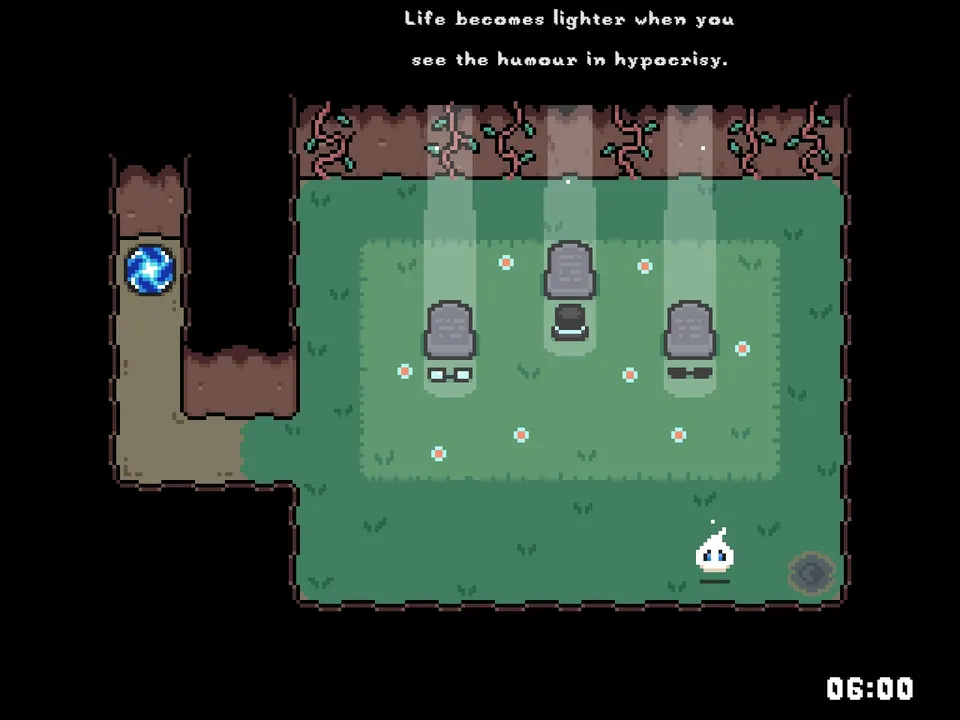
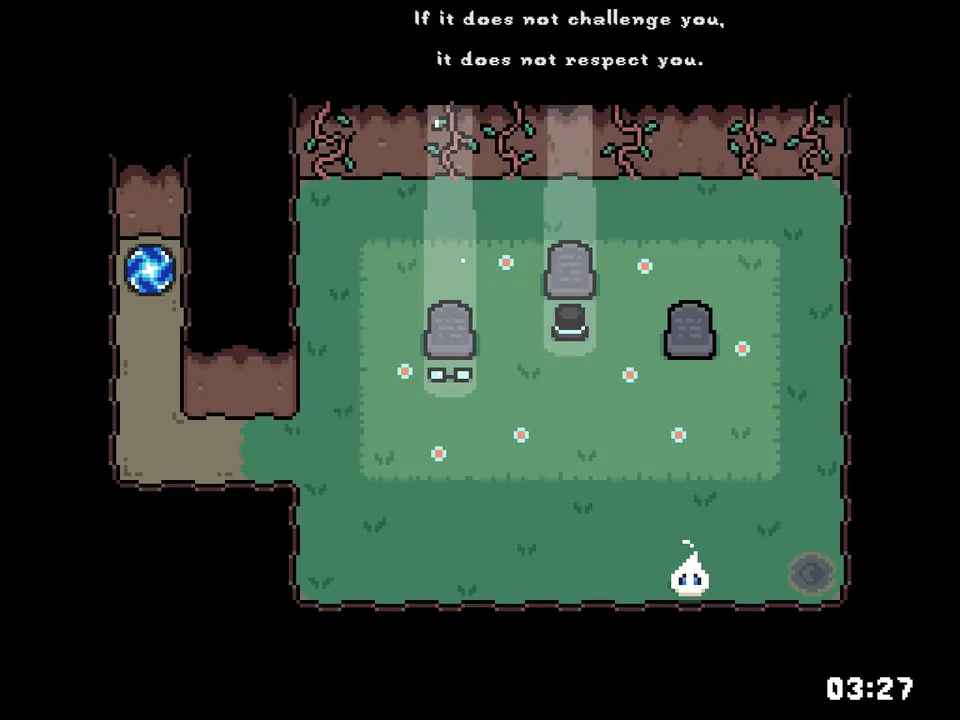
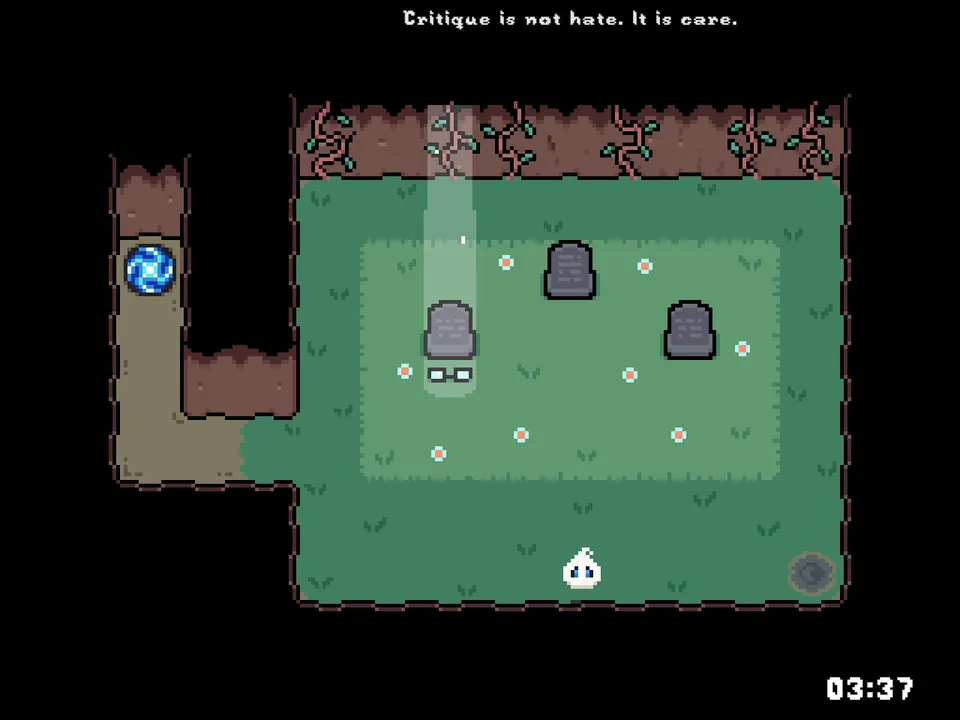
Collecting the Glasses, Hat, and Sunglasses causes three bell sounds roughly nine seconds later. The next step is unknown. The bells may connect to Faith, Hope, and Love, the words associated with the first three candles, but that interpretation is unconfirmed. Defeating the boss after this has only been observed to give a time-based rank.
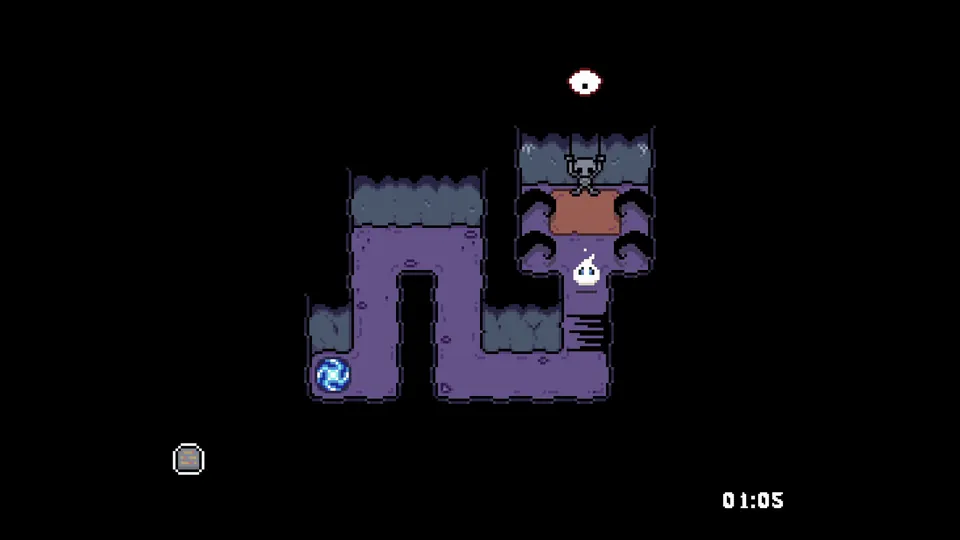
Unidentified early room
A store screenshot shows an unidentified purple room with the timer at 1:05 and a tombstone in the lower-left corner. The tombstone resembles those in the green portal graveyard. A developer clue indicates that a major hint is already visible in the screenshot and that the room is closer to the beginning than the end.
Trial 4 ghost
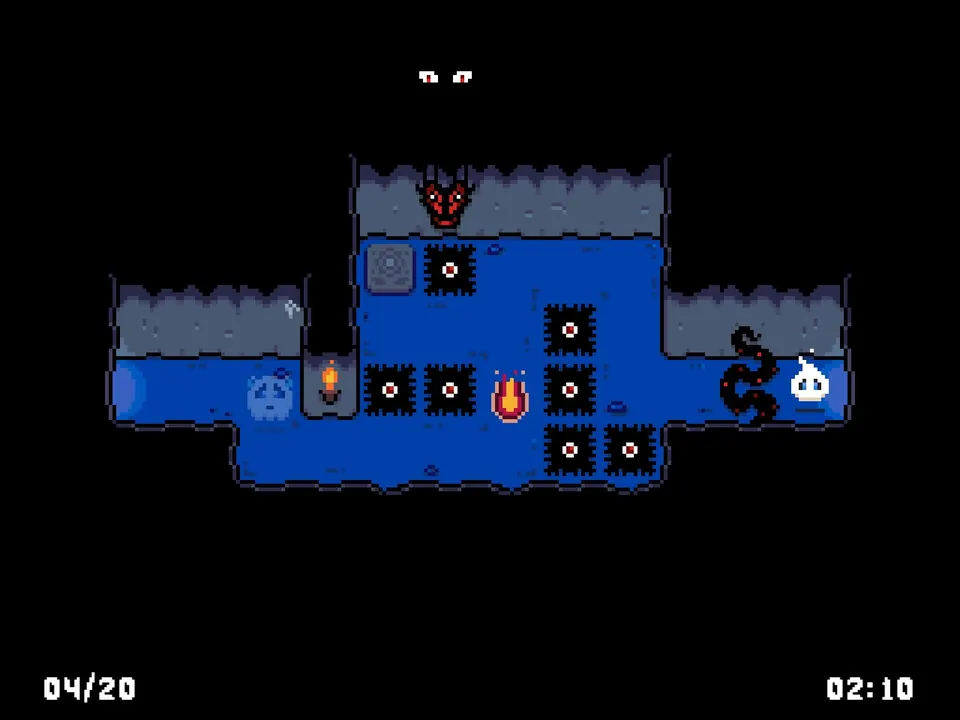
Progress as far as Trial 10, then backtrack to Trial 4. A ghost appears there and vanishes after a couple of seconds. This encounter must be triggered again after dying.
Insight Stones and Concealed Wisdoms
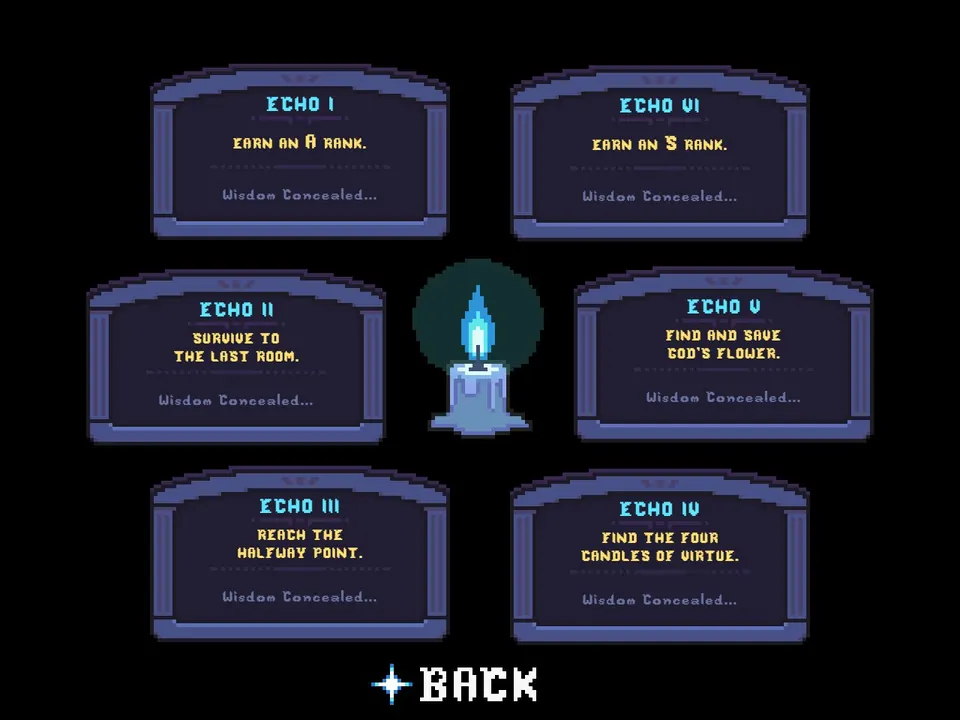
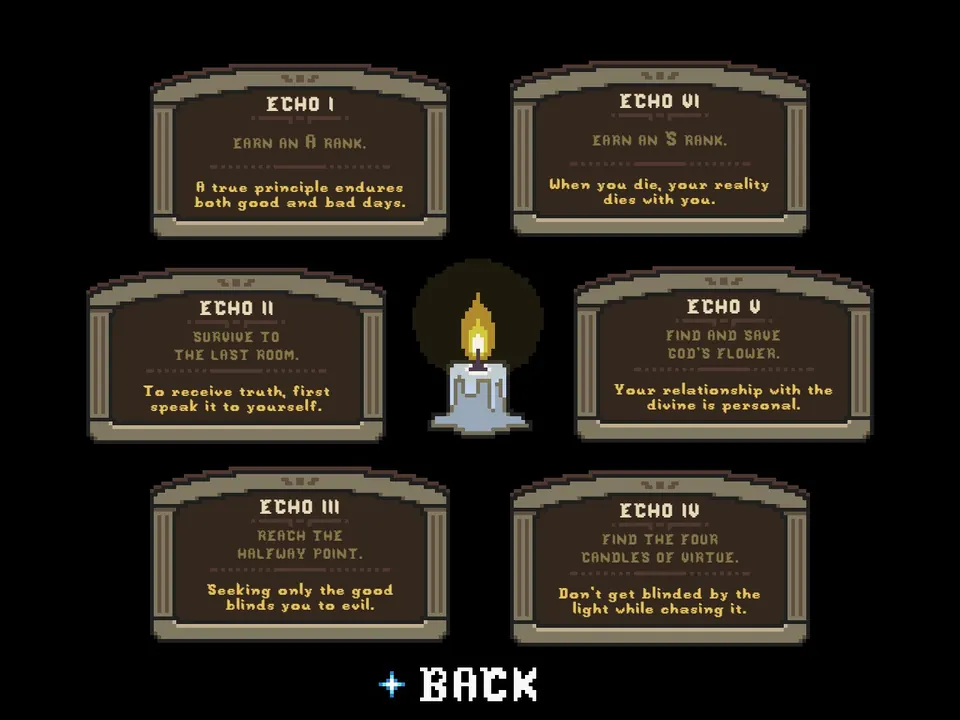
Open Insight Stones from the main menu. At first, the screen contains a blue candle and six Concealed Wisdoms. Each unlocked achievement reveals one cryptic ECHO message. Unlocking every achievement changes the candle from blue to yellow.
ECHO I to ECHO VI clues
These messages appear to be clues, but their exact solutions are not confirmed.
| ECHO | Revealed message | Possible meaning from the known secrets |
|---|---|---|
| ECHO I | “A true principle endures both good and bad days.” | God’s Flower and the completed candle set remain collected after death, so some secret progress persists between runs. |
| ECHO II | “To receive truth, first speak it to yourself.” | This may relate to the dead figure in Trial 14, though no action there is known. |
| ECHO III | “Seeking only the good blinds you to evil.” | There may be more than the normal boss victory and heaven ending. |
| ECHO IV | “When you die, your reality dies with you.” | Some events, including the Trial 4 ghost, must be triggered again after death. |
| ECHO V | “Your relationship with the divine is personal.” | No specific solution has been identified. |
| ECHO VI | “Don’t get blinded by the light while chasing it.” | One theory is to take only the Sunglasses and then the graveyard Candle. Another is to leave the Candle behind. Neither is confirmed. |
Trial 11 ceiling eyes
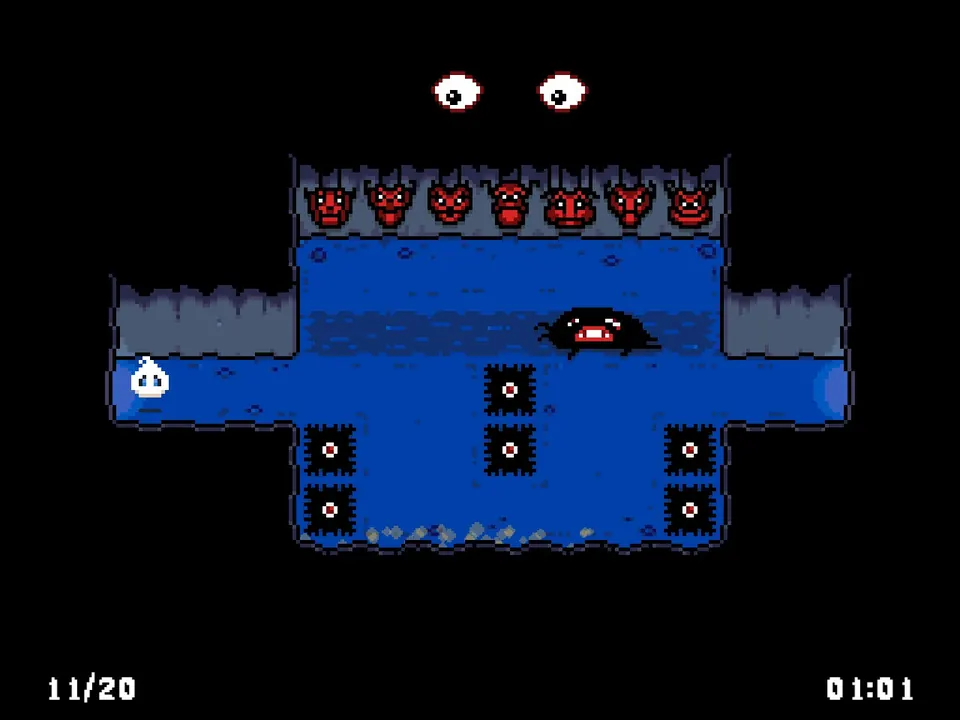
Eyes are visible above the room when you first enter Trial 11. Continue to Trial 12, then return to Trial 11, and the eyes will be gone. This may indicate that backtracking from Trial 12 changes earlier rooms, much as Trial 19 and other rooms change when revisited from Trial 20.
Trial 13 question mark, bones, and monster
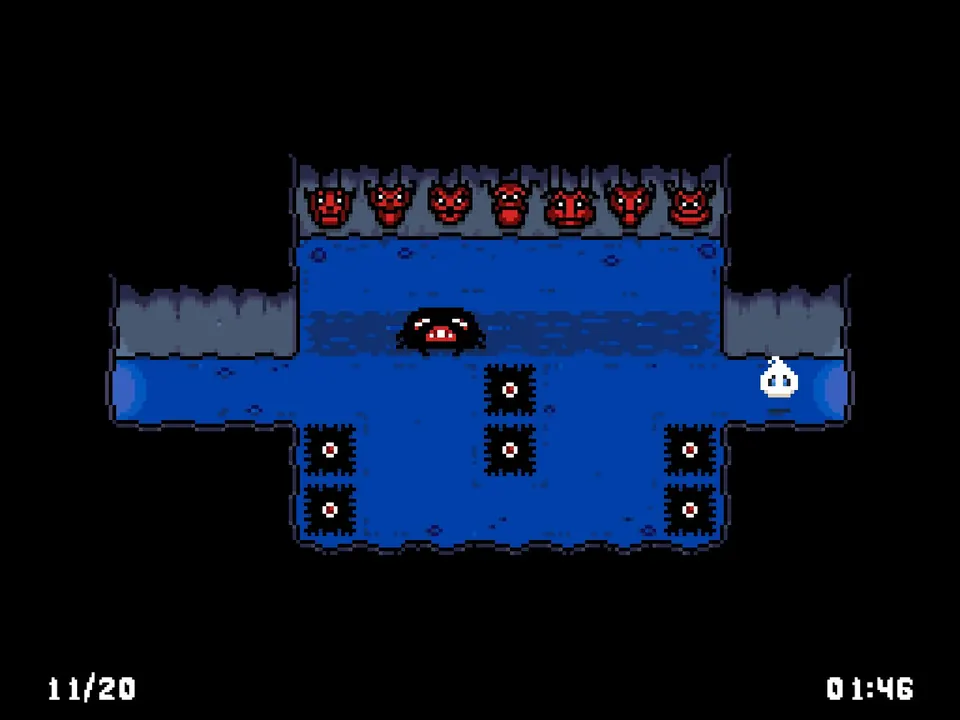
Step on the question mark in Trial 13 to reveal bones in the middle of the room. There is also a skull drawing above the question mark. The same trigger brings a monster into the small central gap, and the monster laughs if it kills you.
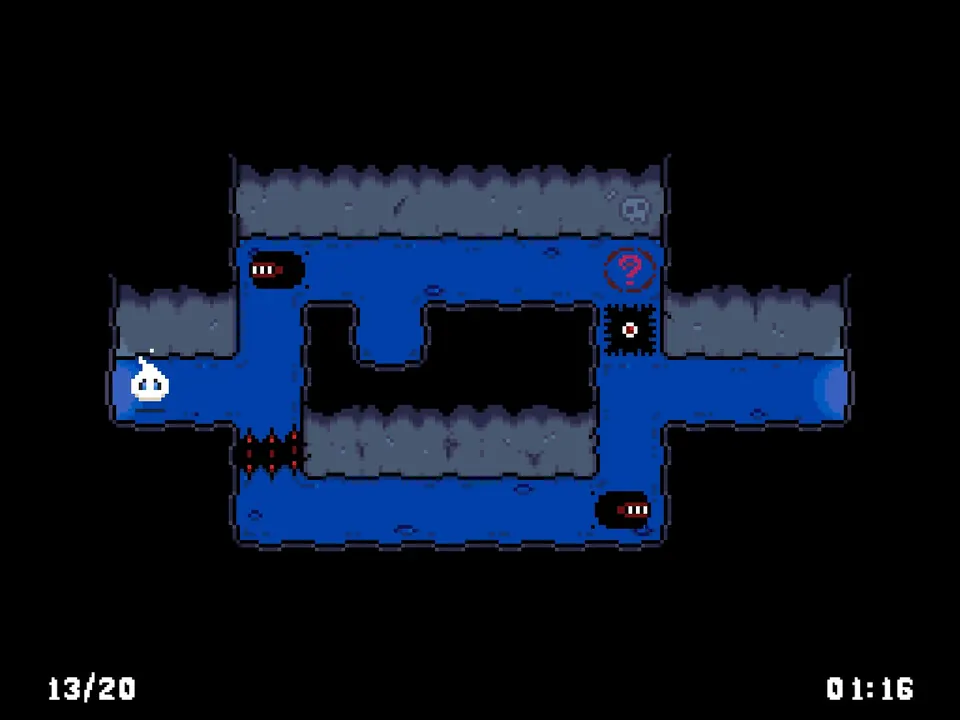
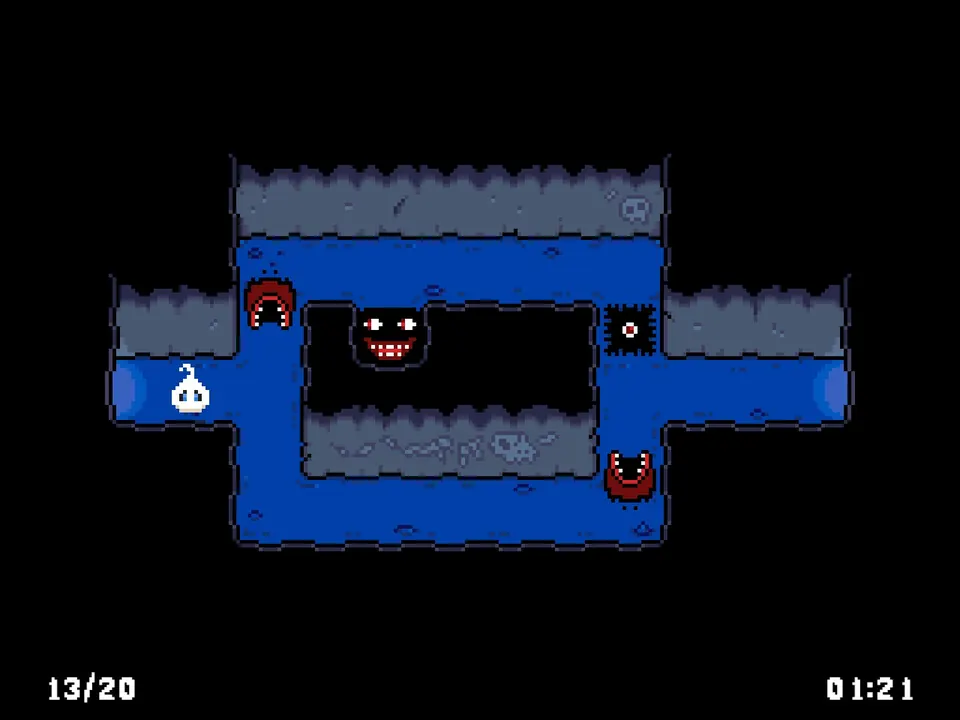
When you revisit this room by backtracking from Trial 20, the monster is absent and a drawing appears in its place. Whether dying is part of this sequence remains unresolved.
Trial 7 wall markings
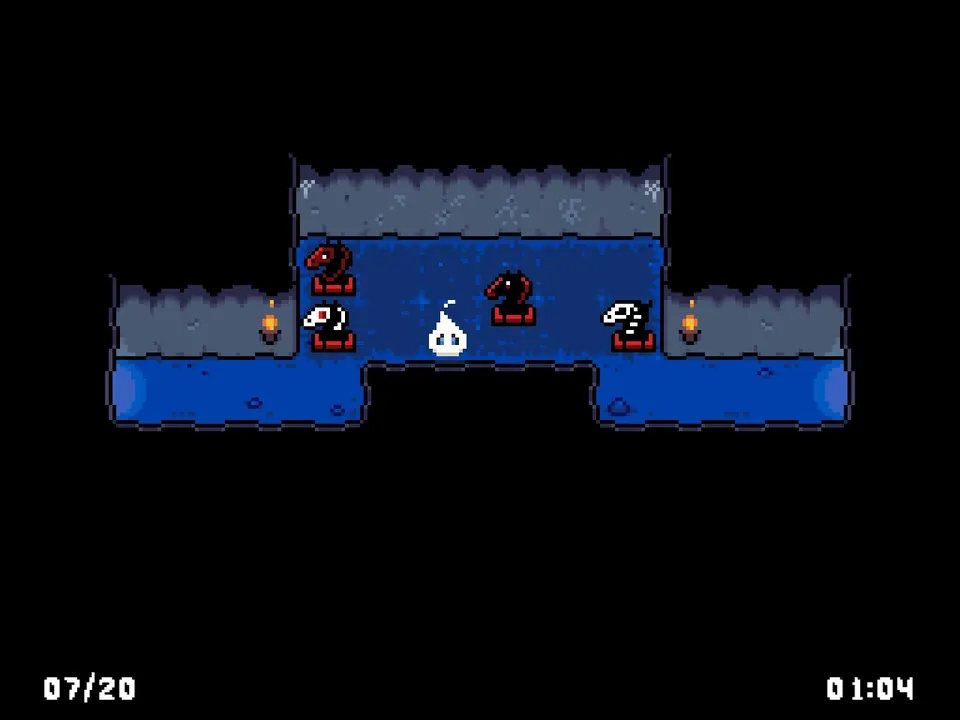
Trial 7 has several groups of pixels on the wall. The third group can be read as a human-like shape, although it may simply be level decoration.
Tombstone code
The tombstone markings can be counted as 4, 2, 3, 4, 1. The final pixel is red on the first 4, the 2, and the second 4. These may be room numbers, but both the code and the room location are still unconfirmed.